Managing the network in Linux systems , in general in any operating system, can be a tedious task if we do not have the necessary tools for it, but in the case of Linux systems, a special command has been developed to manage many variables of the network and it is the command “nmcli” which we will talk about in detail in this tutorial..
What is nmcli
Nmcli “network manager command-line interface” is a command that was designed with NetworkManager in mind and with a series of parameters to have the possibility of reporting the status of the network to the administrator.
With the nmcli command we can create, edit, delete, activate or deactivate network connections , as well as control and also display the status of the network device installed in Linux.
1. How to install and use nmcli in Linux
Step 1
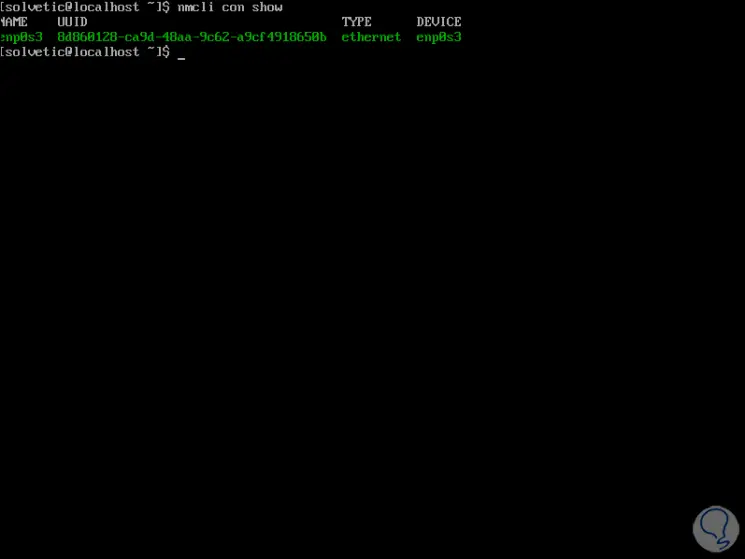
By default nmcli is installed on Linux systems. We can display all the active network interfaces in Linux with any of the following commands:
nmcli connection shownmcli with show
Step 2
As a result of this we will obtain the following details:
- Network type (cable or Wi-Fi)
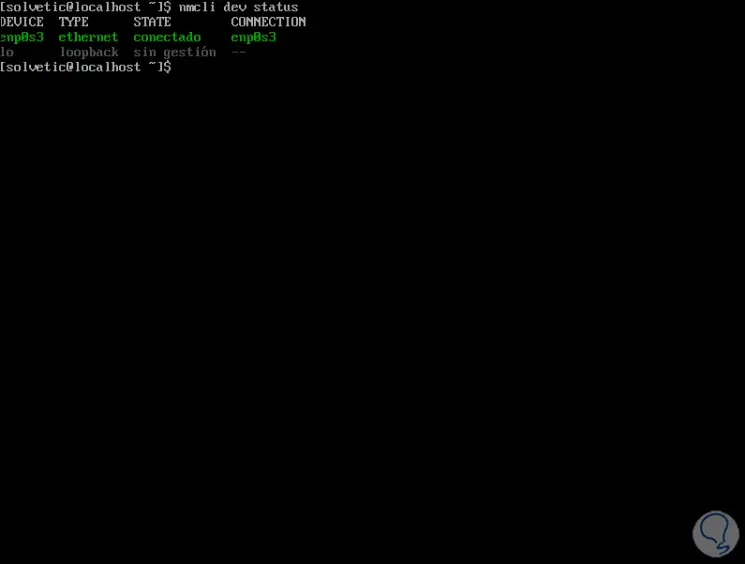
To deploy all Linux connections (active and disabled), we will run the following command:
nmcli dev status
2. How to configure a static IP address in Linux with nmcli
Within the administrative tasks of nmcli we have the possibility of establishing a fixed IP address for the equipment. For this we must take into account the device where the change will be applied, in this case it will be the enps03 network interface.
Step 1
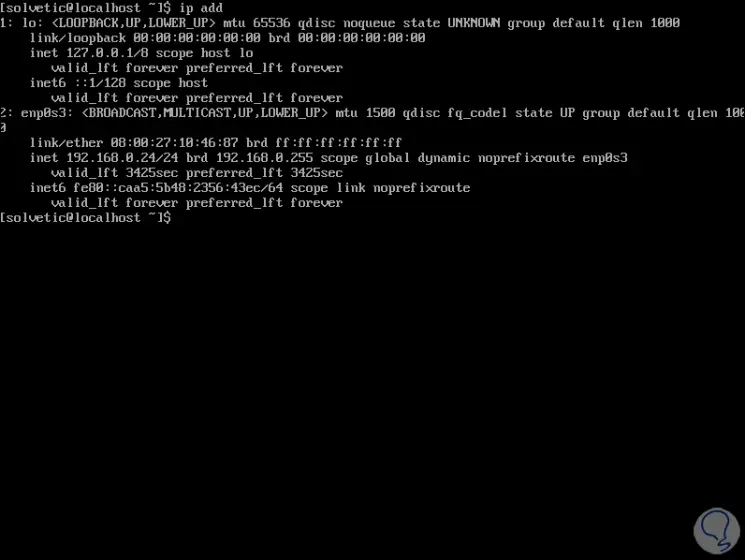
First, we will execute the command "ip add" to view the current network configuration:
Step 2
In this case we have the following:
To establish a new IP address in Linux with nmcli we are going to use the following values:
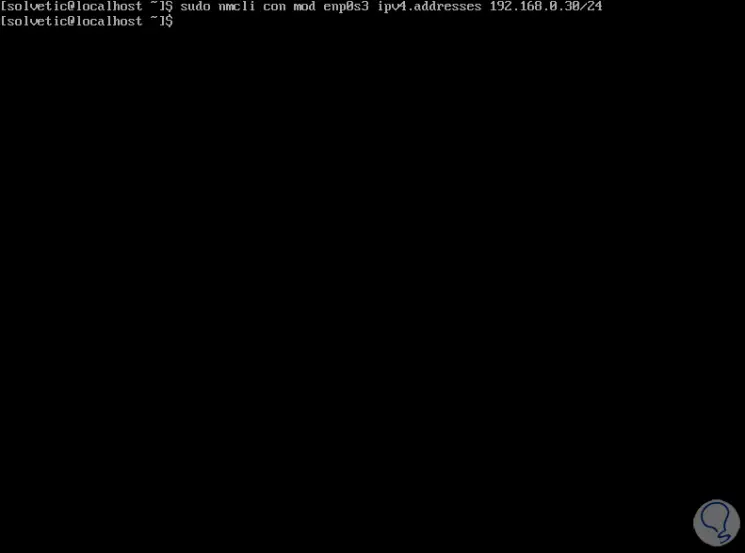
First, we will establish the desired IP by executing the following:
nmcli with mod enps03 ipv4.addresses 192.168 .2 .30 / 24
Step 3
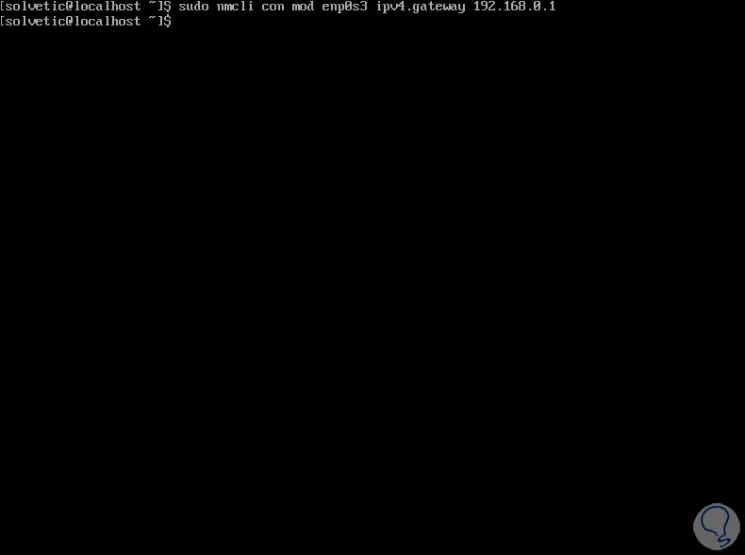
Now we are going to configure the gateway:
nmcli with mod enps03 ipv4 .gateway 192 .168 .0 .1
Step 4
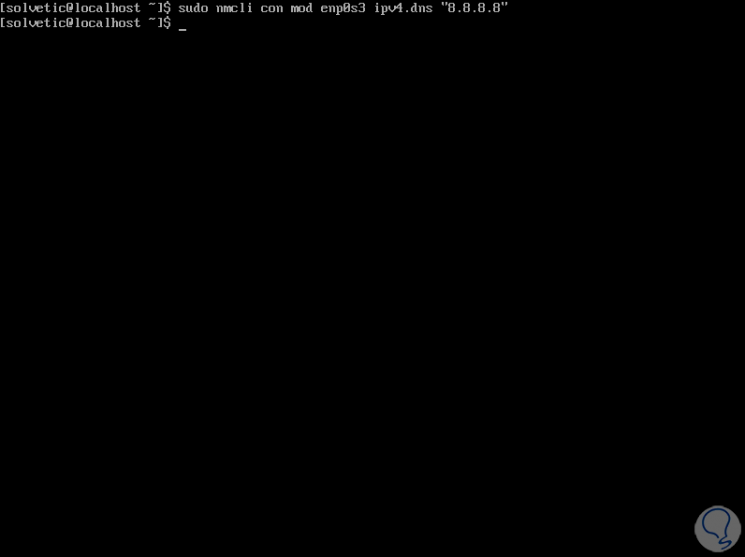
Now we are going to establish the DNS server:
nmcli with mod enps03 ipv4 .dns "8 .8 .8 .8 "
Step 5
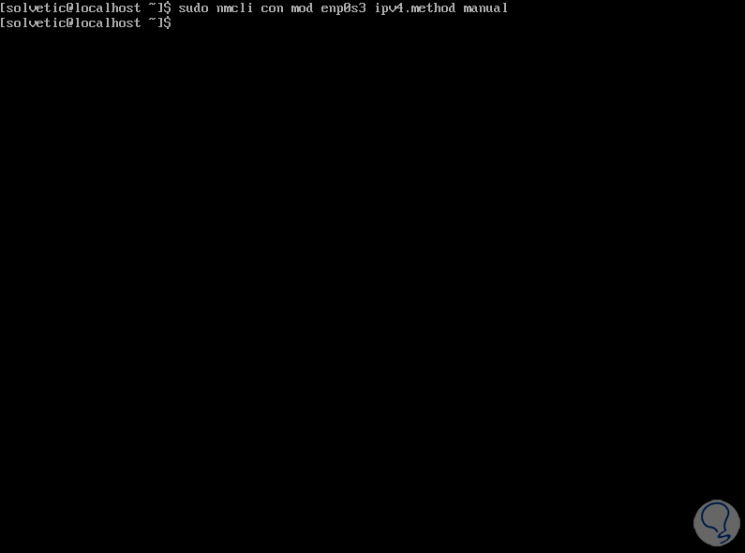
After this we are going to configure the IP address from dynamic to static:
nmcli with mod enps03 ipv4.method manual
Step 6
We apply the changes with the following order:
nmcli with up enps03
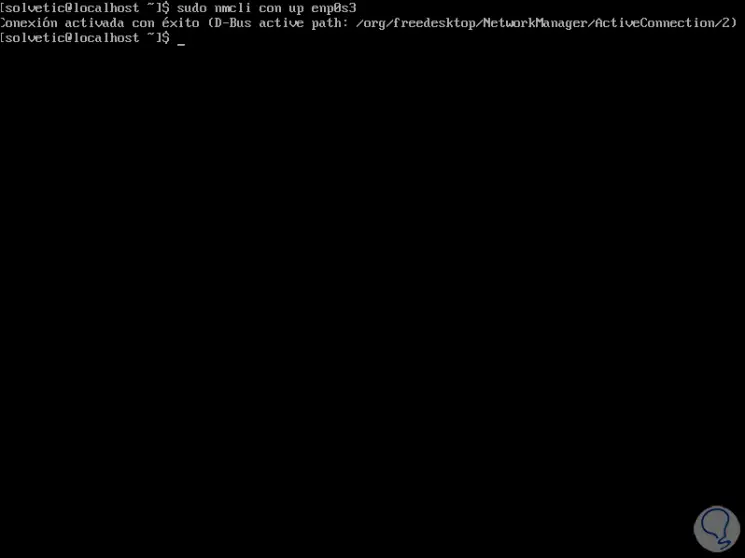
We can see the message that the connection has been successfully activated..
Step 7
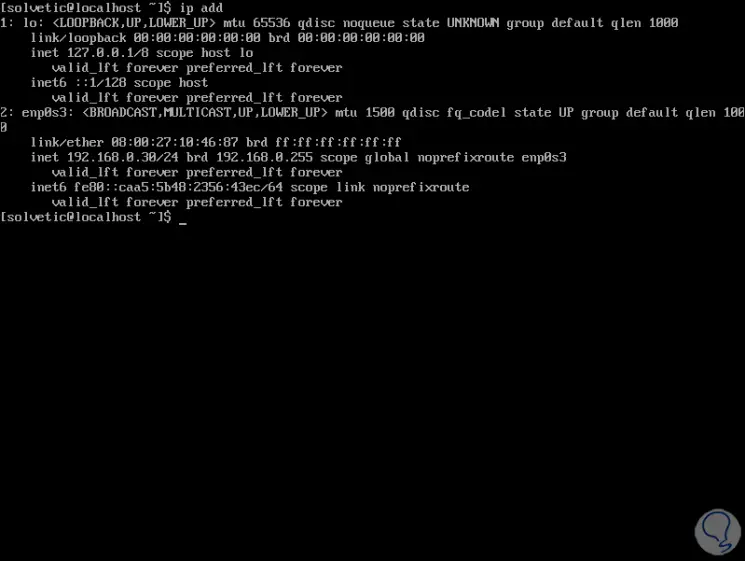
We check that the IP address 192.168.0.30 has been established by executing the command "ip add":
Step 8
Alternately we can go, in this case in CentOS 8 to the following directory:
/ etc / sysconfig / network-scripts /
Step 9
There then we run "cat ifcfg-enp0s3" to see the network properties:
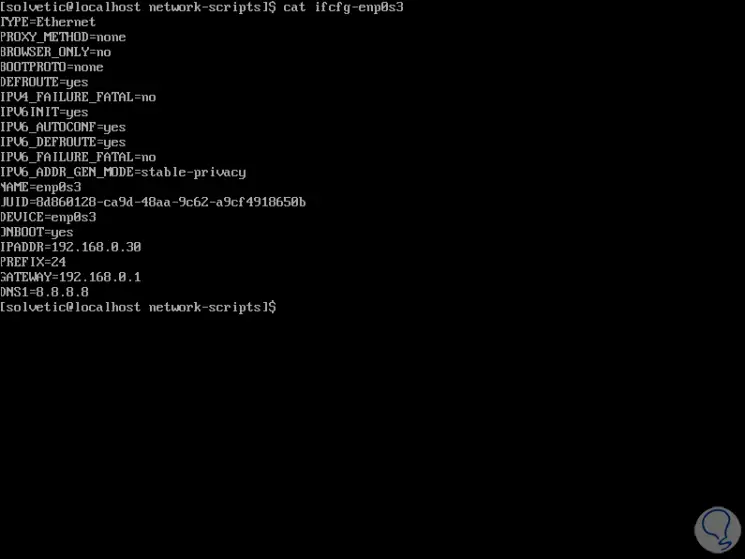
There we clearly find the values that we have established.
With nmcli we have a complete level of options to manage our network in the best possible way.