When Windows 11 was launched, one of the requirements that was mentioned the most and in which it was emphasized that it was mandatory to update or install Windows 11 was secure boot, it is an exclusive requirement for privacy reasons. Secure boot or Secure Boot has been integrated as a security feature which has the mission of protecting the startup or boot process of the operating system and the reason for this is that currently some attacks that are made to the system will be made to time to turn on the equipment and begin the entire boot process where the environment circumstances and load of services are critical..
To protect this start, secure boot makes use of digital signatures which are responsible for verifying the integrity and authenticity of the operating system components at this start, this results in no drivers or malicious software being loaded before full boot. Windows and with it the integrity of the data will be preserved.
Remember that when you press the power button on the computer, the firmware is responsible for verifying the signature of the bootable software components such as UEFI firmware drivers, EFI applications, and the operating system itself. When executing the analysis, if the signatures are valid, the equipment will turn on and the firmware will give way to the process that the operating system executes..
We can summarize that with secure boot there will be an extra measure of security against modern attacks such as the manipulation of the boot loader or the injection of malware which in some cases can take full control of the PC and the data of the user.
enable secure boot
In order to enable secure boot, you will need the following:
- UEFI signature database with which the correct keys of the UEFI signature database (db) will be stored, since the system can start with it.
- Firmware signing of all components using at least RSA-2048 with SHA-256.
- EFI_HASH_PROTOCOL which allows downloading cryptographic hash operations and the EFI_RNG_PROTOCOL.
TechnoWikis will explain the correct way to activate secure boot in Windows 11 and with this have improved security from boot..
To stay up to date, remember to subscribe to our YouTube channel!
SUBSCRIBE ON YOUTUBE
How to enable Secure Boot Windows 11
Step 1
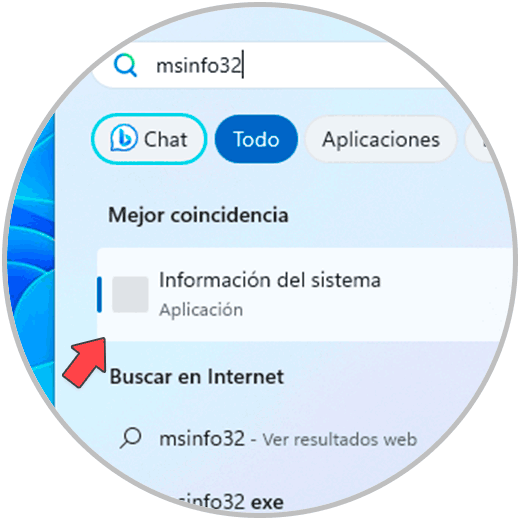
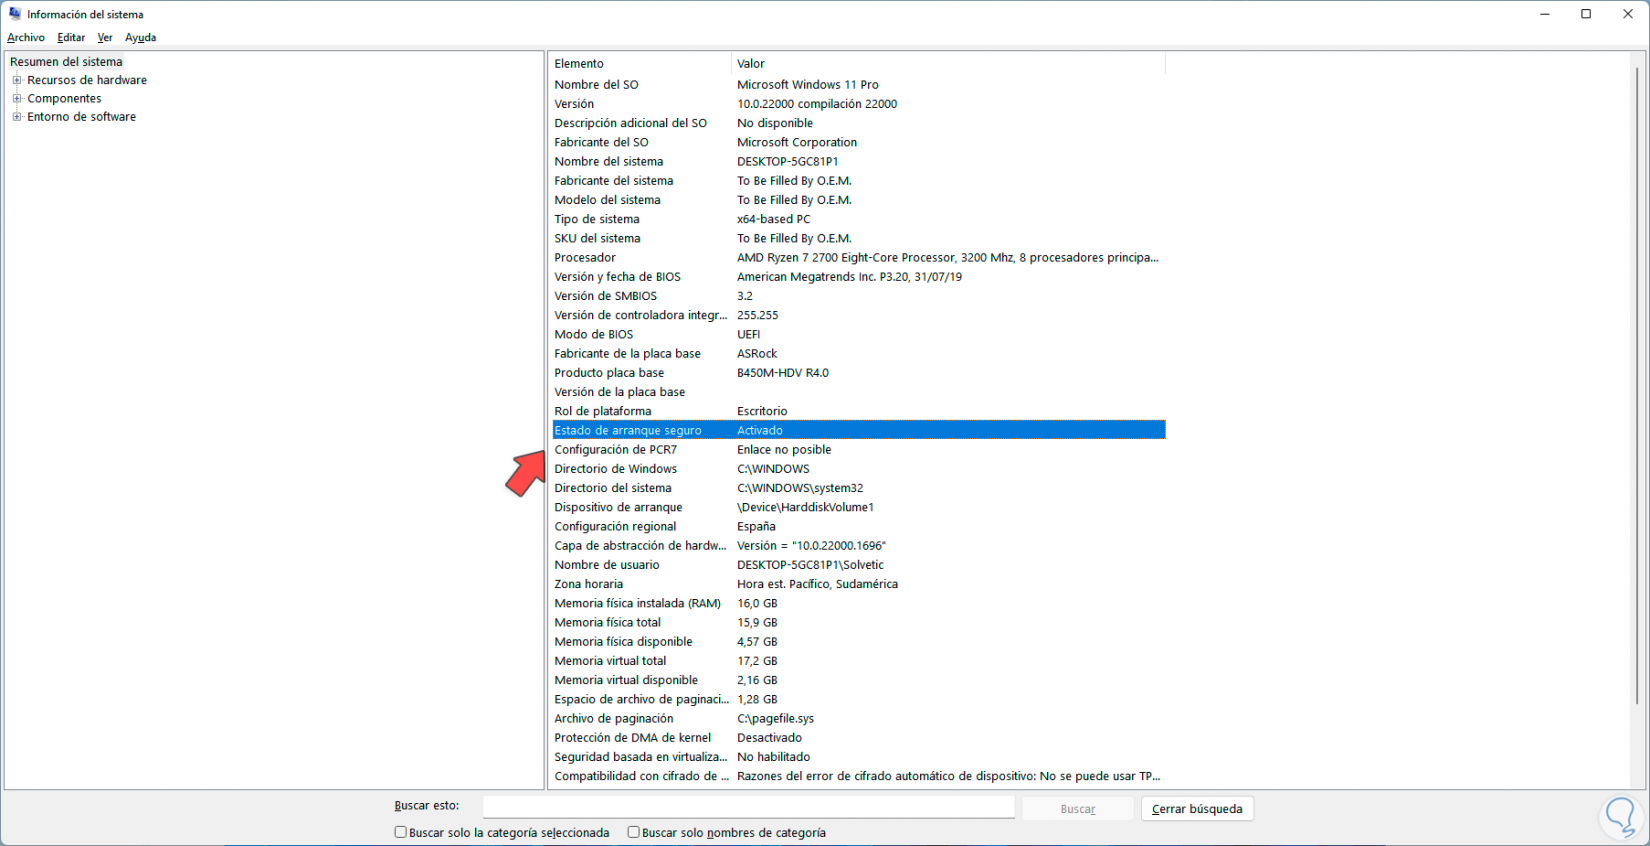
The first thing will be to validate the current state of the secure boot, for this we enter "msinfo32" in the search engine and open the System Information utility:
Step 2
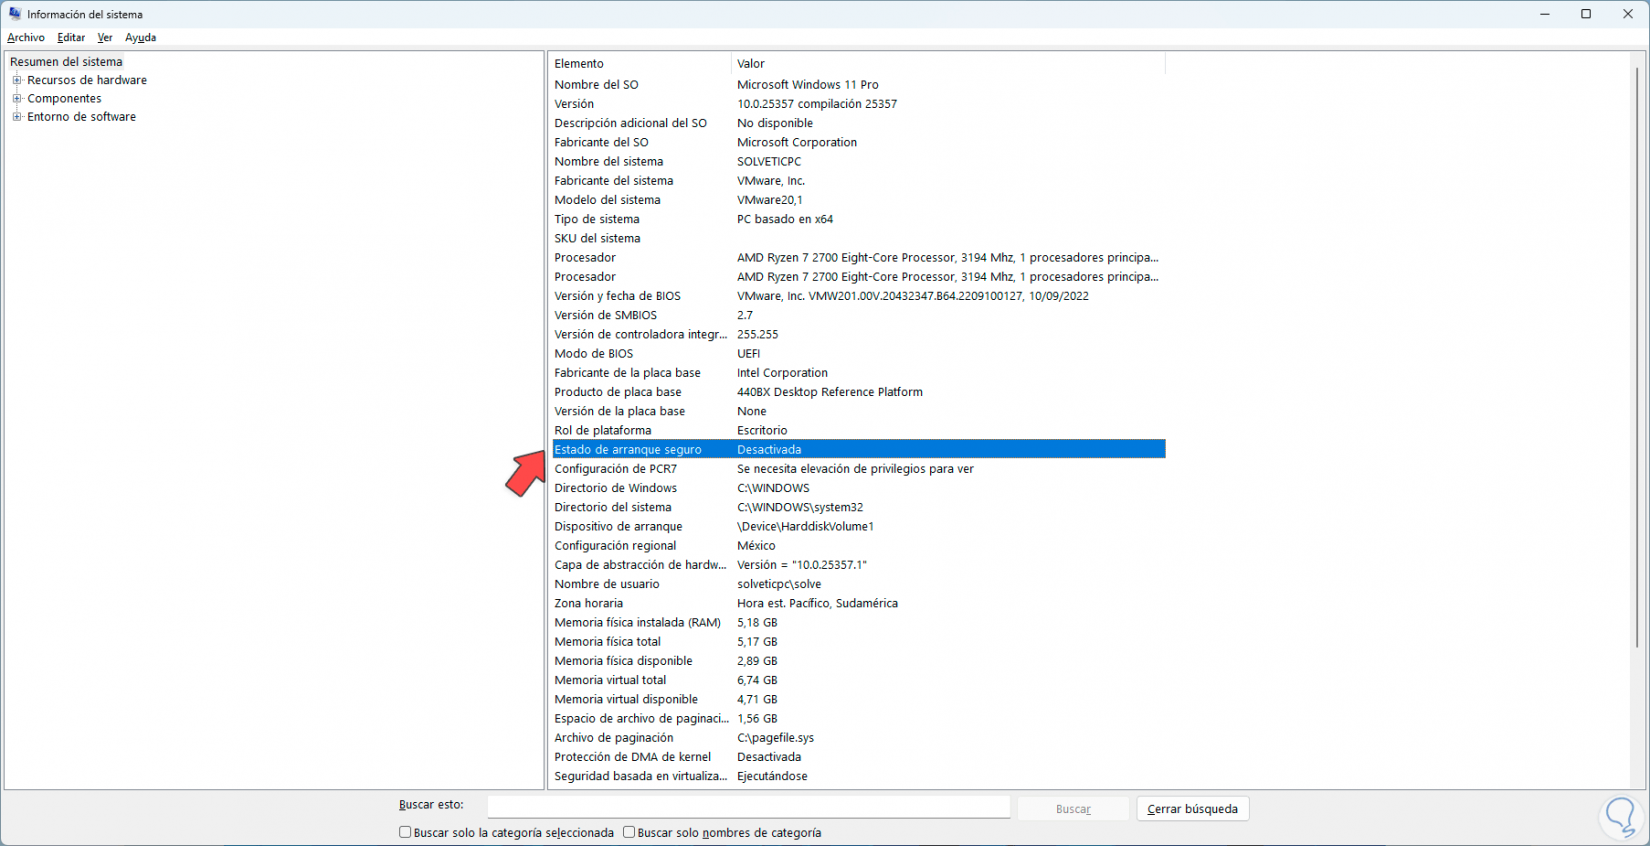
In the line "Secure Boot State" validate the current state:
Step 3
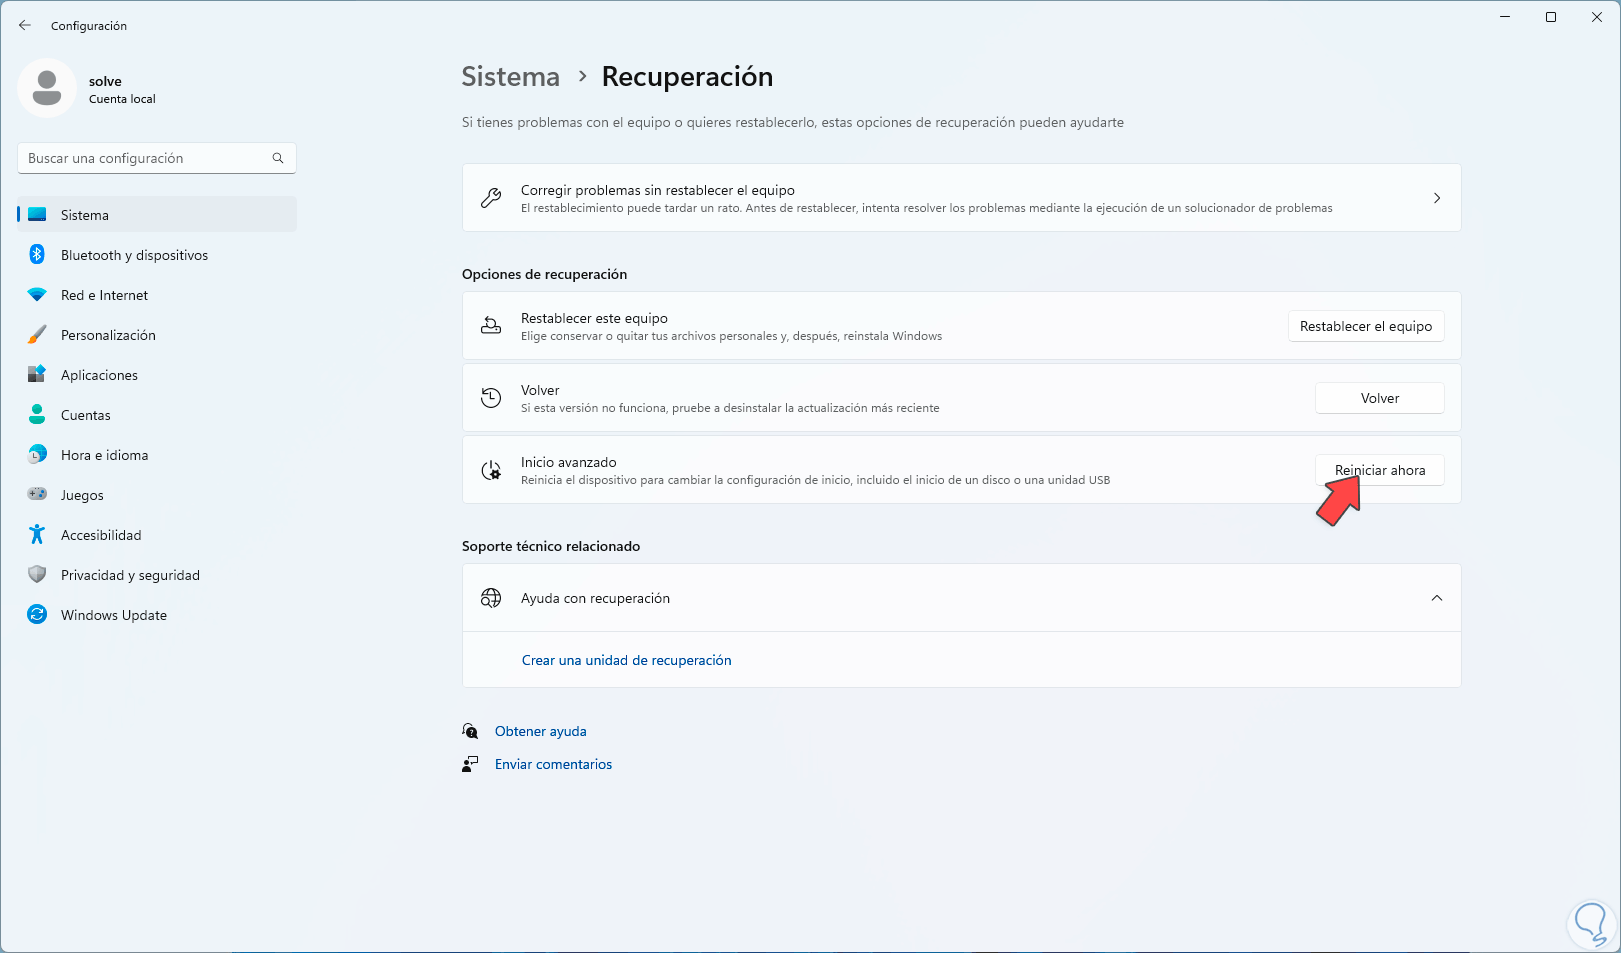
Now as it is deactivated it is time to activate it, for this we will go to the menu:

Step 4
We will see the following options. We click on "Restart now"
step 5
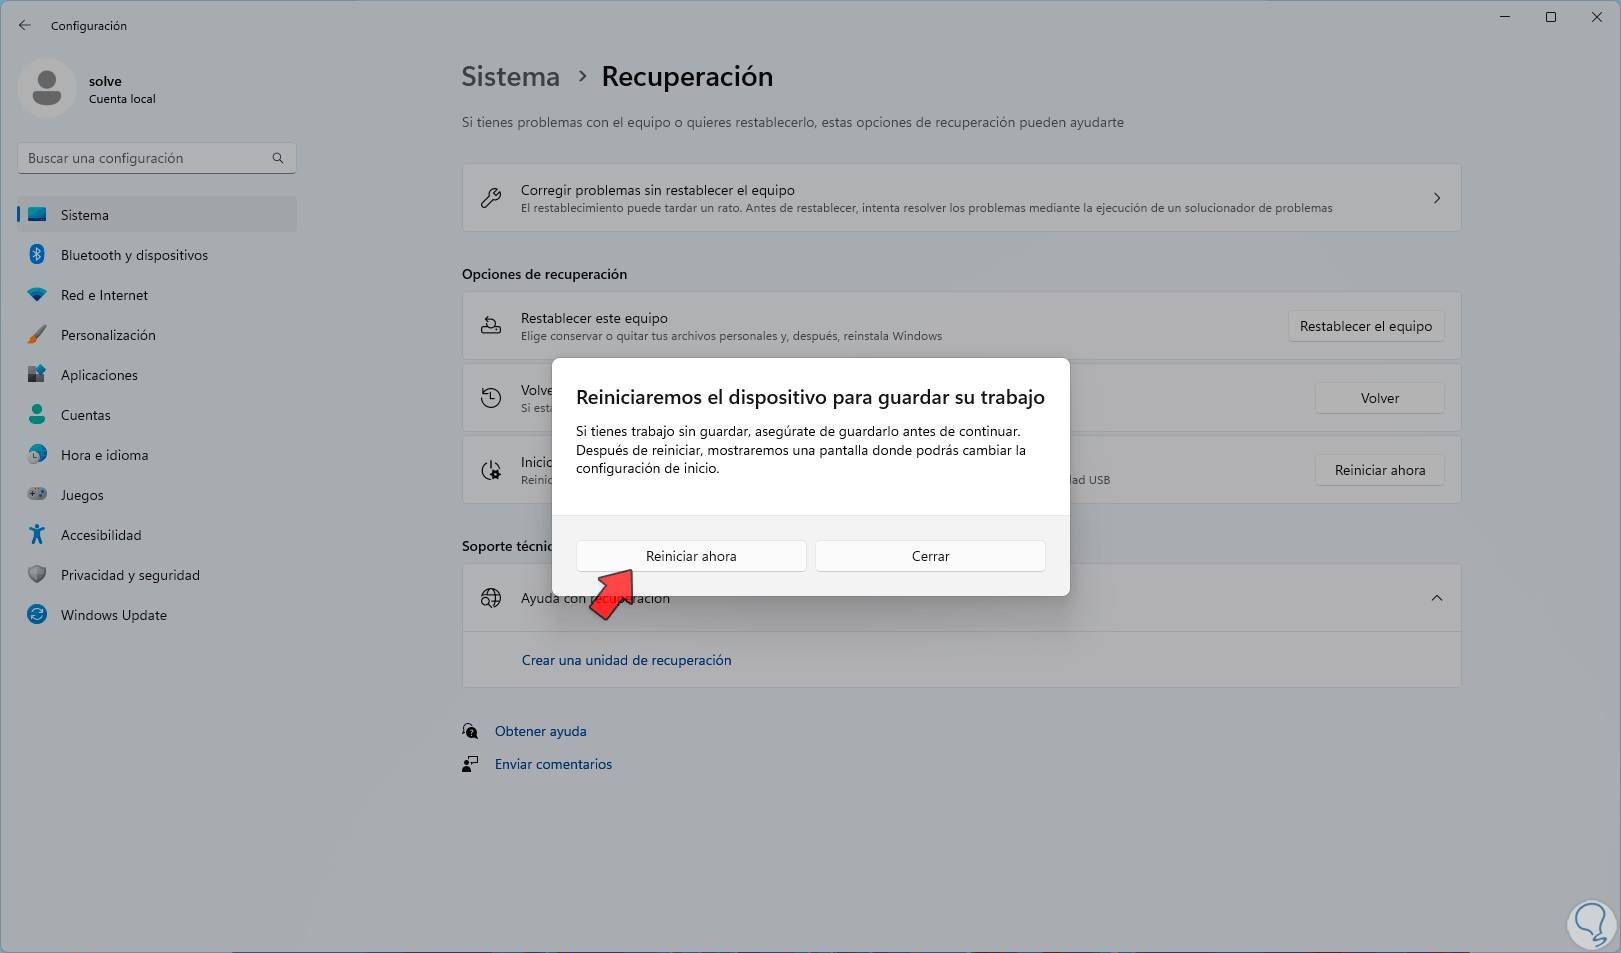
We must confirm the process to access in this mode:
step 6
The system will be rebooted:

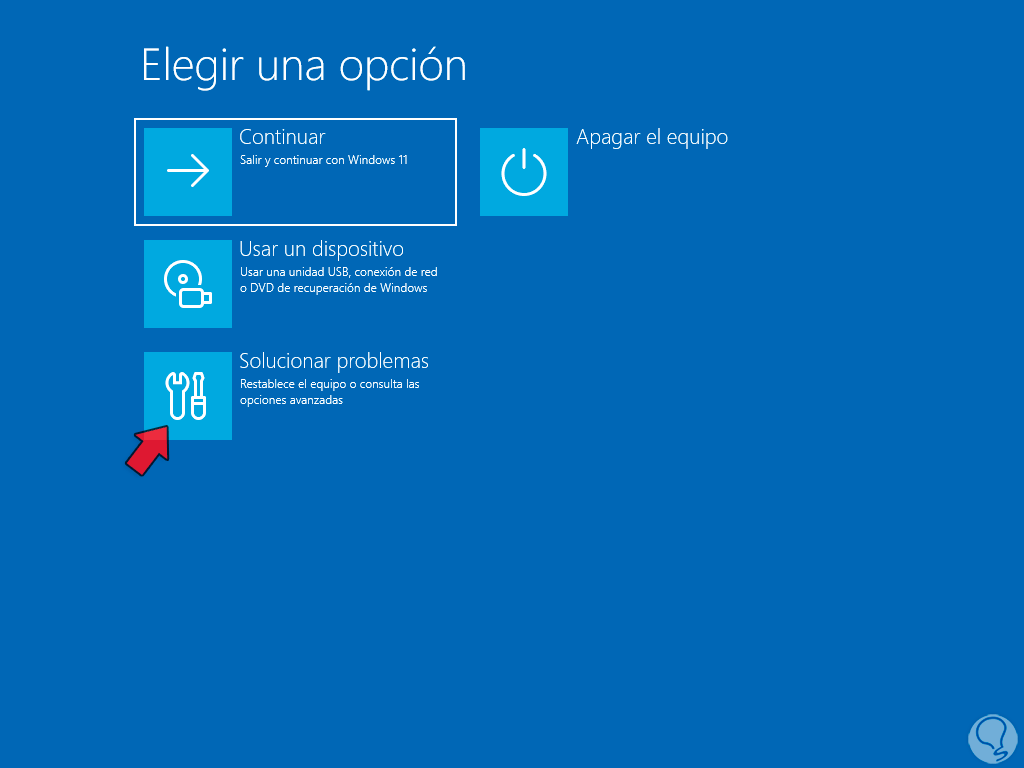
step 7
We will see the following menu. We click on "Solve problems":
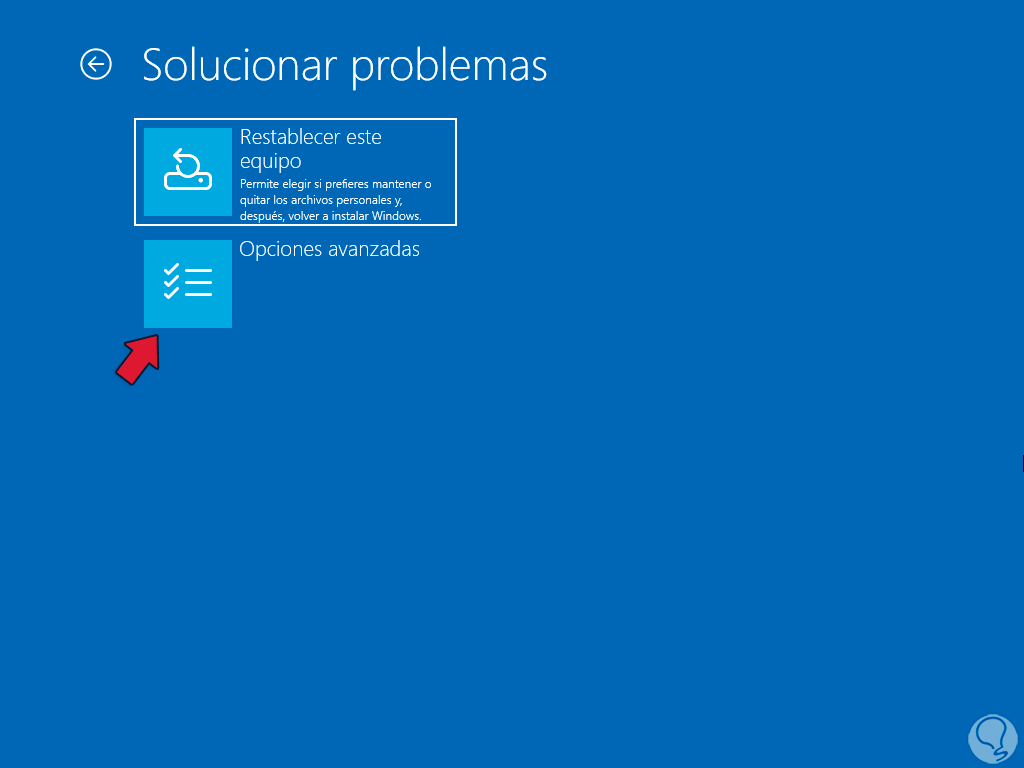
step 8
Then we click on "Advanced options":
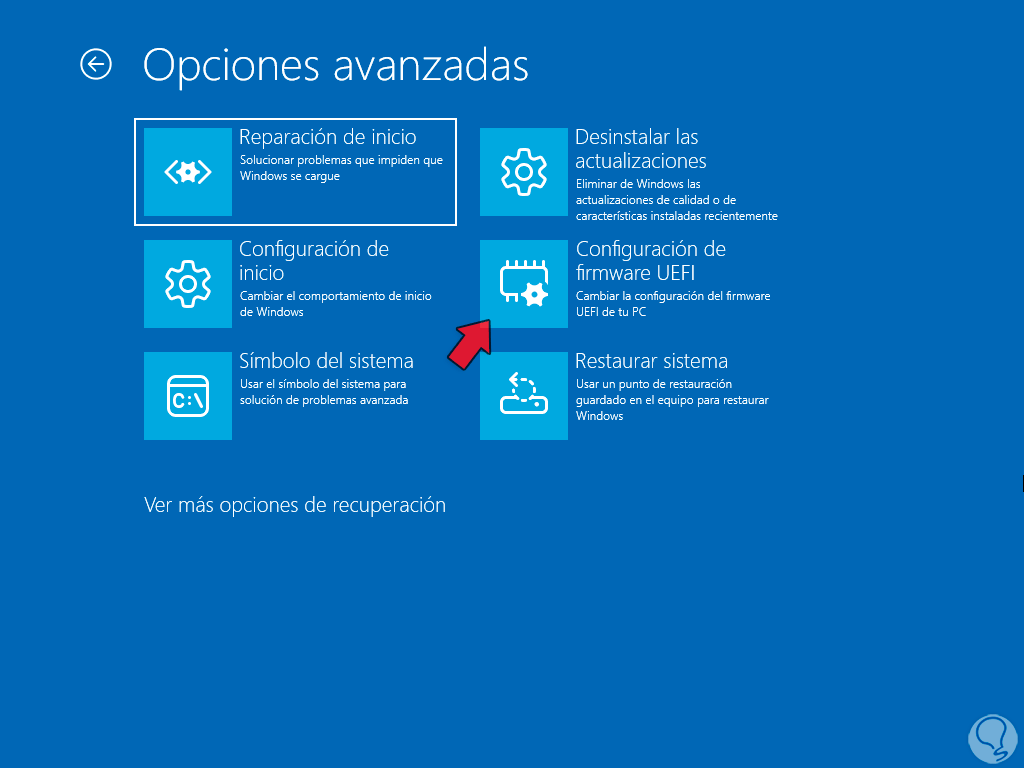
step 9
Then we access a group of options. There we click on "UEFI Firmware Configuration"
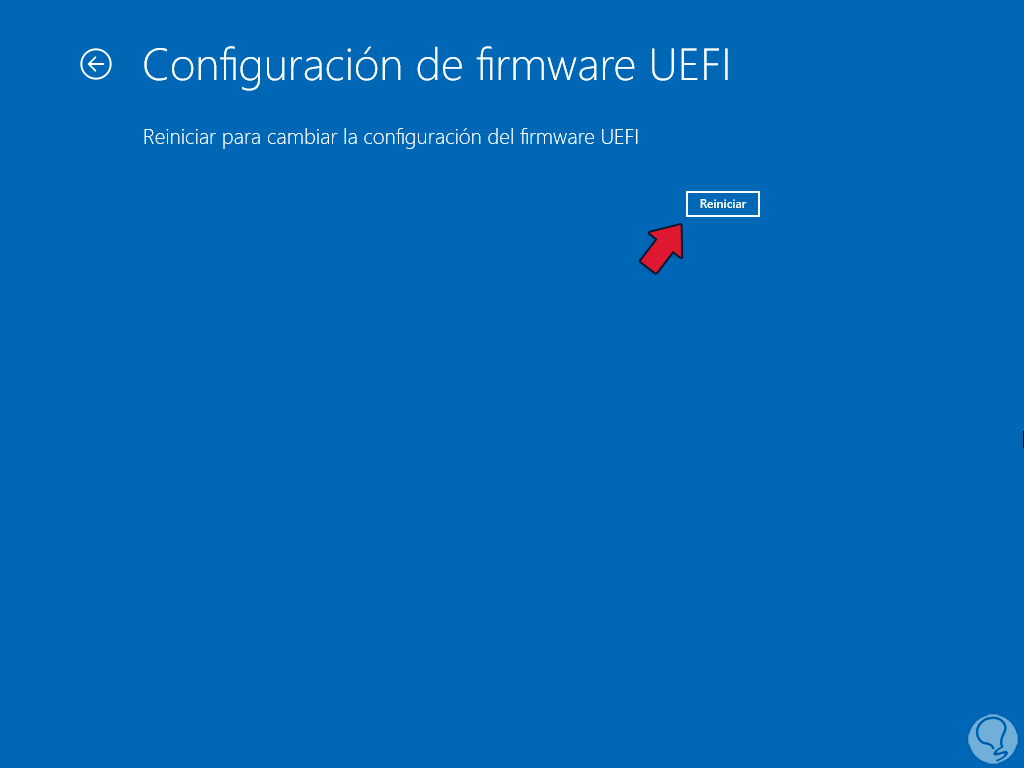
step 10
and we will see the following. We click on "Restart"
step 11
and the system will access the UEFI, there, in this case, we will go to the "Security" section:

Note
The menu will depend on the base card model used.
step 12
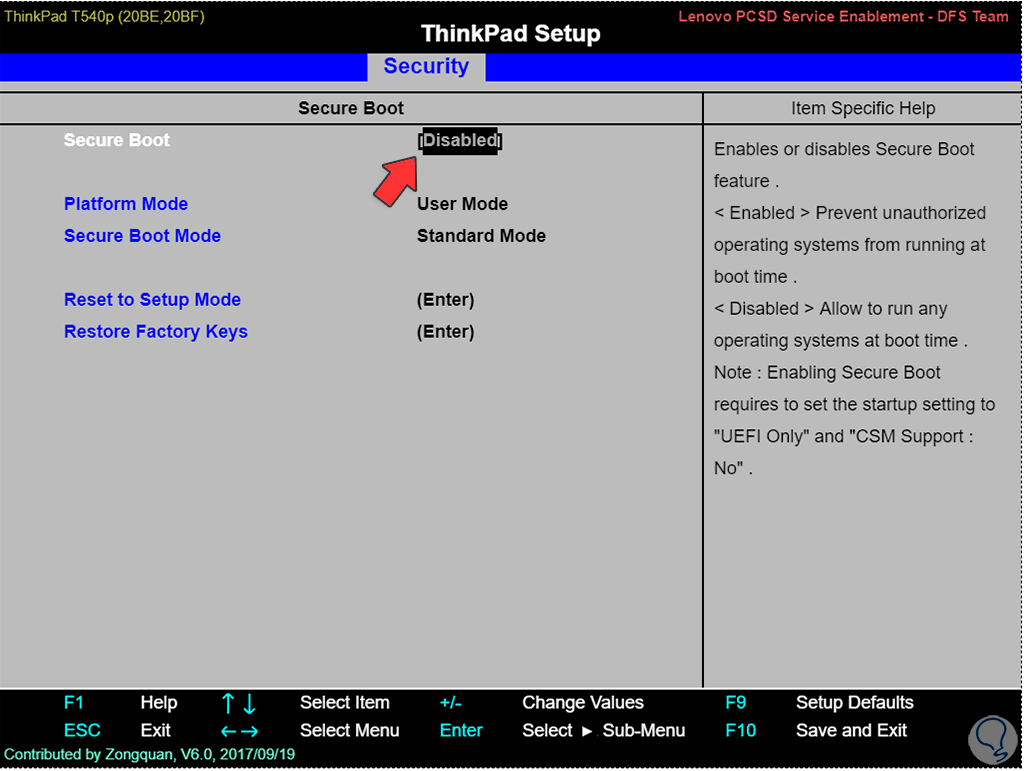
Press Enter to see the following:
step 13
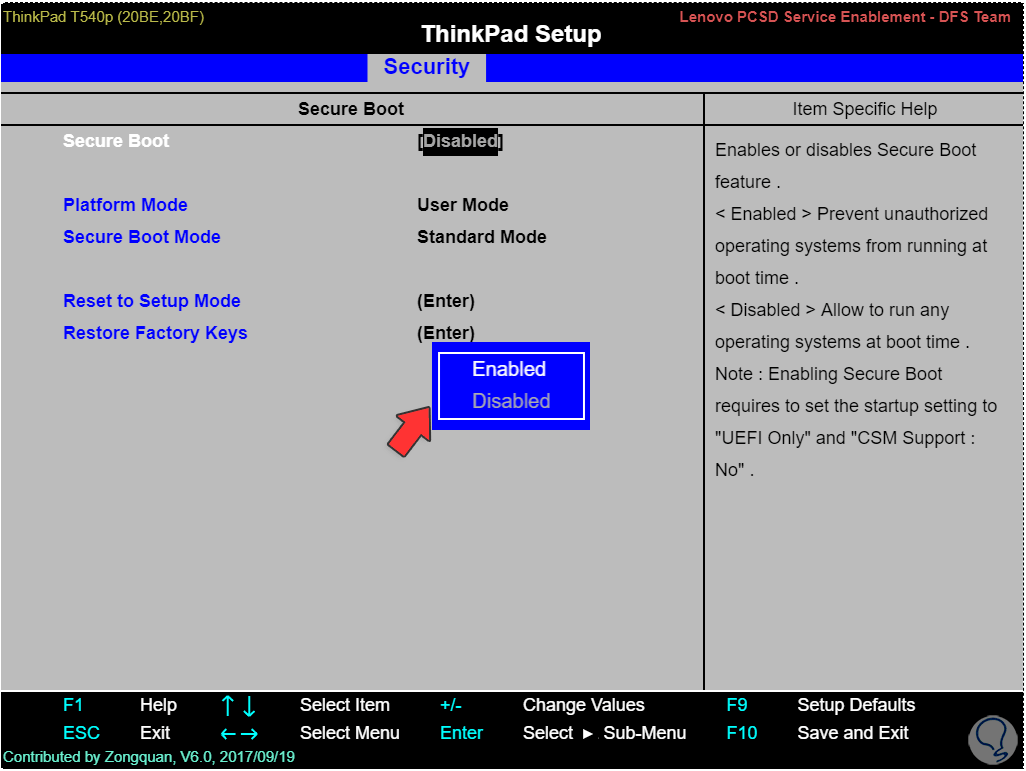
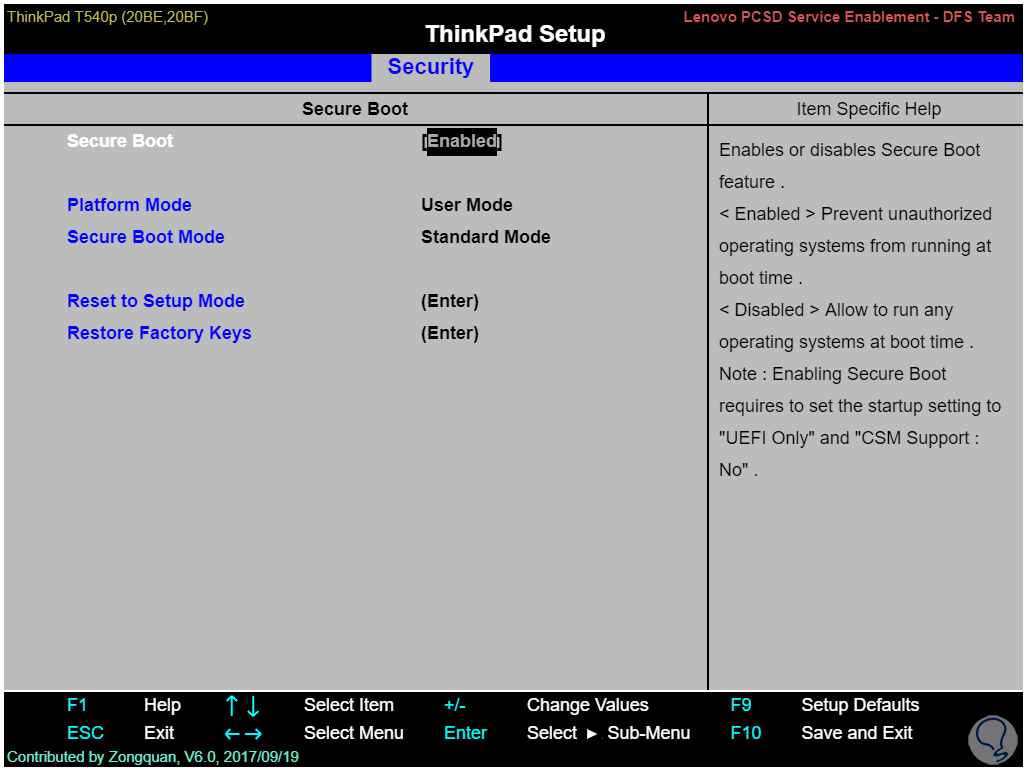
In "Secure Boot" in "Secure boot" we assign the value "Enabled":
step 14
We see the new set value:

step 15
We apply the changes with F10:

step 16
For other types of motherboard we will see a menu similar to this:

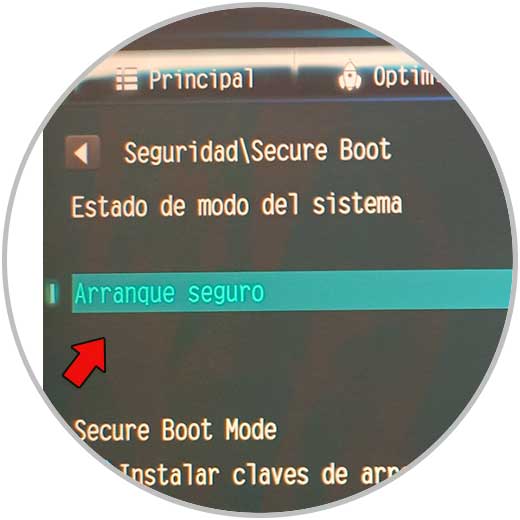
step 17
In the Security section we click on Secure Boot:

step 18
We will see this:
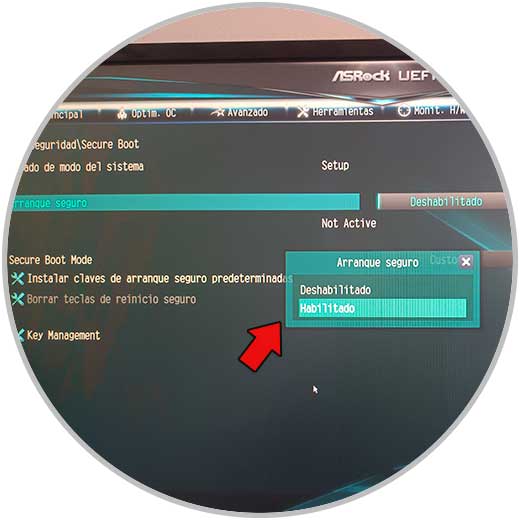
step 19
Press the Enter key to display the following window:
step 20
We select Enabled and press Enter:
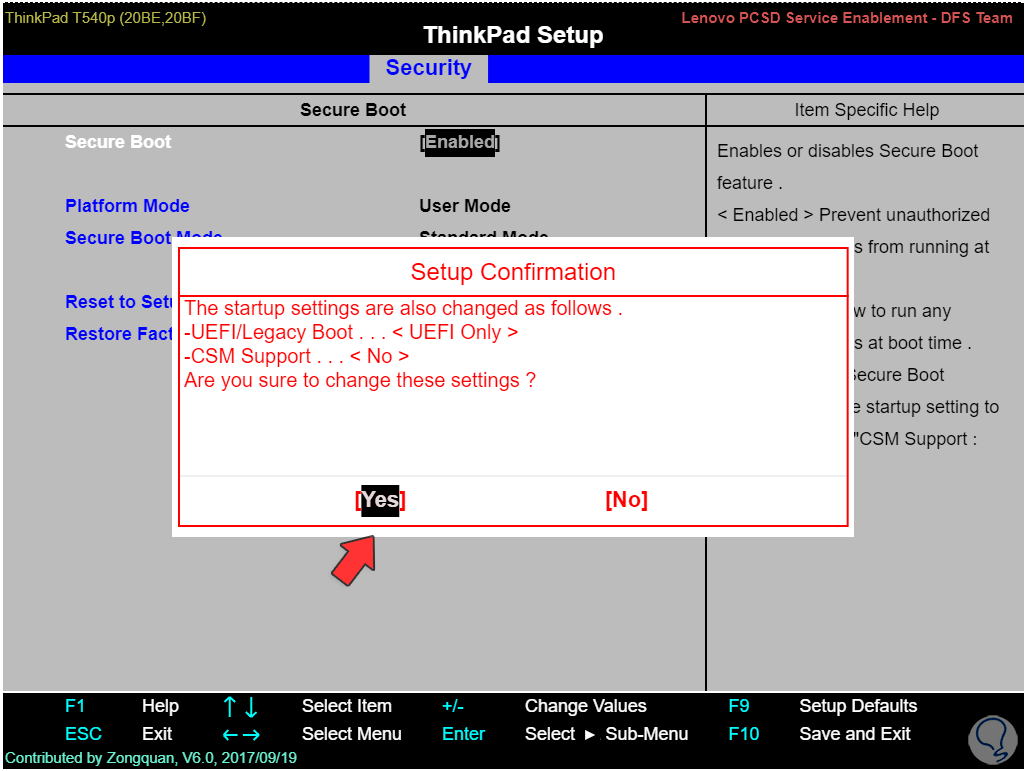
step 21
We confirm the process:
step 22
The system will be rebooted:

Step 23
When logging in we open msinfo32 to see the current status of secure boot. We can see that its status is now Activated.
These are the steps to enable Windows 11 Secure Boot and have one of the best built-in security options.