Currently operating systems allow us to perform multiple actions on them regardless of the type of destination that is, administrative, personal or more..
Within these actions there is one in particular that is very useful for its purpose, this action is to record the screen of our system which is useful in cases such as:
- Explanation of certain tasks and more.
Although it is true that there are several tools to do this today in TechnoWikis we will analyze how to achieve it with a function integrated in the same system, commands, this will be achieved with the FFmpeg command.
What is FFmpeg?
FFmpeg is a framework recognized worldwide for its ability to decode, encode, transcode, transmit, filter and play almost any multimedia element that currently exists.
FFmpeg is compatible with all the formats we have available and one of its most useful features is that it can compile and run multimedia files on Linux, macOS, Microsoft Windows, BSD, Solaris and more with full functionality..
FFmpeg contains libraries libavcodec, libavutil, libavformat, libavfilter, libavdevice, libswscale and libswresample which are necessary so that applications can work ideally. In addition to this, it has ffmpeg, ffplay and ffprobe which will be useful for transcoding and playing multimedia files.
Security is another of the pillars of FFmpeg, so the source code is constantly being reviewed to avoid any type of attack..
FFmpeg tools
By using this utility we have the following:
- ffmpeg: It is a command line tool that allows us to convert multimedia files to different formats.
- ffplay: It is a player based on SDL and compatible with FFmpeg libraries.
In this tutorial we will delve into ffmepg, ffmpeg is a high-speed audio and video converter that has the ability to take a live audio or video source. You can also convert files between arbitrary sampling rates and resize the video while retaining the optimum video quality.
1. Install FFmpeg on Linux
For this analysis we will use Ubuntu 17.10.
Step 1
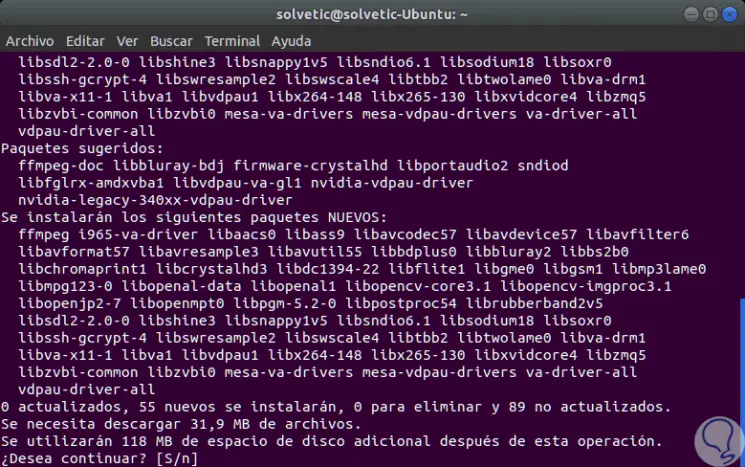
To install FFmpeg on Ubuntu we will run the following line:
sudo apt install ffmpeg
Step 2
For other distributions we will use the following commands:
Debian
sudo apt-get install ffmpeg
Openuse
sudo zypper install ffmpeg
Step 3
In the case of other Linux distributions we must execute the following script:
git clone https://github.com/FFmpeg/FFmpeg.git (Clone the .git file) cd FFmpeg (Access the directory) ./configure (Execute configuration) Make (Compilation) sudo make install (FFmpeg Installation)
2. Use FFmpeg in linux
Step 1
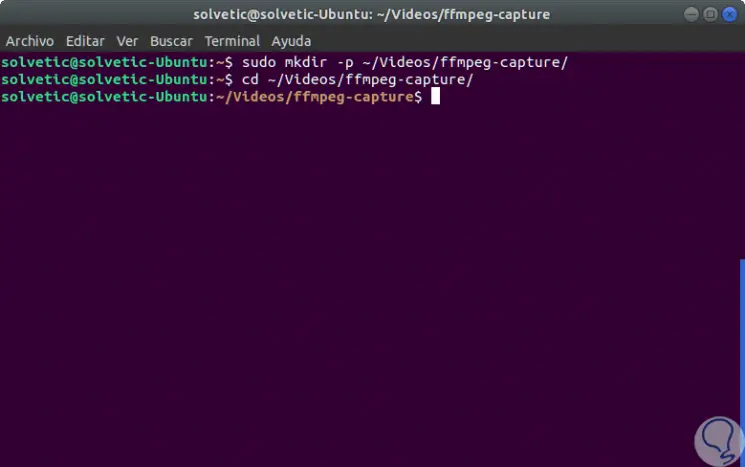
A recommendation is to keep the videos in a single folder for this, if we wish, we will create the following directory:
mkdir -p ~ / Videos / ffmpeg-capture /
Step 2
Then we will access it:
cd ~ / Videos / ffmpeg-capture /
Step 3
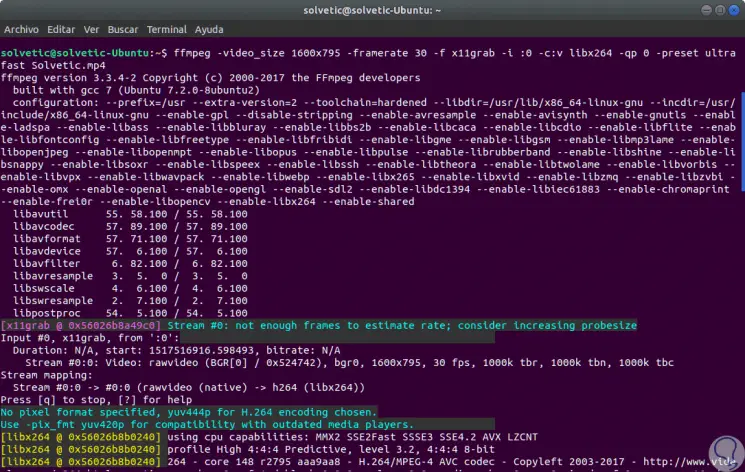
Once there we will execute the following line:
fmpeg -size_video 1600x795 -framerate 30 -f x1grab -i: 0 -c: v libx264 -qp 0 -preset ultrafast TechnoWikis.mp4
Step 4
The parameters are:
ffmpeg
The command is invoked.
-video_size
Video resolution
-framerate
Transfer rate.
-preset
We set the speed of the video.
TechnoWikis.mp4
Name we will give to the recorded video.
Step 5
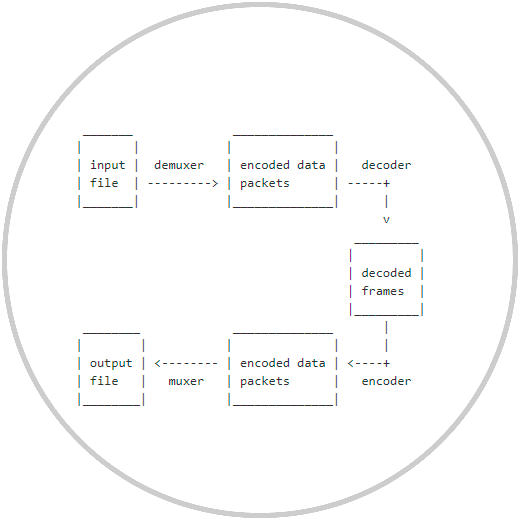
We can see that at the time of executing the command the screen recording process starts, even if we don't see anything on the desktop. To stop recording we will use the
q key. The operating process of FFmpeg is as follows:
Important note
In some cases, when we execute the command we will see the following error:
Cannot open display: 0.0, error 1. : 0.0: Input / output error
In this case, for its solution we must execute the following:
echo $ DISPLAY
This will result in the screen number to use, 0 or 1, if it is number 1, just replace the zero with one like this:
fmpeg -size_video 1600x795 -framerate 30 -f x1grab -i: 1 -c: v libx264 -qp 0 -preset ultrafast TechnoWikis.mp4
Step 6
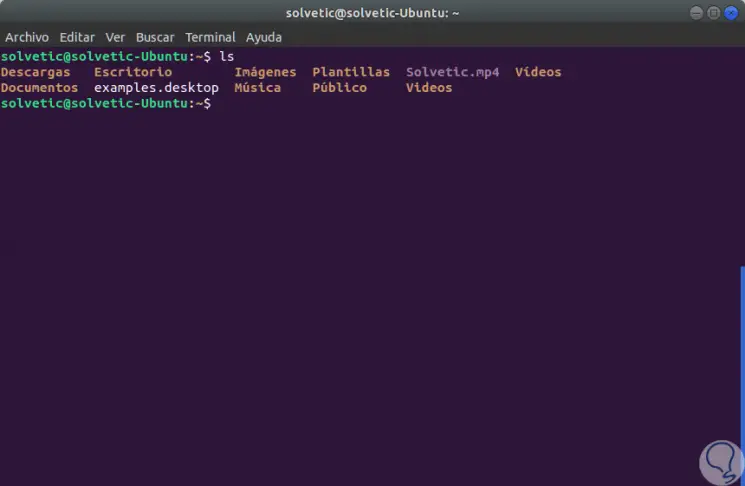
Once the video has been recorded, we can use the ls command to see it stored there:
Step 7
If we want to see the properties of the video we will execute, in this case, the following:
ffmpeg -i TechnoWikis.mp4
Step 8
We can see all the details of this as:
3. Record screen with FFmpeg and webcam on Linux
We may want to capture the desktop in FFmpeg and record from our webcam at the same time. To do this, it will be necessary to use two separate commands. The first command will display the active webcam connected to the Linux machine while the second command is the screen capture itself.
Step 1
We execute the following:
ffplay -f video4linux2 -i / dev / video0 -size_video 320x240 -fflags nobuffer
Step 2
This line will display a window with the webcam with virtually no latency at a screen resolution of 320 × 240. Now, we open another terminal window and execute the following:
ffmpeg -f x11grab -r 30 -s cif -i: 0.0 TechnoWikis.mp4
Step 3
With these two terminal windows running, we will record the desktop at 30 FPS and display the webcam in real time. To finish the process we will use the following keys:
+ Z Ctrl + Z
It's that simple, FFmpeg becomes a useful tool when it comes to recording our screen on Linux and being able to use the desired format with simplicity.