When managing servers in Linux environments we must keep in mind the best tools to obtain information from various domains, as well as know their status in real time, although there are several options to do this (both graphically and in command line ), there is a command special for this and is the dig command..
What is dig
The dig (Domain Information Groper) command has been developed as a functional command line tool at the management and network administration level with which it will be possible to query different DNS servers (Domain Name System). This will allow us to analyze and resolve DNS problems, as well as it will be useful to perform DNS searches by displaying the responses returned from the name server on which the query was made.
The dig command can be used with command line arguments or use the batch mode with which you can read the search requests of a specific file and one of its advantages is that by being part of BIND, it will be possible Run multiple searches from the command line with comprehensive results.
The dig command is responsible for reading the file /etc/resolv.conf in order to consult the DNS servers registered there and with this display the respective results..
Usage parameters with the dig command in Linux
There are a number of parameters to use with dig all of them useful for correct information, these are:
- -b address: define the source IP address of the query address and this must be a valid address in the host network interfaces or "0.0.0.0" or "::".
- -c class: Overrides the default query class (IN for internet).
- -f (file name): allows the dig command to act in batch mode with the ability to read a list of search requests using a specific file.
- -h: Print a summary of the command line arguments and options of dig.
- -k (file): makes use of a TSIG key file to sign the DNS queries sent by the dig command.
- -p #port: allows you to specify the query port.
- -q name: Distinguish the name of other arguments.
- -t (type): Sets the type of query to be executed, it must be a valid type of query that is compatible with BIND9 being the default option.
- -x (address): Simplify the reverse dig searches and if we use an IPv4 address it will be in decimal notation with dots or if it is an IPv6 address it will be delimited by two points.
- -4 or -6: indicates the type of IPv4 or IPv6 query.
TechnoWikis will explain in detail how to use dig in Linux to have special control over DNS domains.
1. How to do a basic DNS query on Linux
Step 1
To execute a basic query using dig enter the following:
dig www.solvetic.com
Step 2
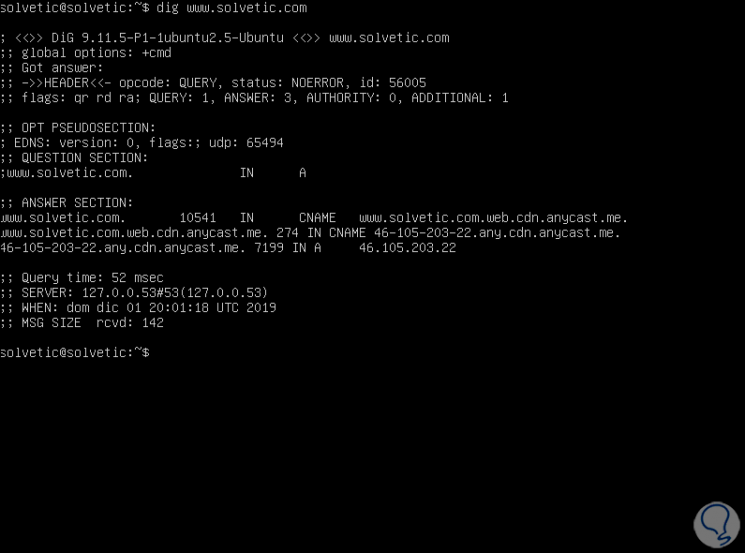
As a result we will obtain the following:
Step 3
There we observe that the TechnoWikis.com domain has an A record which points to the IP address 46.105.203.22 and we also find details such as:
- In the first line we will see the version of the command dig (9.11.5).
- You will see the header of the response obtained from the DNS server.
- In the questions section (ANSWER) we see the details of the query, this is the "A" record of solvetic.com, additionally the IN tells us that an Internet search has been performed.
- In the final part we see the statistics about the query.
2. How to do a DNS search in short mode on Linux
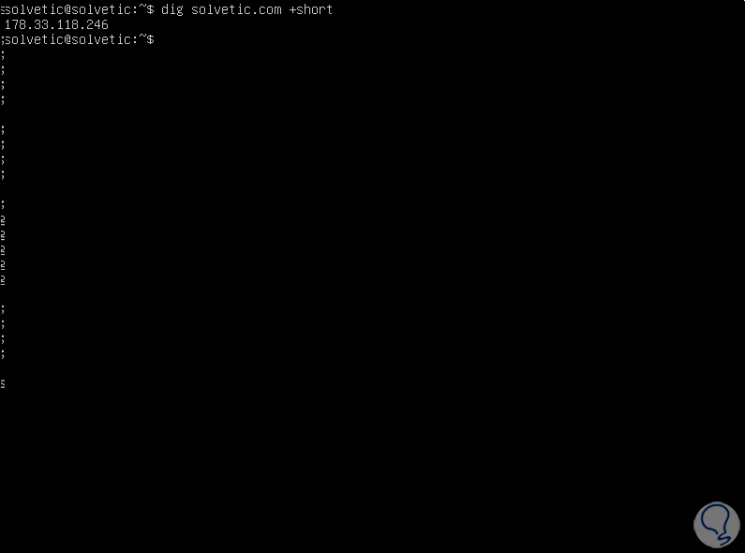
This is an option that helps us omit all the details displayed by dig, for this we execute the following:
dig solvetic.com + short
3. How to obtain the MX record of a DNS in Linux
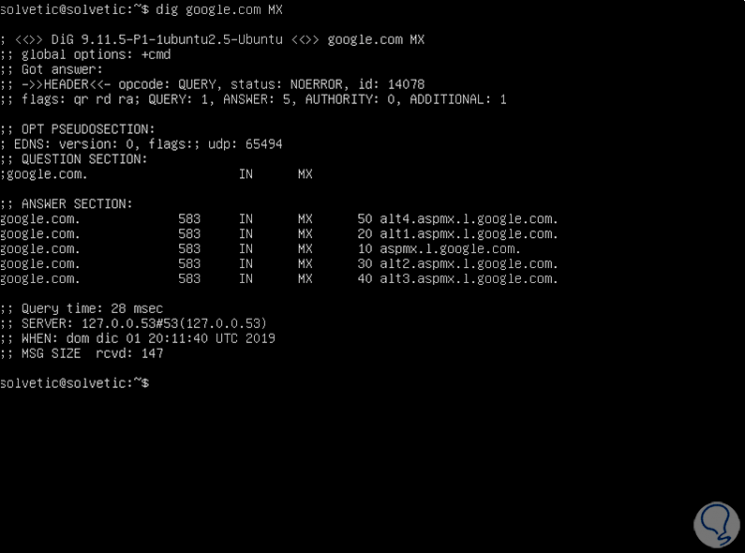
The MX records (Mail eXchange record), is basically a DNS resource in which it is explained how an email should be redirected on the internet To obtain this information we will execute the following:
dig solvetic.com MX
4. How to obtain the DNS SOA record in Linux
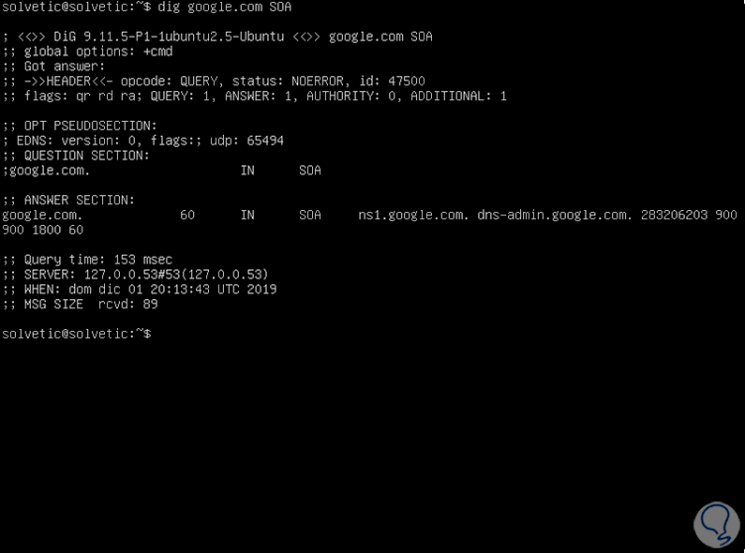
SOA (Start of Authority), is a registry that provides us with information about the basic characteristics of the domain, as well as the area in which it has been registered, to see this detail we execute:
dig solvetic.com SOA
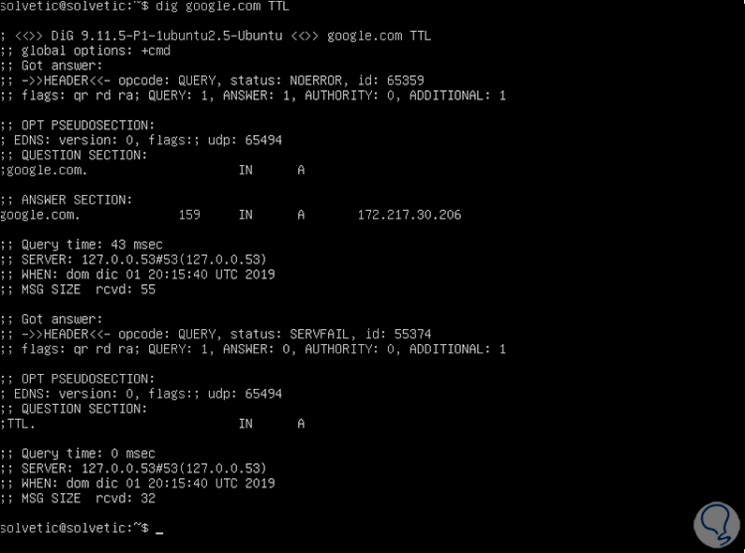
5. How to obtain the TTL DNS record in Linux
TTL (Time To Life), is a record in which the number of seconds that pass before the changes are applied to any change in said record is determined, for its details we will execute the following:
dig solvetic.com TTL
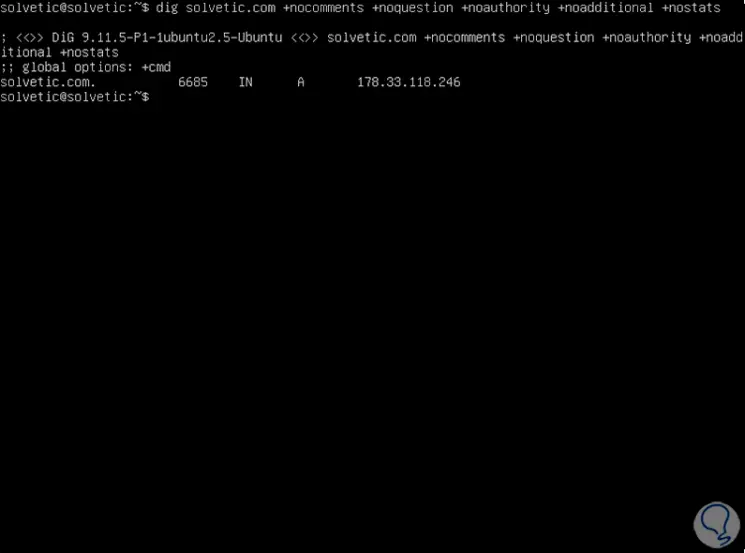
6. How to view only the ANSWER section of the DNS on Linux
We can summarize the details only to this section using the following line:
dig solvetic.com + nocomments + noquestion + noauthority + noadditional + nostats
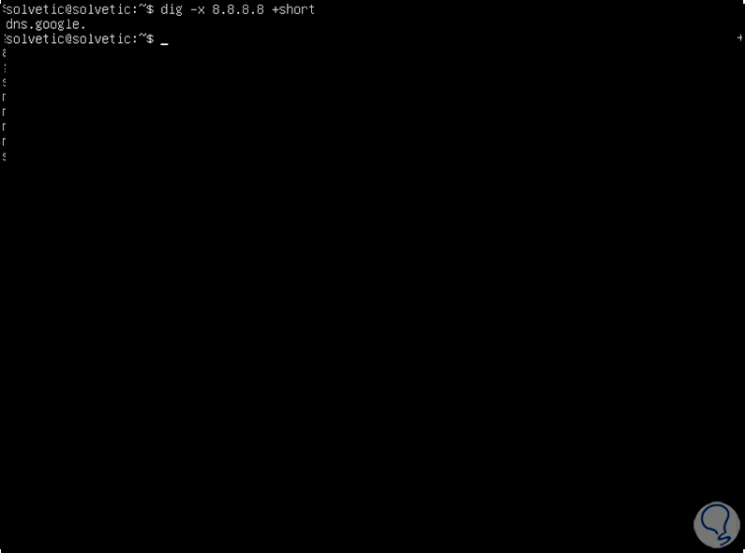
7. How to check the reverse DNS lookup on Linux
To consult this type of search we enter the following:
dig -x 8.8.8.8 + short
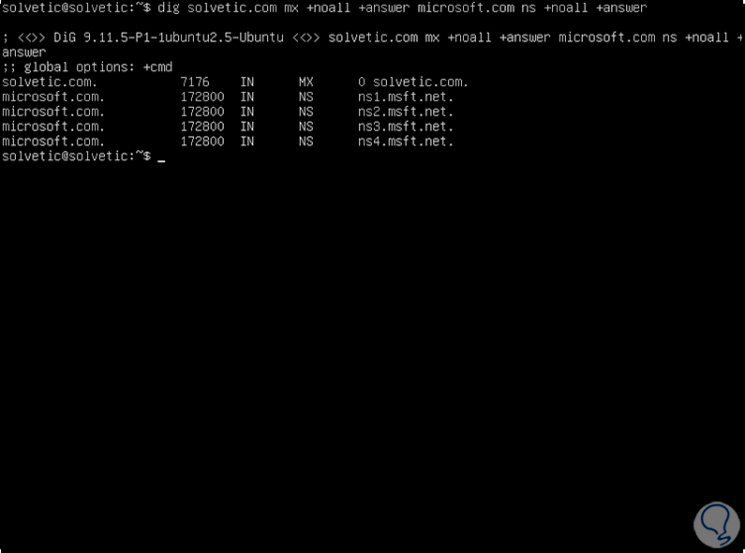
8. How to run a simultaneous DNS lookup on Linux
With dig it is possible to perform different searches of DNS records in a single execution, for example:
dig solvetic.com mx + noall + answer microsoft.com ns + noall + answer
9. How to create a .digrc file on Linux
It will be possible to create a .digrc file in the $ HOME / .digrc path in order to host the available dig options there, we execute:
cat .digrc + short dig solvetic.com
10. How to validate DNS traceability in Linux
Step 1
For management or audit issues we can track the DNS search path, for this we execute:
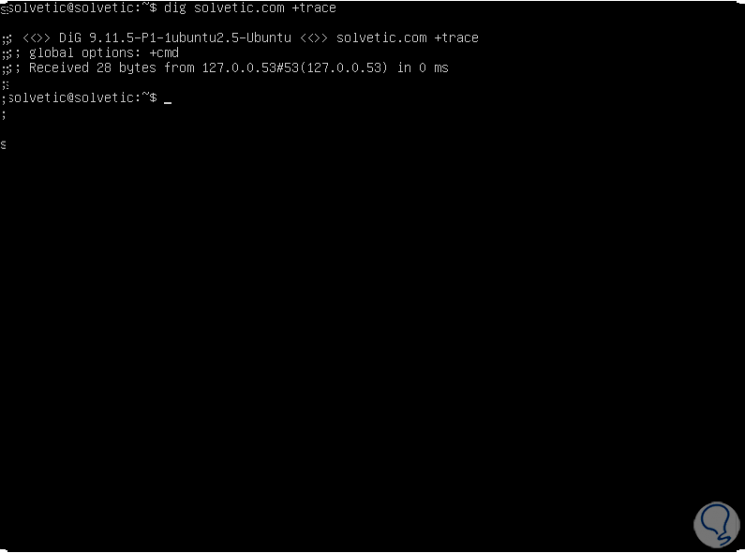
dig solvetic.com + trace
Step 2
In this result we will first see the root name servers of '.' , then the name servers for the .com domain will go and, finally, we see the name servers for solvetic.com along with the associated DNS records:
11. How to specify a port in DNS lookup on Linux
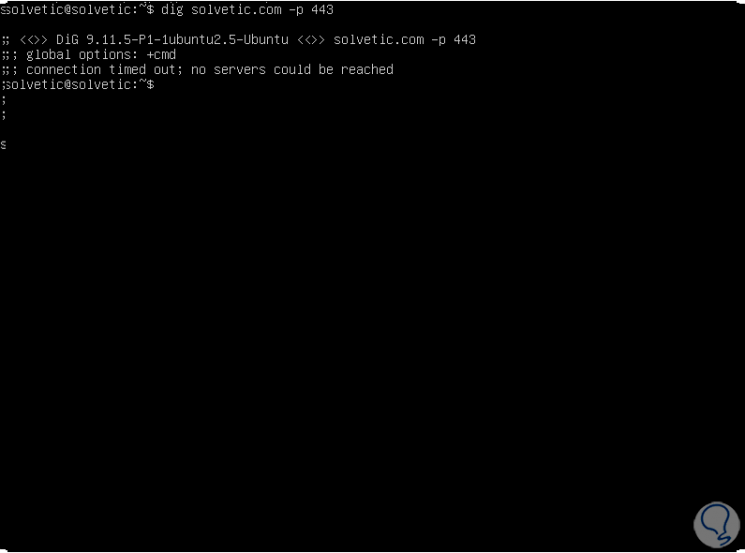
By default the dig command will query port 53 of the remote computer, but it is possible to use the -p parameter to indicate a different port, for example:
dig solvetic.com -p 443
12. How to specify IPv4 or IPv6 on Linux
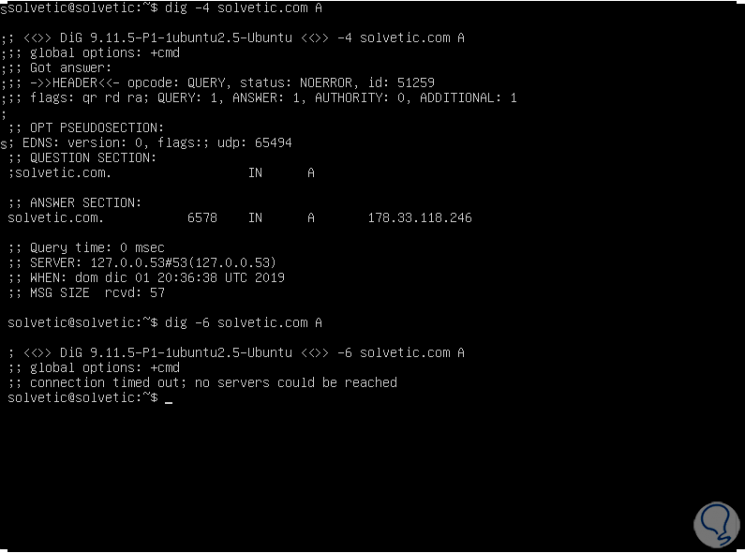
It is possible to define the type of addressing to be analyzed, IPv4 or IPv6 as follows:
dig -4 solvetic.com A (IPv4) dig -6 solvetic.com A (IPv6)
13. How to print only DNS statistics on Linux
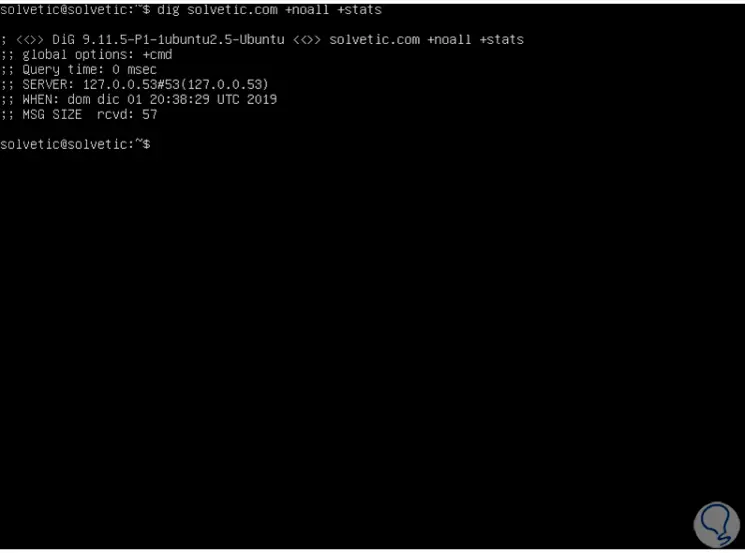
For administration issues we can summarize the details to specific variables such as statistics, for this we must enter the following:
dig solvetic.com + noall + stats
With this command we have the opportunity to perform a DNS query management in Linux environments in a much more complete and efficient way since the results are being generated directly by the system file and with the remote responses we will know that the data is integral and functional for the assigned task..