Have you just purchased the AirPort Time Capsule from Apple and are wondering how to configure it correctly to make the most of all its features? Because we are not all computer network specialists, TechnoWikis offers you a guide to set up the Time Capsule in a few minutes. You will see it is very simple..
What is the AirPort Time Capsule for?
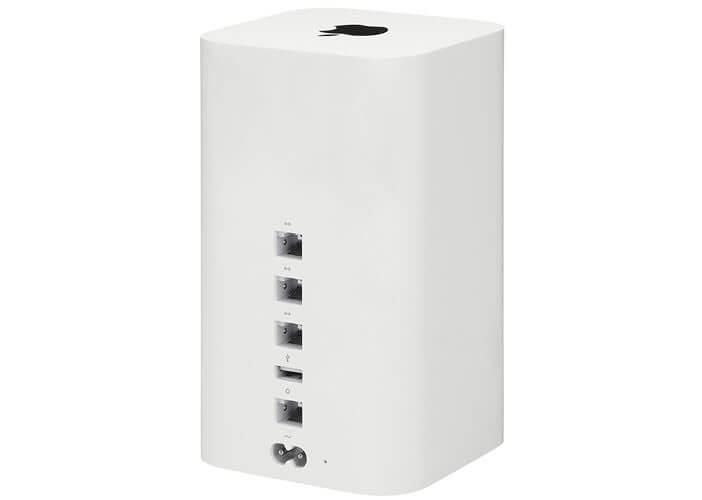
With the Airport Time Capsule, Apple wanted to offer a simple connected storage device (NAS) accessible to everyone. Like all products stamped with an apple, the Time Capsule benefits from a licked design and a meticulous finish. Enough to make many Internet Boxes jealous.
But this terminal is not only beautiful to look at it is also a WiFi router and a very efficient backup system with a huge external hard drive of 2 or 3 TB. This solution is also very effective for protect important data on your Mac..
Backups of your photos and files are performed in the background via the computer's wireless internet connection. Apple engineers have made the process completely transparent to the user.  Once configured, synchronizations start automatically every hour without the need to connect an external reader.
Obviously the AirPort Time Capsule is not free from defects. It sometimes turns out to be a bit noisy under certain conditions of use. Similarly, the absence of a physical power-on button means that the electrical outlet must be disconnected to restart the terminal..
The AirPort Time Capsule may not be the most powerful NAS on the market, but it remains one of the best tools for automatically backing up your Mac wirelessly (Wi-Fi) via the Time Machine suavegard software .
Install the Time Capsule in your local network at home
Now that the presentations are done, we will be able to get into the heart of the matter, namely the setting of the Time Capsule . Needless to say, like all Apple products, it has flawless ergonomics. The interface is clear and intuitive.
Configure the wireless base station
The Time Capsule not only saves your data, it can also be transformed into a Wi-Fi access point. And unlike most routers, this wireless access point incorporates different assistants making it very easy to connect n ' any Apple device (Mac, iPhone or iPad) to the home Wi-Fi network.  Here is the procedure to activate the Wi-Fi hotspot function of the Time Capsule.
- Take your Time Capsule out of its box
- Make sure your Mac is turned on
- Take an ethernet cable also called network cable
- Connect one end to the AirPort Time Capsule and the other to your router or Internet box
- Then connect the power cable from the Apple terminal to an electrical outlet
- Wait a few seconds for it to synchronize. At the end of the procedure the two LEDs should be green.
- Once restarted, the AirPort software will automatically launch on your Mac. If it is not the case, it will be necessary to open from the finder the folder Applications then Utilities to find the configuration software
- Select your Wi-Fi network from the list and enter your connection credentials
- Press the Update button
- In case of problems, ask your internet service provider to find out if your connection uses PPPoE or DHCP
The Time Capsule will restart automatically. Then make sure that the LEDs on the device are green. Your Time Capsule is now connected to your Internet Box via Wi-Fi. You can then, if you wish, remove the ethernet cable. We will now proceed to create a wireless access.
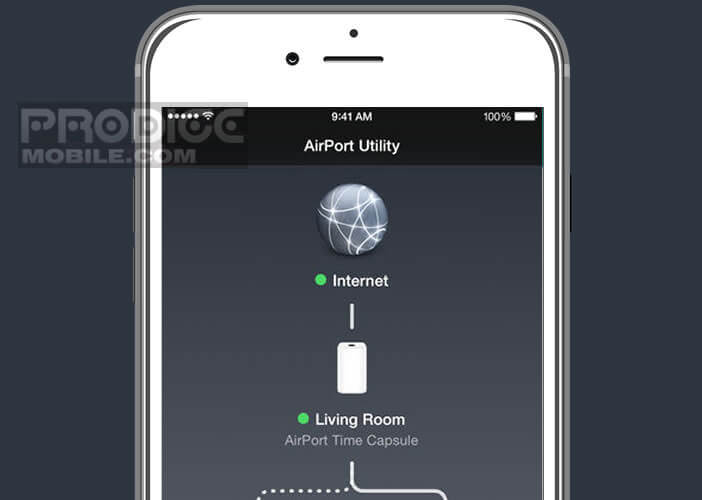
- Launch the AirPort utility
- Select your Time Capsule
- Click on Edit or Other options
- Choose the option to create a network
- Enter the name of your new Wi-Fi network
- Then enter the password
- Press the Update button
Note that the AirPort Time Capsule has a powerful firewall protecting your devices from attacks from the Internet. It starts automatically without any intervention on your part.
Apple's wireless base station also includes a tool to create a second Wi-Fi network with a different password. This option is very practical to allow your friends to benefit from their Internet connection without having to give them their identifiers.
Configure the automatic backup system
After successfully configuring your Time Capsule, you will be able to set up the automatic backup system. The operation is just as simple and will allow you to benefit from a real data storage server.
- Stand in front of your Mac or MacBook
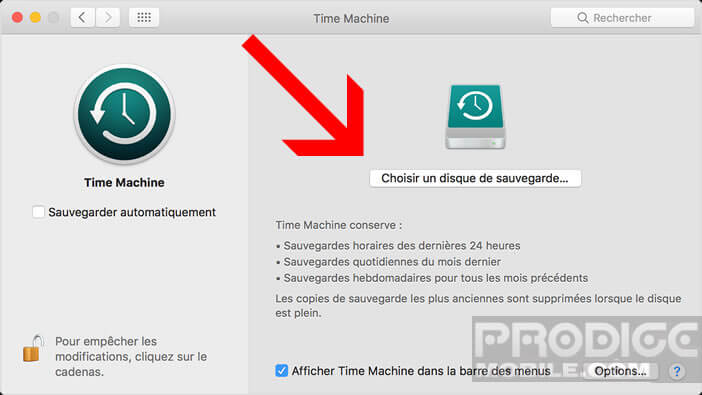
- Open system preferences
- Select the Time Machine tab
- Then click on the button choose a backup disk

- Choose your AirPort Time Capsule from the list
- Make sure the automatic backup box is checked
Although the Time Capsule offers good transfer rates, the first backup is quite long. However, this will not prevent you from using your Mac. Subsequent backups will then be made every hour. This process is much faster. Time Machine is content to recover only the files modified since the last backup.