When working in Windows 10 we can notice how there are different files with numerous extensions that allow you to work on them, but many of these extensions require the use of special applications to open them. One of this type of files is the XPS document, these are a type of file that is stored in XML Paper Specification format which has been developed by Microsoft and has the .xps extension..
XPS files are based on XML facilitating their access and reading, but naturally in Windows 10 this type of files does not open by default, instead it is necessary to install the viewer for it, TechnoWikis will explain how to install this viewer in Windows 10 in a functional way.
You also have the video tutorial here to know how to open the XPS Viewer Windows 10..
To stay up to date, remember to subscribe to our YouTube channel! SUBSCRIBE
How to activate XPS viewer in Windows 10
Step 1
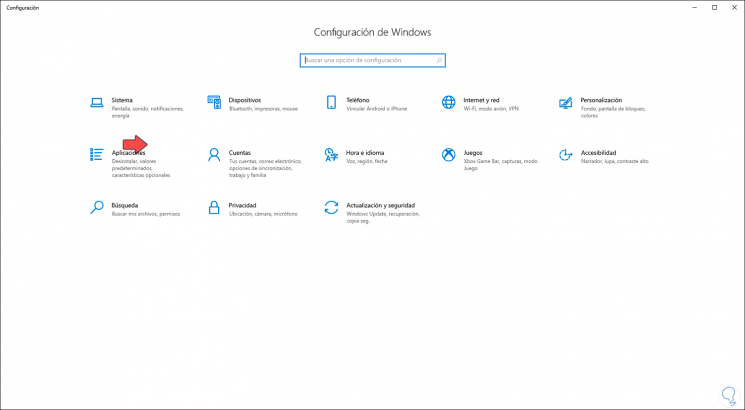
The first thing we must do is go to the Start menu and select the Configuration utility, we will see the following:
Step 2
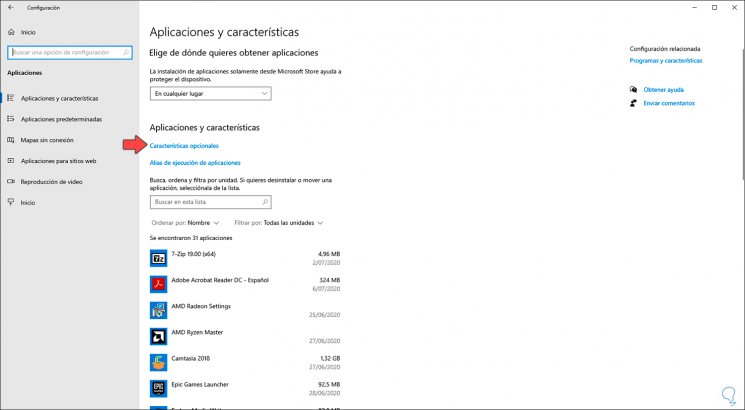
We go to "Applications and Features" where the following will be displayed:
Step 3
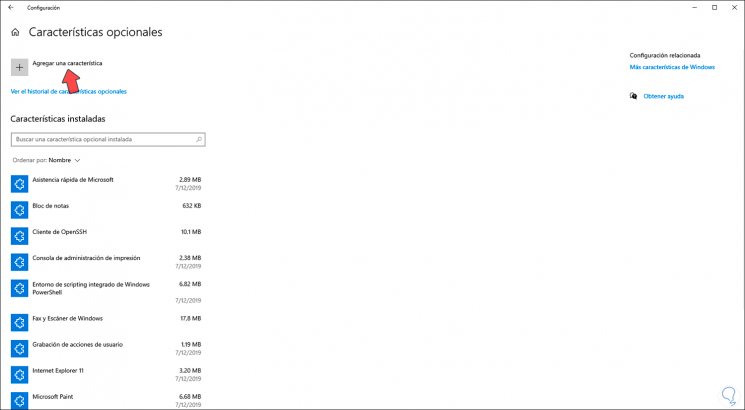
We click on the "Optional Features" line and we will be redirected to the following window:
Step 4
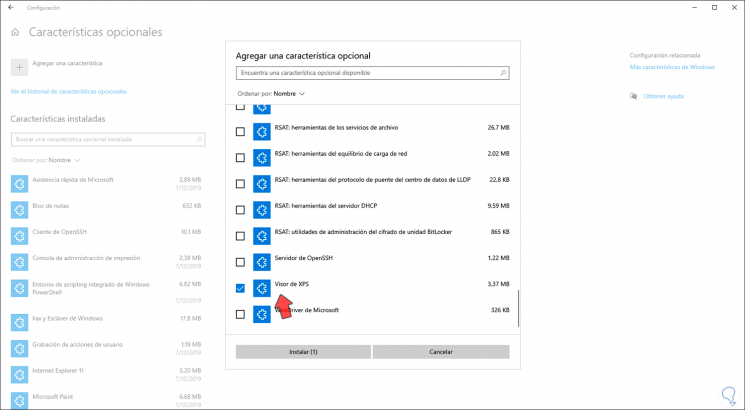
We click on "Add a feature" and in the following window we activate the "XPS Viewer" box:
Step 5
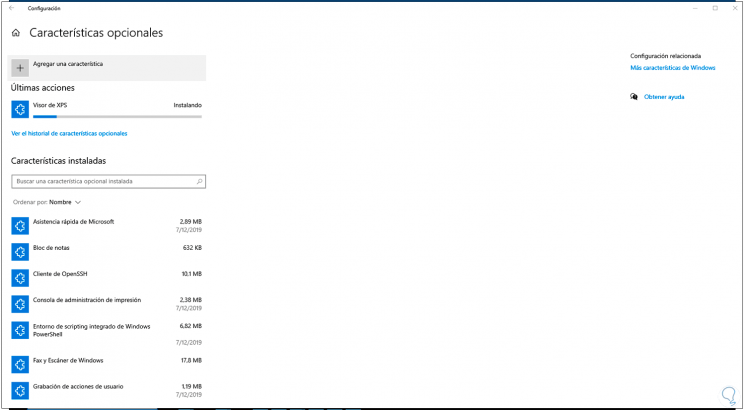
We click "Install" to complete the process of installing the viewer.
Step 6
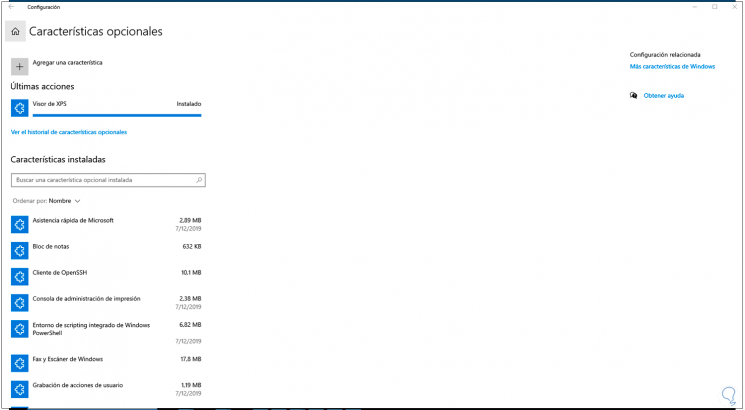
When the process reaches its end we will see the following:
Step 7
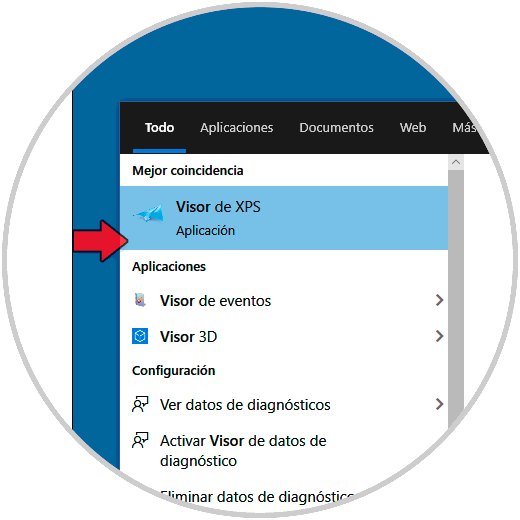
After this we can access the XPS viewer in Windows 10 in several ways, these are:
- From the Start menu search box
- Using Windows + R keys and run "xpsrchvw"
+ R
Step 8
As a result we will have the viewer ready for use:
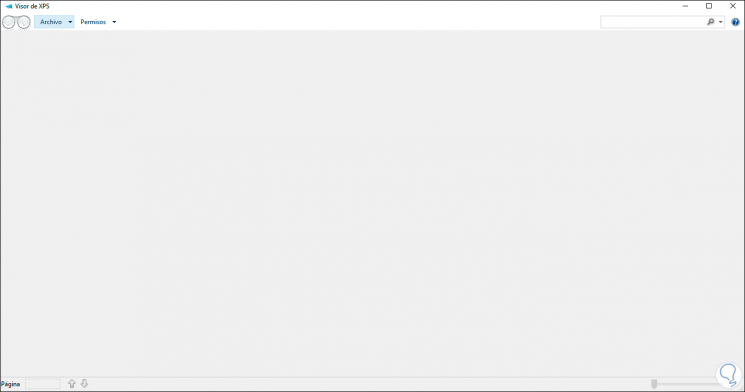
With this simple method we have installed the XPS viewer in Windows 10.