Whether you are an experienced photographer or a simple image lover, you will inevitably be faced with a storage problem one day or another. For travelers who are reluctant to bother with a computer, there is an app that can copy all photos and videos taken by an iPhone to an external hard drive..
Save your photos on the go
Android smartphones have had a microSD port for several years to save photos and videos. On iPhone, this type of accessory does not exist, some developers have had the good idea to develop tools to facilitate the process of transferring files.
The Copy That application developed by OWC allows you to transfer photos and videos from an iPhone (or iPad) to physical media such as USB keys or external drives without going through a computer. Images are selected directly from the app's file manager interface..
For travelers and nomads who want to travel light without the hassle of a PC or Mac, this is the perfect solution. Backing up photos and videos can be done in seconds. This allows you to free up space on your smartphone without taking out your computer.
Copy your photos to an external medium
The iCloud online storage service offers an array of backing up photos. But these solutions come at a cost. And then for security, it is always preferable to have a physical copy of its files..
As we will see in the rest of this article, handling the application does not present any particular difficulty, even if the interface is in English. You select your files, choose your backup type (physical medium, network hard drive) and click a button to start the transfer.
- Open the App Store app on your iPhone or iPad
- Tap on the magnifying glass icon then type OWC Copy That in the search box
- Then click on the get button
- The app is free but has in-app purchases to unlock advanced options
- Connect your storage device to your iPhone
- Launch the Copy That app
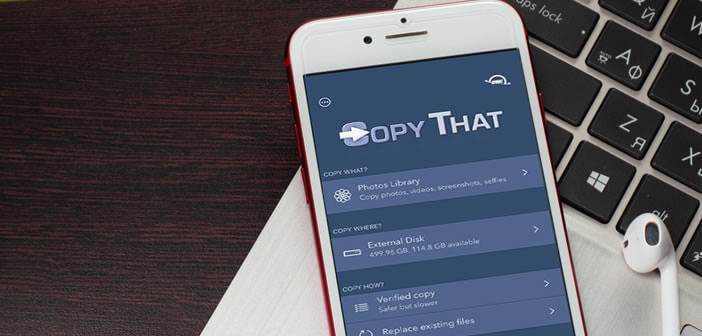
- Click on the first heading Copy what?
- Then select the type of files to copy (photos, videos, screenshots or selfies)
- Click on the Copy where?
- Choose in the interface the directory in which you want to transfer your files
- Then click on Copy how?
- This section will allow you to check the integrity of the copied files.
- You will also be able to automatically delete the original files from your iPhone after the transfer is complete.
- This utility also gives you the option to replace files detected as identical or keep a copy
- Click on the copy that button to start the transfer of photos
Please note that some of the options in the copy how section are chargeable. However, this will not prevent you from testing the photo transfer application in real conditions.
Then you just have to delete the photos and videos directly in the memory of your smartphone or tablet. Obviously you will need to check the copied files to ensure that the backup has been performed correctly.
Important detail, the settings made from the Copy That app interface automatically become your default settings. The next time you use the app you won't need to waste your time in the setup menus.
This helps make the process faster and more intuitive than transferring photos from iPhone to computer without iTunes. The other strong point of the utility is the ability to verify copies to make sure the photos are safe on the new media. Too bad this option is not free.