The use of VPN networks (Virtual Private Network - Virtual Private Networks) has positioned itself as one of the best solutions to surf the net since by using VPN we are protecting our identity, we improve security protocols and we can also access sites that they can be restricted for various reasons..
When using a VPN network, security is key, since the data we transfer will be encrypted through a tunnel created between the user's device and the web server of the VPN used, preventing attackers from accessing it.
Characteristics
When using a VPN we have the following characteristics:
- Access to various server locations
- Available for both PC and mobile
- Access to anonymous DNS servers
In the market there are several options for using VPN for Windows and one of the most striking is Surfshark..
What is Surfshark
Since 2018, this VPN network was developed, which integrates browser extensions, applications for Android, iOS, Windows macOS, Android TV and Fire TV, being one of the most popular VPNs worldwide.
VPN Features
As we mentioned, Surfshark is focused on the key principles of the VPN and what are enhanced in this VPN. These are:
- Private browsing by encrypting data
- Comprehensively block malware and ads
- Hide our geographical location by implementing any of the servers available worldwide
- Supports secure use of public Wi-Fi networks
- It has access to streaming, IPTV and more
- Much more direct web results
When we use Surfshark all information will be encrypted. This allows it to be combined with Alert which is an extra that allows us to check and have access to notifications to know in real time if the data has been violated.
Surfshark can be used on multiple devices (Windows, macOS, Linux, iOS and Android) and is compatible with modern technologies such as Alexa or Google Home..
Features
The main functions of Surfshark are:
- CleanWeb function to have access to a follow browser in which no trackers or malware will be available
- Use to unlimited devices with a single account
- Whitelister function thanks to which we can establish that applications and websites will not use the VPN
- Surfshark servers have private DNS and protection against leaks using the IPv4 protocol
- Kill Switch function which is an ideal protection network for cases where the VPN connection is lost, this prevents everything we are doing from being violated
- Surfshark has a strict "no logs" policy to avoid tracking network activity.
- MultiHop with which it is possible to connect from several countries
- Integrates NoBorders mode to access the network in places with access restrictions
- Camouflage mode with which it is intended that nobody knows about the use of the VPN network in Windows
- Surfshark offers us AES-256-GCM encryption to maximize data security
- IKEv2 / IPsec is the default protocol in VPN applications
Surfshark plans
Surfshark offers us a free version (which we will see in this tutorial), but to increase its capabilities it offers some plans such as:
1. How to use Surfshark in Windows 10
Step 1
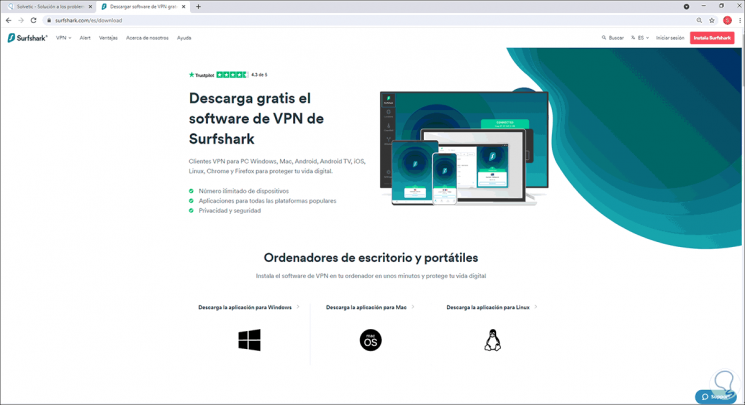
The first thing will be to download the VPN in the following link. We select the option "Download the application for Windows" and we will see the following:
TRY FREE VPN Surfshark
Tap and try free for 30 days VPN Surfshark
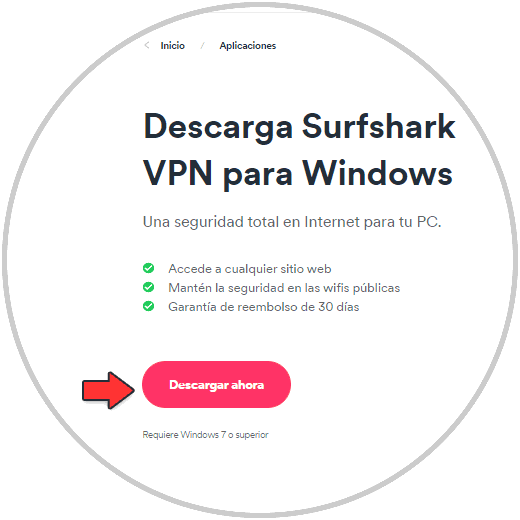
Step 2
We click on "Download now" and wait for the download process to finish.
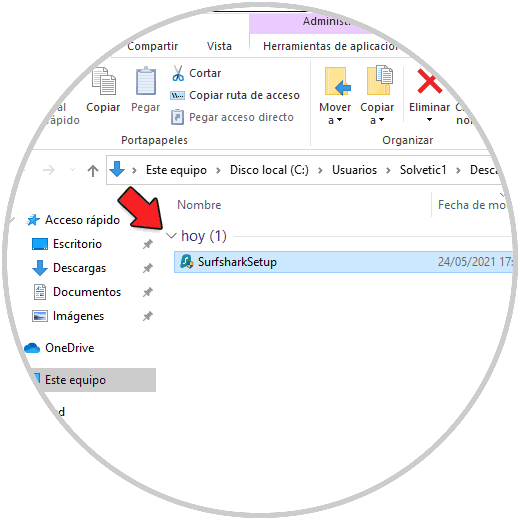
Step 3
Once downloaded, we go to the path where it was downloaded:
Step 4
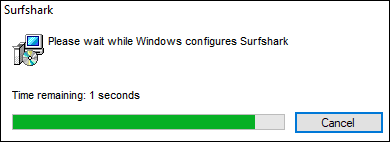
We double-click on the executable and the installation of Surfshark will start:
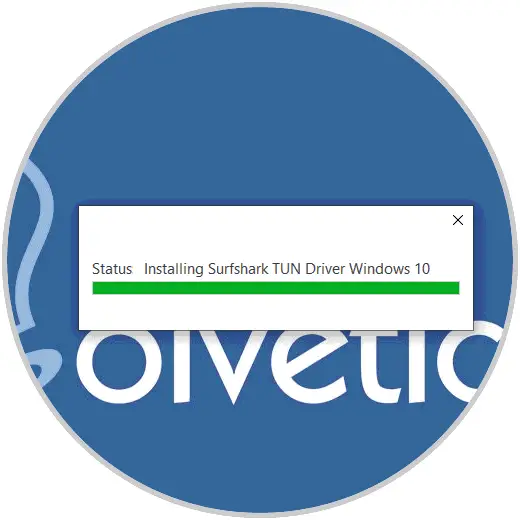
Step 5
We will continue with the process. The process will finish in the background.
2. How to access and use Surfshark
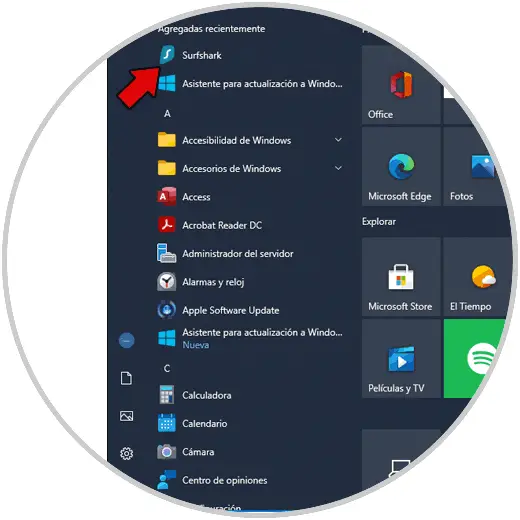
Step 1
Once installed, we open Surfshark from Start:
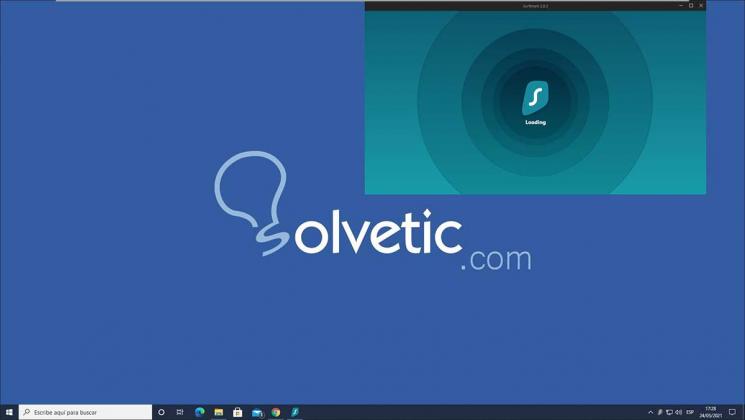
Step 2
Or it will automatically open:
Step 3
After this, it will be necessary to log in and at this point we clarify that to register it is necessary to acquire one of the plans. All plans have a 30-day refund condition.
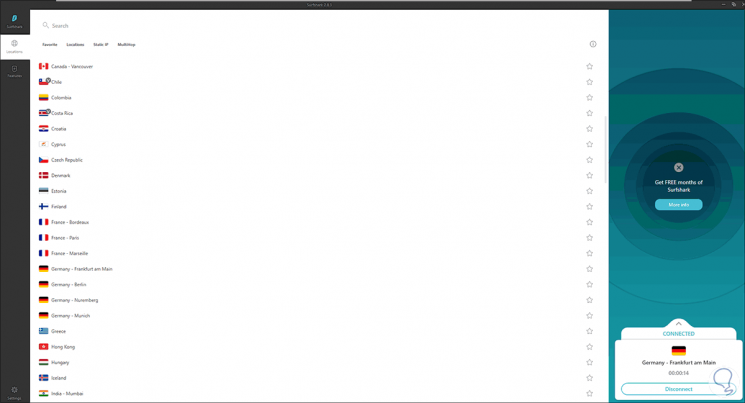
We start the session with the Surfshark account and this will be the initial environment to which we access:

First of all, it will be possible to see each of the global servers that are available to establish the VPN connection. At the top we find the following options:
- Fastest Server - allows you to select the fastest server available
- Nearest country: allows access to the closest server geographically
Note
Additionally we can search by IP address or access the MultiHop function.
Step 5
We select one of the available servers and click on "Connect" to establish the VPN connection in Windows 10.

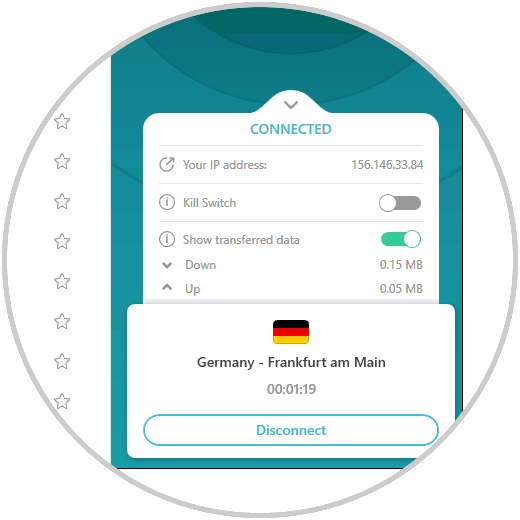
Step 6
Once connected we will see on the right side the time of use and the country that we have selected:
Step 7
When displaying your options we will see:
- Option to activate the Kill Switch function
- We will see the data transfer used
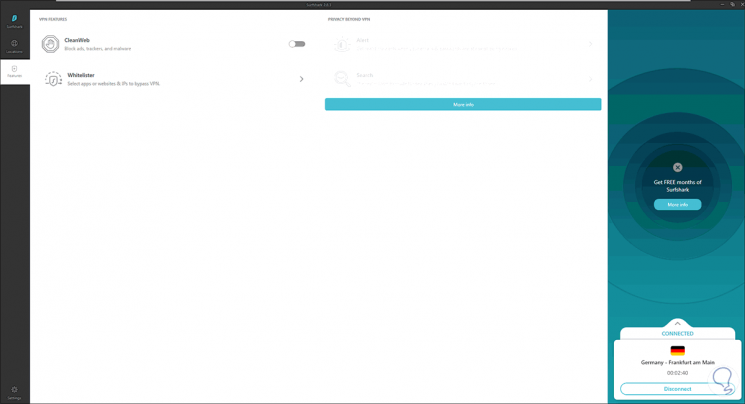
Step 8
We go to the Features section where we will see the following. There it is possible to activate some of the functions such as a white list (Whitelister) or the Cleanweb function to navigate safely.
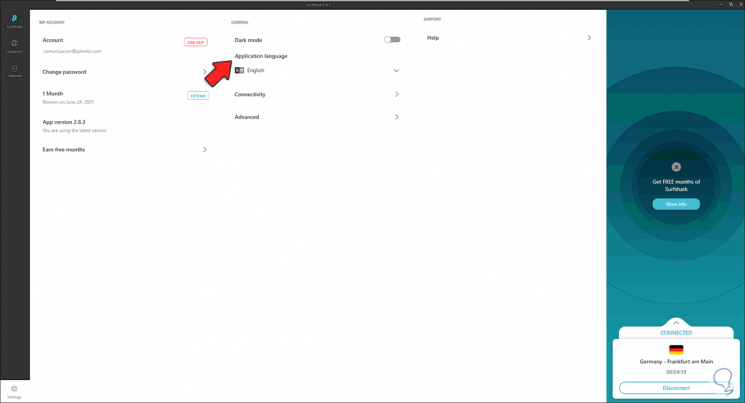
Step 9
At the bottom we access the Surfshark VPN configuration. We change the language first:
Step 11
By doing this we will see the following message. We click on "Restart now" to restart Surfshark,
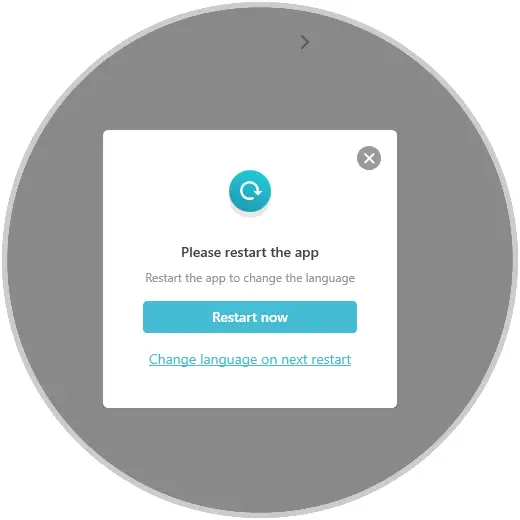
Step 12
When opening again we will have the selected language.
Some extra parameters that we can perform in Surfshark are:
- Validate the used version of the VPN
- Activate or not dark mode
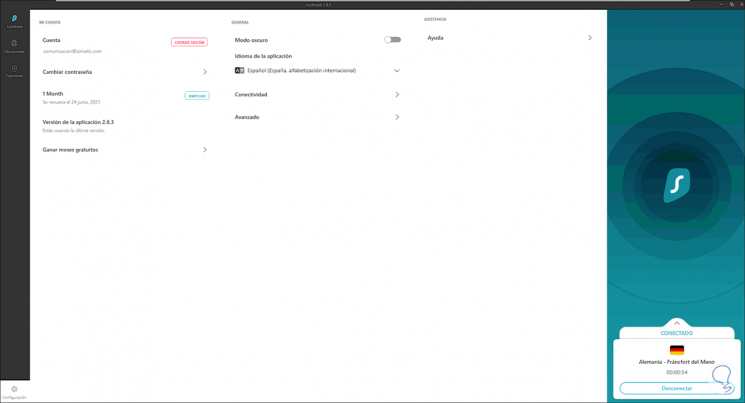
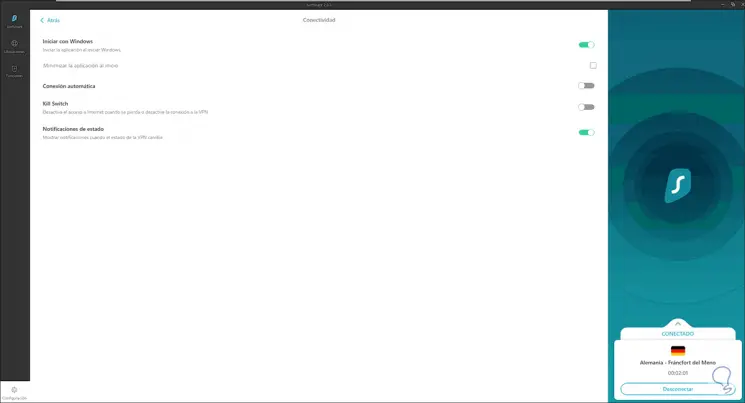
Step 13
In the Connectivity section it is possible to:
- Start Surfshark with Windows 10
- Establish connection automatically
- Activate or not Kill Switch
Step 14
In the Advanced section it is possible to:
- Select the protocol to use
- Activate the NoBorders function
- Turn on stealth mode for your computer

As we can see, Surfshark is a complete VPN that gives us the best options to navigate safely in Windows 10.