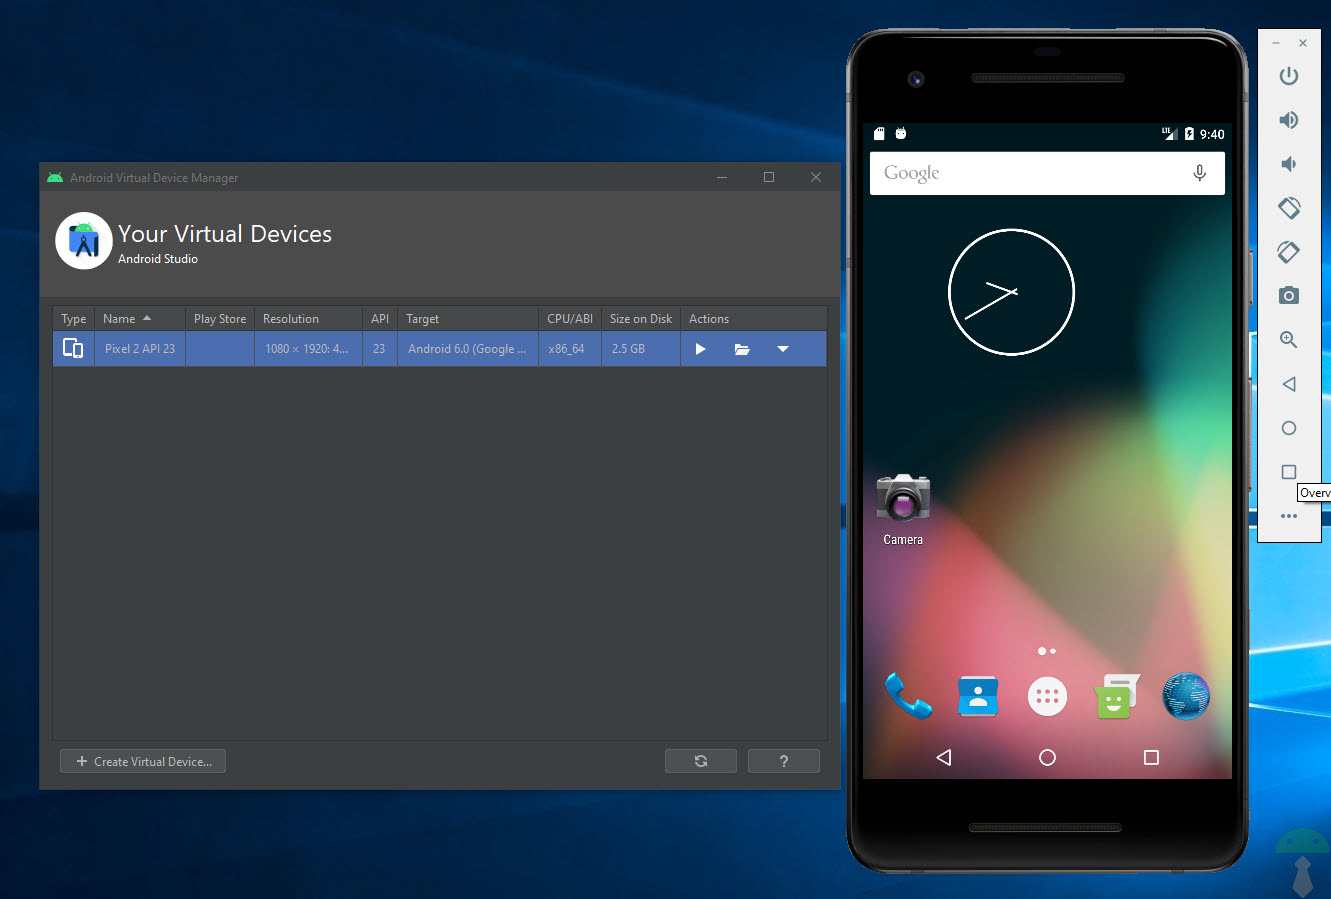
There are several Android emulators for PC , such as Bluestacks or Genymotion , which will allow you to view and use mobile apps and tablets on your computer. If you have a Windows 11 PC this is possible even without installing third-party programs, thanks to its built-in Android subsystem . However, most of these emulators are aimed at the average user, of course, who usually downloads them to play Android games on PC, use mobile apps on the big screen, etc. With Android Studio you can also do this, however its approach is somewhat different. Being a program for developing apps, its built-in emulator focuses on giving the possibility of testing those apps on different virtual devices and versions of Android..
With Android Studio you can only emulate devices manufactured by Google, such as Pixel or Nexus. However, you can install and run practically any version of Android, from 2.3 to 12 , which is the latest version, which will allow you to test the latest features of Google's Android (remember that each manufacturer has its own variant of this system).
Requirements
- 64-bit PC with Windows 8 or 10
- 2nd Gen Intel CPU or AMD with Windows Hypervisor support
- 8GB RAM or more
- 8 GB of hard disk space or more
- 1280 x 800 minimum screen resolution.
- MAC, Linux, and Chrome OS have similar requirements .
Keep in mind that you have to download approximately 3 GB of data during the entire installation process, which by the way is quite easy since everything consists of following the installation wizard and pressing the Next button..
Normally other emulators require enabling virtualization in the PC BIOS, but this is OPTIONAL in this case, since it is only needed if you want to activate hardware acceleration (so that the emulator works smoother and faster).
Installation
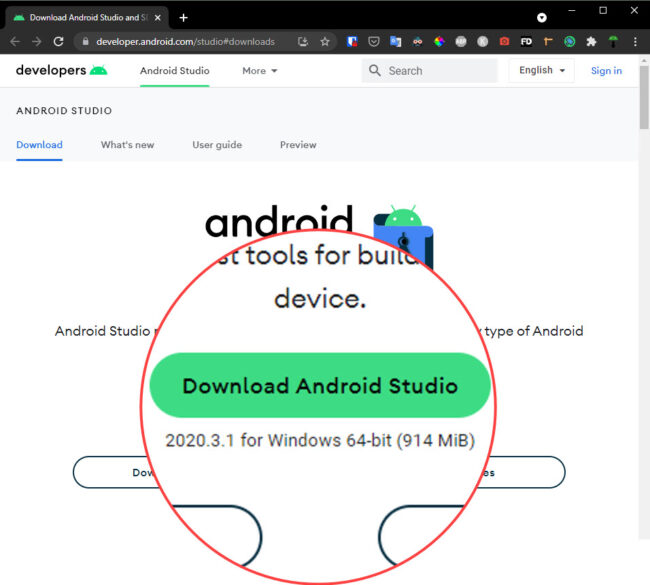
- Download Android Studio from the official website (approximately 1GB).
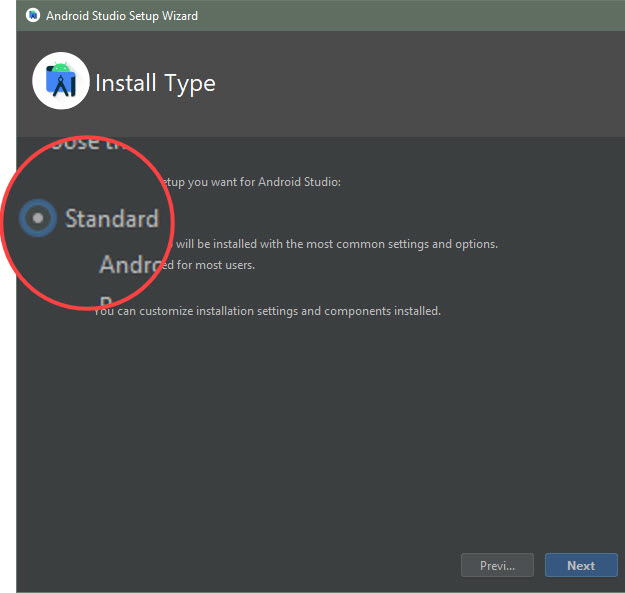
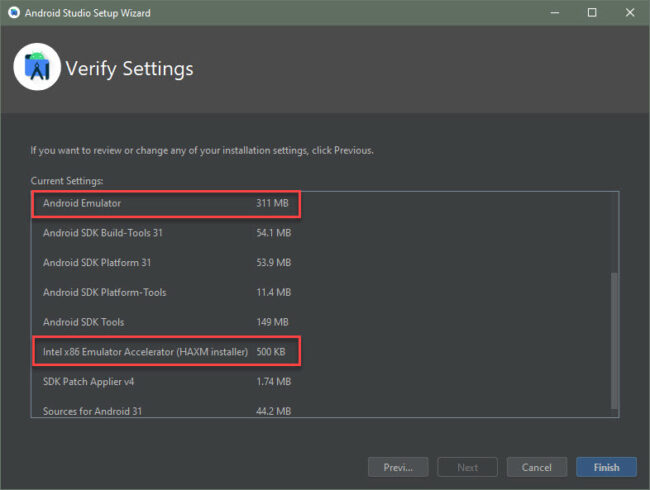
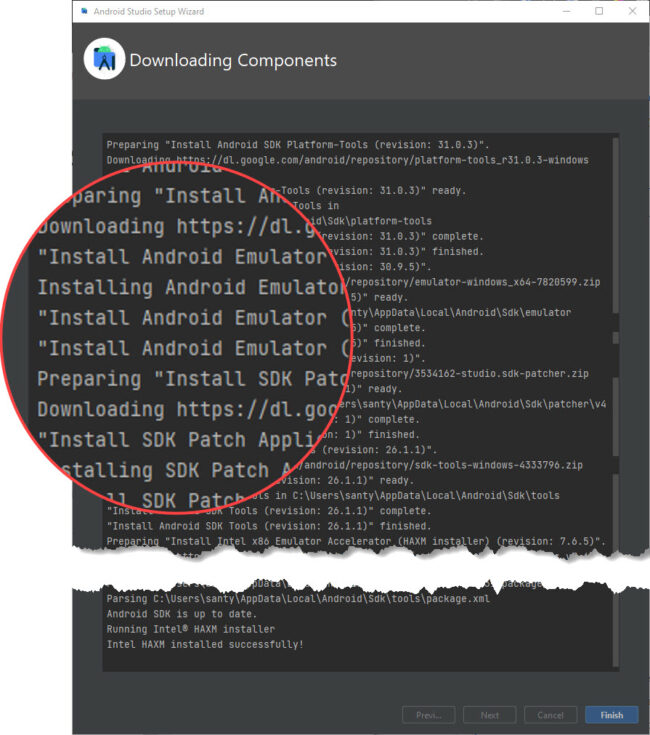
- Run the installer and use the "Next" button to advance through each step of the process. First, after passing the first introductory screens, select the "Standard" installation type, enough to install the Android Studio emulator and its components. You will have to wait for all these components to be downloaded and installed (another 700MB - 1GB approximately).
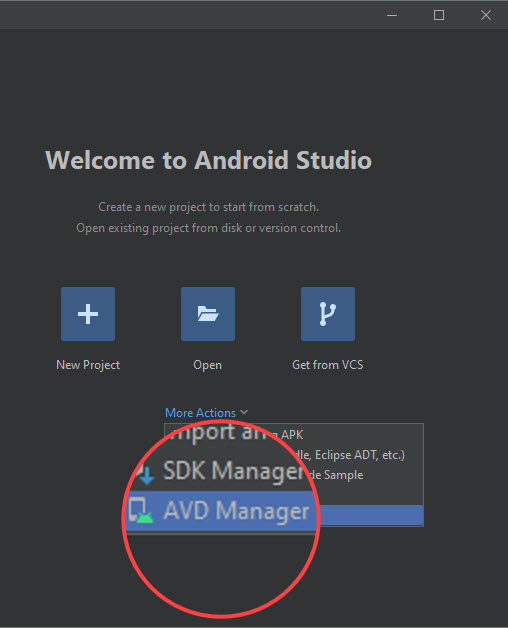
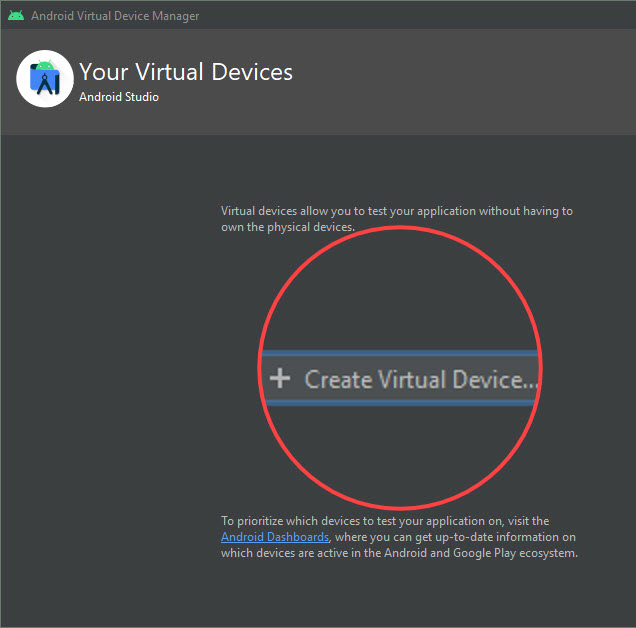
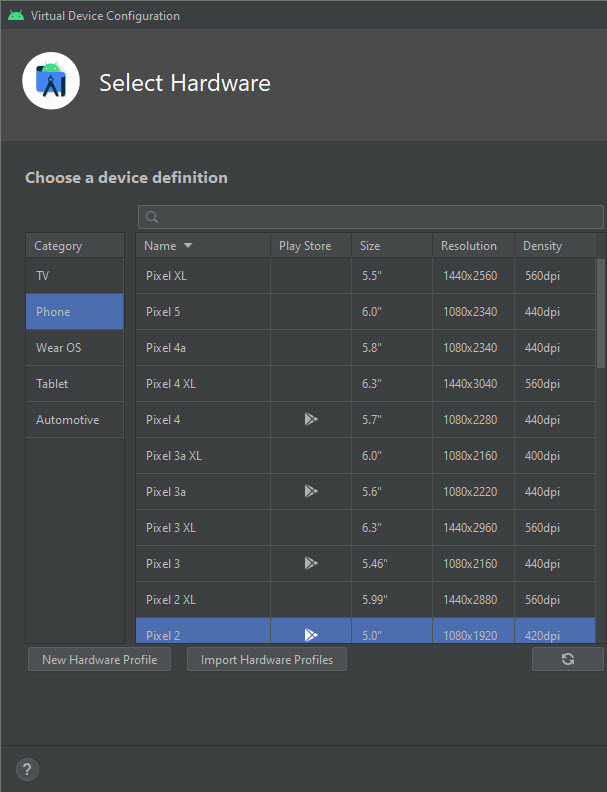
- After finishing the previous step, Android Studio will open. From the AVD Manager option you can create a new virtual device. Choose from multiple Google devices like Pixel or Nexus.
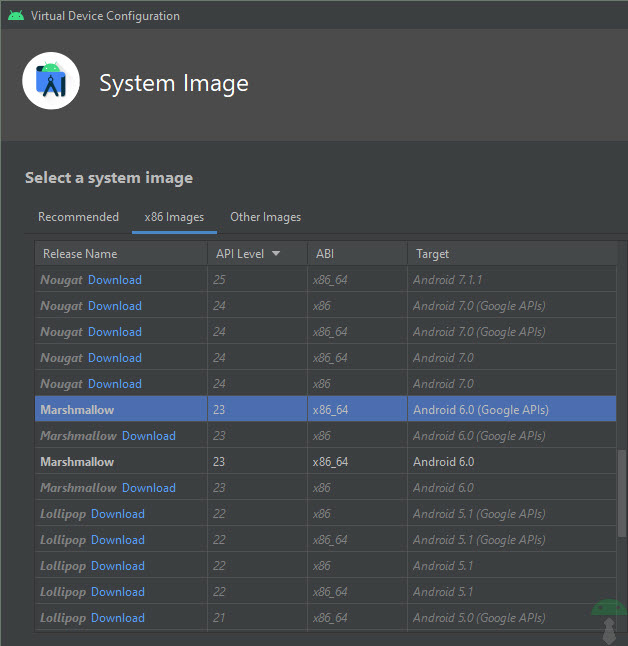
- Download the Android system image by clicking on its respective Download button. The size is approximately 500MB to 1GB, depending on the image. Only once you have downloaded the image will you be able to select it and continue with the process. You can choose from images as old as Android 2.3 (Gingerbread) to Android 12 , which is the latest version up to now, to apply to the Google device you chose in the previous step.
Note : Being on a PC with x86 architecture (desktop computer), it is preferable that you look for an image under the x86 Images tab (as seen in the illustration above), so that the emulator does not get stuck or slow, and more well run smooth and fast (better emulation performance, according to Google). Also, choose an image that says "Google APIs", so that it includes Google Play Services and you can use and test Google apps without problem..
- In the next step you will be able to configure the characteristics of the device, such as orientation, screen resolution, cameras, processor, RAM and memory card.
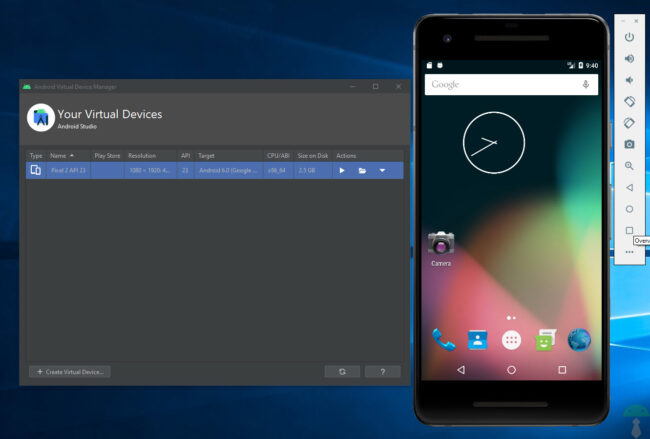
- Finally, you just have to tap on the "Play" button to start the emulation of the device and version of Android you chose.
The best Android EMULATOR for Windows
How to download and install Genymotion, the fastest and most advanced Android emulator
How to download Android in Windows 11, to run mobile apps and games on the PC