Managing Linux operating systems requires certain concepts to know before getting fully into its structure. One of the most important are the users, groups and the permissions associated with them. Let us remember that if a user does not have permissions, it will not be possible for him to perform certain tasks or access directories..
In Linux, both files and directories are assigned a group of permissions for the owner and another for the group to which the file hosted on it is assigned. These permissions basically allow you to define whether the user can read, write or execute the file, hence the importance of managing these permissions and the users or groups.
Due to auditing or system control issues, it is possible to know which users belong to a group and TechnoWikis will explain some mechanisms to validate this information in Linux distributions. For this case we will use Ubuntu 22.04..
To stay up to date, remember to subscribe to our YouTube channel!
SUBSCRIBE ON YOUTUBE
1 See Linux Group Users from /etc
The /etc directory is one of the most important and well-known in Linux due to its content, it is ideal to manage the /etc/group path there, which is where a list delimited by colons “:” is found, both for groups and for groups. group members.
These lines are composed of:
- Name: is the unique name of the group
- Password: it will be with the letter "x" because it will not be used
- Group ID – Indicates the unique group identifier
- Users: is the comma delimited list of group members, this list is often empty for system accounts (for security)
Step 1
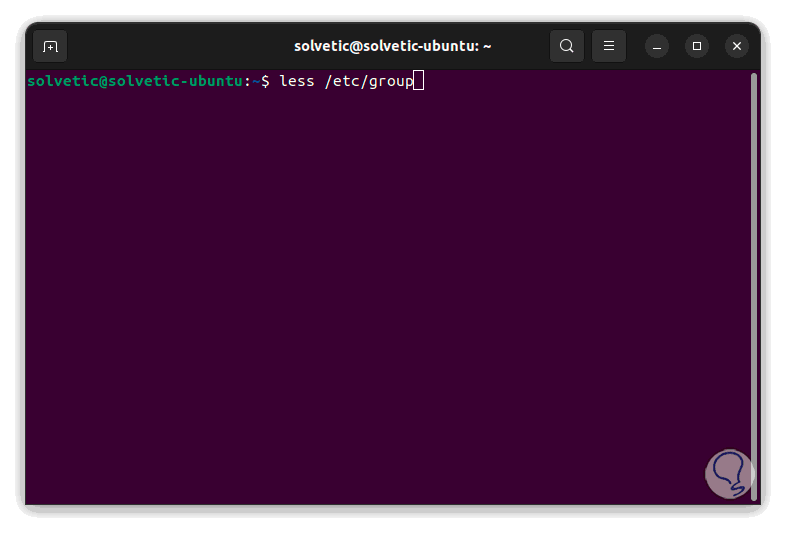
We open the Terminal and execute the following:
less /etc/group
Step 2
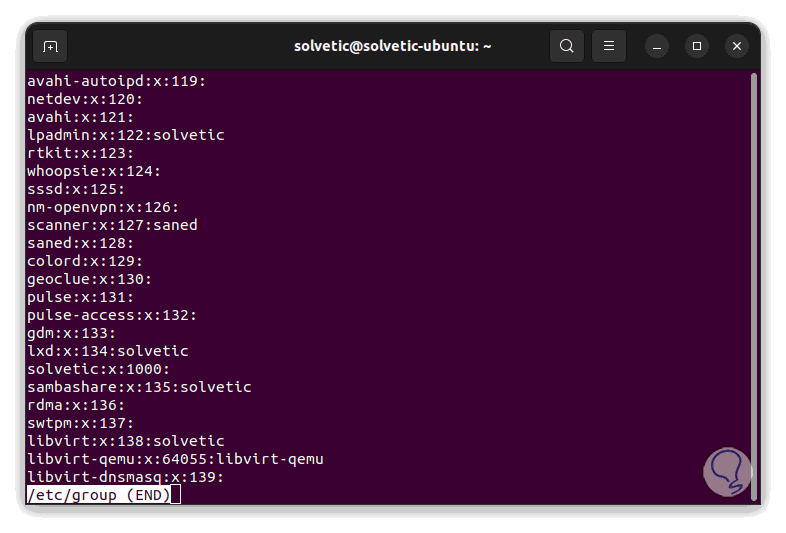
Pressing Enter we will see this:
Step 3
With the scroll arrow we go down to see all the groups, it is possible to filter by user to see which group they belong to, for this we execute:
grep "user" /etc/group
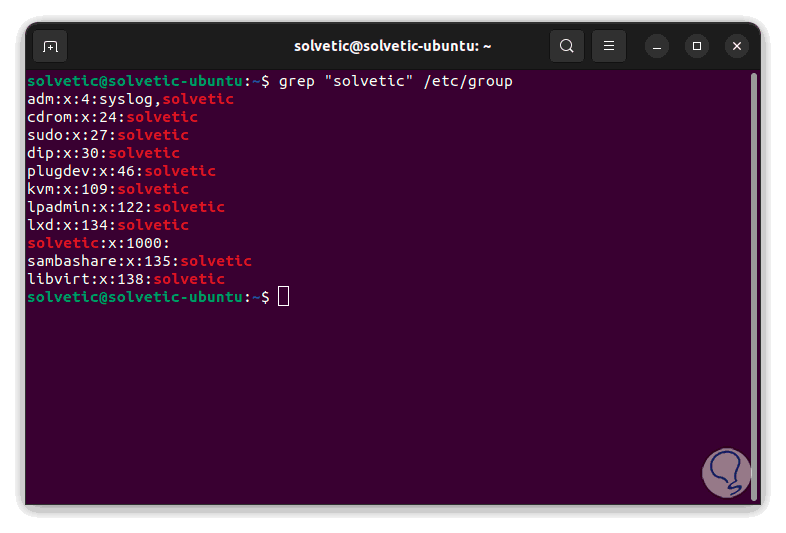
Remember that in Linux when creating a user, by default this new user is located in a group that has the same name as the account, this is called the main group, additional groups will be called secondary groups.
2 View Linux Group Users with Getent
Getent is a command with which it is possible to access entries in the administrative database of the system, its advantage is that this command performs an analysis in various databases in search of information on user groups, but not only in the path / etc/group.
Step 1
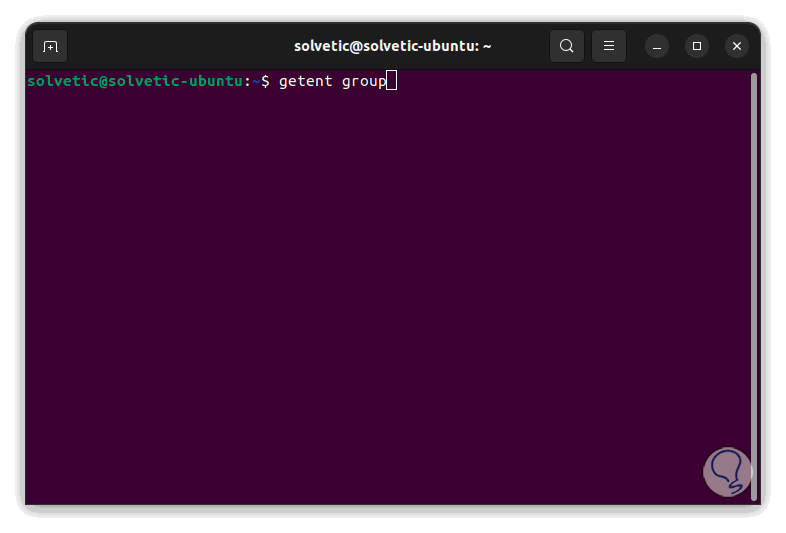
For its use we open the Terminal and execute the following:
getent group
Step 2
Pressing Enter we will see the following:
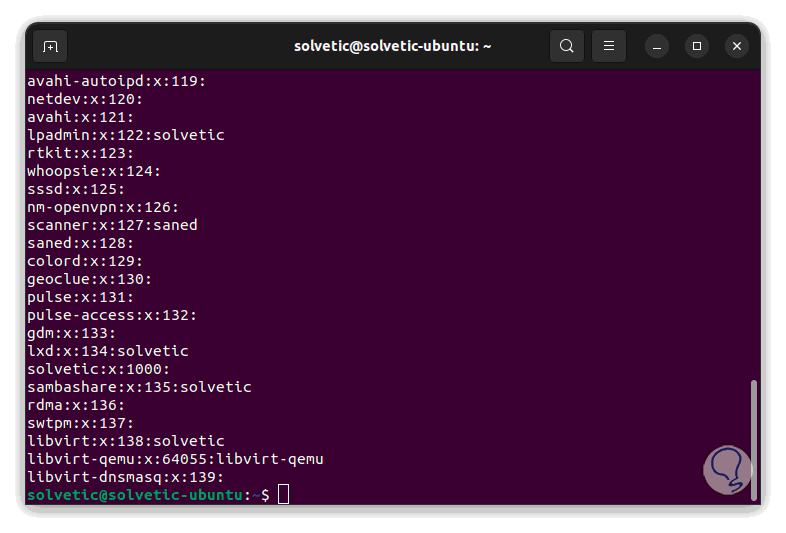
Step 3
It is possible to filter the result by group:
getent group "group"
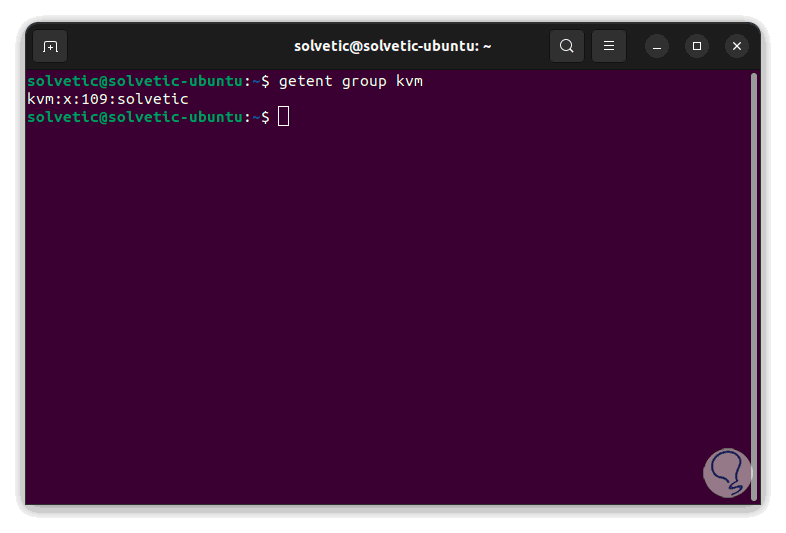
Some extra options to use with getent are:
- -i, --no-idn: takes care of disabling IDN encoding
- -s, --service=CONFIG: allows to configure the service
- --usage: display a short usage message
- -V, --version: allows to see the used version
With getent it is possible to use the databases ahosts, ahostsv4, ahostsv6, aliases, ethers group, gshadow, hosts initgroups, netgroup, networks, passwd, protocols, rpc, services, shadow
3 View Linux Group Users with Lid
Another option is to use Lid which is in the libuser collection of tools.
Step 1
For its use we open the Terminal and install the utility:
sudo apt install libuser
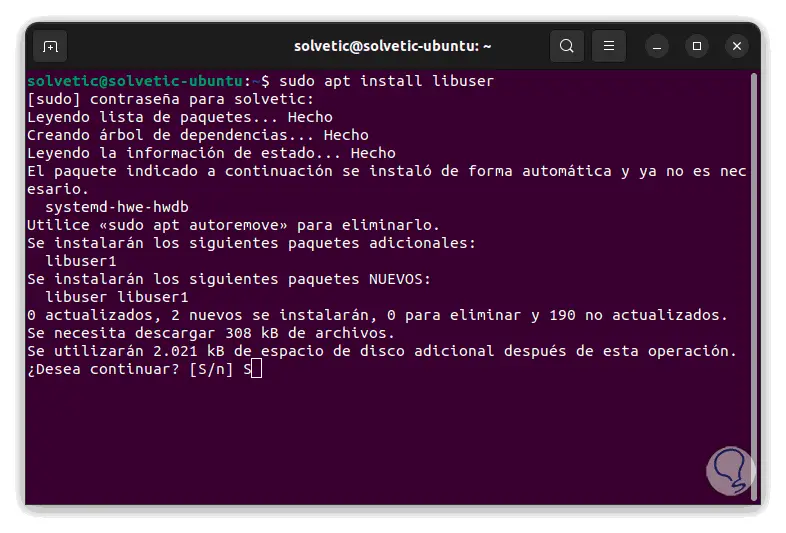
We confirm the operation by entering the letter S and wait for the process to finish..
Step 2
We filter the groups of a user by executing:
sudo libuser-lid "user"
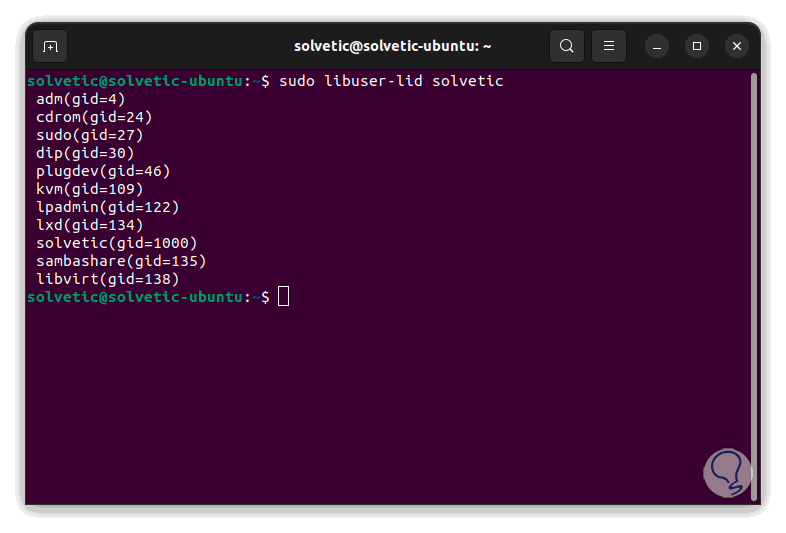
Step 3
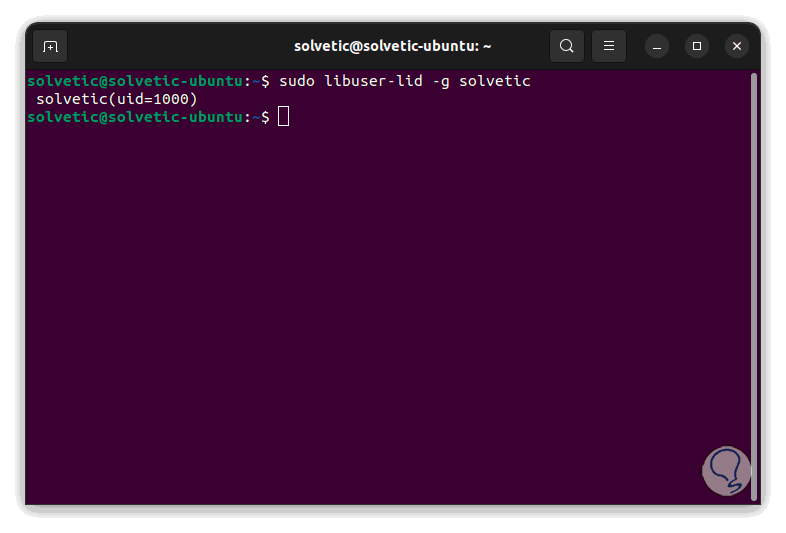
To see the members of a group we execute the following:
sudo libuser-lid -g "group"
Step 4
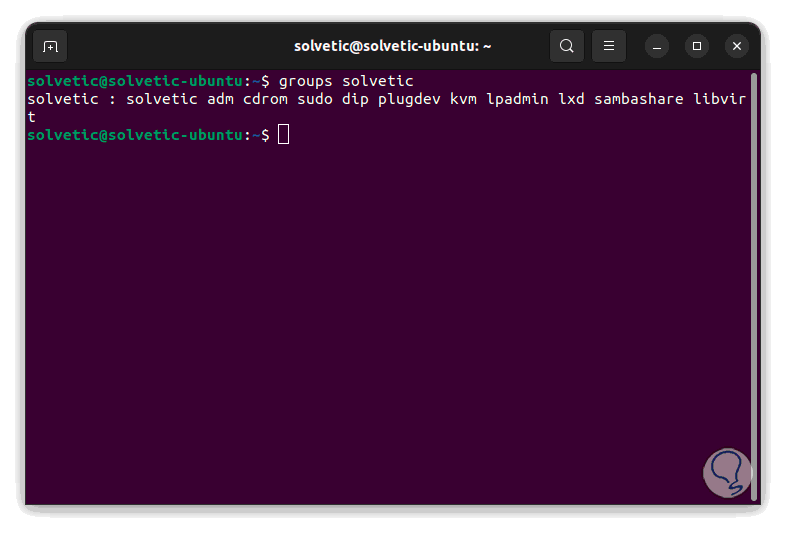
It is possible to see the groups in which a particular user is, for this we execute:
groups "user"
step 5
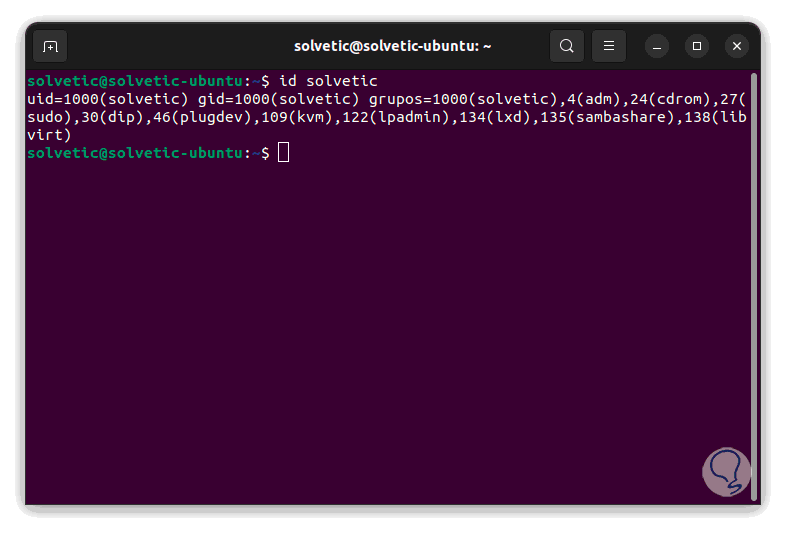
To see the IDs of the groups of a user we execute:
id "user"
Some additional options to use are:
- -i, --interactive: all information is requested
- -g, --group: display the members of a given group
- -n, --onlynames: only allow to see membership information by name and not by UID/GID
- --usage: make use of the summary usage mode
With these commands we are able to see the users and groups in Linux.