- If you plan to embed images in your PowerPoint, Word, Outlook and other Office software documents, you should know that you can easily remove their backgrounds
- Microsoft's office suite offers us different tutorials depending on the version we have installed on our PC, and we only need to follow a few simple steps to get rid of the background
If you usually work with Office files, surely at some point you will include images in them. You can put more emphasis on the central element of the photo by removing the image background in Office . We are talking about a simple procedure, which allows us to carry out this modification without having to have extensive knowledge in image editing, and which is used for all the programs that make up the office suite ..
Indeed, this procedure is useful for most of the software that makes up this Microsoft service. And although we are specifically referring to some such as PowerPoint or Word, or even less likely ones, such as Outlook, you should try any of the platforms that integrate it.
The basic solution provided by the tutorial goes through the automatic removal of the background. Then, if necessary, multiple lines can also be drawn, telling the system which areas to keep and which to discard ..
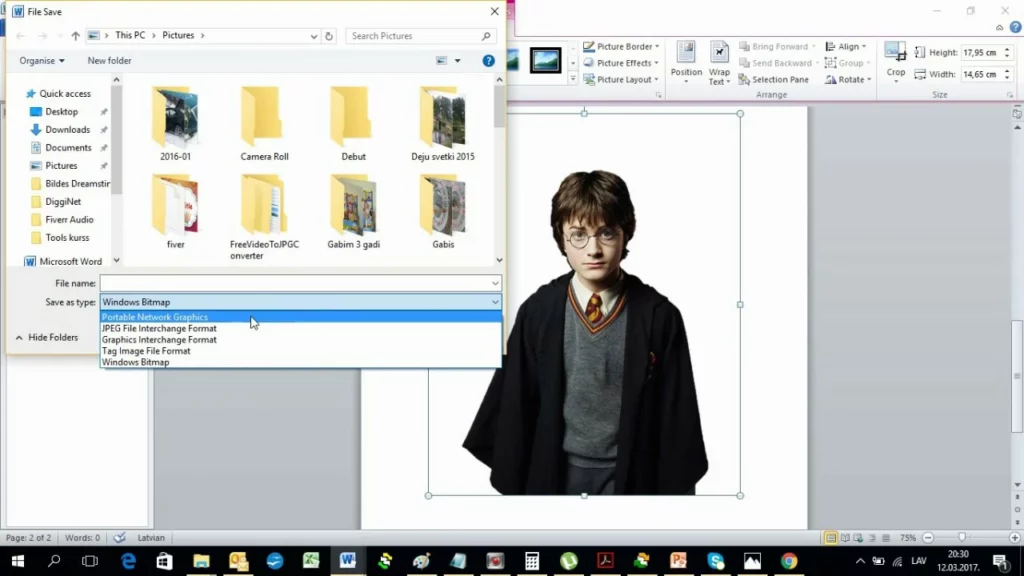
On the other hand, and before showing you the step by step, you should know that in files that use vector graphics, such as Scalable Vector Graphics (SVG), Adobe Illustrator Graphics (AI), and others, this function is not accessible.
Remove the background of an image in Office step by step
In the latest versions of Microsoft 365
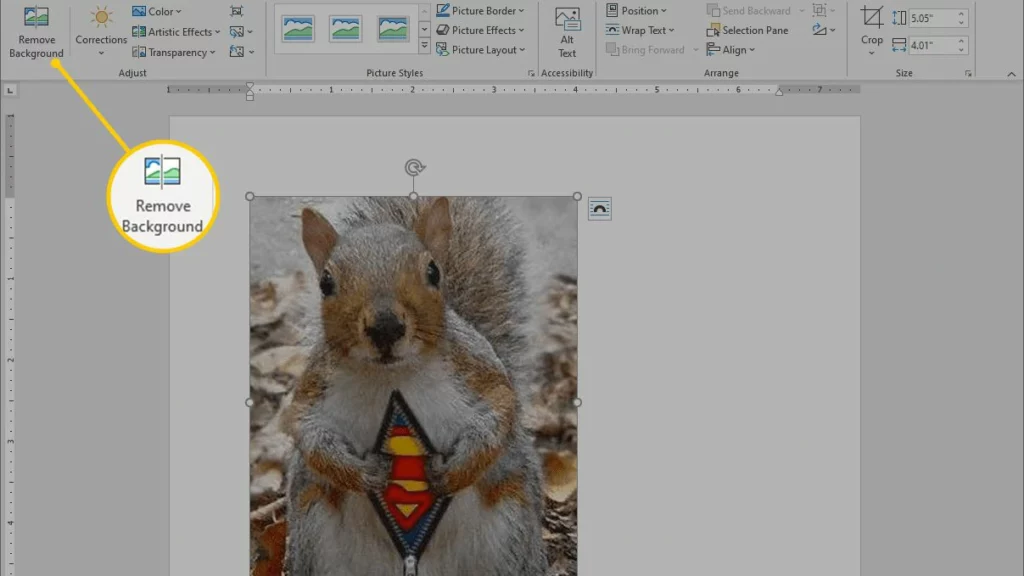
Select the image you want to remove the background from, and in the Toolbar, go to Picture Format, Remove Background or Format, Remove Background. If you don't see that option, you may not have selected the image. Then you must double click on it to make sure it has been checked ..
Once you've done that first part of the process, the default background area, the one that will be removed, will look magenta. The foreground, which will be kept, will retain its original color .
If the drawn lines are not adequate, you have to go to Background Removal, Image Tools, and play with the Mark Areas menus to keep Mark Areas to Remove, gaining precision .
If you still have doubts, our recommendation is that after applying those changes you save the image as a separate file, to be able to edit it again if required. That is not complicated at all, since you only have to click with the right button on the image, and press the Save as image function .
In Office 2013 and 2016
In previous versions of Office the thing is quite similar, and you must start by selecting the image. When you're done, go to Picture Tools, Format, Adjust & Remove Background, where you'll see various controls related to the marquee lines, so you can stipulate what to keep and what to remove yourself .
Since there is not so much Microsoft Artificial Intelligence involved here, most of the process is manual. You will have to be patient and make and undo marks on the image until you are completely satisfied.
Also, you can use Mark Areas to Keep, with the drawing pen Pencil to be even more exact . You still have the same drawing pencil in Mark Areas to Delete, so take advantage of it all.
Again, if you're not entirely convinced of your work, it's best to Save as Image.
on macOS
If you have an Apple computer, the MacOS operating system also enables you to make these image edits. First you have to select it, as always, and then in the Format tab, click on Remove background .
As in newer versions of Microsoft 365 for Windows, check that you have the correct image selected. So also the magenta areas and with their original colors, to see if the cut has no errors.
Whenever you notice that the cropping can be improved, go to Picture Tools, and under Background Removal, do the actions that help you "fine tune" the results: Mark Areas to Keep and Mark Areas to Remove .
Finally, for your peace of mind, save the image from Save as Image to keep it handy.