PowerPoint in Office is one of the most functional solutions for creating, editing and controlling slide shows in a professional way thanks not only to its effects but also to everything PowerPoint adds to work with text, images and more. One of these options is the possibility of removing the background from an image and with TechnoWikis we will see how it is possible to use this PowerPoint functionality for a better work on the images to insert on each slide..
When we work with PowerPoint images, it is normal that the raw material does not completely coincide with what we need and some changes must be made. So having applications that allow us to make changes to images quickly and easily without having much idea of editing, is something we appreciate. In this case Powerpoint allows us to remove the image background easily.
We also leave you the videotuorial to know how to remove the background of an image in PowerPoint 2019
To stay up to date, remember to subscribe to our YouTube channel! SUBSCRIBE
How to remove the background from an image in PowerPoint 2019
Step 1
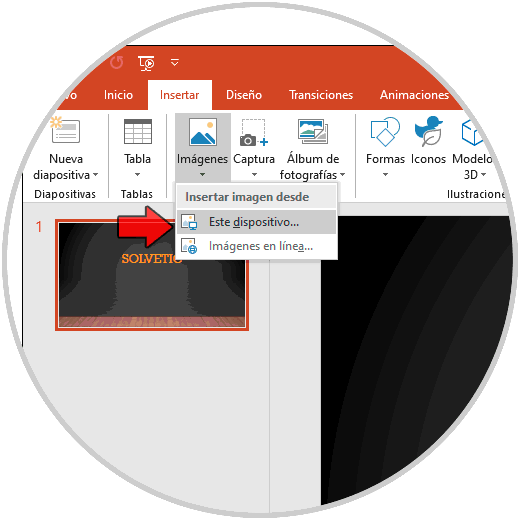
The first thing will be to create the slide and go to the menu "Insert - Image - This device":
Step 2
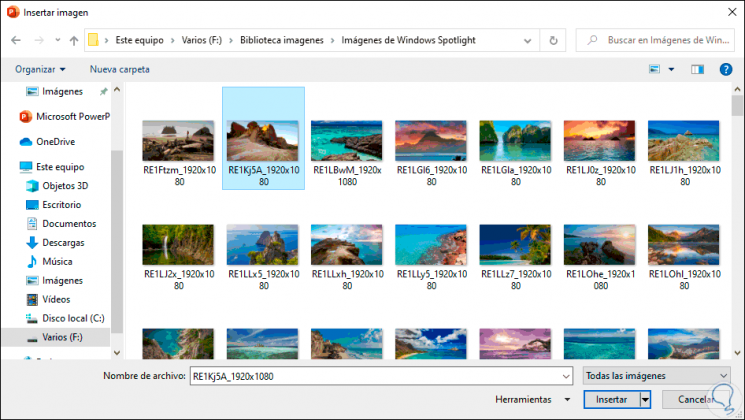
We select the desired image locally:
Step 3
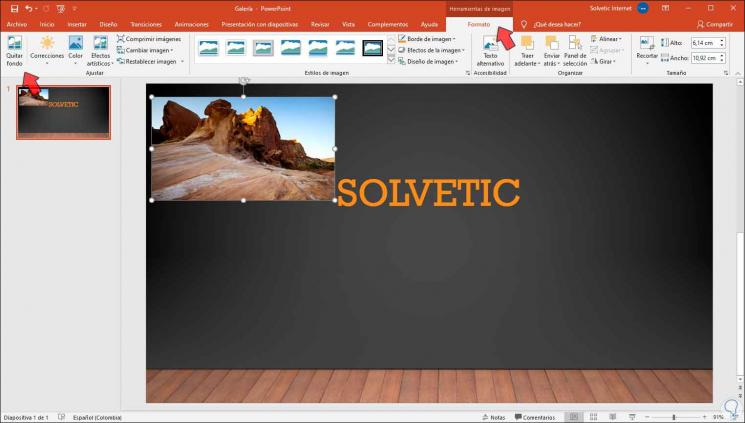
We select the survey and click on "Insert", the image is integrated into the slide and at the top a new menu called "Format" will be created in which we find all the options linked to the inserted image:
Step 4
To remove the background from the selected image, go to the “Remove Background” option located in the left corner and clicking on this option will automatically select the background to be removed from the image:

Step 5
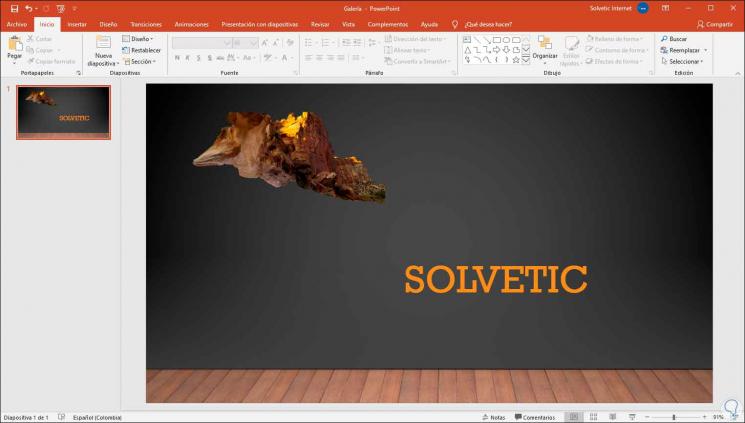
We click outside the image and we will see the following:
Step 6
If we want to establish in a personal way that it has to be removed, we undo the changes and again click on “Format - Remove background”:
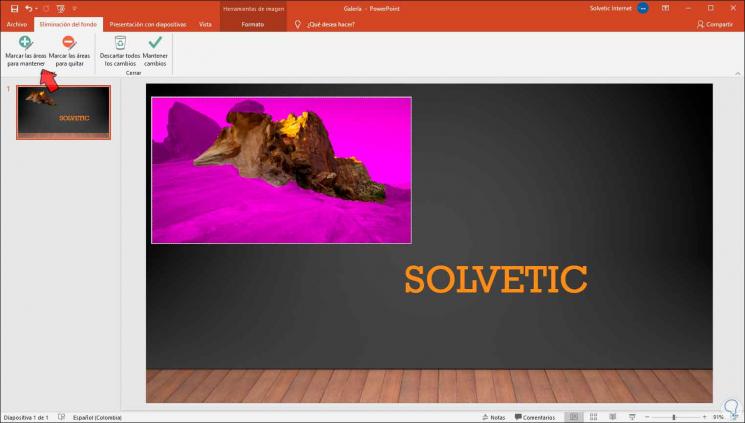
Step 7
This time we will stop on the menu of the selected option, we click on "Mark the areas to keep" and with our mouse we double-click on each point of the image to keep:
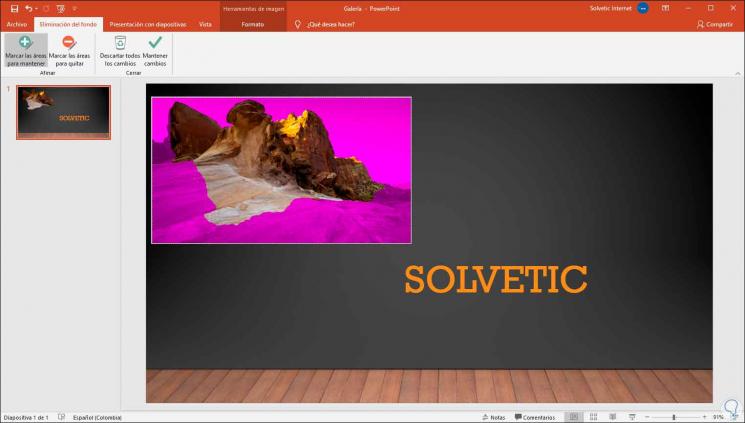
Step 8
On the side we can see that part of the image is preserved.
We click again outside the image and the areas we have selected are the ones that will be visible on the slide:
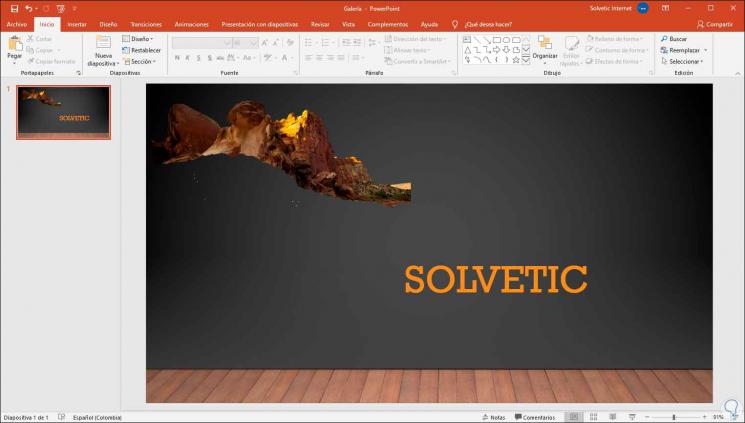
With this process we can define and establish which part of the image will be removed and which will be preserved in PowerPoint 2019..