Microsoft Word is part of the Office suite and is undoubtedly one of the most used in the world for everything related to the creation and edition of professional documents, thanks to the fact that it integrates different Word editing and adjustment options . One of these is the ability to insert videos into documents, which gives a touch of life and more information to the text that is being displayed. This option of writing over an image in Word can help us to create a kind of personalized watermark and thus protect our image..
As we say, within these Word options we can add text on top of the image that has been inserted, and we can also customize the text that we add with formats chosen by us. TechnoWikis will explain in detail how you can add text on top of an image in a functional way.
We also leave you the video tutorial to be able to write on top of an image in Word 2019 and 2016..
To stay up to date, remember to subscribe to our YouTube channel! SUBSCRIBE
How to write on top of an image in Word 2016, 2019
Step 1
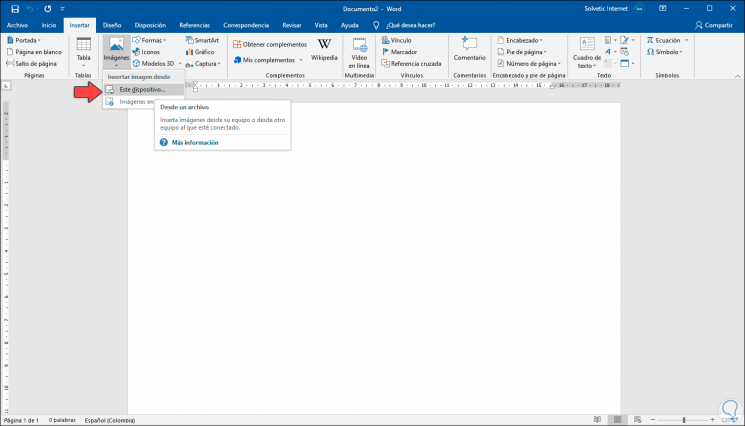
For this the first step will be to insert our image, for this we go to the "Insert" menu and in the "Illustrations" group we click on "Images" and then we click on "This device" to select the local image:
Step 2
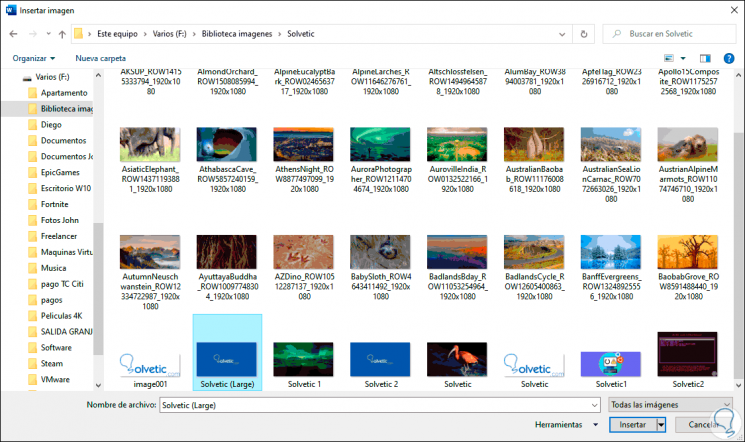
We select the desired local image:
Step 3
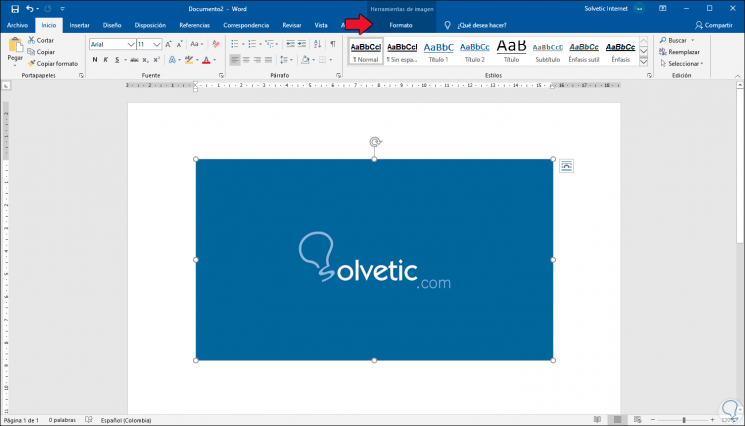
Select the desired image and click "Insert, we will see the image in the current document:
Step 4
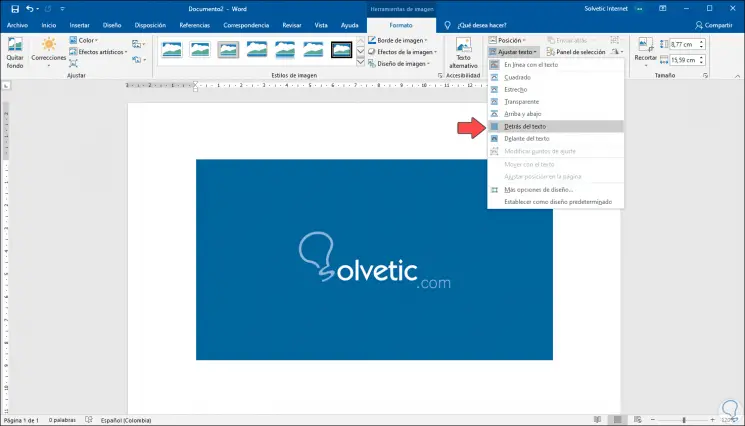
We can see that at the top the "Format" menu is activated in Image tools, go to this and in the "Organize" group we click on "Adjust text" and select the "Behind the text" option:
Step 5
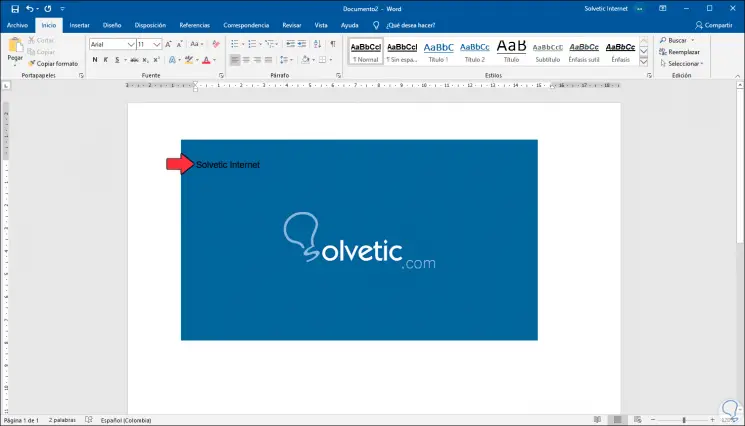
After this double click on the image and we can enter the desired text on top of the image and we will see that it is added:
Step 6
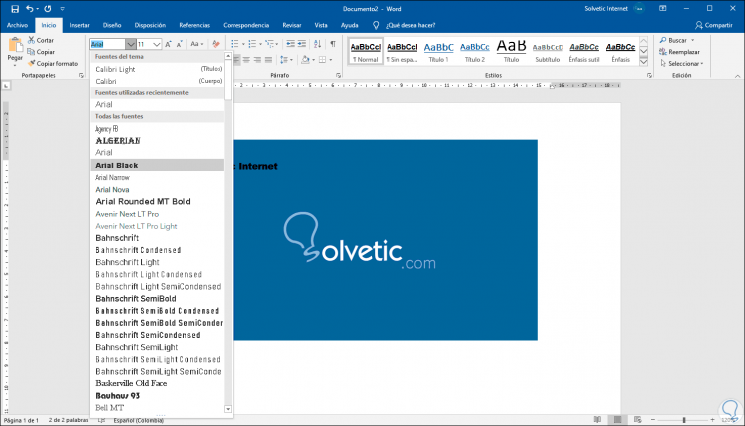
This text we can select and apply the format we want such as fonts, colors or size:
Step 7
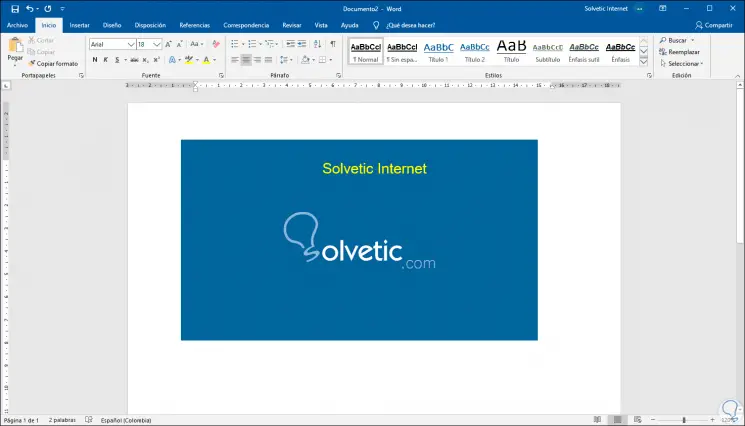
With these steps it is possible to enter text on top of an image in Word 2016 or 2019:
We have seen how easy it is to be able to write on top of an image in Word 2019 and Word 2016.