Microsoft Word is designed with a large set of integrated functions to facilitate the actions to be performed in a file with the aim of making it as professional as possible. Thanks to the possibilities offered by Microsoft Word, we can make quite interesting textual compositions that can even be presented in professional fields. Customizing our documents brings an extra effort and aesthetics to all those files or projects that we will show avoiding falling into a typical use and without grace..
One of the most essential tasks in any Word document is the insertion of headers and footers which allow us to add dates, page numbers and even custom text. In the same way when using a header or footer we can add images either personal or corporate.
One of the advantages is that Microsoft Word, both 2016 and 2019, integrates predefined designs for the header and footer that we can use as a reference point. We will learn to insert an image in both the header and the footer of Microsoft Word..
To keep up, remember to subscribe to our YouTube channel! SUBSCRIBE
1. Insert an image in the header in Microsoft Word 2016 or 2019
Step 1
The process is identical in both versions of Word, for this we will first go to the “Insert†menu and in the “Header and footer†group we have the options to insert either the header or the footer:
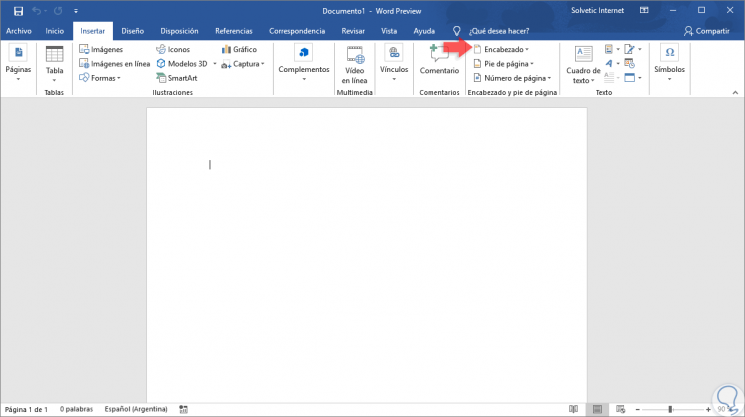
Step 2
First, click on “Header†and a series of options will be displayed:
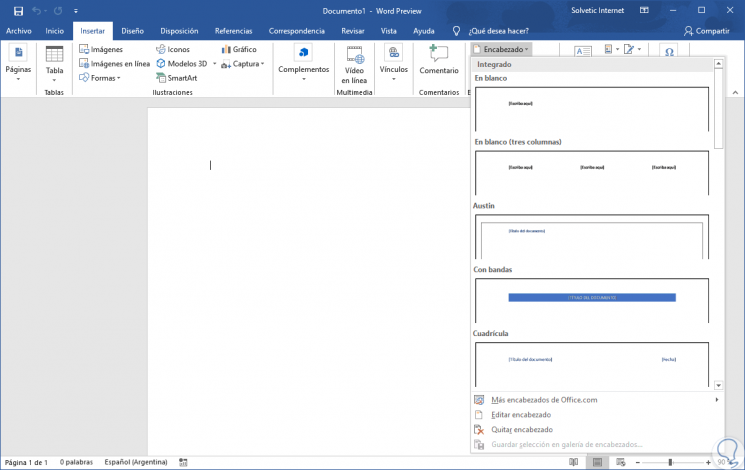
Step 3
For this example, click on the “Blank†option and the following will be displayed:
Step 4
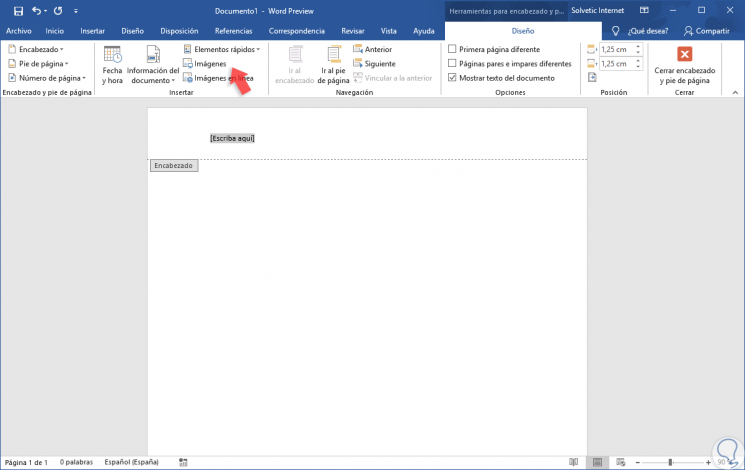
By default the header is activated with the line to enter the desired text and we can see that the “Tools for headers and footers†menu is activated with the integrated menu “Designâ€, there we go to the “Insert†group and click on the "Images" option.
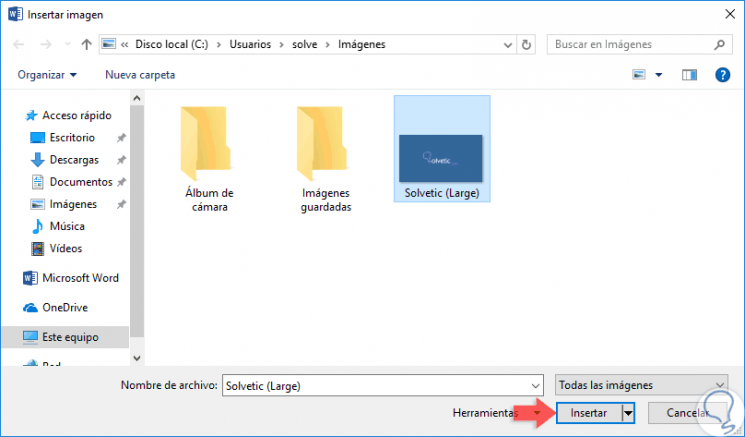
If we want to add the image locally or we can click on the “Online images†option and if we want to add the image directly from the network, in this case we will use the “Images†option and in the displayed window we will locate the image to add :
Step 5
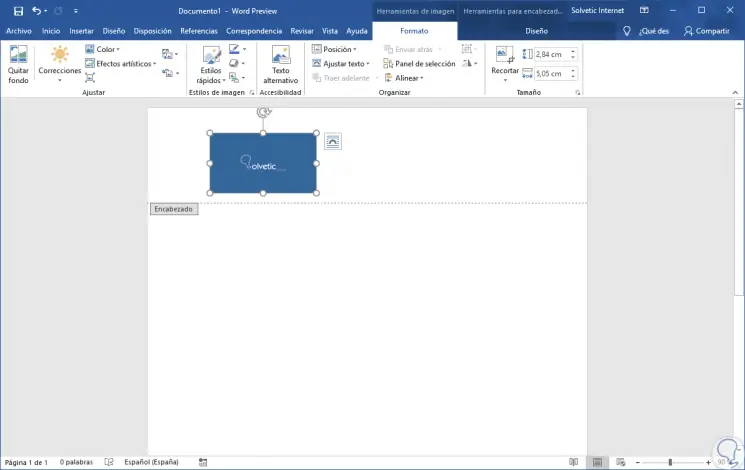
Click on the "Insert" button and this image will be added in the Word 2016 or 2019 header, there we can adjust the size as necessary:
Step 6
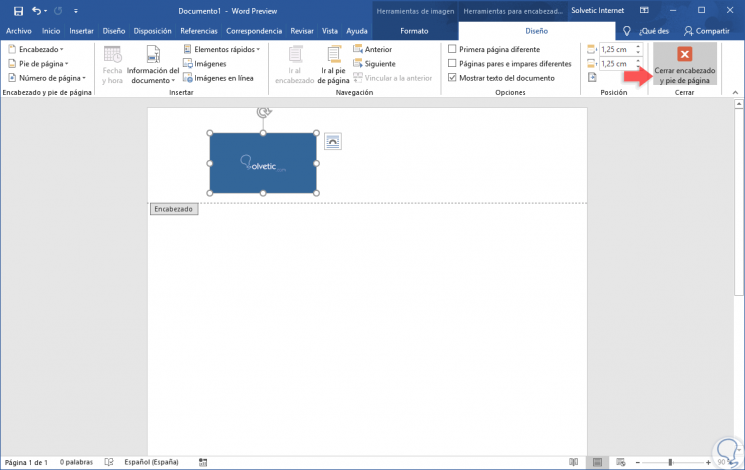
Note that the “Format†menu is activated where we can apply changes to the image such as styles, cuts, corrections and more. Once this is defined, we go to the “Design†tab and click on the “Close header and footer†button located in the “Close†group:
Step 7
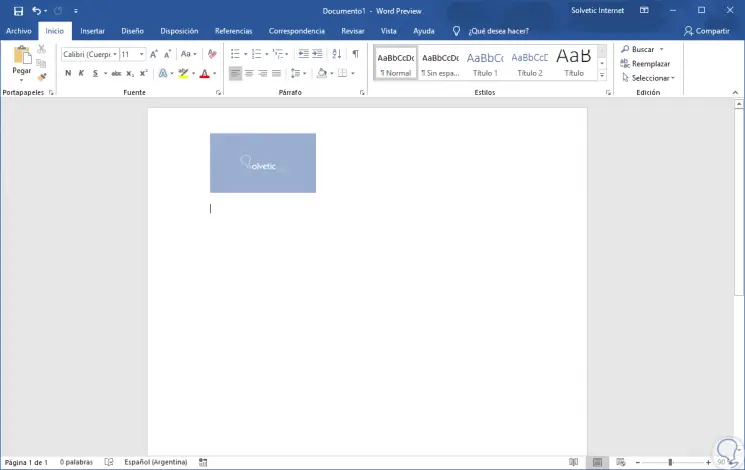
So we will see that the header has been added to the Word 2016 0 2019 document:
2. Insert an image in the footer in Microsoft Word 2016 or 2019
To be able to insert an image at the foot of the page, in many cases it is usually want to put the logo but you can put what you think is correct in each case. In the example we use normal image.
Step 1
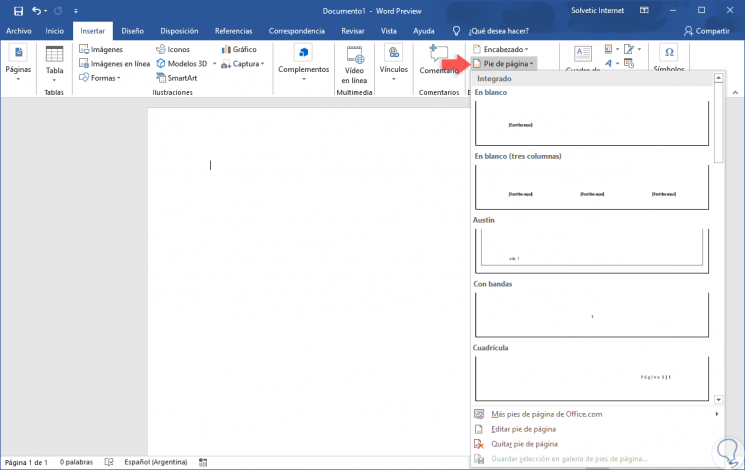
In the case of adding the image in the footer, go to the "Insert" menu and in the group "Header and footer" click on the "Footer" option to select the appropriate option to insert:
Step 2
For this case again we select the "Blank" option and when the footer is enabled we will have the "Design" menu as in the Word header:
Step 3
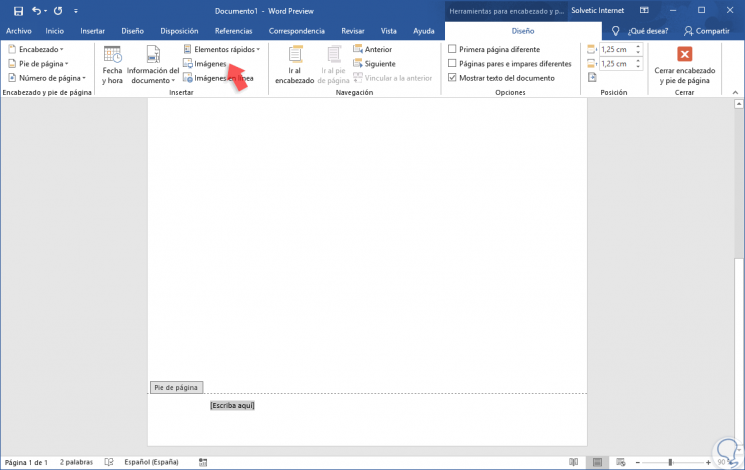
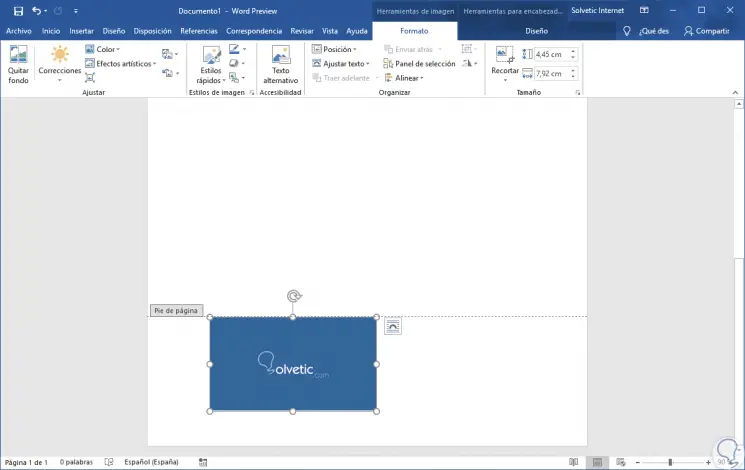
There we go to the “Insert†group and we can select a local image or an online image, click on “Images†and once we select the image locally on the device we will see that it is inserted in the footer of the document and the "Format" menu is activated where we can apply changes to that image:
Step 4
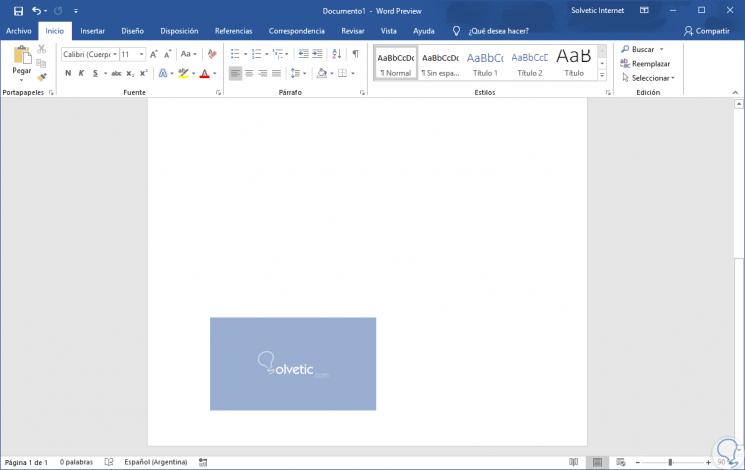
Again in the "Design" tab we can close the footer and the result will be as follows:
As we can see, it will be possible to insert an image either in the header or footer of Word 2016 or 2019. We hope that all these sections have helped you.