To stay up to date, remember to subscribe to our YouTube channel!
SUBSCRIBE ON YOUTUBE
IP addresses allow our equipment and devices to be identified on both the local and external network and from there to be able to use all network services and not only talk about browsing, for security or privacy it may be necessary to block a or several IP addresses in a Linux system and there are some options to do this and TechnoWikis will explain each one in detail so that you can use the most appropriate one depending on the system used..
Blocking IP addresses can be useful for different tasks such as network security or service protection. Also, if we suffer specific attacks, we can block those addresses to avoid it. Also for security, blocking IP addresses allows us to have better access control to our network or our resources.
1 Block IP Linux using IPTABLES
We start talking about IPTABLES which has been developed as a tool to manage the filtering of IPv4 and NAT packets, thanks to IPTABLES it is possible to create and configure rules and policies with which it is possible to control the flow of network packets in ingress tasks. , exit or transit in the local network, with this configuration it is possible to protect equipment such as servers and devices from unwanted attacks that originate in the external network..
Each table in IPTABLES is made up of a series of strings which can accommodate further strings defined by the administrator, and these strings are lists of rules which can match groups of packets.
Rules
These IPTABLES rules apply in environments such as:
- Filter table (filter): these are the default tables that are used to filter packets, this is where we configure rules to accept, reject or block packets.
- Network address translation table (nat): is a table used to perform network address translation such as port forwarding or masquerading (NAT).
- Network name resolution table (mangle): it is a table that allows you to modify the headers of the packets, for example, the TOS (Type of Service) or the TTL (Time to Live).
parameters
There are some general parameters of use such as:
- -A, --add: Add one or more rules to the end of the selected chain.
- -D : Deletes a chain rule.
- -I, --insert: Insert one or more rules into the selected chain based on the entered rule number.
- -R : Replaces a rule in the chain.
- -L – Lists all rules in the selected chain.
Step 1
For its use we will open the terminal and execute the following syntax:
sudo iptables -A INPUT -s 192.168.XX -j DROP
Step 2
Remember to replace 192.168.XX with the IP address:
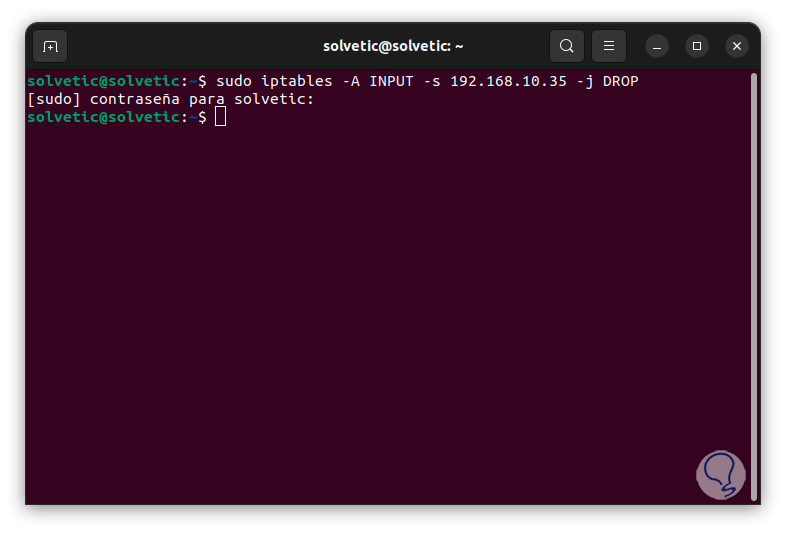
Step 3
We have entered the following parameters:
- -A INPUT: Indicates that the rule is added to the input chain.
- -s 192.168.XX: specifies the source address to block.
- -j DROP – Tells the system to drop packets coming from the specified IP address.
Step 4
Now we run the following command to install the utility, this allows the rule to apply even after system reboot:
sudo apt install iptables-persistent
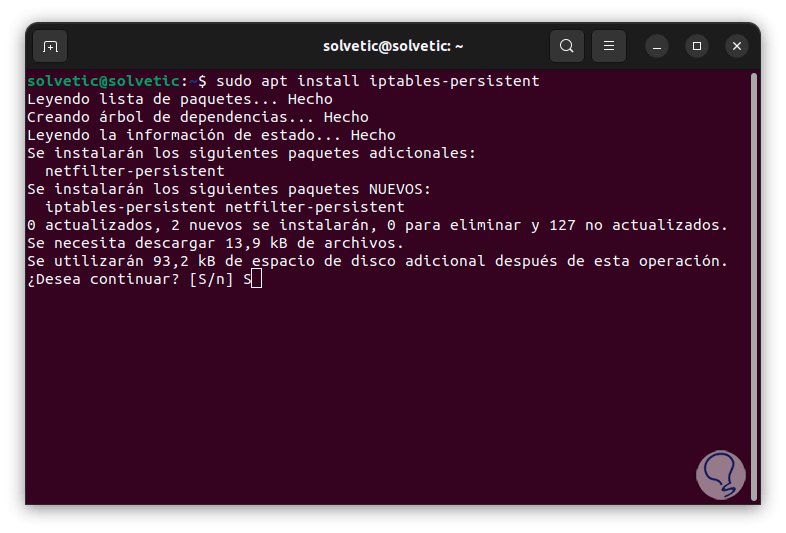
step 5
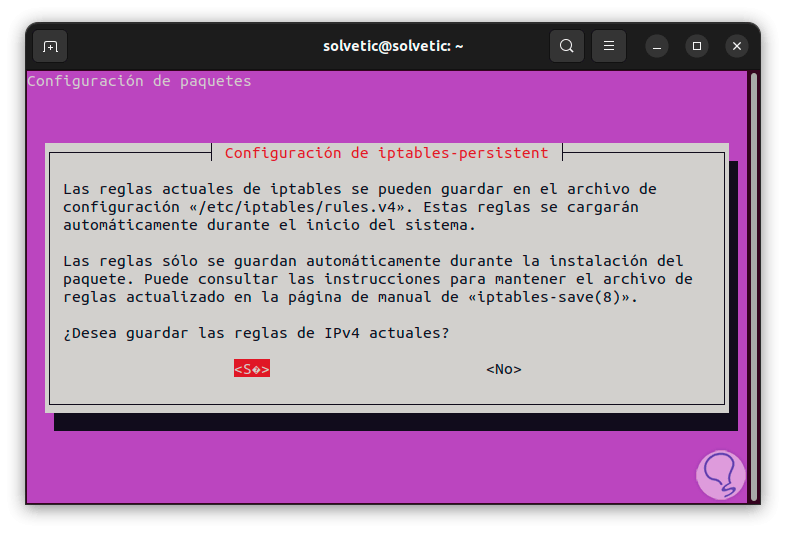
We confirm the process by entering the letter "S" and we will see a series of messages, first of all we allow it to be applied to IPv4:
step 6
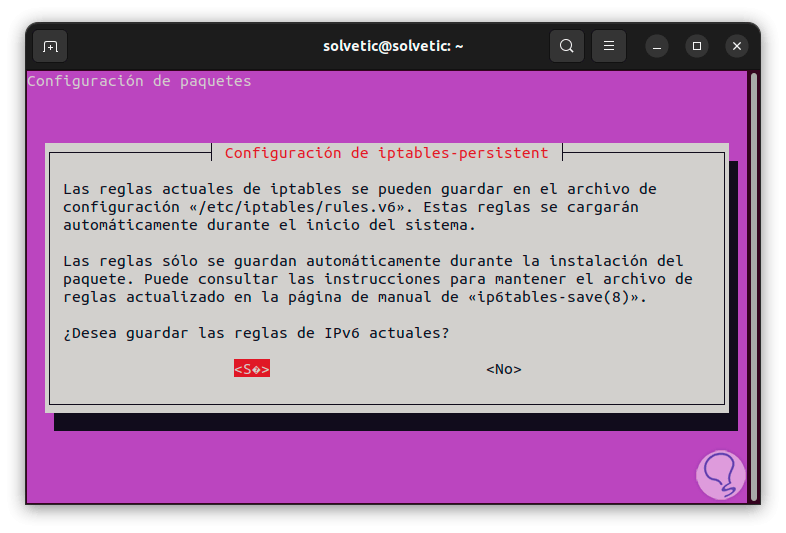
Then we apply them to IPv6:
step 7
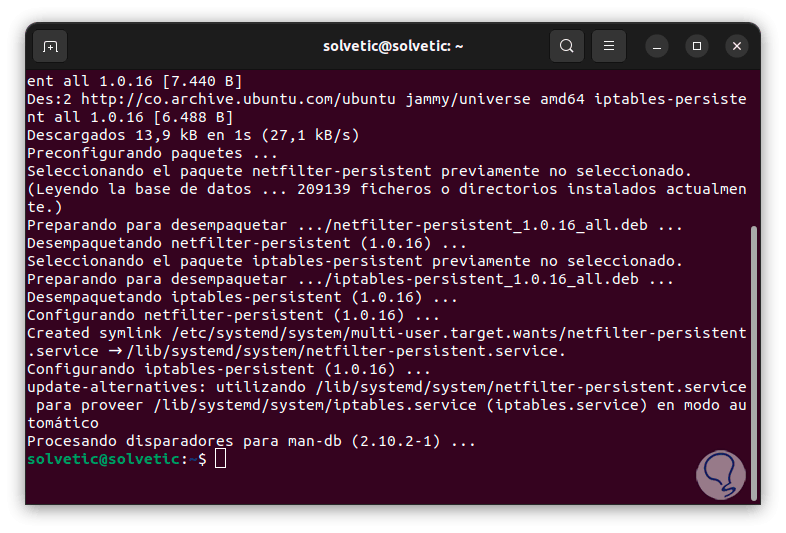
We wait for the process to finish:
step 8
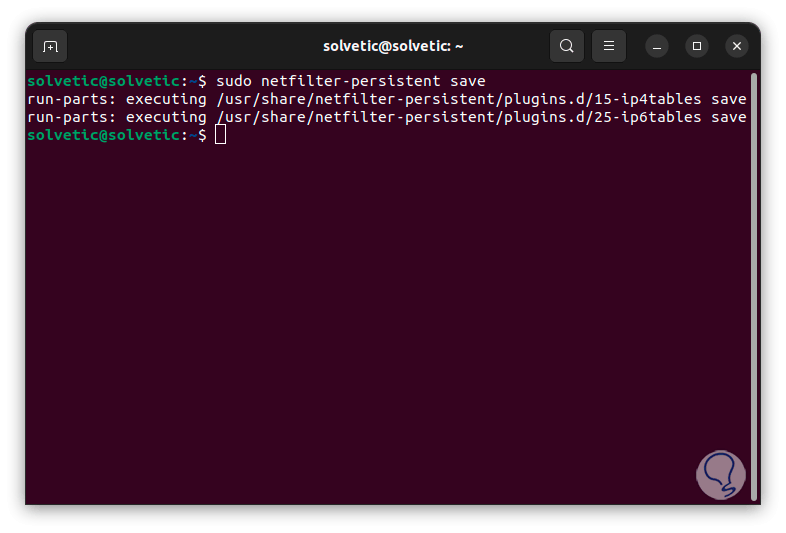
Then we run the following command to save the current rules:
sudo netfilter-persistent save
2 Block IP Linux using UFW
UFW (Uncomplicated Firewall) is an interface that is developed for iptables and its use is special for host-based firewalls, ufw offers a framework to manage netfilter and has a command line interface that allows the administrator to manage the firewall.
Characteristics
Its main features are:
- Allows you to enable and disable the firewall
- It allows us to enable predefined services such as SSH, HTTP, HTTPS and more.
- Configure entry and exit rules
- Allow connections from specific IP addresses for added security
- Snappy support for Ubuntu Core
- IPv6 rate limitation via 'limit' command
- Integrates a reset command
- Allows multiport ingress rules
Step 1
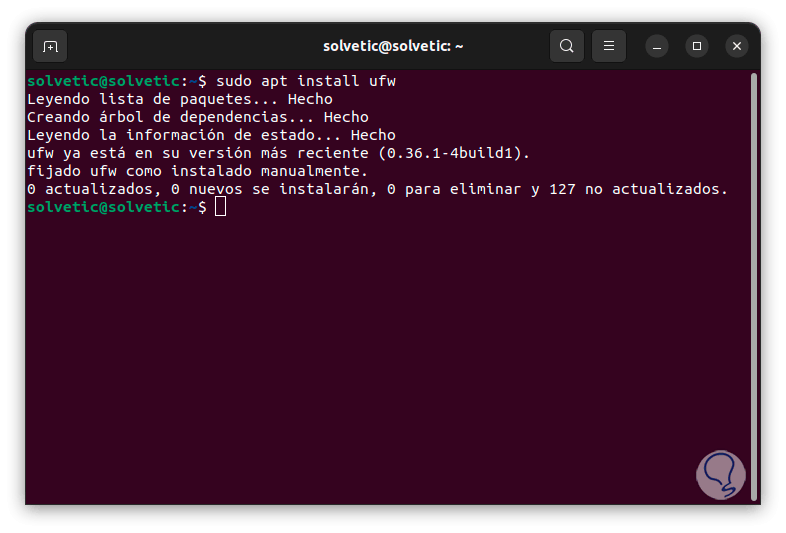
To use this method we open the terminal, then we will use the following command to install the utility:
sudo apt install ufw
Step 2
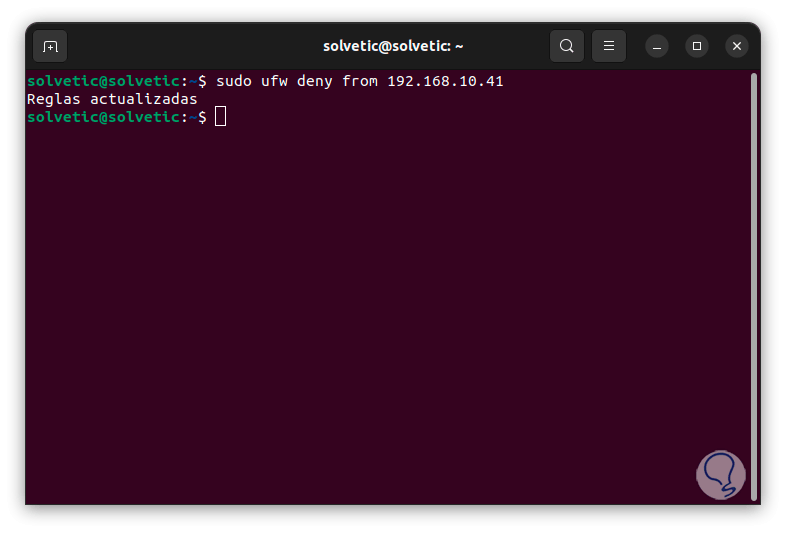
We execute the following command to block the desired address:
sudo ufw deny from 192.168.XX
Step 3
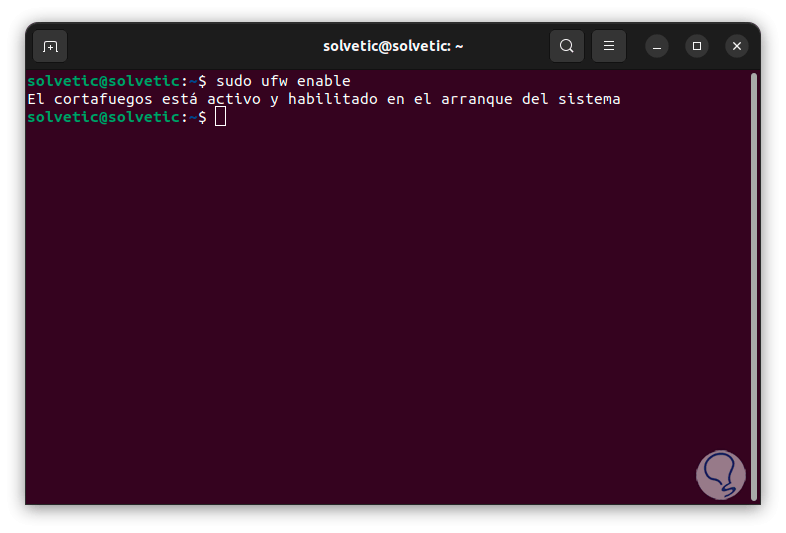
Now we apply the changes with the command:
sudo ufw enable
3 Block Linux IP using FIREWALLD
Firewalld is a dynamic firewall which has support for network zones/firewalls allowing to centrally manage the connections or network interfaces of the system, its use is focused on CentOS/RHEL distributions and based on these, its use is based on a structure of zones with which it is possible to define the filtering rules, this simplifies the security administration in many aspects of the system, some of its most outstanding characteristics are:
Characteristics
- IPv4 and IPv6 NAT support
- Built-in predefined list of icmp zones, services and types
- Simple service definition using ports, protocols, source ports, and destination address handling
- Graphical configuration tool via gtk3
Step 1
We open the terminal and install the utility with the command:
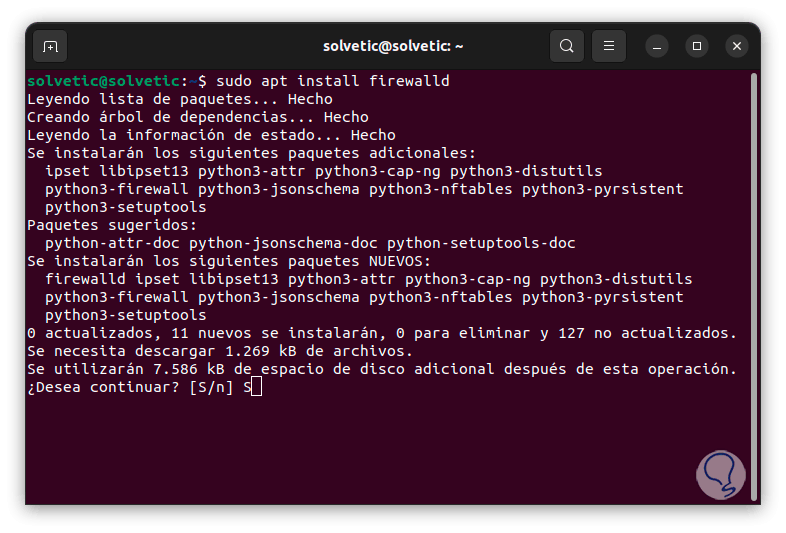
sudo apt install firewalld
Step 2
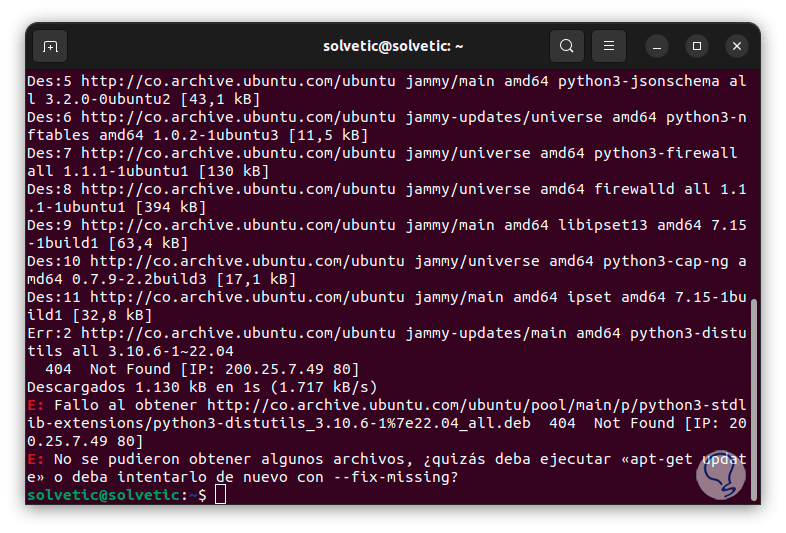
We accept the process with the letter "S":
Step 3
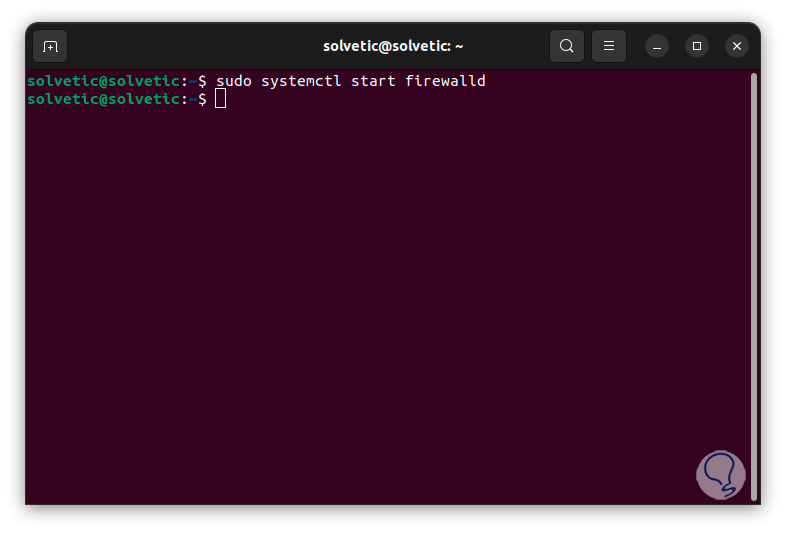
Now we start the service:
sudo systemctl start firewalld
Step 4
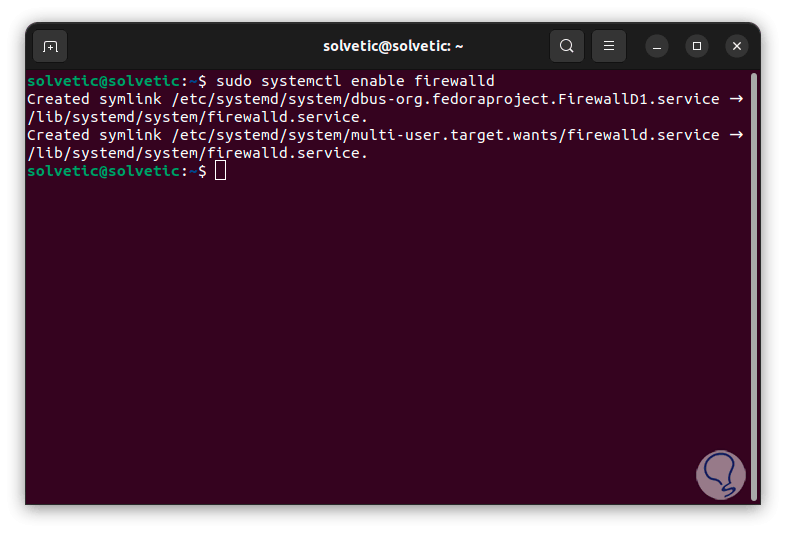
We enable the service with the boot:
sudo systemctl enable firewalld
step 5
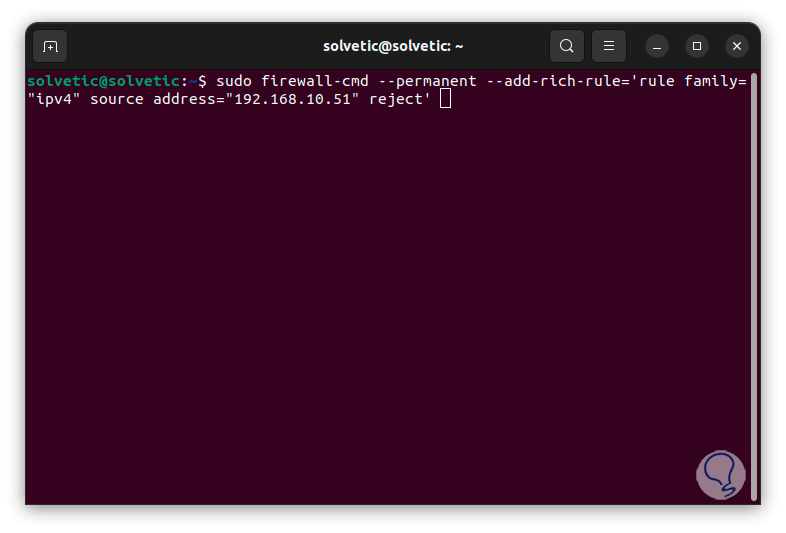
Now we block the desired IP address with the following syntax:
sudo firewall-cmd --permanent --add-rich-rule='rule family="ipv4" source address="192.168.XX" reject'
step 6
If it were to block, we apply the changes with the command:
sudo firewall-cmd --reload
So we have practical options to block an IP address in Linux.