The threats on the subject of information theft is very widespread in the Internet world and the chances of receiving some kind of attack are great. There are many types of malware that seek to harm large data systems or individual users, rasomware is good proof of this..
The attackers feed on poisoned material to encrypt information from outside teams and ask for ransom for it. Despair makes many of them give in to that reward without finally receiving what was agreed upon.
To prevent our information from being at risk we must have the necessary measures to protect it . That is why today we will focus on giving the necessary guidelines to protect the files and folders of the system and prevent them from suffering attacks in Windows 10. We will see how to create controlled access to system data through three different tools..
What is controlled access?
Controlled access to folders is a functionality of Microsoft under the Windows Defender Center, which allows you to analyze which applications can make changes to protected folder files. For this we must manage which applications are safe for our team and which are not.
This way we will use this option of "Controlled folder access" to prevent dangerous applications or software from making changes to protected folders.
1. Configure access to controlled folders from Windows Defender
The controlled folder access function is protected under Windows Defender, so we must configure it well beforehand.
Step 1
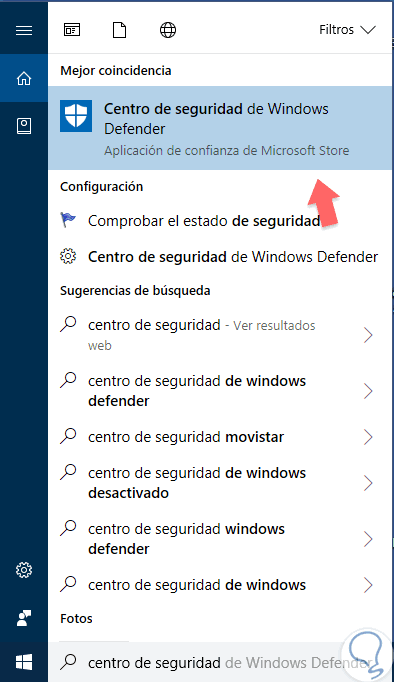
We go to the Windows Defender Center by putting in the "Security Center" search engine.
Step 2
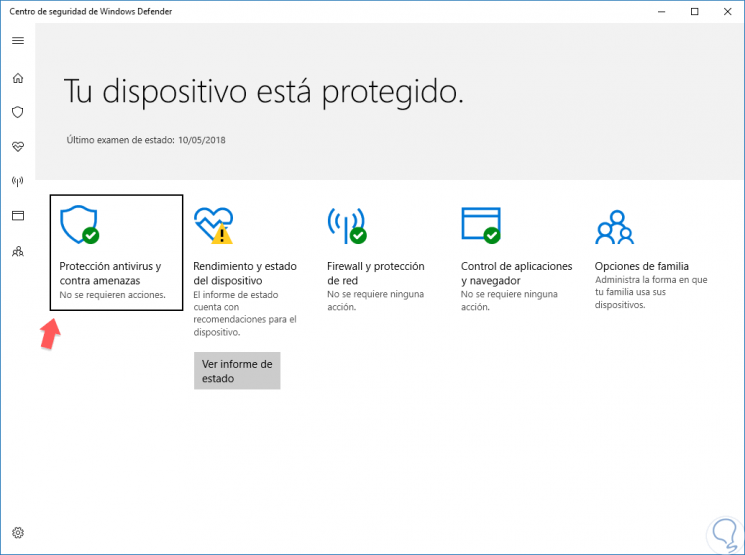
We enter the option "Anti-virus and threat protection".
Step 3
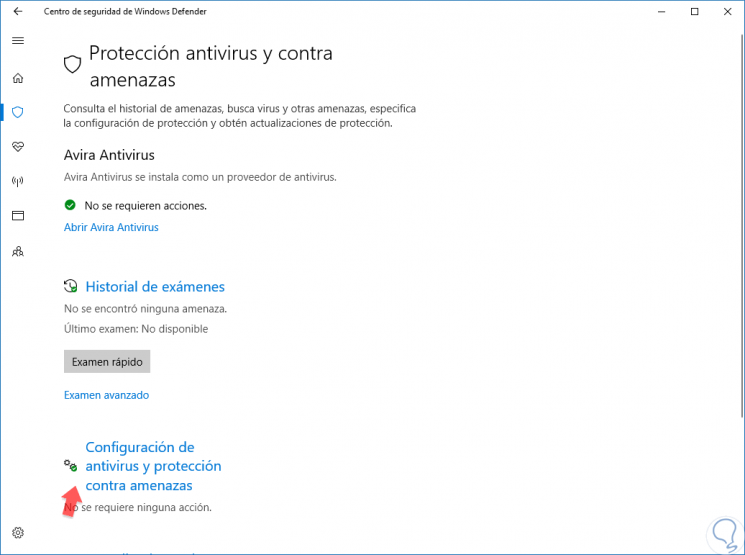
We enter the option of "Antivirus configuration and protection against threats".
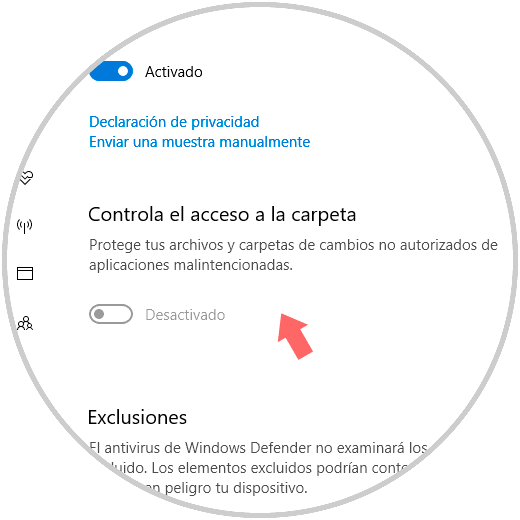
Step 4
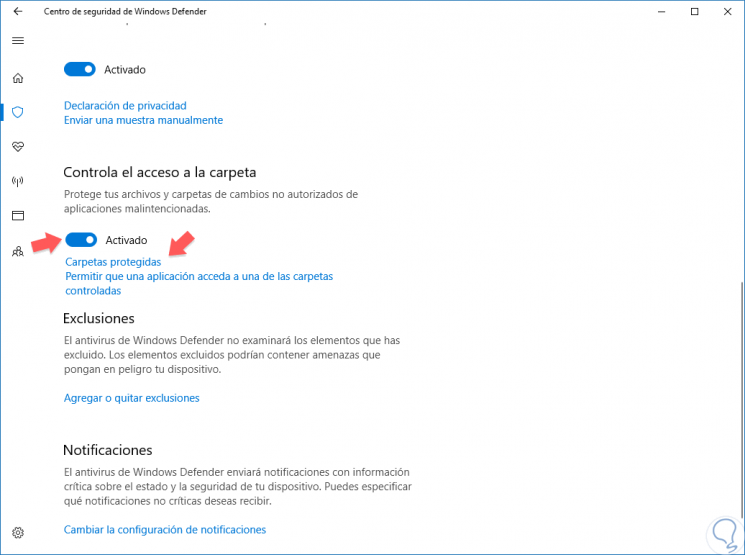
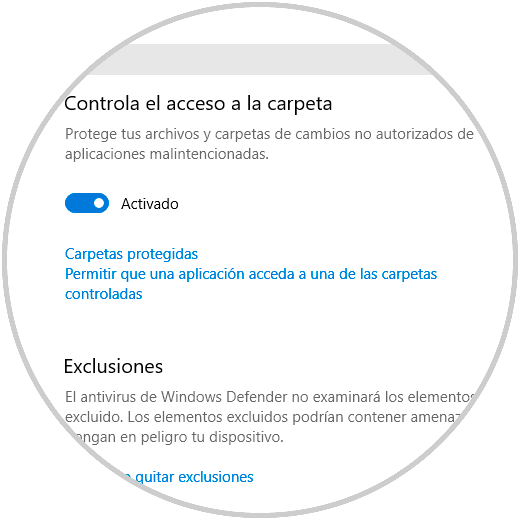
We activate the option "Control access to the folder". If it appears in gray disabled, go to the next chapter to fix it.
Step 5
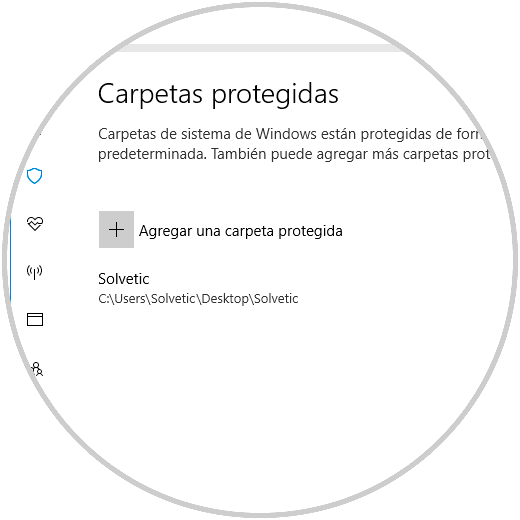
If we want to control the folders included in this protection, click on “Protected foldersâ€.

Step 6
From here we add the folders we want to protect
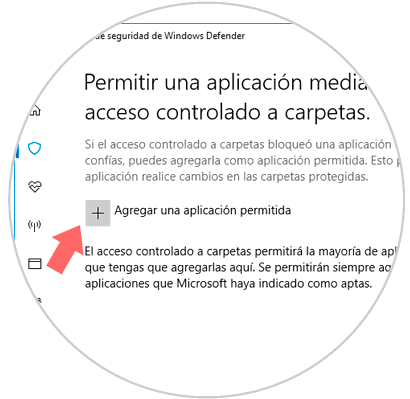
Step 7
If you select the option “Allow an application to access one of the controlled foldersâ€, you can manage the authorized applications.
2. Enable the option Control access to the folder in Windows 10
Sometimes it may happen that this option is not activated and we cannot access. If the option "Control access to the folder" is not activated, we will do the following.
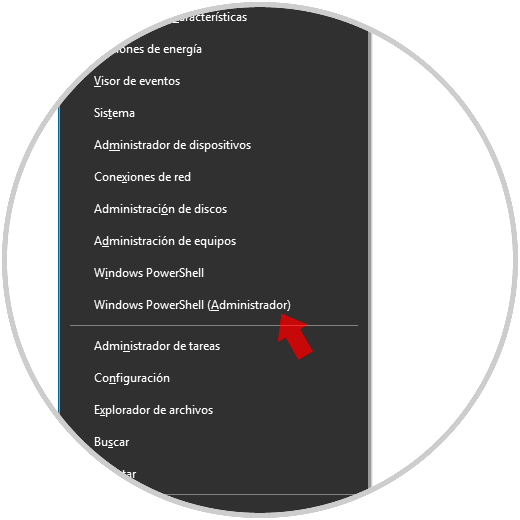
Step 1
We open Windows PowerShell by typing the following combination and opening the terminal as administrators, very important.
+ X
Step 2
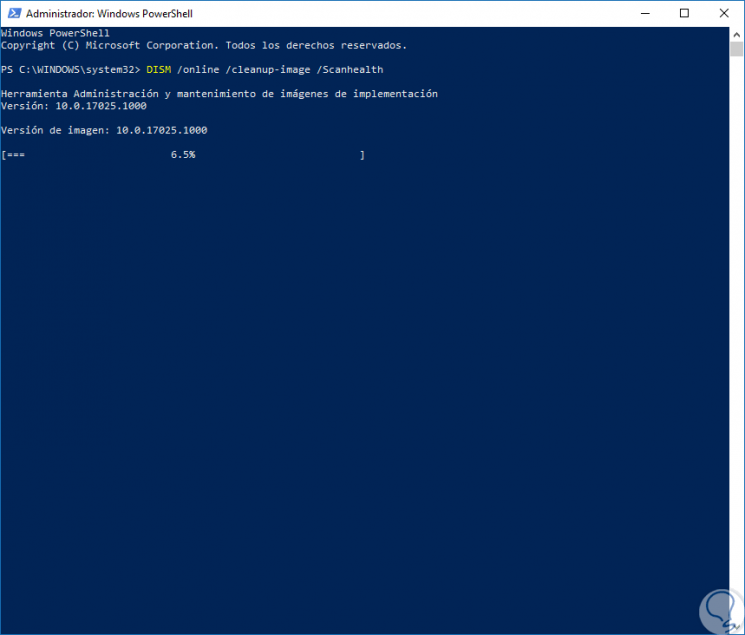
We write the following combination of commands:
DISM / online / cleanup-image / Scanhealth
Step 3
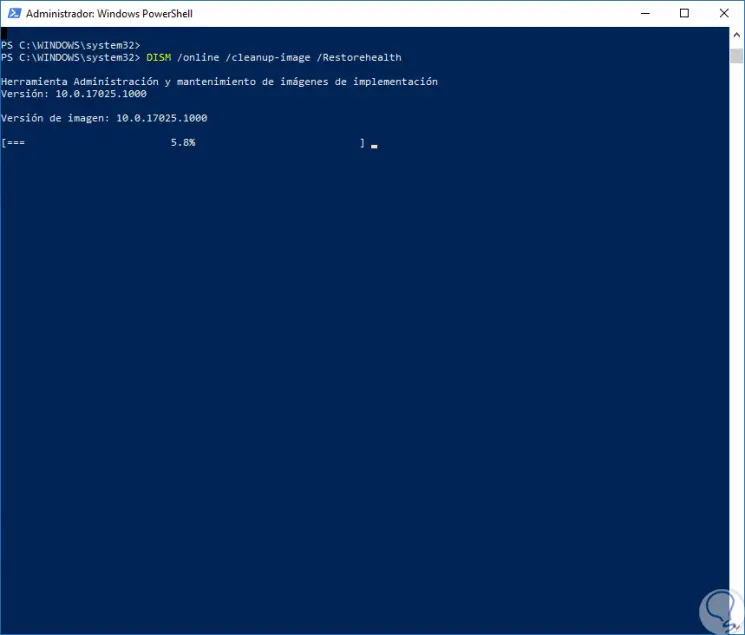
We wait a few seconds to enter a new order. Then we wait for the percentage to be completed and after that we write the following instruction.
DISM / online / cleanup-image / Restorehealth
Step 4
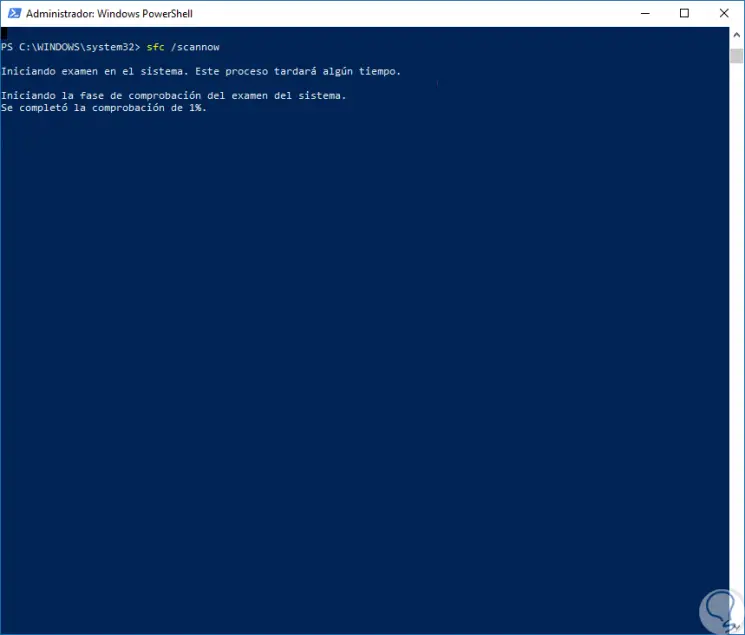
We wait again for the percentage to end and finally enter the following command after a few seconds. Then we leave the command console.
sfc / scannow
Step 4
It would appear unlocked and we could already execute the steps of the previous chapter.
3. Configure access to controlled folders from Windows PowerShell
We can also manage the configuration of access to controlled folders from the PowerShell terminal.
Step 1
The first thing we will do is run the following key combination (Settings) and click on open “Windows PowerShell as Administratorâ€.
Step 2
Now we execute the following command depending on whether we want to enable or disable access to the Control Folder.
Enable Controlled Folder Access
Set-MpPreference -EnableControlledFolderAccess Enabled
Disable Controlled Folder Access
Set-MpPreference -EnableControlledFolderAccess Disabled

Step 3
As an additional resource We can use the following command to enter an "Audit mode" which consists in being able to test how access to controlled folders works without our equipment being damaged.
Set-MpPreference -EnableControlledFolderAccess AuditMode
We can use both graphical and command mode to enable controlled folder access. To verify that it works we can try to save a file in one of the protected folders and we will see that an authorization error appears.