When working, administering and using Linux operating systems, we can face a new world that is totally different from the traditional one in terms of the execution of tasks, which can put us in trouble in some situations.
One of the frequent tasks is the search for items in the system and to avoid going from library to library looking for that element, we can turn to the terminal and from there know the exact path where said file or folder is located..
Through this tutorial we will analyze two of the most used commands for this purpose: locate and Find.
1. How to search for files using the locate command in Linux
The locate command is the most practical way to search for a file in Linux, this locate command is responsible for performing searches using a database where all the information is located and locate the query to it directly.
Step 1
The path of this database is.
/var/lib/mlocate/mlocate.db
Step 2
It is practical and fast to perform the search with locate since the database contains all the file paths in the system without the need to go individually for each partition and file system.
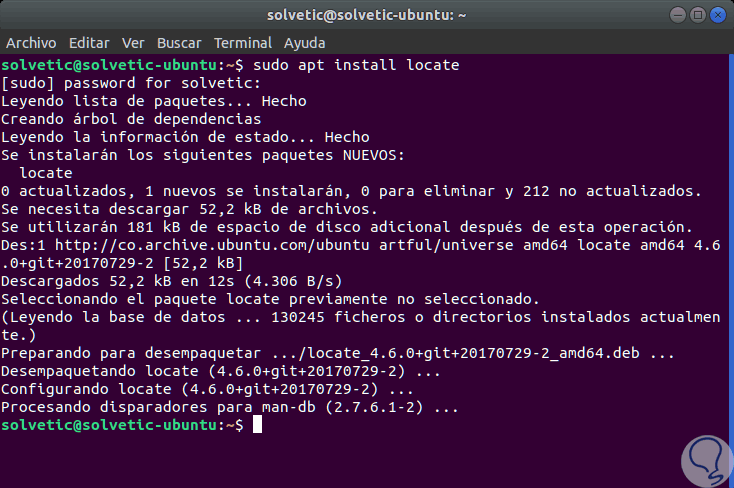
To install the locate command we can use one of the following options:
Step 3
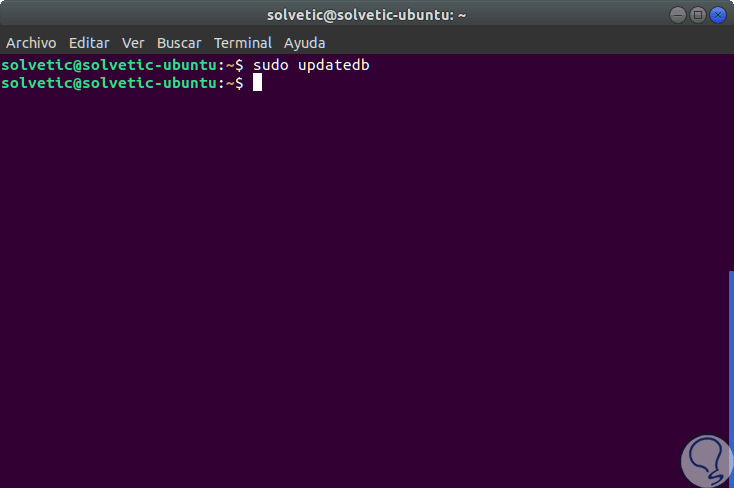
Once locate locate on the system, we will execute the following command to update the database:
sudo updatedb
Step 4
This command allows us to force the database update which by default is updated daily.
Step 5
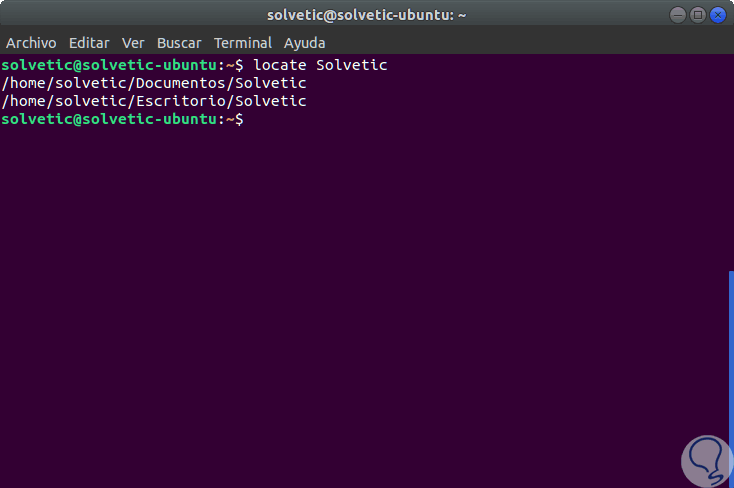
To start using locate, let's go to the terminal and run locate followed by the file name we are looking for like this:
locate TechnoWikis
Step 6
As a result we will see the routes where said file is located:
Step 7
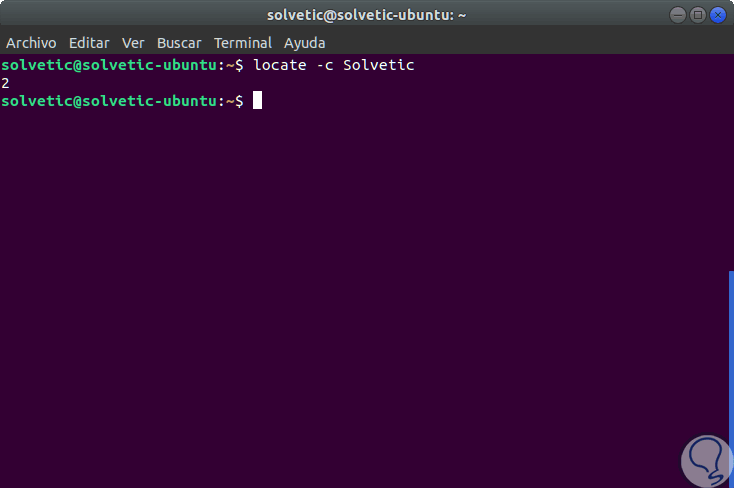
The locate command is able to display how many times a search keyword matches in the database, for this, we will use the -c parameter in the command, where -c is equal to count:
locate -c TechnoWikis
Note
Something to keep in mind when using the locate command is that we must know exactly the name of the file, including upper or lower case, since otherwise the result will be wrong.
2. How to search for files using the find command in Linux
The find command is integrated into the Linux distributions which offers better results, but at the performance level it is slower than locate because find searches the disks for the files and directories that we have specified.
Step 1
When we say that the find command is more useful and with better results than locate it is due to reasons such as:
You can search for files associated with a specific user or group of users.
You can search for files that were recently modified or accessed.
It allows the search of files with a specific size range, hidden files, executables, read-only files and files with specific permissions.
Step 2
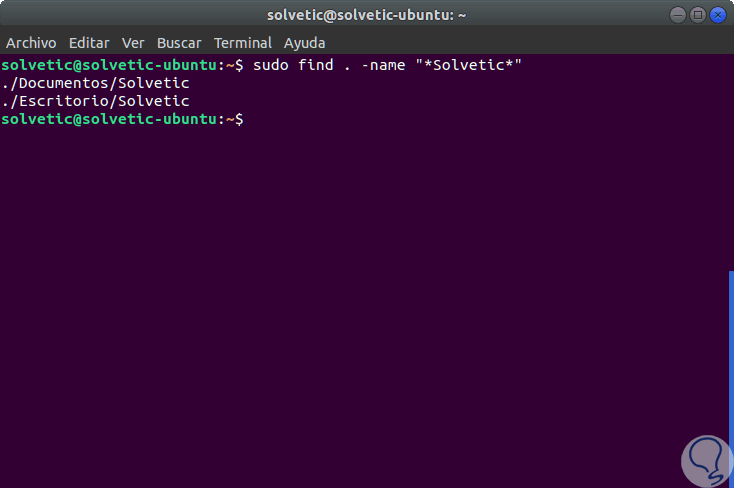
To optimize the search with the find command, we can tell you to search in a specific directory, so we avoid interactivity with unnecessary paths. To use this command we can execute the following:
sudo find. -name "* TechnoWikis *"
Step 3
This will result in all the lines contained in the word TechnoWikis:
Step 4
If we want to display all the results regardless of whether it is capitalized or not, we must indicate the -iname parameter:
sudo find. -iname "* TechnoWikis *"
Step 5
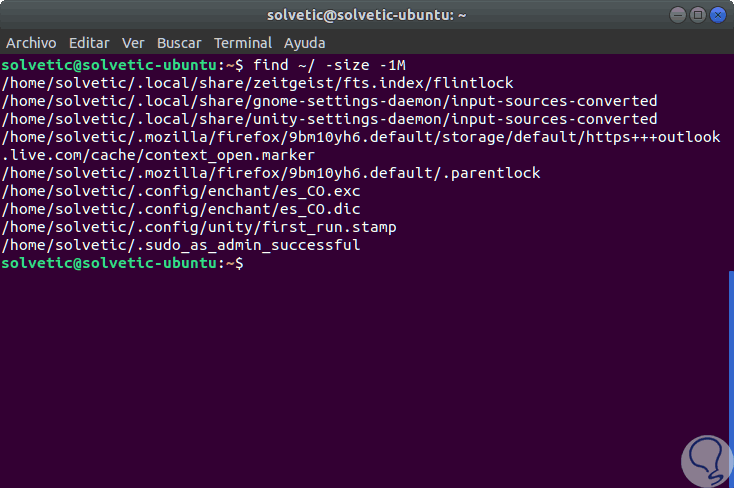
The find command allows us to search for a file based on its size, so if we want to search for all files that weigh less than 1 MB, just run the following:
find ~ / -size -1M
Step 6
It will also be possible to specify a size range like this:
find / -size -1M -and -size + 2M
Step 7
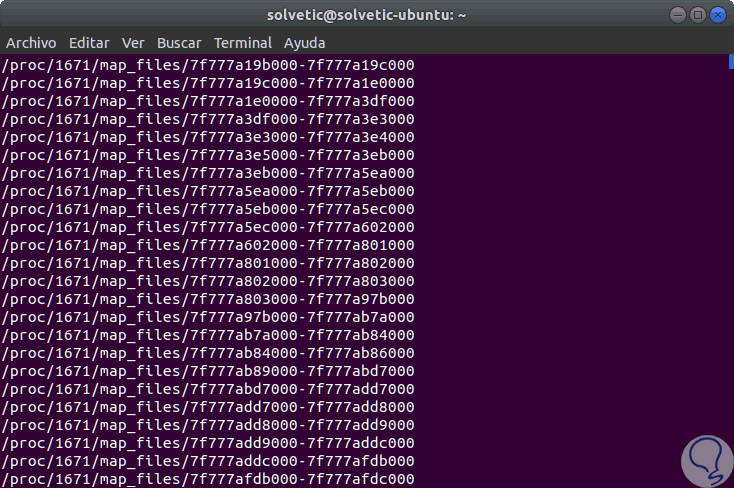
This will search all files smaller than 1MB and larger than 2MB. In case you do not know the name of the file, but taking into account that we created it in a previous range of minutes, for example, 5 minutes ago, we can access the directory where it was hosted and execute the following:
find / -amin -5
Step 8
As a result we will see all the files created in the last 5 minutes:
Step 9
We can also search for the files we accessed in a range of days, for example, 4 days ago:
find / -time -4
Step 10
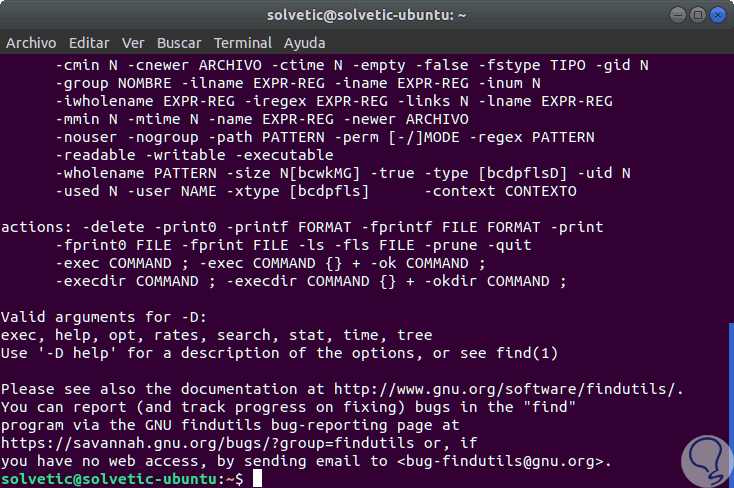
To get more help from this command we can execute the following:
find –help
Thus, we have practical options to locate each file in Linux..