Currently the Apache server is the most used solution in Linux environments for the entire web hosting issue due to its versatility, dynamism and efficiency, but like any operating system or application, at some point its speed or stability can be affected by hundreds of factors that They influence their optimal development..
To solve this problem, Varnish has been developed as a practical alternative to increase the speed of the Apache server , and many HTTP solutions completely and securely. Today we will learn how to install and configure Varnish in a Linux environment by choosing Ubuntu Server.
What is Varnish
Varnish Cache has been conceived as a web application accelerator, or also known as a reverse HTTP cache proxy. It can be installed on any server that uses HTTP and is configured to cache the contents of that server. Varnish Cache is fast, as a rule, accelerates the delivery with a factor of 300 - 1000x, depending on the architecture used.
Some of its most outstanding features are
- Performance: Varnish is linked by network speed, and its speed capacity has been tested at up to 20 Gbps
- Flexible: One of the main features of Varnish is the flexibility of its configuration language, VCL. With VCL it will be possible to write policies on how incoming requests should be handled and thus, in that policy, decide what content we want to publish, from where you want to obtain the content and how the request or response should be modified.
Varnish can be installed on FreeBSD, ArchLinux, Debian, Ubuntu, RedHat, OpenBSD operating systems and more.
1. How to install Apache Linux server
The first step to take will be to install the Apache server on the server, and for this we will first update the system packages by executing the following:
sudo apt update
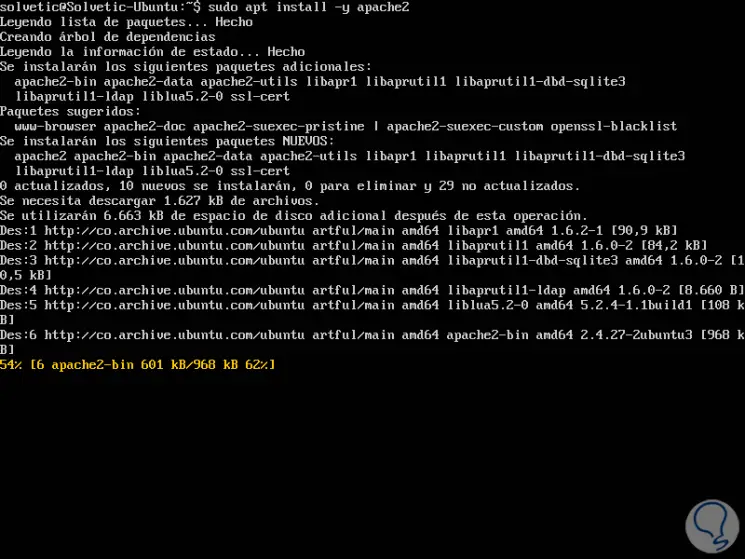
Once updated, we proceed to the installation of Apache2 by running the following line:
sudo apt install -y apache2

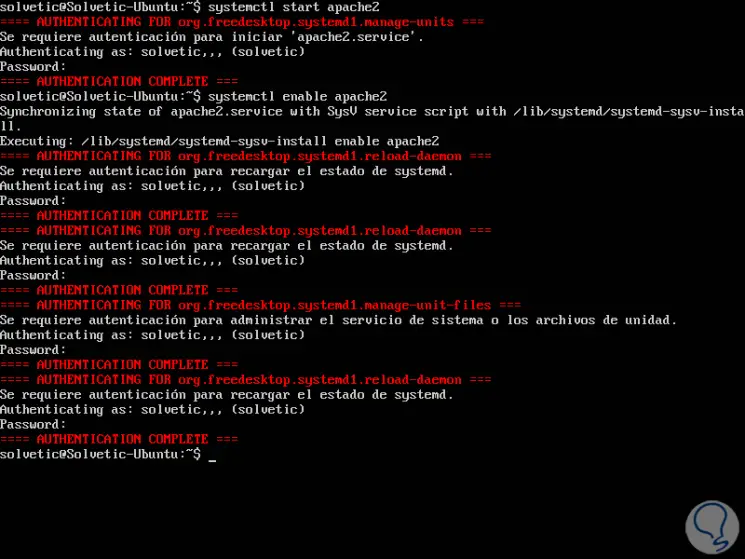
Once Apache is installed on Ubuntu 17, we proceed to execute the following commands:
systemctl start apache2 (Start the Apache service) systemctl enable apache2 (Enable Apache to run on Ubuntu startup)

With this process we have installed the Apache web server..

Login Join up!