Security in any operating system should always be one of the main premises for which to fight every day since there depend on multiple elements such as user files , configurations, services and others. An incorrect configuration of the security parameters is associated with a vulnerability that leaves doors open so that attackers can have free access to carry out their actions..
One of the main security mechanisms is linked to the system firewall because thanks to it it is possible to filter incoming and outgoing packets from the network and create various rules in order to improve the security of both the system and the applications and objects stored in l.
That is why today TechnoWikis will explain in detail how to configure the firewall in FreeBSD using pf..
What is pf
PF (Packet Filter) has been developed as a firewall software for FreeBSD systems with which we can create hundreds of rules that allow us to administer in a much more centralized way the access and behavior of all system elements.
Now we will see how to enable and configure pf in FreeBSD.
1. How to activate the Linux firewall
Although pf is integrated in FreeBSD, we must add the following lines in the file /etc/rc.conf with any desired editor:
nano /etc/rc.conf
The lines to add are:
echo 'pf_enable = "YES"' >> /etc/rc.confecho 'pf_rules = "/ usr / local / etc / pf.conf"' >> /etc/rc.confecho 'pflog_enable = "YES"' >> / etc / rc.confecho 'pflog_logfile = "/ var / log / pflog"' >> /etc/rc.conf
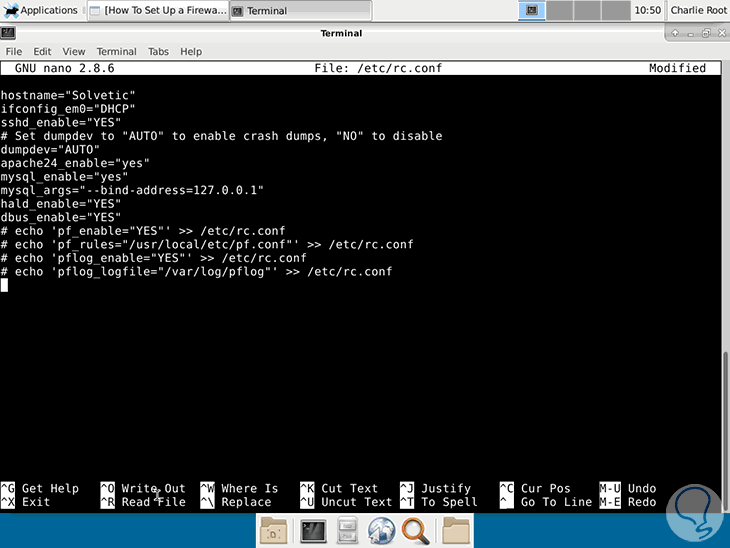
Once we add these lines, we save the changes using the Ctrl + O keys and exit the editor using Ctrl + X..
The lines we have added are:
Take the PF rules from this specific file
pf_rules = "/ usr / local / etc / pf.conf"
Enable registration support for PF
Refers to the file where pflogd should store the log file
pflog_logfile = "/ var / log / pflog"
There the records will be stored in the file / var / log / pflog.
2. How to create rules in the file /usr/local/etc/pf.conf Linux
Once the previous lines have been added, we will access the file /usr/local/etc/pf.conf to create the rules that pf should read and which will be taken into account at the time of protection.
We access using some editor:
nano /usr/local/etc/pf.conf
As it is a new file, the possibilities of rules are thousands, for this case we can go to the following link and copy the rule, which applies to a web server, and paste it into our configuration file:
PF Rules
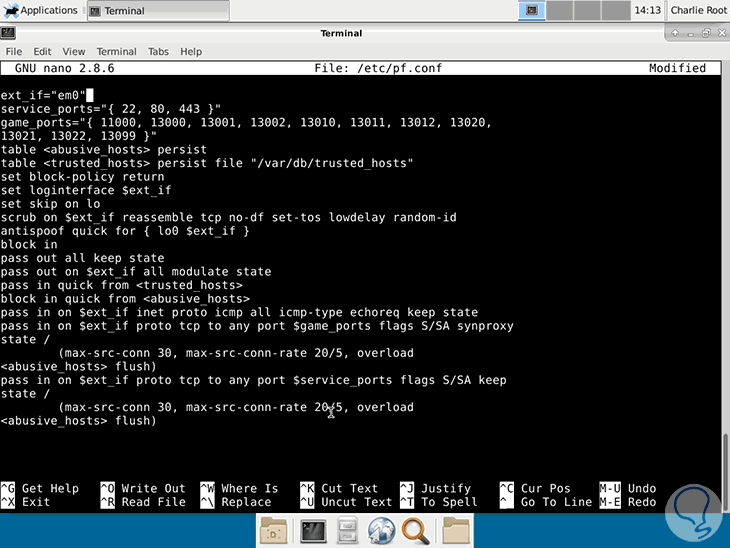
There we must consider modifying the network adapter in the ext_if field for the correct one in each case.
In this file we have added the following rules:
# vim: set ft = pf # /etc/pf.confext_if="em0"webports = "{http, https}" int_tcp_services = "{domain, ntp, smtp, www, https, ftp}" int_udp_services = "{domain, ntp} "set skip on loset loginterface $ ext_if # Normalizationscrub in all random-id fragment reassembleblock return in log allblock out allantispoof quick for $ ext_if # Block 'rapid-fire brute force attemptstable <bruteforce> persistblock quick from <bruteforce> # ftp- proxy needs to have an anchoranchor "ftp-proxy / *" # SSH is listening on port 26pass in quick proto tcp to $ ext_if port 26 keep state (max-src-conn 15, max-src-conn-rate 5/3, overload <bruteforce> flush global) # Webserverpass proto tcp from any to $ ext_if port $ webports # Allow essential outgoing trafficpass out quick on $ ext_if proto tcp to any port $ int_tcp_servicespass out quick on $ ext_if proto udp to any port $ int_udp_services Something vital to keep in mind is that pf has a definite order to establish the rules and this is:
Macros
Macros must be defined before they are referenced in pf.conf
Tables
Tables provide a mechanism to increase the performance and flexibility of the rules
Options
The options adjust the behavior of the packet filtering engine.
Traffic Normalization
This rule protects internal machines against inconsistencies in Internet protocols and implementations.
Queueing
Provides bandwidth control based on defined rules
Translation
This option specifies how addresses should be mapped or redirected.
Packet Filtering
Offers a rule-based lock
Once the rules are created, we save the changes using Ctrl + O and exit the editor using Ctrl + X.
3. How to enable Linux pf service
Next we will execute a series of commands to check and start the pf service in FreeBSD.
Step 1
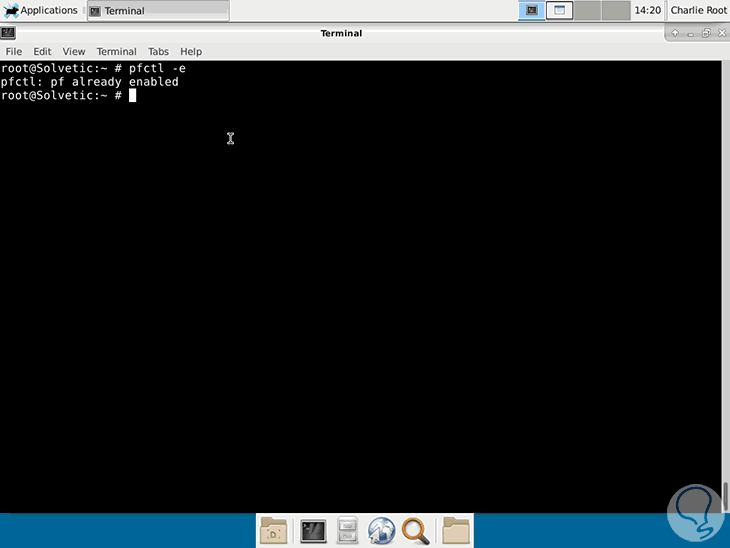
To verify the enable status of pf we execute the line:
pfctl -e
Step 2
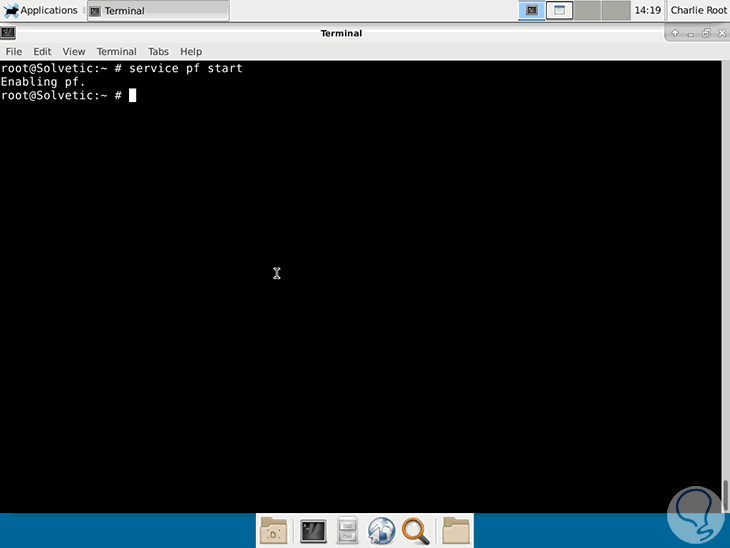
To start the pf service we run the following line:
service pf start
Step 3
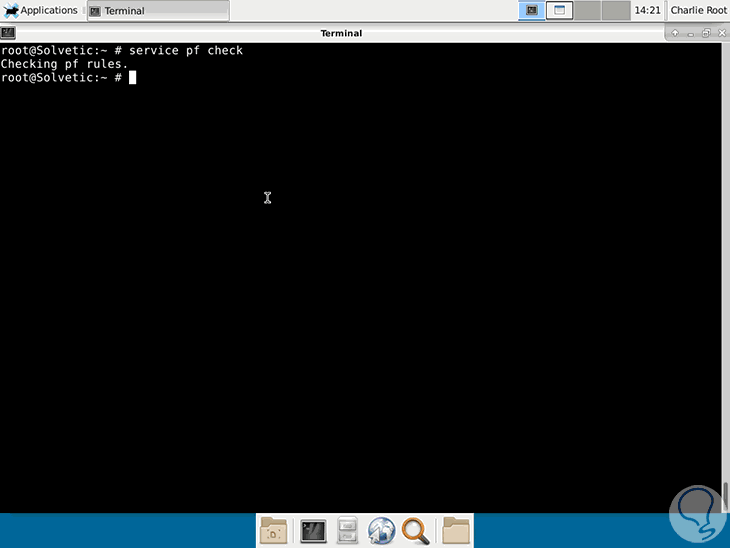
We check the service by running:
service pf check
Step 4
At this point we can also execute any of the following options:
/etc/rc.d/pf checkpfctl -n -f /usr/local/etc/pf.conf
If we want to stop the pf service we execute:
service pf stop
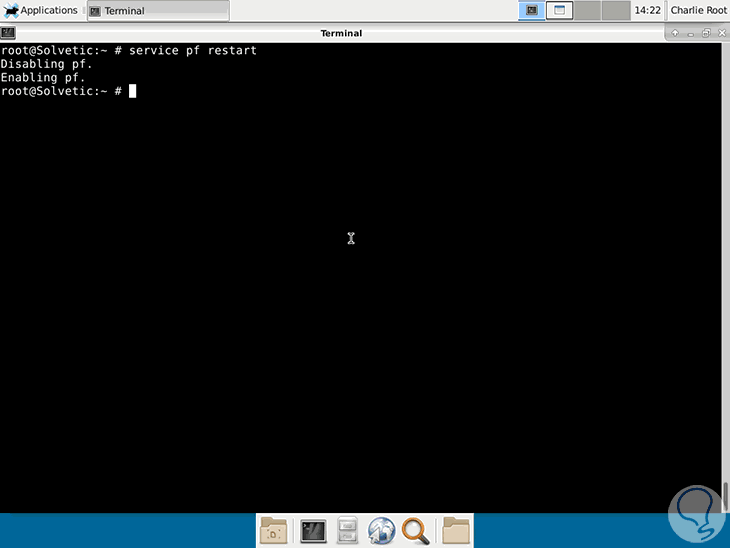
To restart the pf service:
service pf restart
Step 5
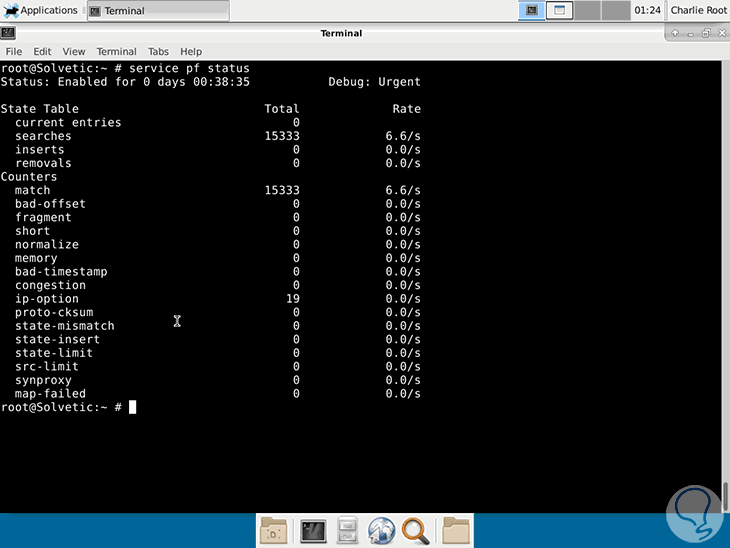
If we want to see the current status of the pf service:
service pf status
Step 6
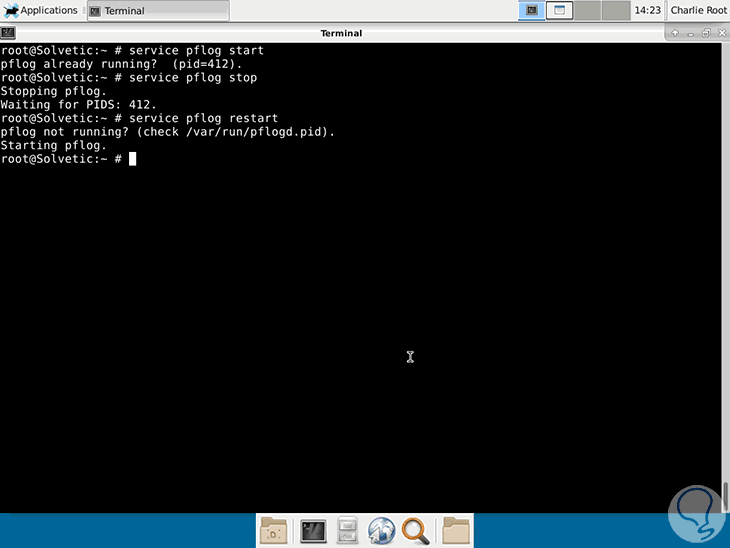
The pf firewall uses the pflog service to store and record all security events that occur in the system, the usage options are:
service pflog start (Service starts) service pflog stop (Service stops) service pflog restart
4. How to use pf in FreeBSD Linux
It will be necessary to use the pfctl command in order to visualize the pf rule set and parameter settings, including the status information of the packet filter.
To see this information we execute the following:
pfctl -s rules
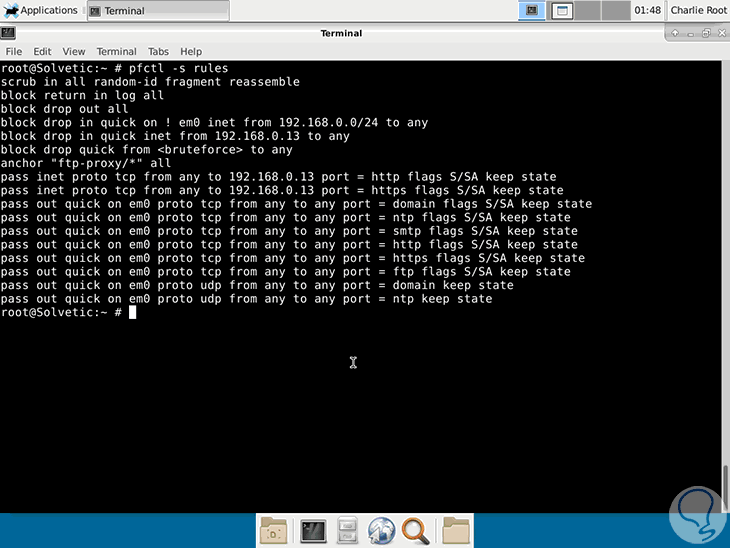
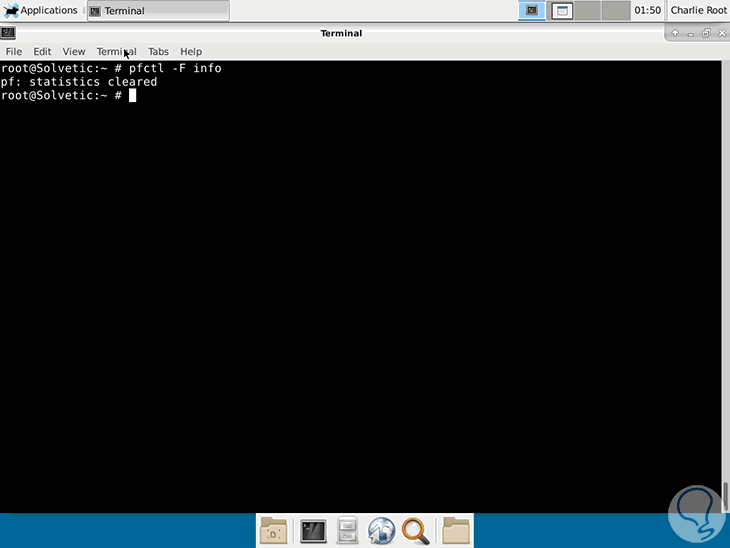
In addition to this, we will have more options such as:
Show status
pfctl -s statepfctl -s state | more
View pf events
tcpdump -n -e -ttt -r / var / log / pflog
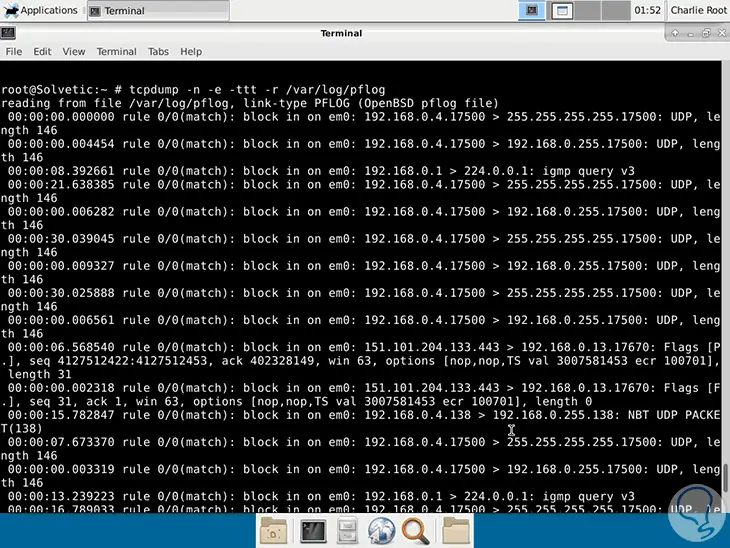
We can see how pf is a practical tool when working with the firewall in FreeBSD.