Among the security measures that must be applied and taken in any organization regardless of its size, it is security , this because there are certain elements that must be taken care of in a special way such as documents, databases, configurations and rules that They have been created in order to optimize the general use of the company's IT infrastructure. There are several security methods that can be implemented, some simple and others not so much, but TechnoWikis will explain in detail one in particular that will be a bridge to significantly increase security measures and is IPFire..
What is IPFire?
The Firewall has been developed as a method and a measure of protection that acts between the local network and the internet analyzing the incoming and outgoing packets through rules which guarantee that the use of the network is safe since this is the door more Used for all types of attacks.
IPFire has been designed with a modularity and high levels of flexibility since it is capable of acting as a firewall, a proxy server or a VPN gateway . Thanks to the modular design of IPFire, it is guaranteed that its entire structure works in based on the configuration we have defined. IPFire can be managed and updated through the package manager by facilitating administration tasks.
The structure of IPFire is based and has been developed to carry out certain tasks such as:
Act as firewall
By default, IPFire makes use of a Stateful Packet Inspection (SPI) firewall, which is based on, during the IPFire installation process, the network is configured in different segments separated from each other, each segment represents a group of computers that share a level of security common to each other, through colors, such as:
- Green: Indicates a secure area and is usually composed of a wired local network, clients of this state are able to access all other network segments without restrictions.
- Red: Red indicates "danger" so that nothing in this color is allowed to pass through the firewall unless the administrator configures it in that way.
- Blue: Refers to the wireless network of the local network and as such is uniquely identified and the specific rules govern the clients staying there. Clients in this network segment must be explicitly allowed before they can access the network securely.
- Orange: Also called as the "demilitarized zone" (DMZ). All servers that are publicly accessible are isolated from the rest of the network here in order to restrict possible security breaches.
Package manager
The IPFire packet management system is called Pakfire and its mission is to update the system with a single click. With Pakfire it will be possible to install security patches, bug fixes and improved features, to generally optimize the use of IPFire. Additionally, Pakfire allows us to install and use:
- File sharing services (Samba and vsftpd)
- Communications server used with Asterisk
- Access various command line tools such as tcpdump, nmap, traceroute and many more.
Updates
IPFire is based on Linux, being its open source core, therefore the IPFire updates, called Core Updates, are published every four weeks and there are updated the corrections collected from the errors indicated by the users.
Act as Dialup
IPFire can act as an Internet gateway for the entire Internet connection process, so it is compatible with all types of broadband access as well as mobile access within which we highlight VDSL, ADSL / SDSL, 4G / 3G and Ethernet.
Serve as a proxy server
When we implement IPFire, a complete web proxy is included, which is known as Squid and has state-of-the-art packet inspection (SPI) filtering functions by the firewall in the TCP / IP layer, the web content transmitted over HTTP , HTTPS or FTP and more. As a proxy server, IPFire allows us to perform actions such as:
- Add security: this is because the client does not query the web servers directly, first check the proxy.
- Authentication: IPFire makes use of access lists, with these, the web proxy can be configured to allow access after the correct authentication of a user, we can select authentication methods such as LDAP, ID, Windows, Radius or local authentication methods .
- Authorization: IPFire has a network-based access control through which we can create rules to allow or not allow access.
- Registry: This utility has a log file analyzer called Calamaris, through which the log files can be represented graphically by managing their criteria in the IPFire web interface.
- Bandwidth Management: IPFire has a download management function which allows you to manage and control bandwidth to specific areas.
Filter content
When implementing IPFire, SquidGuard is added, which is a URL filter plug-in that is connected using the proxy redirection mechanism, so that individual extensions for particular domains or URLs can be configured in the IPFire web interface for blacklists and whitelists as appropriate. By using this filter it will be possible:
- Block or restrict Internet content temporarily by time, user and equipment.
- Prevent access to certain pages and content categories.
It works as an update accelerator
Also known as Update Accelerator, it is a function that was developed in order to accelerate the implementation of updates for operating systems, so all downloaded updates will be cached and, for next use, delivered from the cache accelerating your access.
Transparent Virus Scanner
The Pakfire package manager has the SquidClamAV add-on, which is a virus scanner for the web proxy, its task is to check in real time all web traffic for viruses and threats, using the ClamAV virus definitions and The exploration engine.
VPN creation
With IPFire we have the option of creating virtual private networks (VPN), IPFire uses the protocols, IPsec and OpenVPN, which facilitates the connection to a variety of VPN endpoint devices by manufacturers such as Cisco, Juniper, Checkpoint and more.
Cryptographic security
It is one of the main objectives of IPFire since from there the security, privacy and integrity of the information is guaranteed, IPFire is based on two pillars:
- Hardware acceleration: IPFire is able to use several encryption processors such as those hosted on AMD Geode CPUs, VIA Padlock or CPU extensions such as Intel AES-NI and AMD, AES algorithms are supported {256,192,128} - {ECB, CBC}, SHA256 and SHA1.
- Random number generator: IPFire can make use of several random number generators of hardware in order to generate secure keys and thus accelerate cryptographic operations.
Hardware requirements to use IPFire
IPFire is a powerful tool that requires very little hardware:
- Processor: i5 compatible with x86 with 1 GHz or higher and also ARM SBC and X86-64 processors.
- RAM memory: 1Gb or higher
- Hard disk space: Minimum 4 GB of free space
- Two network adapters for communication between teams.
In addition, IPFire can be virtualized on platforms such as VMware, KVM, Xen, VirtualBox and others. Now we will see how to install IPFire in VirtualBox and thus manage all firewall rules and add the respective security measures..
1. Install Firewall IPFire on Linux
IPFire can be downloaded at the following link:
IPFire
Configure the virtual machine
The basic configuration of IPFire in VirtualBox implies the following:
- Assign the desired name, in this case IPFire
- Select as Ubuntu base system
- Assign the appropriate memory and disk as needed

Step 1
Defined this, we start the virtual machine and select the ISO image that we have previously downloaded:
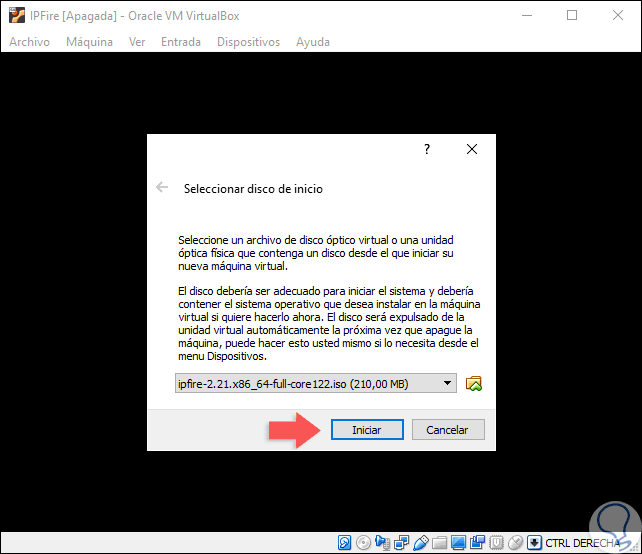
Step 2
Click on the "Start" button and the following will be displayed:
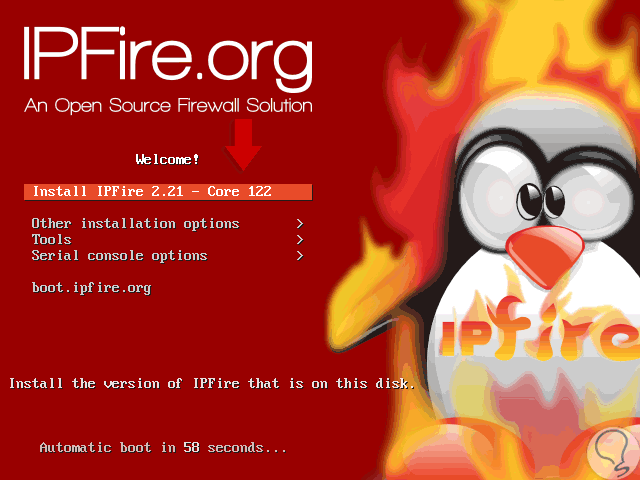
Step 3
There we select the option “Install IPFire 2.21 - Core 122†to execute the installation process, the other options cover general configuration aspects. Once we press Enter we must define the language to use with IPFire:
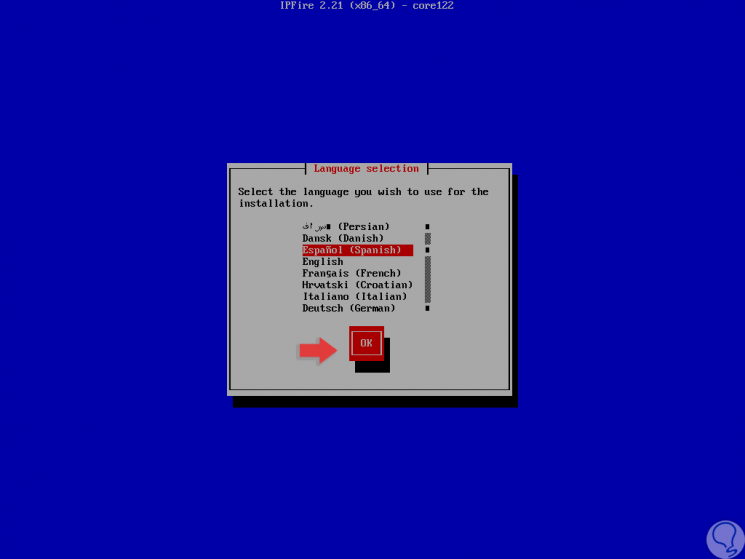
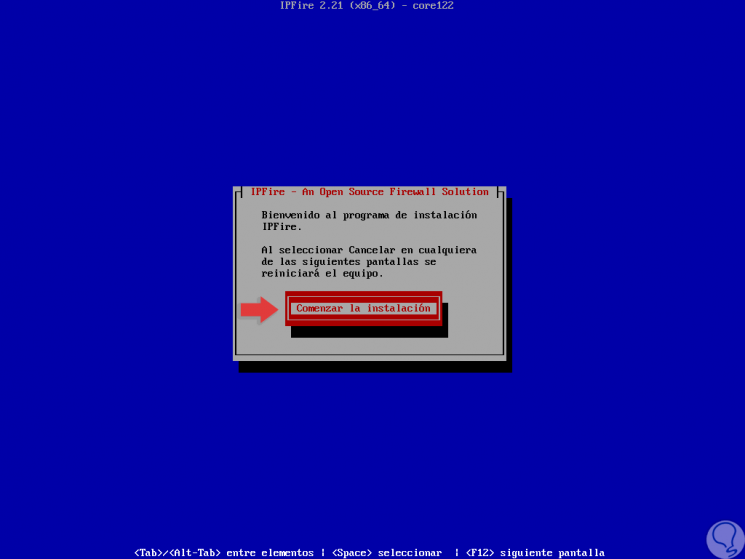
Step 4
Click Ok and the following will be displayed. Click on the "Start installation" button to start the process.
Step 5
In the following window we must accept the GPL license and for this we use the Tab key to go to the “I accept this license†box and with the space bar we activate it:
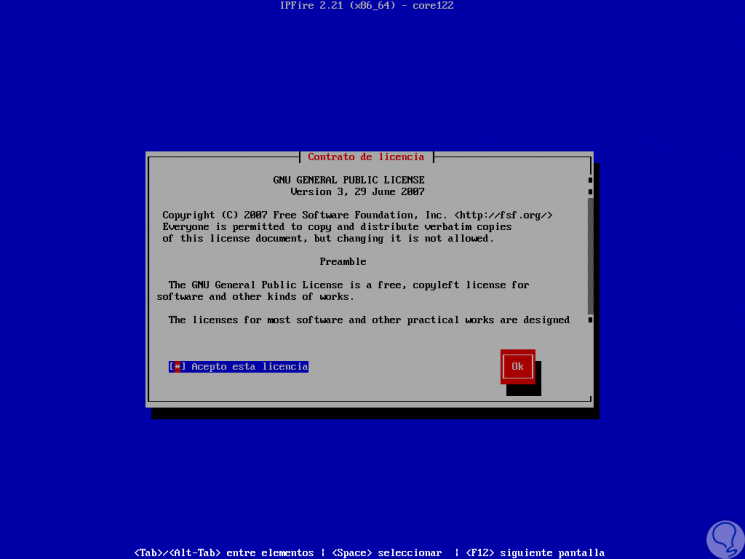
Step 6
Press Enter again, and now we will see the following message:
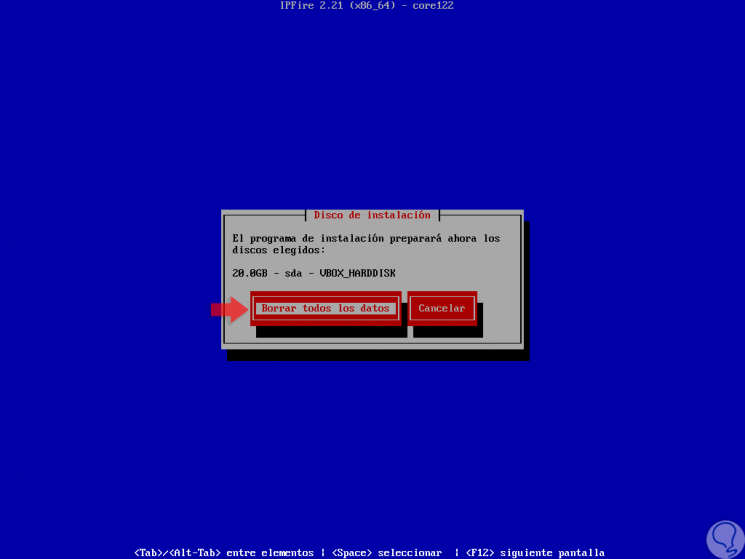
Step 7
There it is indicated that we will proceed with the format of the hard disk and therefore all the data will be lost, ext4 is the default system to use with IPFire, click on “Delete all data†and the following window will be displayed where we will have the opportunity to select another file system if necessary:
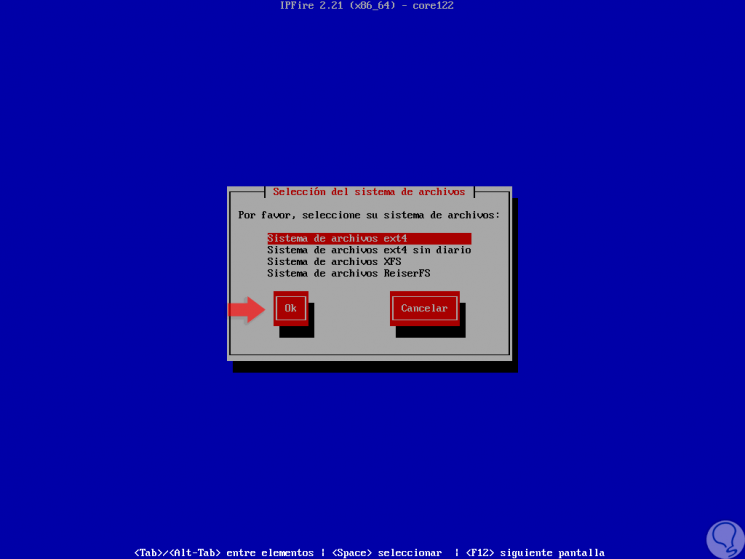
Step 8
Once this is defined, click on Ok and the IPFire installation process will begin:
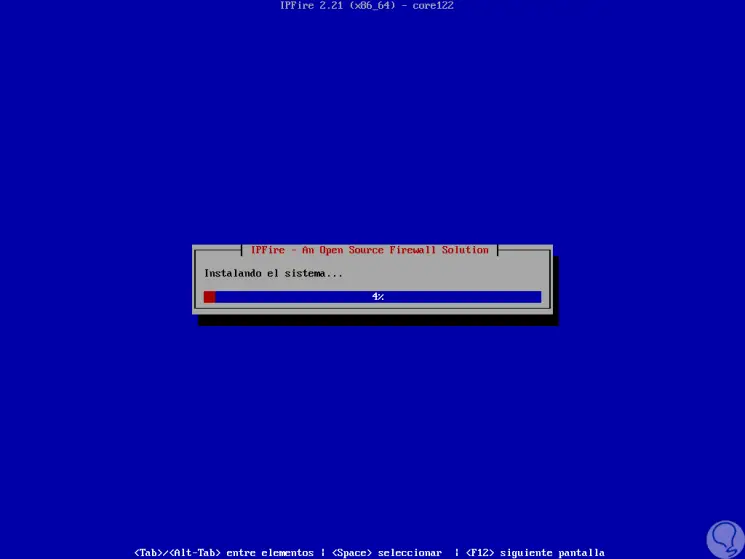
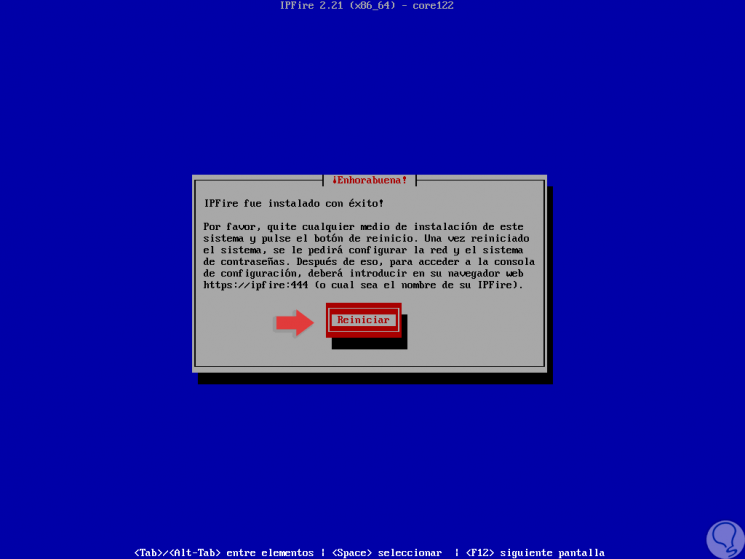
Step 9
Once the installation process is finished we will see the following. We proceed to restart the system to complete the changes.
Next we will see how to configure IPFire completely.

Login Join up!