There are different elements that participate in network connectivity and one of the most essential is the IP address which can be IPv4 or IPv6, this address facilitates and allows communication of all network components with our equipment, this is known as Internet Protocol - Internet Protocol..
IPv4 is the current standard that consists of addresses that have a length of 32 bits, which covers a maximum of 4,294,967,296 addresses. But with the accelerated growth of connections (both in devices and in infrastructure) these addresses are running out, which is a negative impact for thousands of devices. That is why the IETF (Internet Engineering Task Force) has developed IPv6 which handles addresses with a length of 128 bits, this means that we will have up to 340,282,366,920,938,463,463,374,607,431,768,211,456) or 340 sextillions.
But since IPv6 is still in the process of being implemented, if you work with CentOS 8, you may want to disable this address on the server and thus avoid causing confusion with certain administrative tasks..
We will see how to disable IPv 6 in CentOS 8 in a simple way.
1. How to check the status of IPv6 in CentOS 8
Step 1
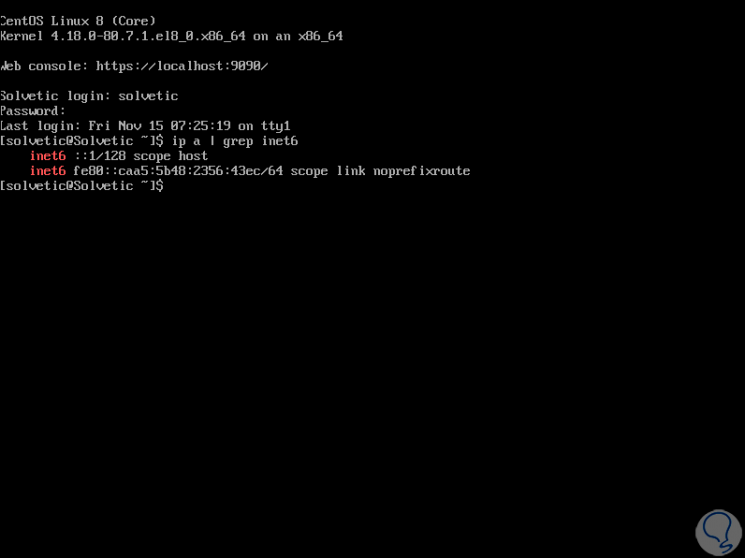
The first step to take will be to check if IPv6 is enabled on the server, for this we execute the following:
ip a | grep inet6
Step 2
As a result we will see the following if IPv6 is active. Being active we find the “inet6†lines.
2. How to disable IPv6 in CentOS 8 using sysctl
With sysctl it will be possible to temporarily disable IPv6 in CentOS 8 and a system reboot is not required to see the changes applied.
Step 1
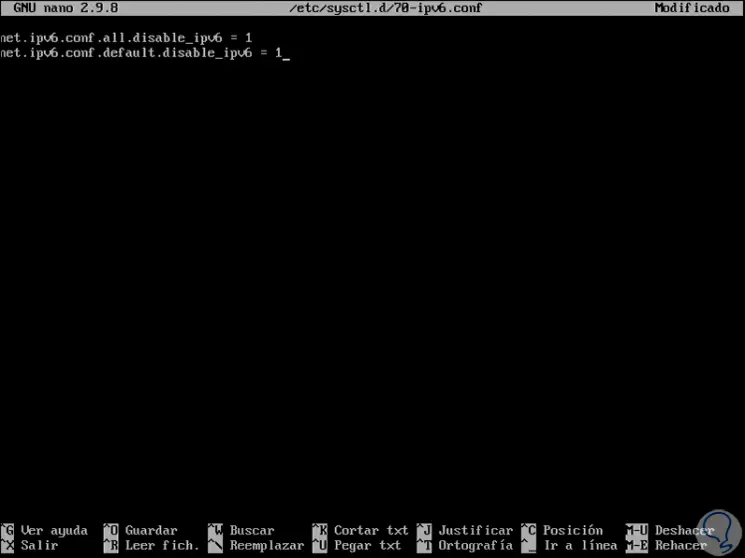
The process is a bit complex since we must create a file /etc/sysctl.d/70-ipv6.conf as follows:
nano /etc/sysctl.d/70-ipv6.conf
Step 2
There we will add the following lines:
net.ipv6.conf.all.disable_ipv6 = 1 net.ipv6.conf.default.disable_ipv6 = 1
Step 3
We save the changes using the following key combination:
+ O Ctrl + O
We leave the editor using:
+ X Ctrl + X
Step 4
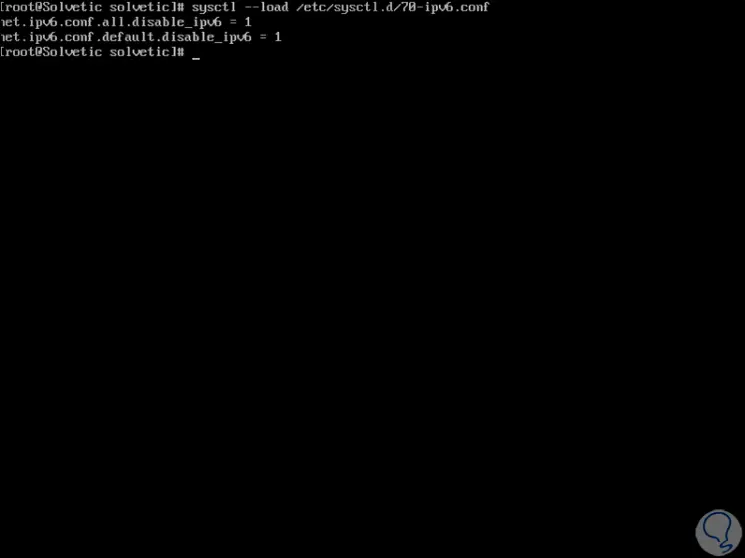
Now we proceed to restart the created file to complete the created process:
sysctl --load /etc/sysctl.d/70-ipv6.conf
Step 5
Again we check the status of IPv6 with the following command:
ip a | grep inet6
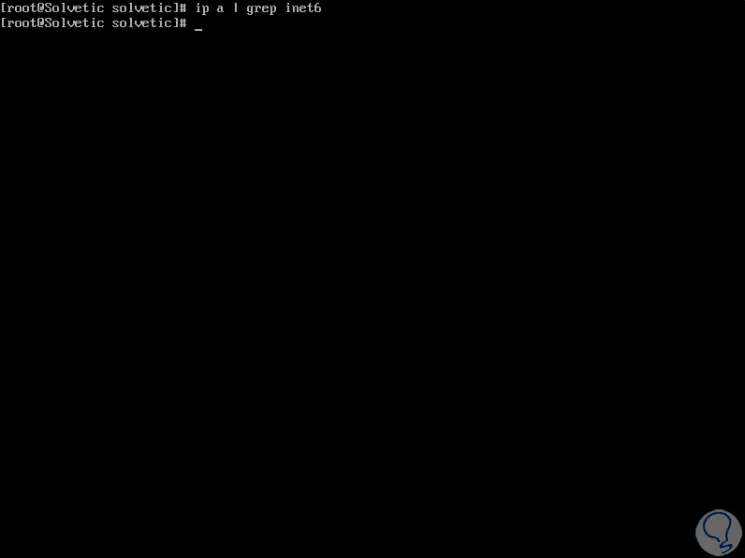
As we see IPv6 has been disabled correctly in CentOS 8..
Step 6
Since CentOS 8 makes use of Network Manager, it will be possible that if we have more network interfaces are still enabled with IPv6, in this case we must execute the following syntax so that deactivation is general. After this we restart the system to complete the process.
nmcli connection modify “interface†ipv6.method ignore
3. How to disable IPv6 in CentOS 8 using kernel boot
This method involves a system reboot after completing the configuration. But it is one of the most effective ways to disable IPv6 in CentOS 8.
Step 1
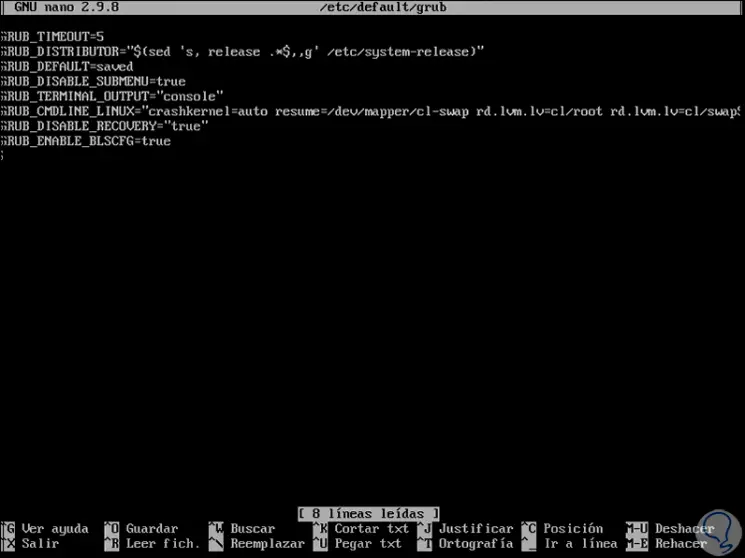
To do this we must access the file / etc / default / grub with some editor as follows:
nano / etc / default / grub
Step 2
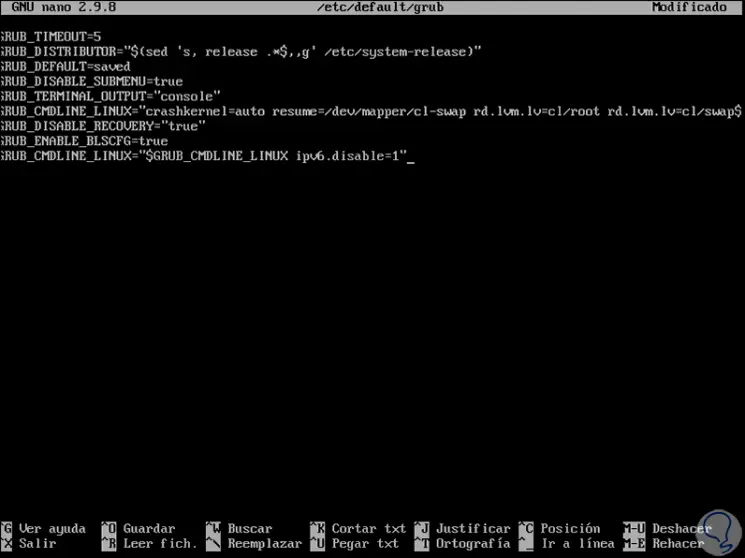
There we will go to the end to add the following line:
GRUB_CMDLINE_LINUX = "$ GRUB_CMDLINE_LINUX ipv6.disable = 1"
Step 3
We save the changes using the following key combination:
+ O Ctrl + O
We leave the editor using:
+ X Ctrl + X
Step 4
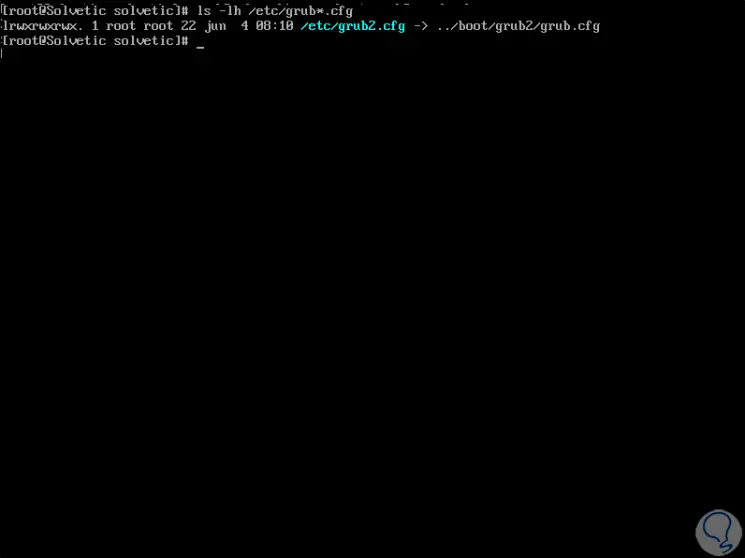
Now we are going to update the GRUB files of the system, for this we will execute the following:
ls -lh /etc/grub*.cfg
Step 5
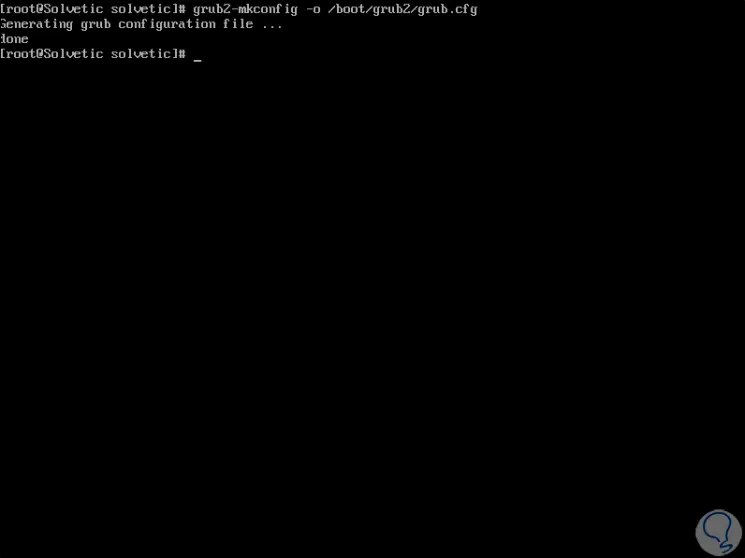
There we can see the path /boot/grub2/grub.cfg, now we will execute the following command in order to create a new GRUB configuration file which will be hosted in the path /boot/grub2/grub.cfg:
grub2-mkconfig -o /boot/grub2/grub.cfg
Step 6
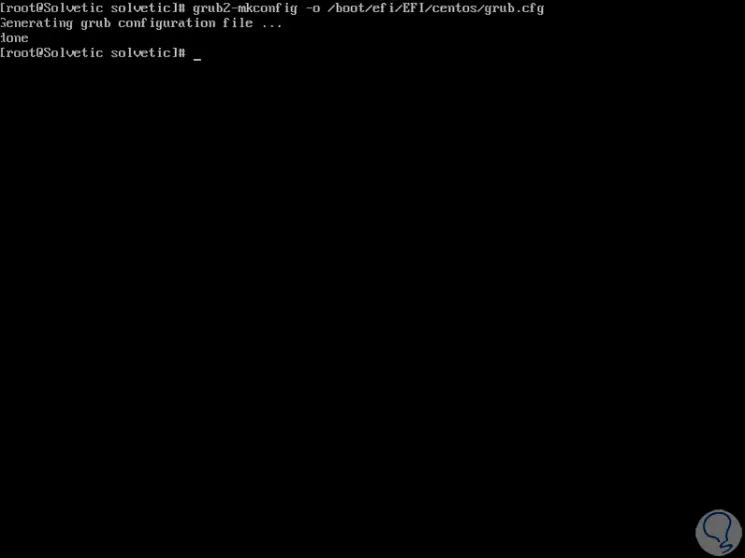
Similarly, we will execute the following to create a GRUB file which will be stored in the path /boot/efi/EFI/centos/grub.cfg .:
grub2-mkconfig -o /boot/efi/EFI/centos/grub.cfg
Step 7
After this we restart the system to complete the changes and once we log in we can verify that IPv6 has been completely disabled:
ip a | grep inet6
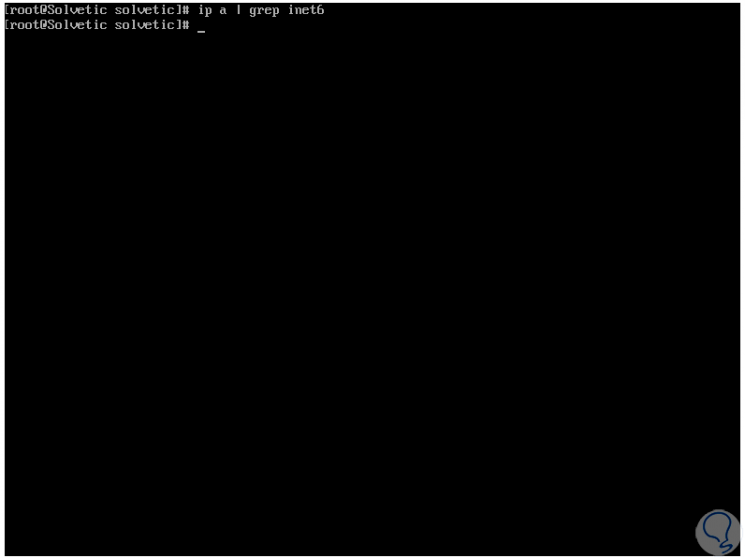
With one of the methods that TechnoWikis has explained to you, it will be possible to temporarily and totally disable IPv 6 addressing in CentOS8, waiting for it to be completely launched in a very short time.