The use of commands in Linux is more than natural since these are the heart of Linux for many years, that is why we must be aware of the way we use these commands since, as well as some are practical for fundamental tasks, others can be dangerous if we do not manage them correctly. One of the most functional Linux commands is the rsync protocol which TechnoWikis will explain in detail through this tutorial. Let's see first what is rsync.
Currently maintaining an infrastructure of any size without any backup can be considered crazy, a disk can fail at any time and you could lose information as valuable as the accounting of the company. In this post we will talk about how to use Rsync, one of the best tools for backups in * nix systems. We will see from the basics to more advanced examples with scripts and examples that you can apply in your work environment. It will be a manual to know how rysnc is used..
The need to have the same information in different places is one that is becoming increasingly strong, this is because our work space is variable and we want to have our tools always with us or even as backup measures.
What is rsync?
It is an open source tool for transferring files and directories between one location and another. Its advantages are mainly based on the compression of the information to be sent, it allows the transfer to be carried out through an SSH channel and transfers only the files and pieces of files that have been modified instead of transferring the entire file again, something similar to what happens when transferring the differences in a file under the control of Git versions.
The rsync (Remote Sync) command is a command developed for the tasks of copying and synchronizing files and directories either remotely or locally on Linux or UNIX systems..
With this command we can make copies from:
- Through a remote rsync daemon
Rsync uses
Among the different uses that are given to rsync are the following:
- Automated backups to disks or remote servers.
- Synchronization of remote files and directories.
Rsync advantages
- It is faster than scp (Secure Copy) because rsync uses a upload protocol that allows you to transfer only the difference between the files, the first time you transfer the entire file for the second time only the changes that may occur.
- It is designed for remote backups.
- Supports the copy of all the permit of the files, for example, owner, soft and hard link groups.
- It uses less bandwidth when using compression while sending files.
Rsync has a delta transfer functionality which allows you to reduce the amount of data that is sent through the network allowing only differences between the source files and the existing files in the remote destination to be sent, which is why rsync is Ideal for backup and duplication.
Rsync acts in the process of searching for files to be transferred using a lqquick checkqq algorithm which is responsible for searching the files that have undergone some type of modification.
Rsync features
Some of its main features are:
- Integrate functions to exclude options similar to GNU tar
- It has support for copying links, devices, owners, groups and Linux permissions
- Add a CVS exclusion mode which allows you to ignore the same files that CVS would ignore in its function
- Does not require superuser privileges (root)
- We can make use of remote shell like ssh or rsh
- Offers file transfer channeling to minimize latency costs in the network
- Compatible with authenticated or anonymous rsync daemons
We will see how to use rsync and rsync parameters to be able to perform tasks such as rsync copy only new files or rsync delete target files..
1. How to use rsync
The syntax for using this command is as follows:
rsync destination resource options
Rsync variables
By using this syntax we can add some variables such as:
- -r: this option recursively copies the data without leaving the timestamps and permission during the process.
- -a: file mode which allows files to be recursively copied and retains symbolic links, file permissions, user and group ownership and timestamps.
- -z: this option compresses the file data.
- -h: human readable mode, output numbers in a human readable format.
Now let's see some examples of how to use this command. At the end of the tutorial TechnoWikis will give you other parameters of using rsync in Linux.
2. How to install rsync
Step 1
In most current systems, rsync is installed by default, but if not, we can run the following:
yum install rsync (Red Hat - CentOS - Fedora) apt-get install rsync (Debian - Ubuntu)
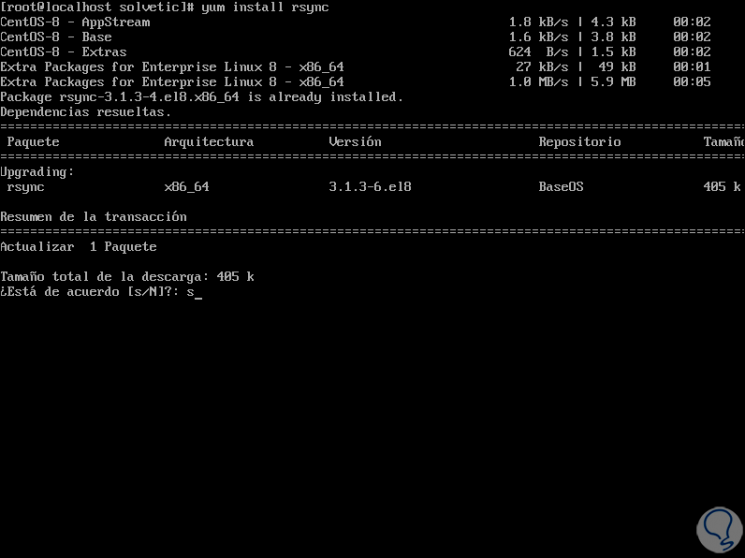
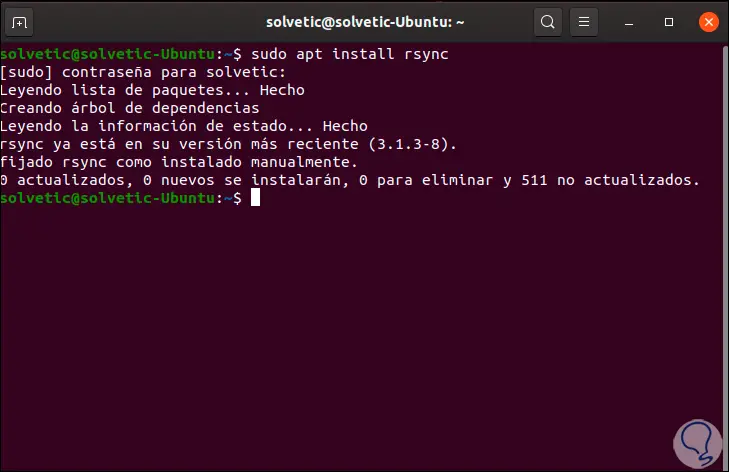
Step 2
In any case we must confirm the installation of rsync, in some systems such as Ubuntu 20 already comes by default:
3. Copy files and copy directories with rsync
The first use of rsync is to copy or synchronize a file or directory locally. Let's see how to copy rsync files, copy directories with rsync and synchronize two directories with rsync.
Step 1
To do this we will execute the following
rsync -zvh “file†“destinationâ€
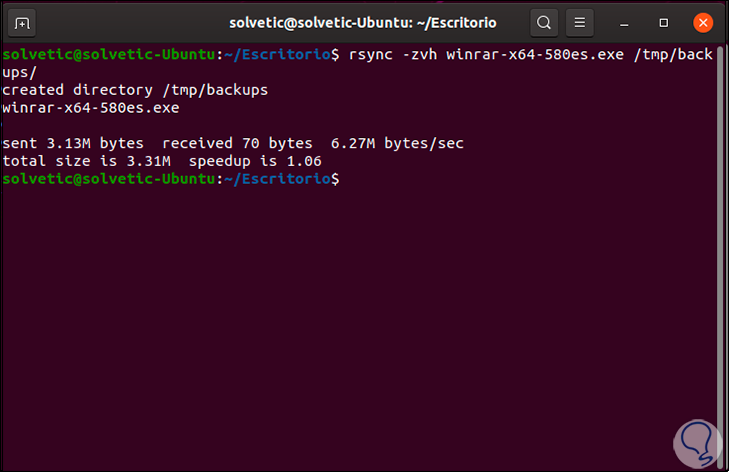
Step 2
There we can see details such as:
Step 3
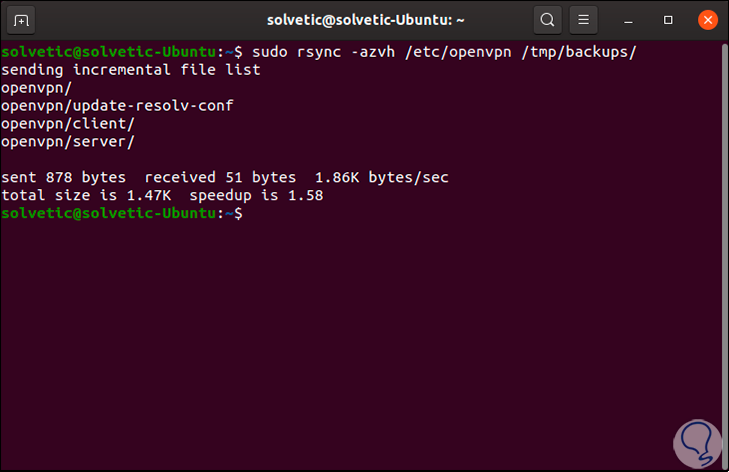
If the case is to copy a directory locally we will execute the following:
rsync -zvh “directory†“destinationâ€
4. Copy or synchronize remote folders rsync or remote directory
Step 1
We can copy or synchronize files locally to a remote computer, for this we will use the following syntax:
rsync -avz file / [email protected]: / destination /

Step 2
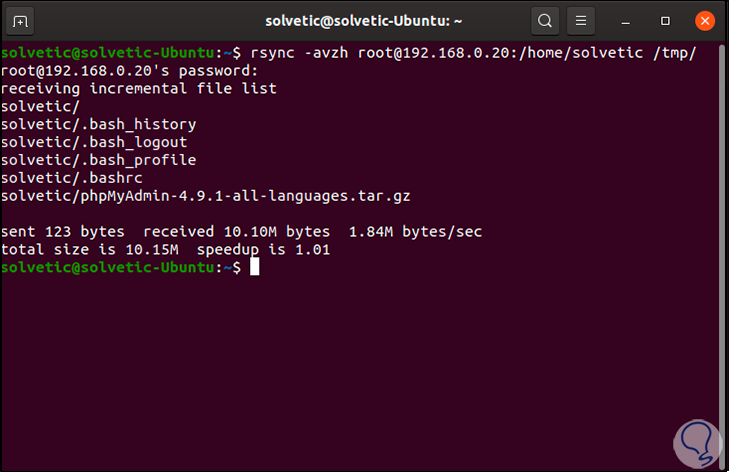
Whenever we use the remote IP we must enter the root password of said remote computer. Now, if we are going to copy a remote directory to our local server we will use the following syntax:
rsync -azvh [email protected]: / destination / directory /
5. Rsync SSH how to use
SSH (Secure Shell) is an additional security mechanism for data transfer, this is achieved since SSH makes use of a secure connection with high standardization encryption.
Step 1
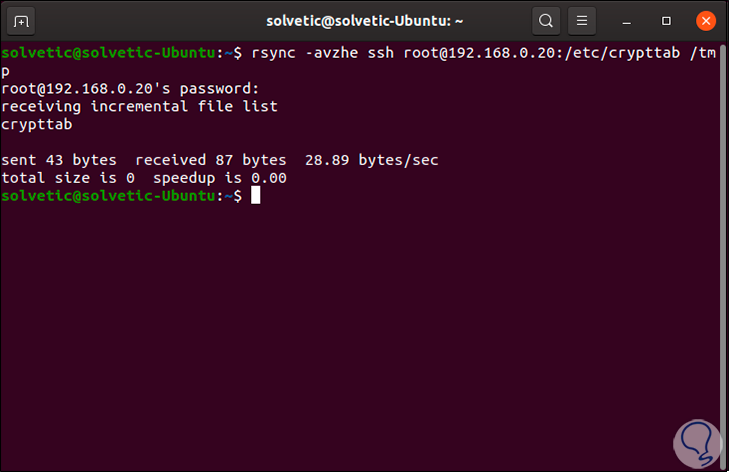
If we are going to copy a local file to a remote computer with SSH, we must use the option "-e" with the name of the protocol you want to use:
rsync -avzhe ssh [email protected]: / destination / directory
Step 2
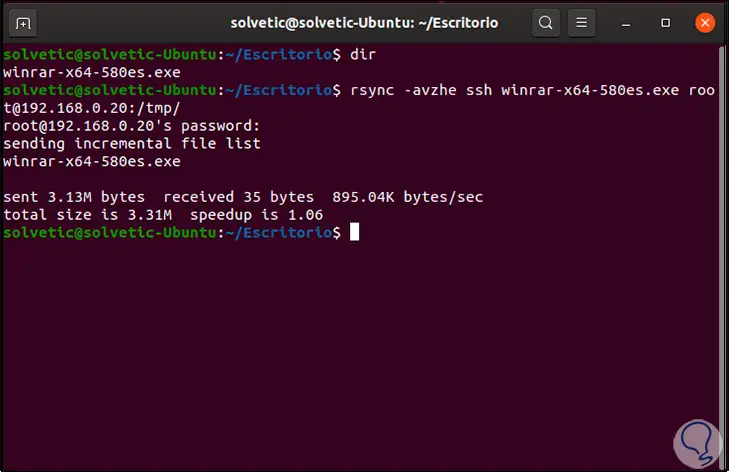
To copy a local file to a remote server we will use the following syntax:
rsync -avzhe ssh “archive†[email protected]: / destination /
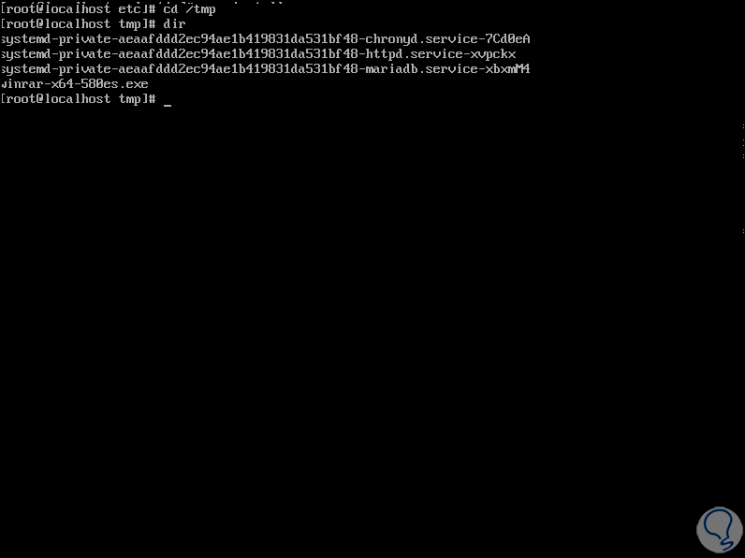
Step 3
We can validate in the remote directory that the file or directory has been copied:
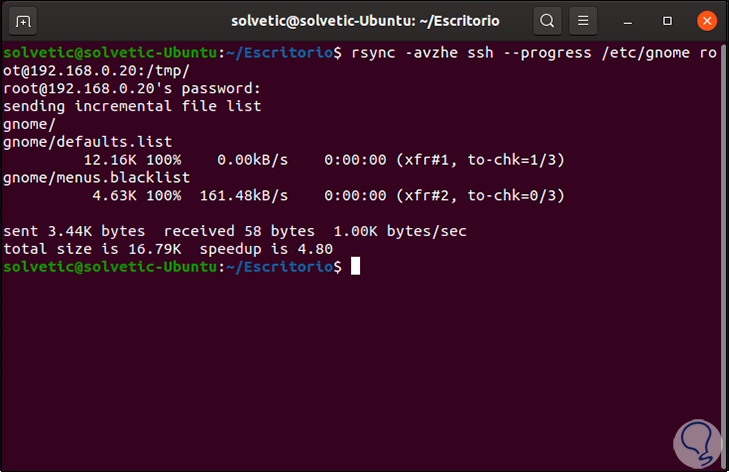
6. Rsync show file or directory transfer progress
This is a method for better transfer management, this is achieved with the –progress parameter:
rsync -avzhe ssh --progress / source [email protected]: / destination
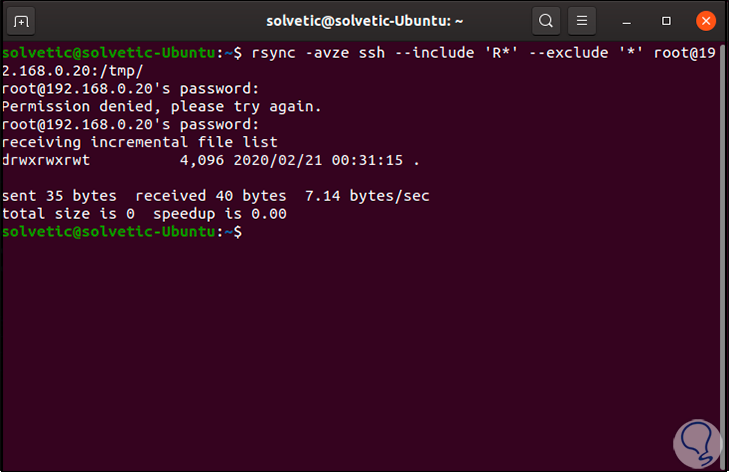
7. Include or exclude rsync directories
The –include and –exclude options are options that allow us to either include or exclude files, it also allows us to specify the files or directories to be included in the synchronization or exclude files and folders that should not be transferred.
Its use is as follows:
rsync -avze ssh --include 'Letter *' --exclude '*' [email protected]: / destination
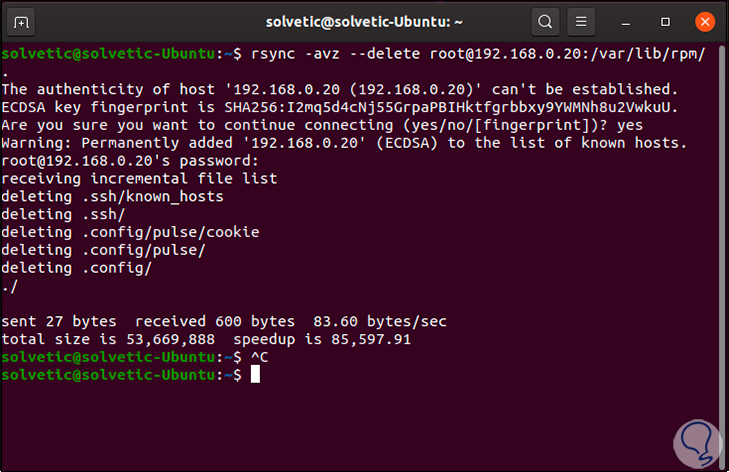
8. Rsync delete files and directories
In case a file or directory is not at the source, but is already available at the destination, we can delete that file or directory during the synchronization process, for this we can use –delete in order to delete the elements that are not On the target computer, we will execute the following:
rsync -avz --delete [email protected]: / destination
9. Rsync Limit File Size
With the parameter –max-size we can indicate the maximum size of the objects to be transferred with rsync, this helps to control the remote space:
rsync -avzhe ssh --max-size = '300k' / source / [email protected]: / destination

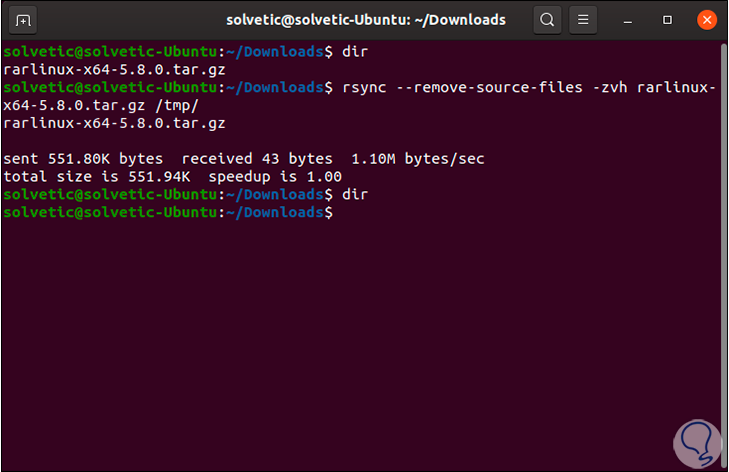
10. Rsync delete source files if the transfer was successful
With the variable -remove-source-files it is possible that the files that have been synchronized at the source are deleted only if the whole process has been correct, for this we will use the following. We see that the source file has been deleted.
rsync --remove-source-files -zvh “file†/ destination /
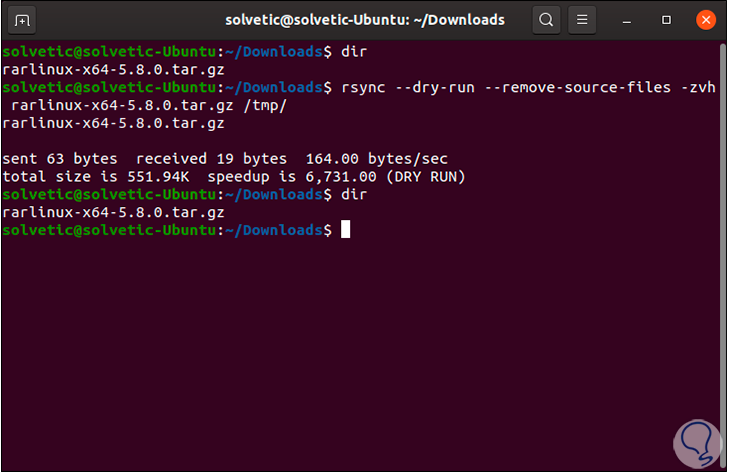
11. Run rsync without affecting the files
This is an ideal option for people who do not fully know the power of rsync since it shows what the command will do but does not affect the origin, this is achieved with the –dry-run parameter, for example. We can see that the file is still there.
rsync --dry-run --remove-source-files -zvh “file†/ destination /
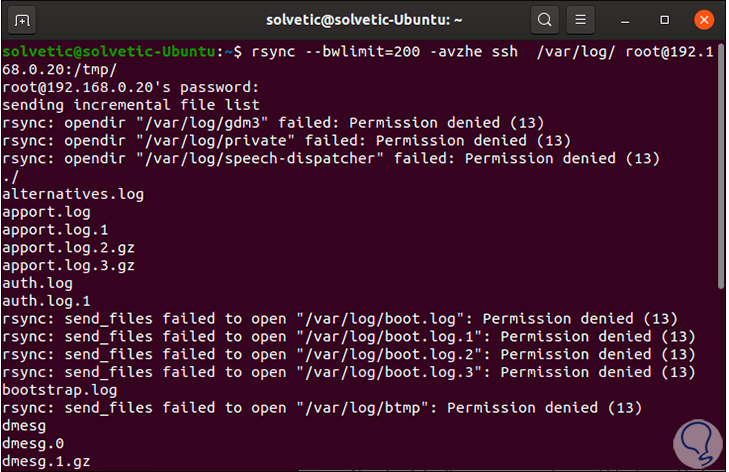
12. Limit rsync bandwidth
With the –bwlimit parameter it will be possible to define what network rate rsync should use for synchronization tasks, this is achieved as follows:
rsync --bwlimit = 200 -avzhe ssh / source / [email protected]: / destination
13. Backup with Rsync
Sometimes we must back up certain information before making modifications and in case of any error recovering from the Backup, we will start with a laboratory making backup from one folder to another. This way we will create a backup with rsync completely and securely.
Step 1
We start by checking that rsync is installed.
[user @ TechnoWikis ~] $ which rsync / usr / bin / rsync
Step 2
We will create 2 folders for the source and destination of the files.
mkdir {backup1, backup2} Step 3
We create several files in the backup1 folder in this case no matter the size of the files.
[user @ TechnoWikis ~] $ touch backup1 / file {1.75} Step 4
The directory should have 75 files. We do backup.
[user @ TechnoWikis ~] $ ls backup1 / file1 file14 file19 file23 file28 file32 file37 file41 file46 file50 file55 file6 file64 file69 file73 file10 file15 file2 file24 file29 file33 file38 file42 file47 file51 file56 file60 file65 file7 file74 file11 file16 file20 file25 file3 file34 file39 file43 file48 file52 file57 file61 file66 file70 file75 file12 file17 file21 file26 file30 file35 file4 file44 file49 file53 file58 file62 file67 file71 file8 file13 file18 file22 file27 file31 file36 file40 file45 file5 file54 file59 file63 file68 file72 file9
Step 5
To backup the files to backup2 we use. The source must end in / otherwise copy your folder and not the content.
rsync -r backup1 / backup2
Step 6
If we enter the backup2 we can see the 75 files we can even verify that they are 2 identical directories using diff.
[user @ TechnoWikis ~] $ diff backup1 backup2
Step 7
If you create a softlink from a file in directory 1
ln -s file30 file100
Step 8
Using rsync with -r will not synchronize the softlink in this case we use. If we look this time we will have the synchronized softlink.
rsync -a backup1 / backup2
Note
If we are not sure what we are going to support we can use a simulation with -ny in conjunction with -v can be very useful.
[user @ TechnoWikis ~] $ rsync -anv backup1 / backup2 sending incremental file list sent 606 bytes received 12 bytes 1236.00 bytes / sec total size is 6 speedup is 0.01 (DRY RUN)
14. Other Rsync parameters
As we mentioned, these are some of the additional parameters to use with rsync on Linux:
Rsync parameters
- -t, --times: keep the time modification
- -g, --group: keep the groups
- -o, --owner: retains the owner of the object
- -B, --block-size = SIZE: forces a fixed checksum block size
- T, --temp-dir = DIR: this value creates temporary files in the DIR directory
- z, --compress: compress file data during transfer
- -4, --ipv4: use only IPv4
- -6, --ipv6: use only IPv6
There are many more variables, but these are more than enough for you to get the most out of rsync on Linux. We have seen how to use rsync with the most useful options, together with tools such as cron and scripts in bash, python we will have everything necessary to make our backups without the need of third-party tools.