One of the most used platforms today for everything related to sending and receiving emails is Outlook which is currently in its 2019 version. This suite integrates special functions for total control of the messages to be managed and one of them is The tracking function. This is basically an email reminder function with which you mark a special email so we can work on it later..
It is natural that we receive hundreds of emails and forget to answer or work on a specific email affecting its level of importance. However, with the Outlook tracking function, we will launch alerts where these emails are remembered according to the date we have selected since these are integrated with the list of Outlook tasks. When they have worked on them and we have marked them as completed, these emails will be deleted from the task list.
TechnoWikis will explain how to track an email in Outlook 2019 and Outlook 2016
How to run email tracking in Outlook 2019 and Outlook 2016
Step 1
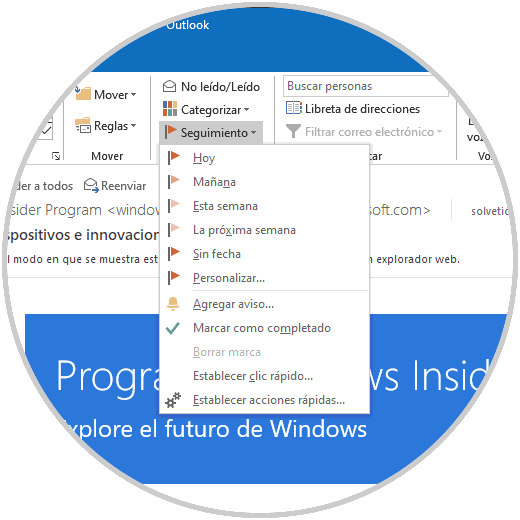
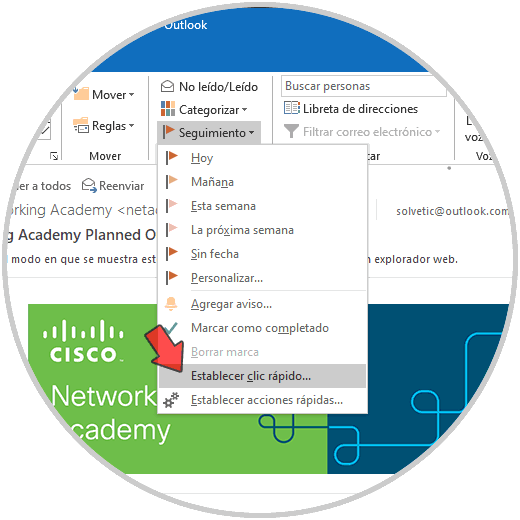
To give way to the process, we select the desired email and from the Start menu we will go to the “Labels†group and there we will display the “Tracking†options:
Step 2
We can see that different tracking options are displayed. There we can select the date on which we wish to track the desired email. The options range from one day to custom.
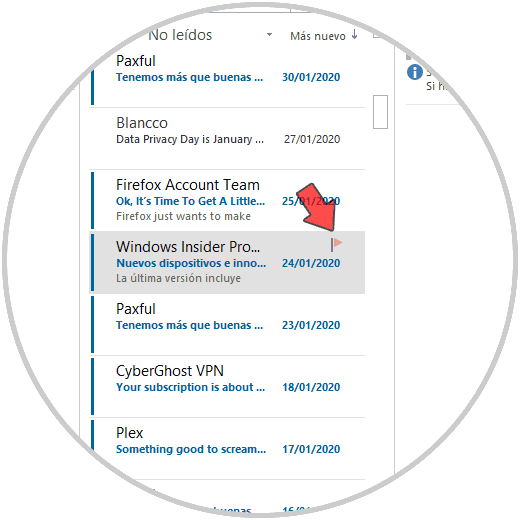
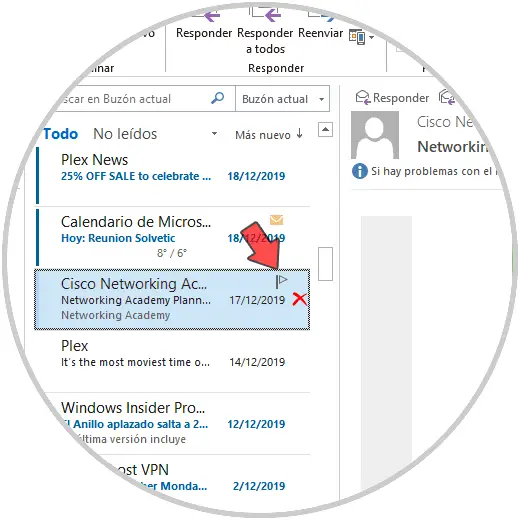
When we select the tracking date, a flag will be added to the mail selected on its side:
Step 3
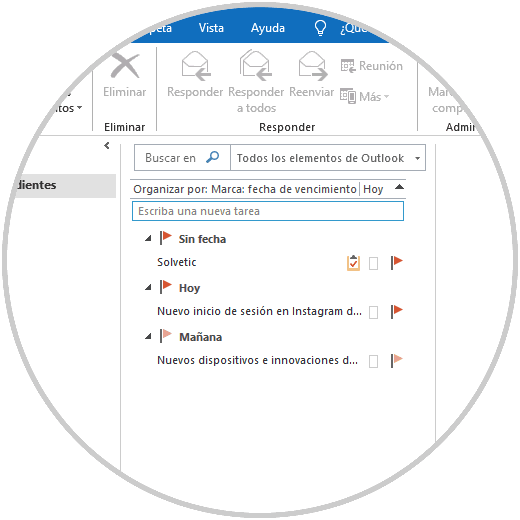
Each of the emails that have been marked will be added to the Outlook tasks and each flag has a color that represents its level of importance based on the number of days chosen:
The options to use are
- Today: refers to the current date and goes up to one hour before the end of today's business day
- Tomorrow: it is the current date plus one day and covers from the start time of the current day plus an added business day.
- This week: it goes from the current date plus two days, but only until the last business day of the week, the reminder implies from the start time of the current day plus two business days.
- Next week: from the first day of work next week to the last business day of the following week, the reminder will be released at the start time of the first business day of next week.
- No date: only covers the current date of the reminder.
- Custom: allows you to set the desired values ​​as appropriate.
When an email has been marked we can move it without problems to any other location as this will remain active and visible in the "Tasks" section of Outlook for management from there..
Step 4
We can customize the Outlook notice for that reminder, if we want this we go back to “Tracking†and this time we choose the “Add notice†option:

In the pop-up window we will define the following:
- Label to use (Tracking, Informational, Forward, Response not necessary, etc.)
- Reminder start and end date
- Time at which the notice will be given
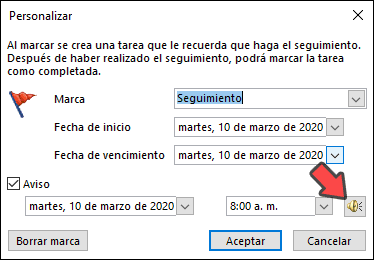
Note
To edit the default sound we can click on the horn icon and choose the desired sound
From the "Customize" option we can set different labels according to the case of the selected mail, as well as define the date and time of completion, time and date of the notice:
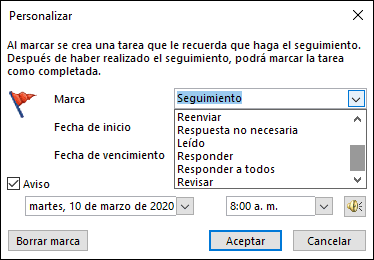
Once this is defined, click on OK to save the changes.
Step 5
By default, Outlook 2016/2019 tasks work based on the "Expiration Date", this is what determines when the email will be visible in the task list.
We can have an automatic function called "Quick Click":
Step 6
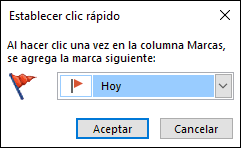
This function allows us to click on any email once and add a default flag for that email, if we click on the option "Set quick click" the following will be displayed:
Step 7
There we define which flag will be assigned to the email where this function is used, for its use we simply hover over the email and the flag icon will be activated:
Step 8
Clicking on this icon will add the tracking date as stipulated in the configuration.
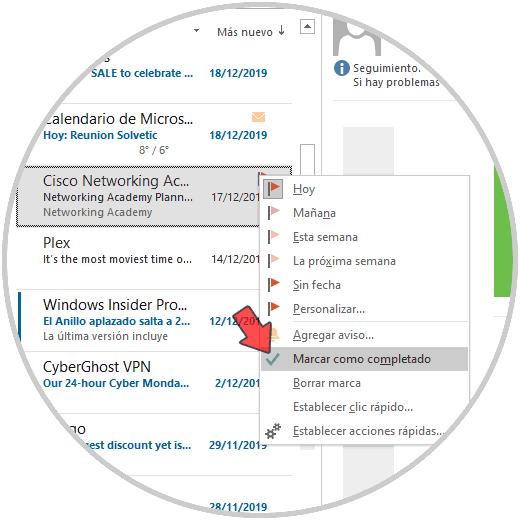
When we have worked on the email we can right click on it to select the option "Mark as completed":
Step 9
This will establish a validation sign indicating that said email has been worked:
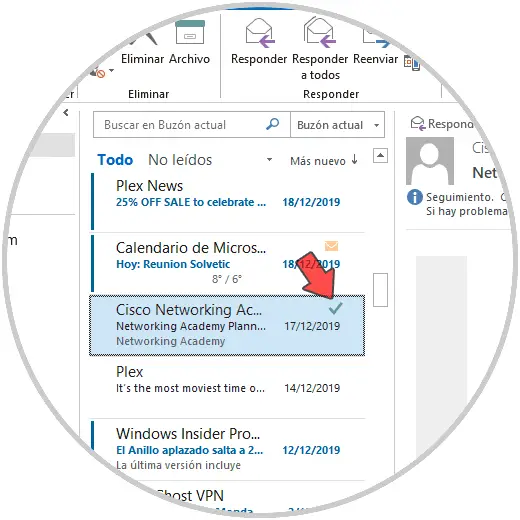
It's that simple we can work on email tracking in Outlook 2016 or 2019..