The use of web applications is gaining strength every day in a world where online connectivity has become more than essential every day. For this the web world offers endless possibilities ranging from applications to complete structures and as administrators or users of these media we have applications such as PHP Framework that are intended to facilitate these tasks and today we will talk about a special one called Laravel and we will use CentOS 8 for this purpose and thus install Laravel PHP Framework CentOs 8 with NGINX..
What is Laravel
Laravel has been developed as a framework which is based on PHP integrating open source that has multiple tools for creating web applications of all kinds of size and complexity.
Laravel components
Laravel integrates technical components called like this:
Each of them plays a fundamental role in the behavior of the application and the options we have to mount websites and objects to access either locally or externally.
Laravel components
Some of the most outstanding features of Laravel are:
- Multiple routing templates
- Security improvements by implementing the Bcrypt Hashing algorithm and making use of SQL statements that prevent SQL injection attacks
- ORM (Object Relational Mapping) support
- Using Artisan which is a command line utility with which programming tasks are automated
- Multiple libraries and usage modules
- Database migration systems and more
Laravel Requirements
Next, TechnoWikis will explain the different components that your server must have for the correct installation of Laravel:
Don't worry that TechnoWikis will give you the step by step to install Laravel PHP Framework CentOs 8 with NGINX..
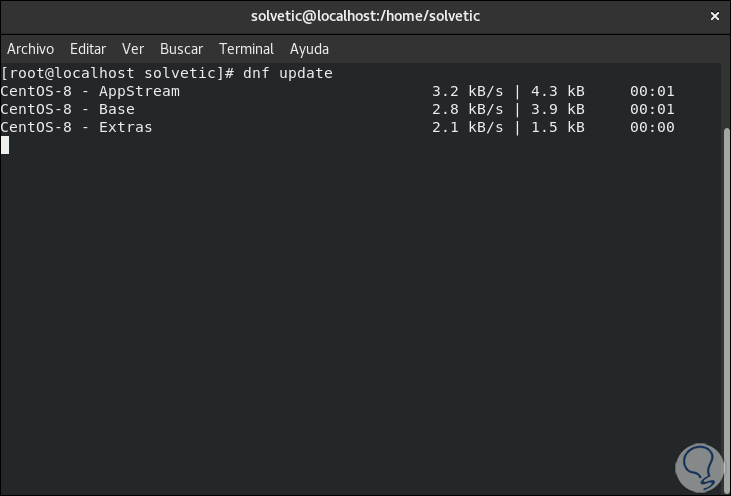
1. Update CentOS 8
The first step to take will be to update the components and the system in CentOS 8, for this we go to the terminal and execute the following. There we expect the system to be updated.
dnf update
2. Install LEMP CentOS 8
Step 1
LEMP is a set of functionalities created to optimize the CentOS 8 operating system, LEMP (Linux, Nginx, MariaDB / MySQL and PHP) allow Laravel to be fully exploited, for its installation we execute the following.
We enter the letter "s" to confirm the download and installation of LEMP on CentOS 8..
dnf install nginx php php-fpm php-common php- xml php-mbstring php- json php-zip mariadb- server php-mysqlnd

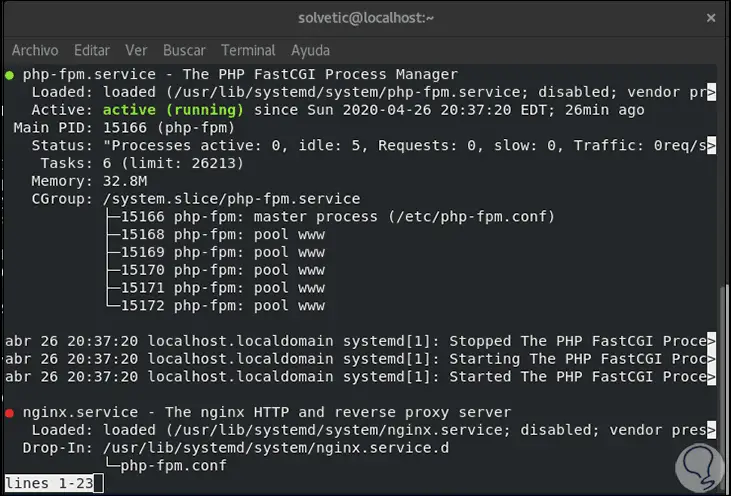
Step 2
After this we are going to execute the following commands:
systemctl start php-fpm nginx mariadb ( start MariaDB service) systemctl enable php-fpm nginx mariadb (enables MariaDB service) systemctl status php-fpm nginx mariadb ( show MariaDB service status )
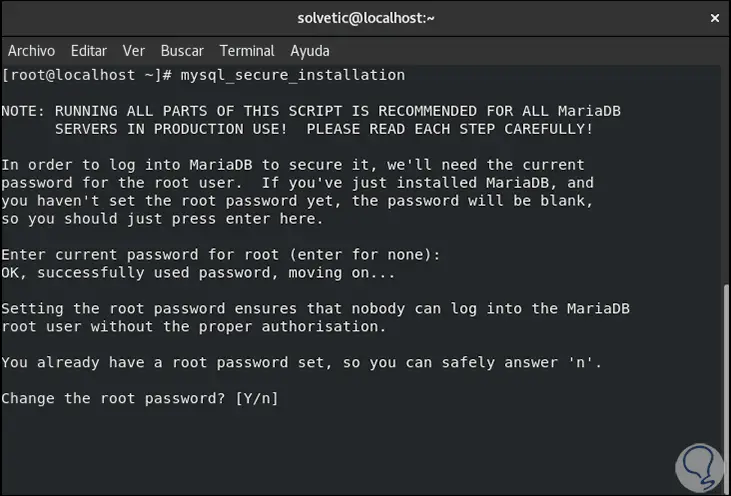
Step 3
The next step will be to ensure the installation of MySQL (by default it is insecure), for this we will execute the following command. There we must complete each of the displayed questions such as changing the root password, deleting temporary databases and more.
mysql_secure_installation
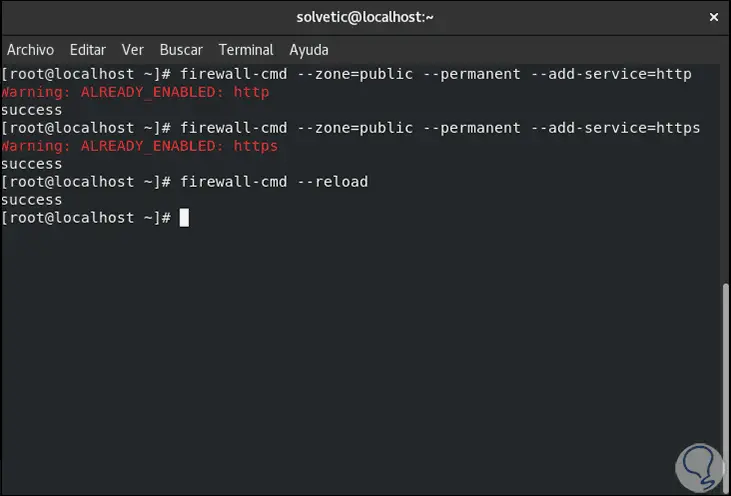
Step 4
Next, we are going to enable the HTTP and HTTPS protocols for external access through the Firewall, we execute the following:
firewall-cmd --zone = public --permanent -- add -service = http firewall-cmd --zone = public --permanent -- add -service = https firewall-cmd --reload
Step 5
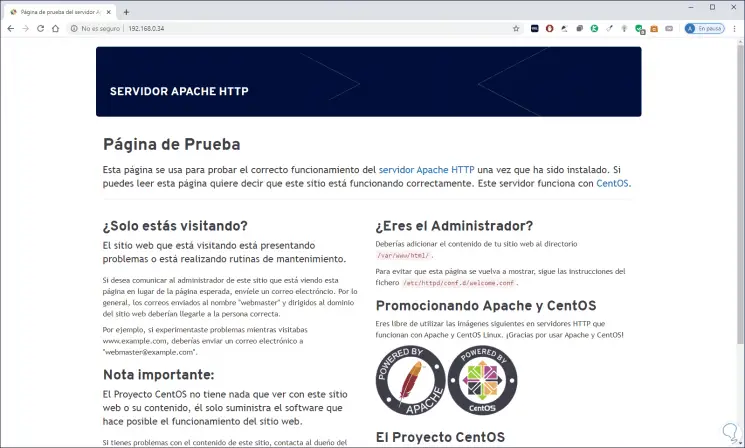
Once this is done we access from a browser and enter the IP of the server to access the Apache configuration:
3. Configure PHP-FPM and Nginx Centos 8
In order to process requests from the Nginx web server, PHP-FPM is able to listen through a Unix socket or a TCP socket.
Step 1
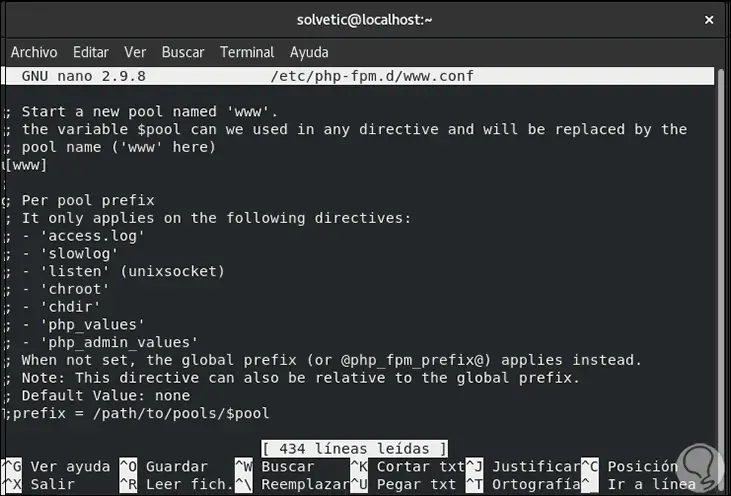
This is validated with the listen parameter in the /etc/php-fpm.d/www.conf configuration file, we access this by executing:
nano /etc/php-fpm.d/www.conf
Step 2
There we will look for the line "listen" which indicates the following:
Step 3
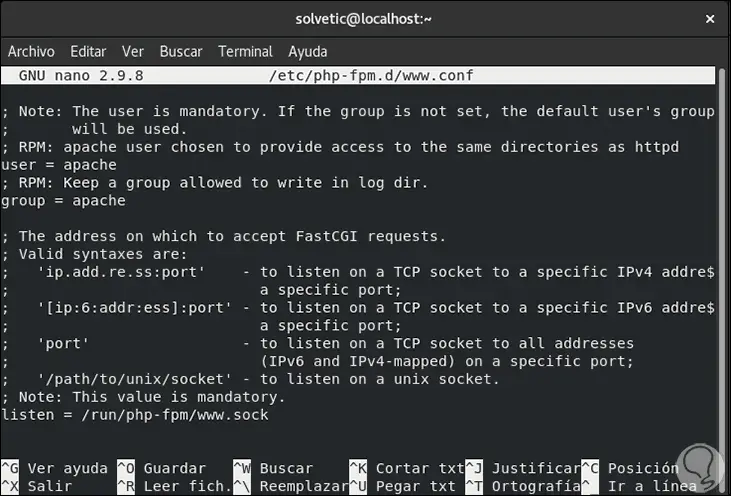
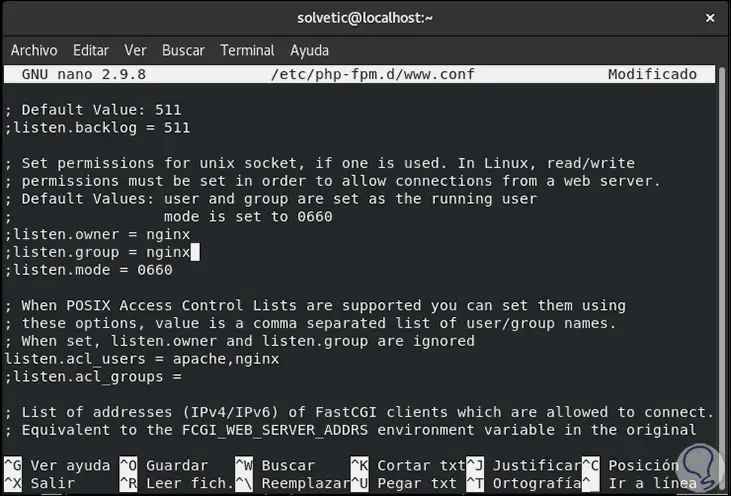
We can see that it listens through the socket, now we are going to uncomment some parameters and assign the values for the user and the Nginx group, these lines are a little lower:
listen.owner = nginx listen.group = nginx listen.mode = 066
Step 4
There we replace "nobody" with "nginx":
Step 5
We save the changes using the following key combination:
Ctrl + O
We exit the editor using:
Ctrl + X
Step 6
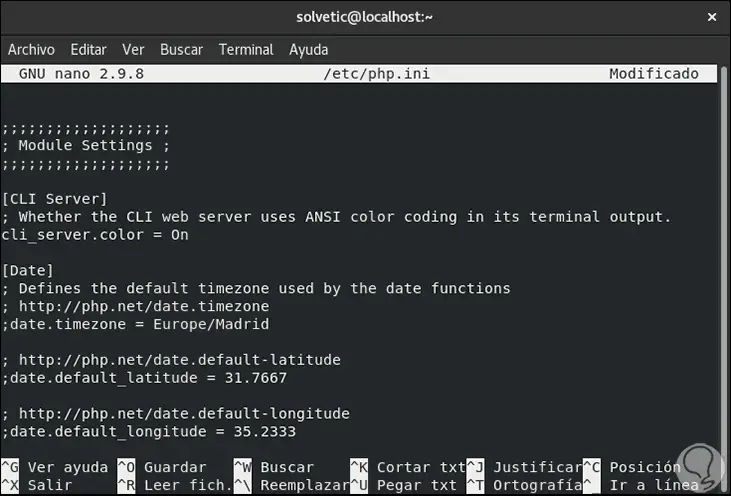
Now we access the PHP configuration file:
nano /etc/php.ini
Step 7
There we go to the line "; date.timezone" and set the current time zone. We save the changes and exit the editor.
4. Install Composer on Centos 8
Composer is a tool through which we manage dependencies in PHP, this allows us to declare the libraries and will manage them (install / update) without much intervention on our part.
Step 1
This simplifies these tasks, to install Composer we will first install some PHP dependencies:
dnf install php libapache2- mod -php php-mbstring php-xmlrpc php-soap php-gd php- xml php-cli php-zip
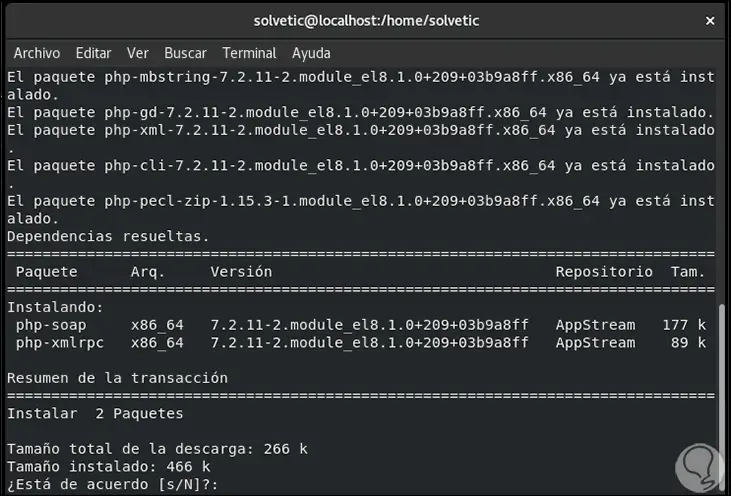
Step 2
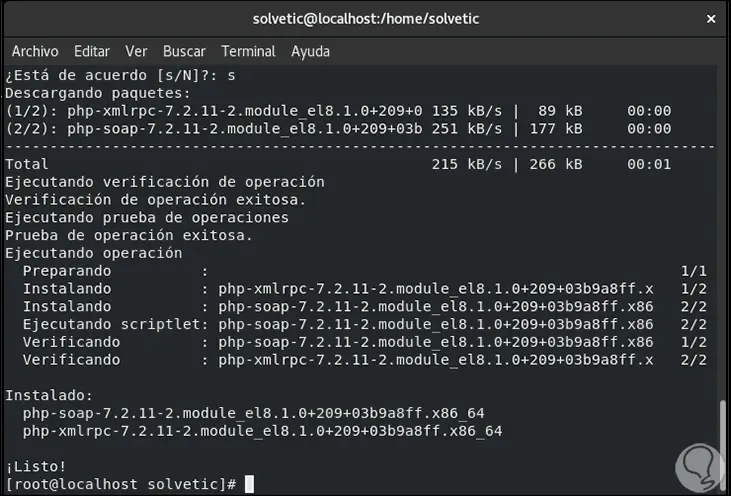
We enter the letter "s" to accept the download and installation of these dependencies:
Step 3
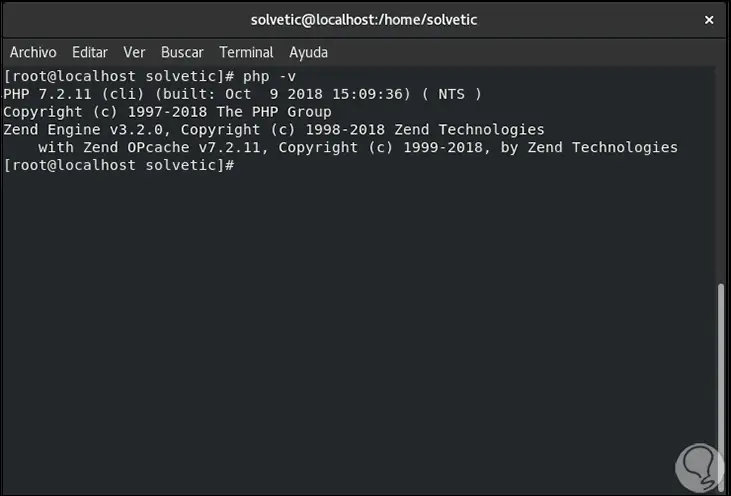
After this we check the PHP version by running:
php -v
Step 4
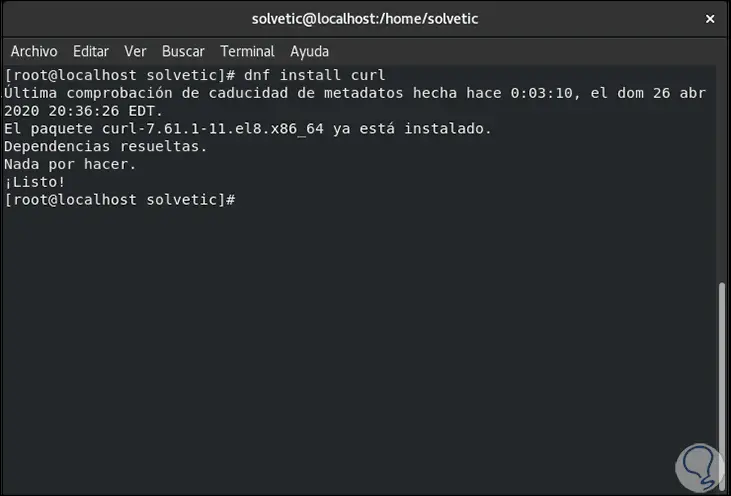
After this we will install Curl which is a download manager:
dnf install curl
Step 5
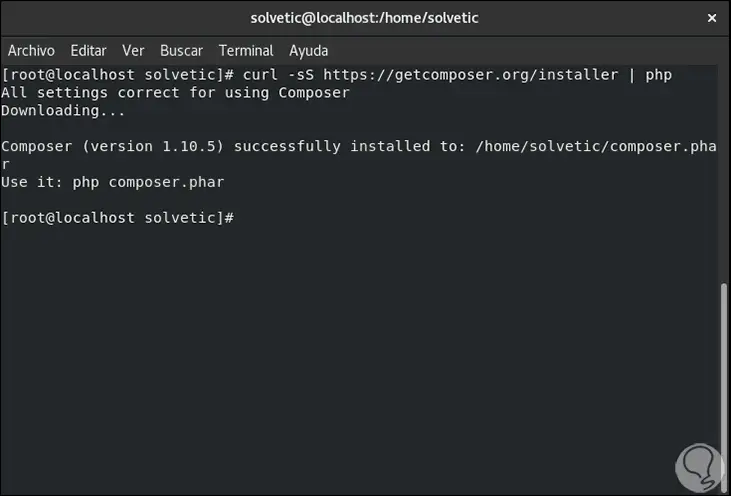
We proceed to download the latest version of Composer for CentOS 8:
curl -sS https: //getcomposer.org/installer | php
Step 6
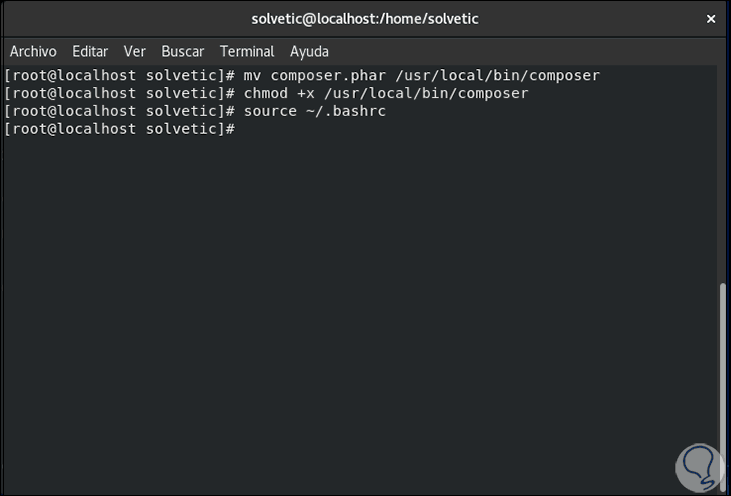
If we want Composer to be installed globally for all users of the system, we will execute the following:
sudo mv composer.phar / usr / local / bin / composer sudo chmod + x / usr / local / bin / composer source ~ / .bashrc
Step 7
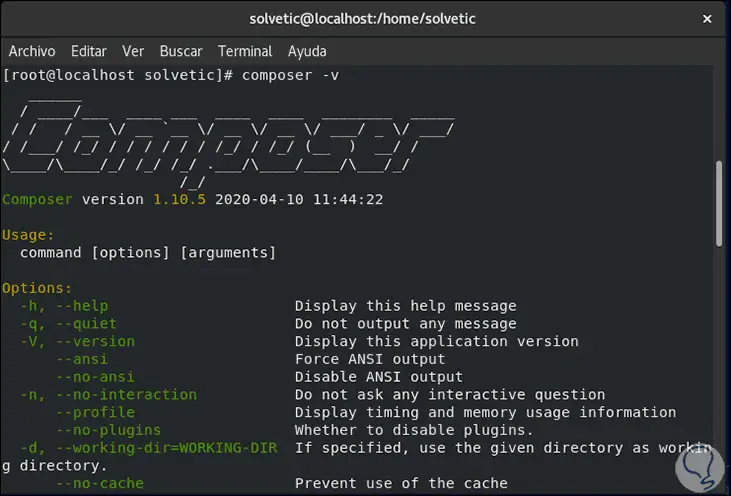
We check the Composer version with the following command:
composer -v
5. Install Laravel for local access on Centos 8
Laravel can be used both locally and externally, TechnoWikis will explain both ways.
Step 1
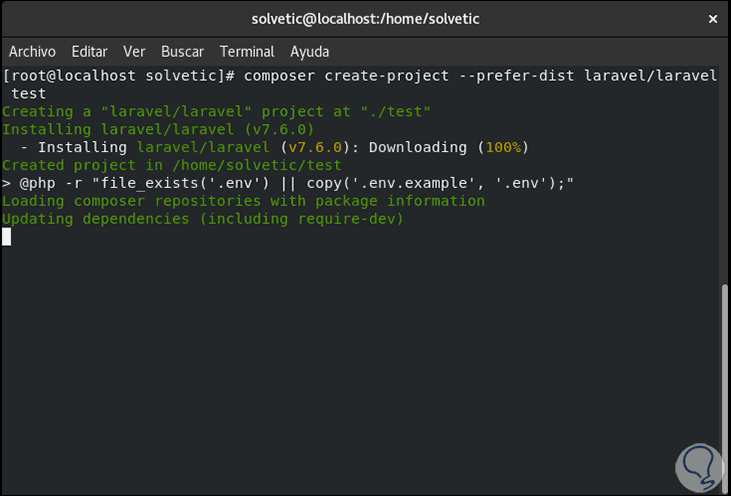
For local access we will execute the following:
composer create - project --prefer-dist laravel / laravel test
Note
test can be replaced by the desired name.
Step 2
This will initiate the download of all necessary plugins for proper access:
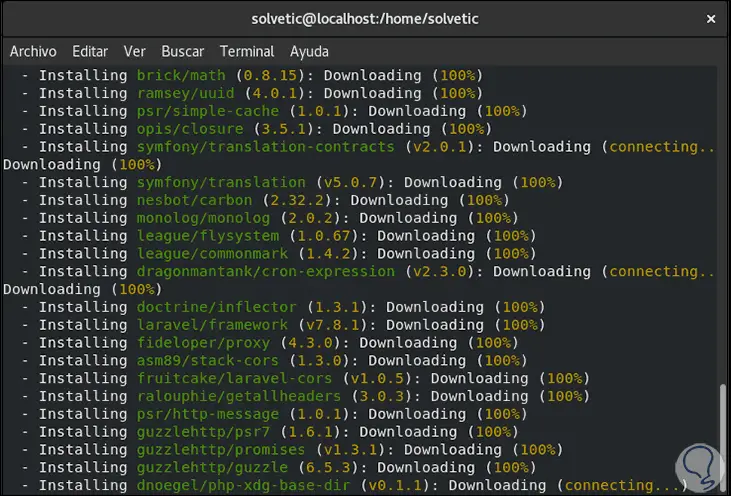
Step 3
When finished we will see the following:
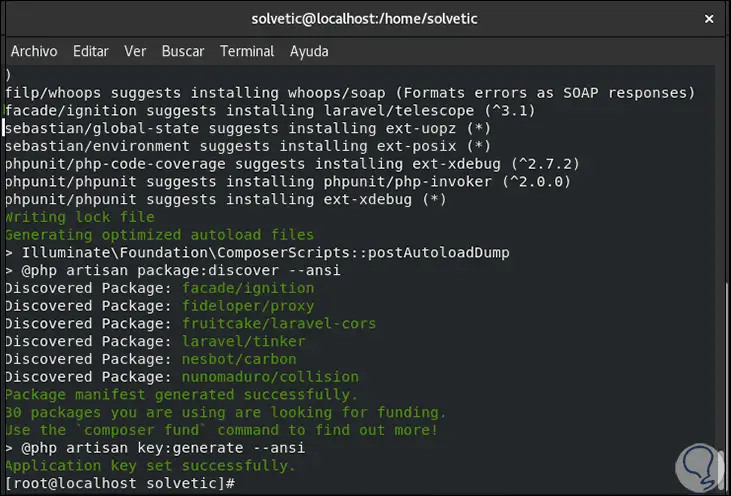
Step 4
Now we access the folder of the created project and execute the following:
cd test php artisan serve
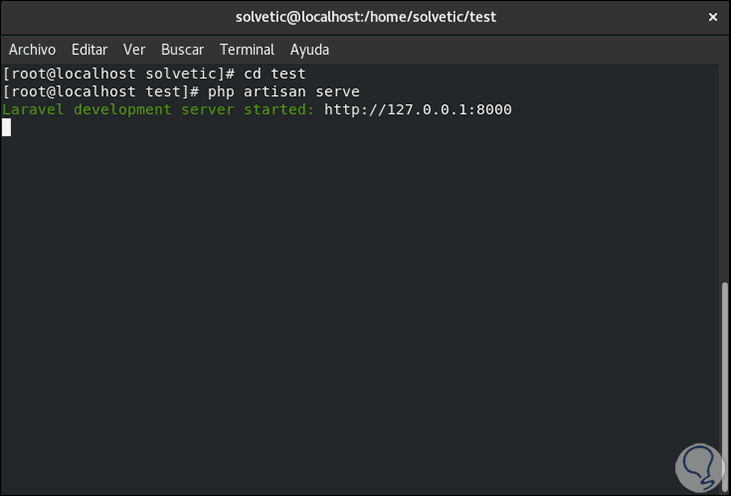
Step 5
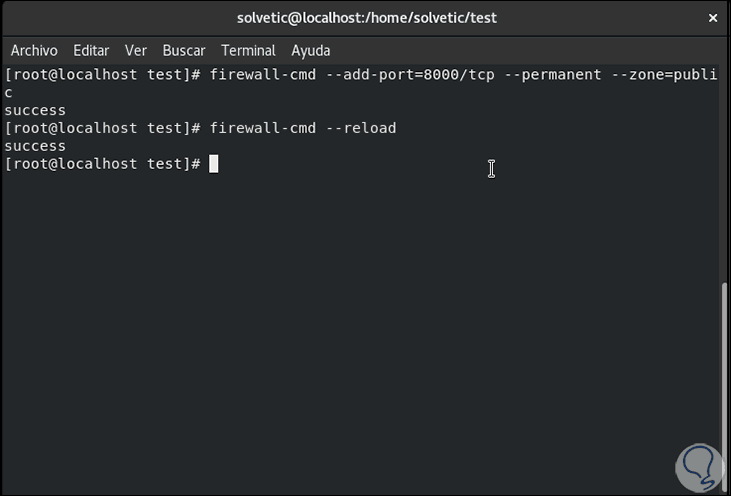
As we can see, the local access IP address with the respective assigned port is indicated there. We assign the respective permissions in the CentOS 8 Firewall:
firewall-cmd -- add -port = 8000 / tcp --permanent --zone = public firewall-cmd --reload
Step 6
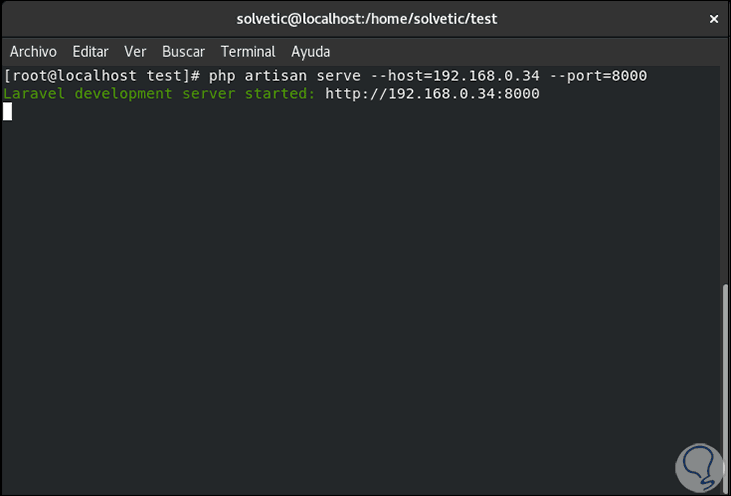
Next, we use the ip add command to detect the server IP and associate it with Laravel with the following command:
php artisan serve --host = 192.168.0.34 --port = 8000
Note
The IP to enter is that of the server in use.
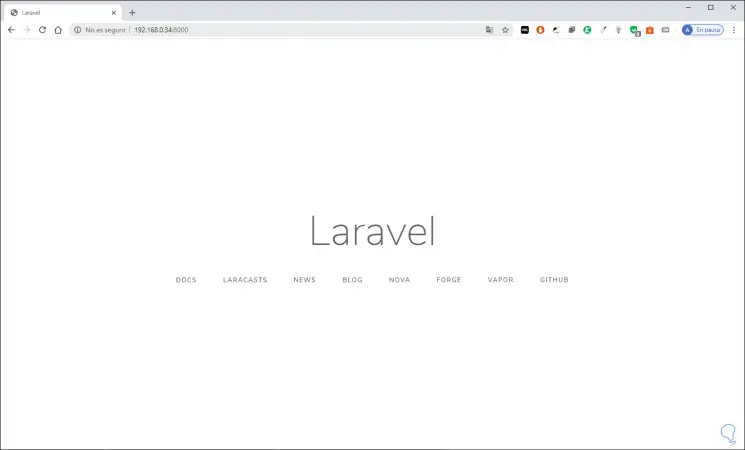
Step 7
With this we can access from a browser and enter the following syntax. There we have access to Laravel locally.
http: // IP_CentOS8: 8000
6. Open Laravel PHP externally in Centos 8
Step 1
In this case, the process is somewhat different. First, we access the html directory:
cd / var / www / html /
Step 2
There we create the respective project:
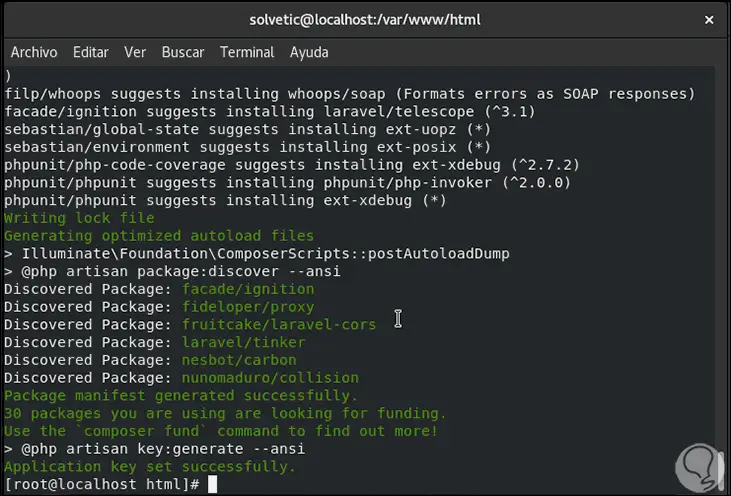
composer create - project --prefer-dist laravel / laravel solvetic
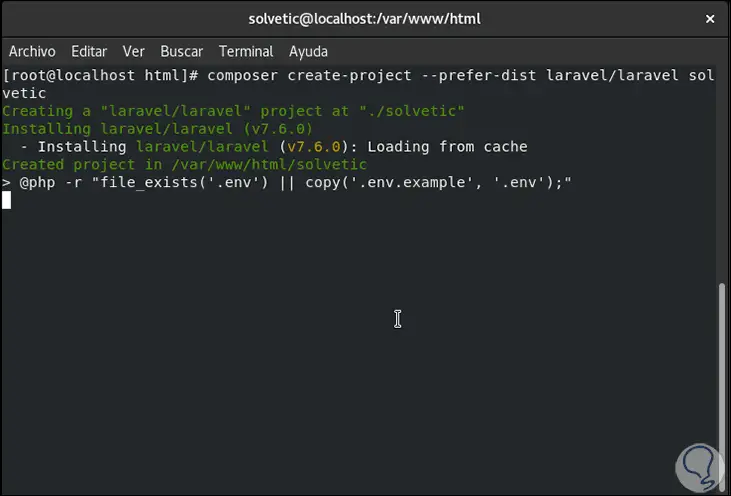
Step 3
When the project is created we will see the following:
Step 4
During this installation process, the .env environment file has been created and the required application has been generated, to validate this we will execute the following. There we see each of the assigned permissions.
ls -la solvetic /

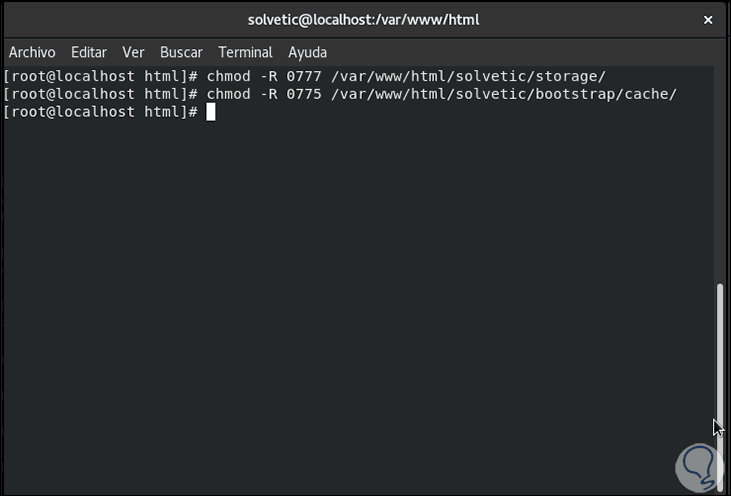
Step 5
Now we are going to grant all the necessary permissions to the project:
chown -R: nginx / var / www / html / solvetic / storage / chown -R: nginx / var / www / html / solvetic / bootstrap / cache / chmod -R 0777 / var / www / html / solvetic / storage / chmod -R 0775 / var / www / html / solvetic / bootstrap / cache /
Step 6
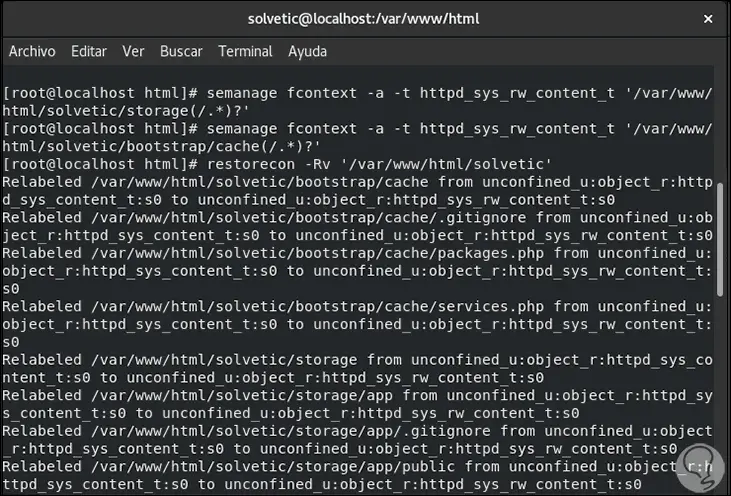
In case SELinux is enabled in CentOS 8, it will be necessary to update the security context of the storage and bootstrap / cache directories, this is achieved with the following commands:
week fcontext -a -t httpd_sys_rw_content_t '/var/www/html/solvetic/storage(/.*)?' week fcontext -a -t httpd_sys_rw_content_t '/ var / www / html / solvetic /bootstrap/cache(/.*)?' restorecon -Rv '/ var / www / html / solvetic'
7. Set up Nginx for Laravel on Centos 8
Step 1
With Nginx acting correctly on the server, we must create a server block with a .conf file in the /etc/nginx/conf.d/ directory:
nano /etc/nginx/conf.d/solvetic.conf
Step 2
In this file we enter the following data:
server { listen 80 ; server_name solvetic; root / var / www / html / solvetic / public ; index index.php; charset utf -8 ; gzip on ; gzip_types text / css application / javascript text / javascript application / x-javascript image / svg + xml text / plain text / xsd text / xsl text / xml image / x-icon; location / { try_files $ uri $ uri / /index.php?$query_string; } location ~ \ .php { include fastcgi.conf; fastcgi_split_path_info ^ (. + \. php) (/.+) $; fastcgi_pass unix: /run/php-fpm/www.sock; } location ~ /\.ht { deny all; } } 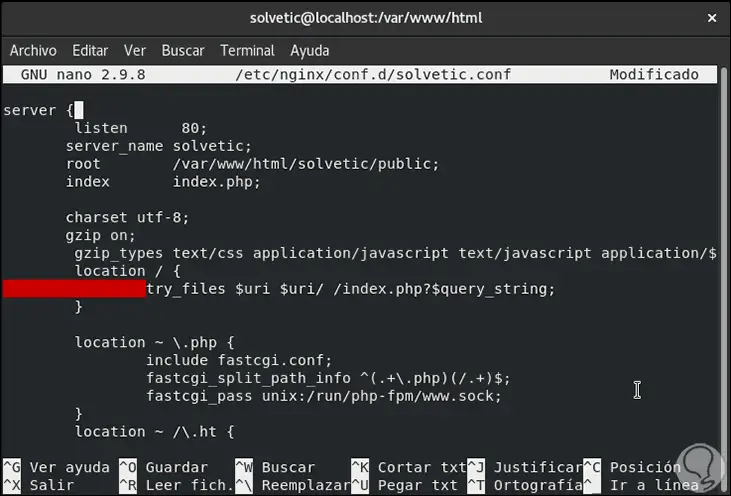
Step 3
We save the changes using the following key combination:
Ctrl + O
We exit the editor using:
Ctrl + X
Step 4
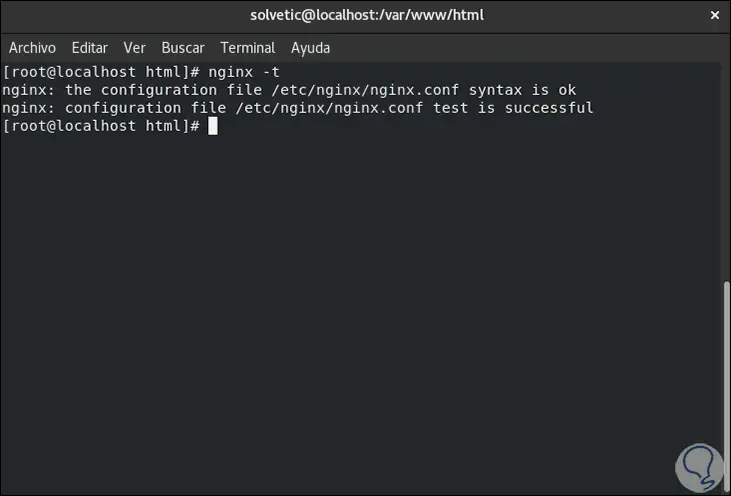
Now we check that everything works with the following command:
nginx -t
Step 5
After this we restart the services:
systemctl restart php-fpm systemctl restart Nginx
8. Opened Laravel externally on Centos 8
Step 1
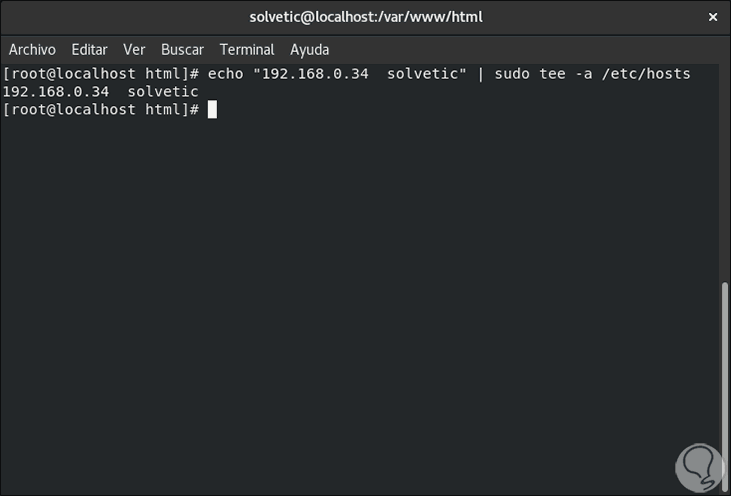
We must grant the permissions in the hosts file to both the IP and the project, this will be possible by executing:
echo "192.168.0.34 solvetic" | sudo tee -a / etc / hosts
Step 2
With this we can already remotely access the project by entering the server IP in any browser:

With these steps that TechnoWikis has explained to you, you are ready to configure your web server with Laravel.