The use of commands in Linux operating systems is very natural since we find hundreds of useful commands to obtain system information , view processes, copy elements, execute orders and in general carry out many administrative and support functions..
Now, when you execute a command in the Linux terminal, it usually runs in the background without seeing its current status and there is nothing more important than having a clear vision about what percentage of the task is going and what part of the order is executing the command . So to see this type of information we have the possibility of using the pv and progress commands in Linux.
TechnoWikis will explain in detail what these commands are, what their options are and how to use them in Linux..
1. Linux pv command
The pv command has been developed to allow us to monitor the progress of a command using the pipe function. This is practical since with the execution of this command we will have access to specific details such as:
- Time elapsed since the command order
- The percentage that has already been completed through a progress bar
- Command Performance Rate Deployment
- The total data transferred
- ETA display (estimated Time)
The pv command is responsible for copying each file indicated to the standard output, in case of not indicating any file, pv will only copy the standard input.
The usage parameters available with the pv command are:
-p, --progress
Enable the progress bar to observe the order status in detail
-t, --timer
Enable the timer thanks to which we will see the total time elapsed since the pv command has been active
-e, --eta
Activate the ETA timer with which we will see the estimated time in which the given order will end with pv
-r, --rate
Enable the speed counter with which we will see the current data transfer rate
-b, --bytes
Enable the byte counter that has been transferred
-n, --numeric
Display the numerical output which gives an integer percentage
-h, --help
Display pv command help
-V, --version:
Show the used PV version
Additionally, the pv command has a series of modifiers for the output which are:
-W, --wait
This option waits until the first byte has already been transferred and this is given before displaying progress information or calculating the ETA.
-s SIZE, --size SIZE
Assume the total amount of data to be transferred
-l, --line-mode
Count lines instead of counting bytes
-i SEC, --interval SEC
When using this modifier we indicate how many seconds will be applied between updates
-w WIDTH, --width WIDTH
Define the character width for the terminal
-N NAME, --name NAME
Assume the output information with NAME
-f, --force
Force the output results
-c, --cursor
It makes use of the cursor in order to position the escape sequences instead of using carriage returns
-L RATE, --rate-limit RATE
Limit the transfer to a maximum of bytes per second, there we can use suffixes such as "k", "m", "g" or "t" (Kilobytes, Megabytes, etc)
-B BYTES, --buffer-size BYTES
Allows you to use a byte transfer buffer size using suffixes such as "k", "m", "g" or "t"
-R PID, - PID remote
Allows you to use a pv instance that is already running in the terminal
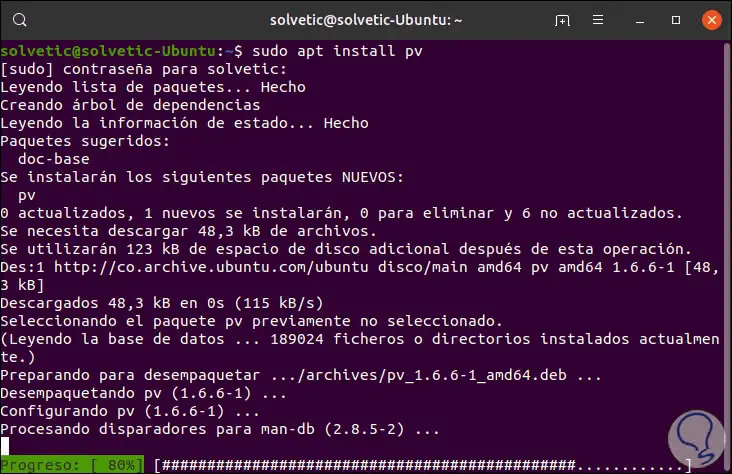
2. How to install pv command on Linux
To install the pv command on Linux you must execute one of the following commands based on the distribution used:
Gentoo
emerge --ask sys-apps / pv
3. How to use the pv command in Linux
Once installed we will see how the pv command works.
Step 1
If we want to access a file for compression, we must execute pv followed by the path and add | zip> name.zip:
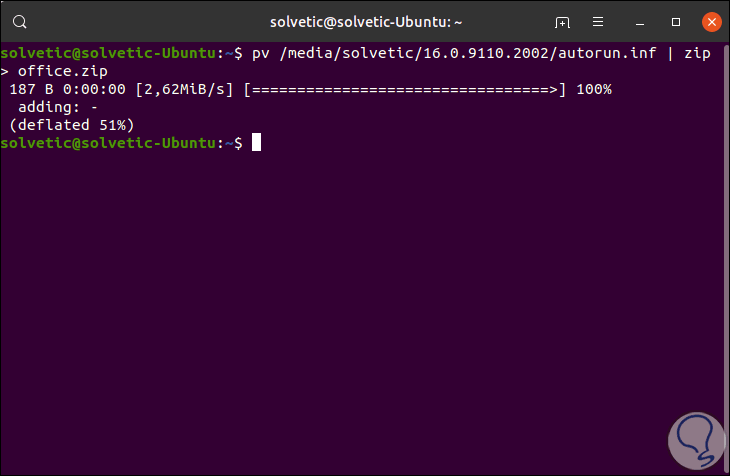
As we can see, pressing Enter will see details such as:
Step 2
If we want to count the number of lines in a file, for example / etc / hosts, we will execute the following:
pv -p / etc / hosts | toilet

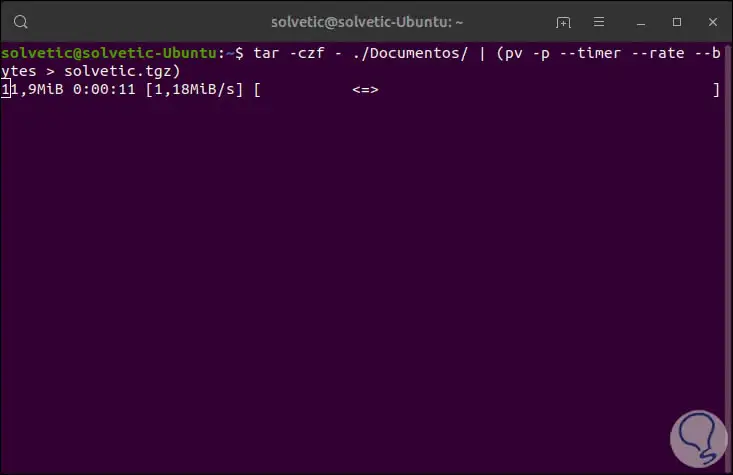
Step 3
In the case that we want to monitor the creation of a compressed file, in this case a file in the Documents directory, we will execute the following:
tar -czf - ./Documentos/ | (pv -p --timer --rate --bytes> solvetic.tgz)
When entering Enter we will see the status of the order next to the progress bar and the respective measures:
Step 4
To display a dialog box during the previous process, we can add the “dialog†parameter which we can install with the following command:
sudo apt install dialog
Then we will execute the following:
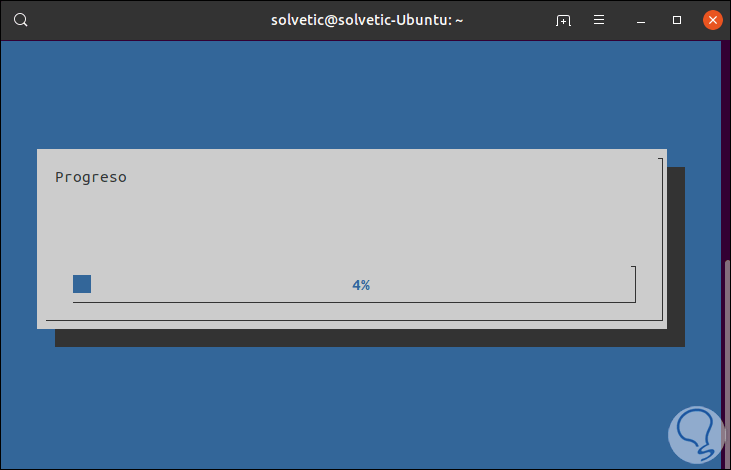
tar -czf - ./Documentos/ | (pv -n> solvetic.tgz) 2> & 1 | dialog --gauge "Progress" 10 70
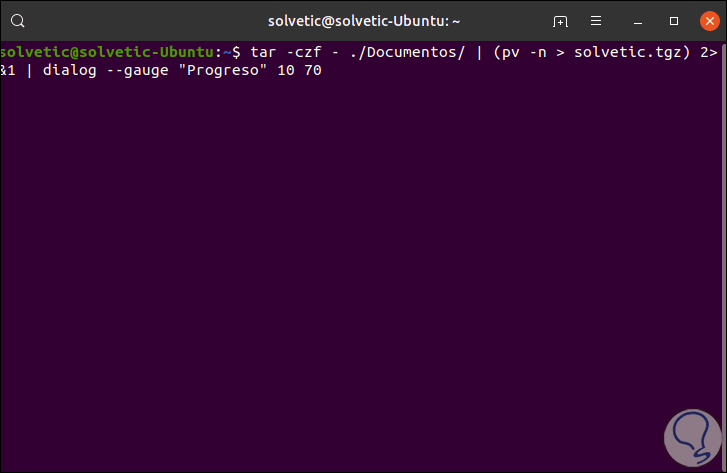
Step 5
Pressing Enter we will see the following to monitor the progress of the order:
3. Progress Linux command and how to install it
The progress command, which we can also find as Coreutils Viewer, is a command that has been designed to find the basic commands of coreutils such as cp, mv, tar, dd, gzip / gunzip, cat, grep and more so that when it finds them, it will display the percentage of copied data, this command can only be executed on Linux and macOS operating systems.
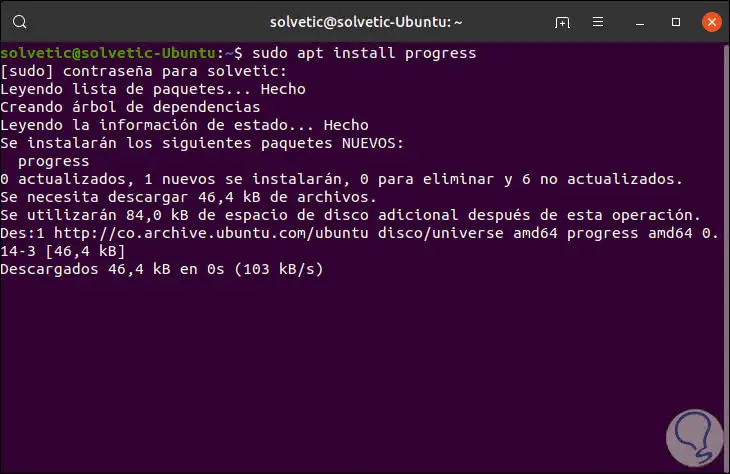
To install this command we will execute the following:
Ubuntu
sudo apt-get install progress
Fedora
sudo dnf install progress
Manjaro
sudo pacman -Syu progress
Centos and RedHat
yum install ncurses-devel
4. How to use the progress command in Linux
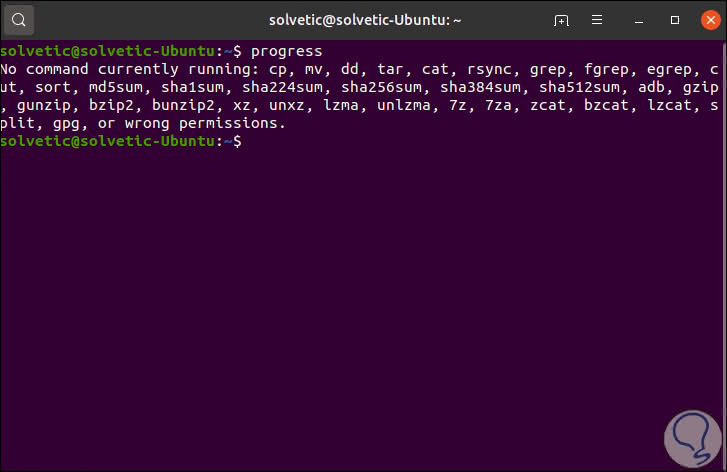
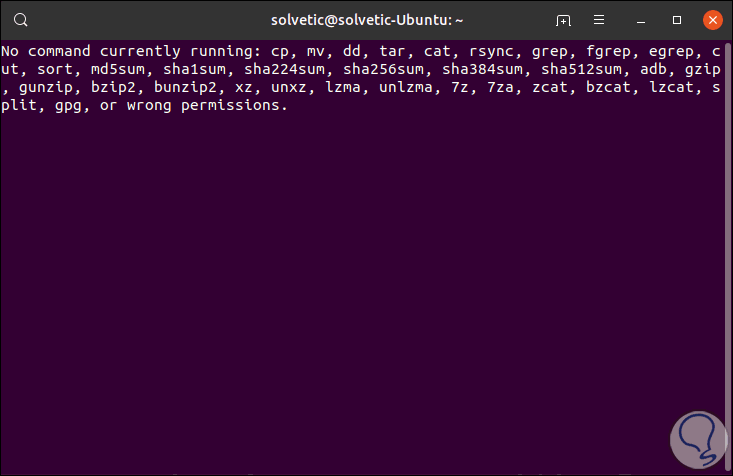
Step 1
Once installed we can directly execute progress in the terminal to see the commands that are compatible to use:
Step 2
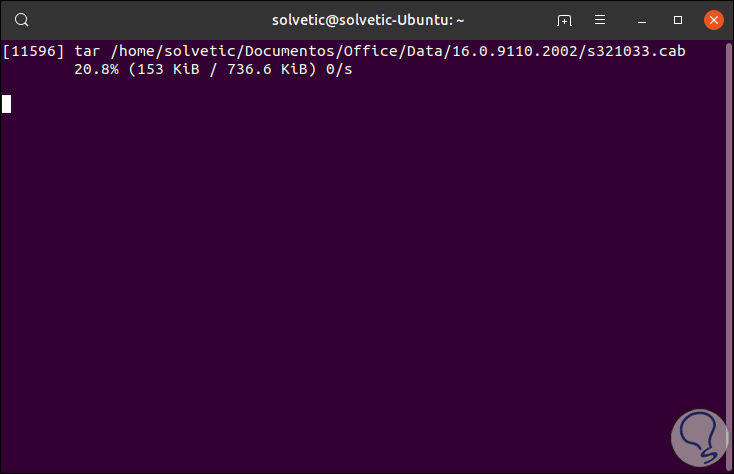
To use progress, in this case we are going to copy the contents of the Documents directory and we must add the progress -m parameter:
tar -czf - ./Documents | progress -m
Pressing enter we will see the following:
Step 3
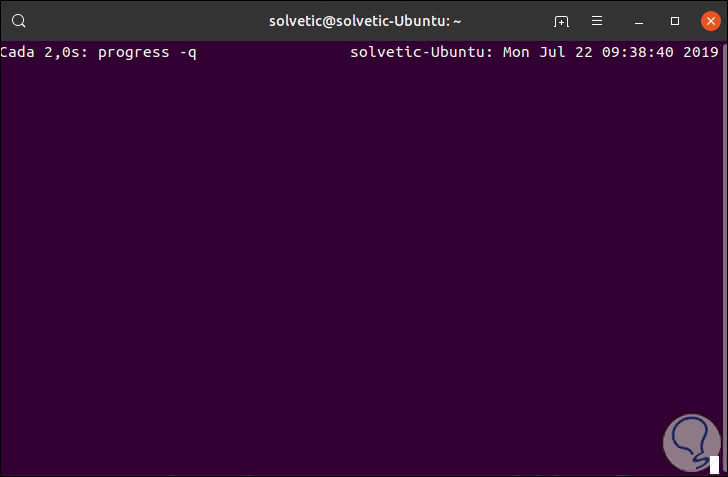
To monitor all the executed instances of progress we must use the following command:
watch progress -q
Step 4
To use the progress command in Monitor mode, we will execute the following:
progress -M
There we will see the compatible values:
Some of the options to use with this command are:
-q, quiet
Hide all messages
-d debug
Show all error and warning messages
-w. wait
Estimate the remaining execution time
-W, wait-delay
Assign the delay time for the execution of progress
-m monitor
Monitor all executed processes
-M. monitor-continuosly
Activate the background monitor constantly
-c, command cmd
Monitor only the name of the command
-p, pid
Monitor the name of the process or PID
-v version
Show the version of progress used
-h, help
Display command help
Thanks to the use of these two commands, it is possible to safely and accurately monitor the entire state of the actions that we carry out in Linux..