VirtualBox is one of the most popular platforms for creating virtual machines where it is possible to test new operating systems, applications and other operations that cannot have a negative impact on the system or physical environment. VirtualBox complements the experience of using its platform like VirtualBox Guest Additions..
What are VirtualBox Guest Additions
This is a set of tools and services that were developed to be installed in the virtual machine after the guest operating system has been installed. This allows a better interaction with the real machine since this functionality is made up of device drivers and system applications focused on providing better performance and general use of the options between both systems.
These Guest Additions are hosted in an image called "VBoxGuestAdditions.iso" which is installed in the Oracle VM VirtualBox installation directory. To use them we simply have to mount this ISO to the virtual machine.
Guest Additions Features
With Guest Additions we have the following functions:
- Shared folders which allow VirtualBox to make this folder available to the guest operating system in the network share model, even if the guest does not have access to the network
- Integration of the mouse pointer with which we have the mouse pointer avoiding the use of the Host key to release the mouse from the guest operating system in the virtual machine
- Generic host / guest communication channels which allow controlling and monitoring the execution of guests in VirtualBox
- Option to resize virtual machine window
- Improved time synchronization between guest system and host
- Allows applications to be launched on a guest from the host
- Option to accelerate 3D graphics and 2D video in guest team applications
1. How to install VirtualBox Guest Additions from VirtualBox
Step 1
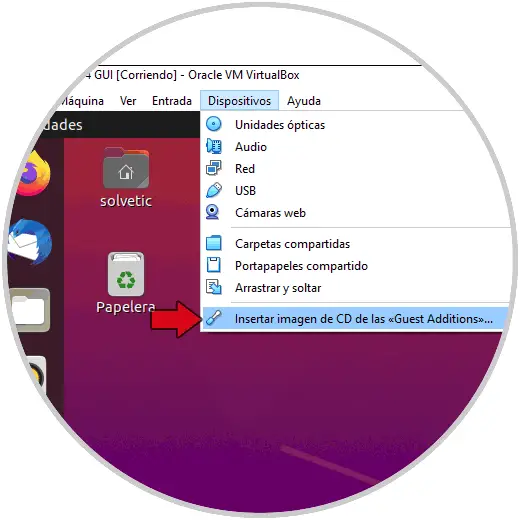
It is the traditional method and for this we start the Ubuntu 20.04 or 20.10 machine and go to the menu "Devices - Insert CD image of the Guest Additions":
Step 2
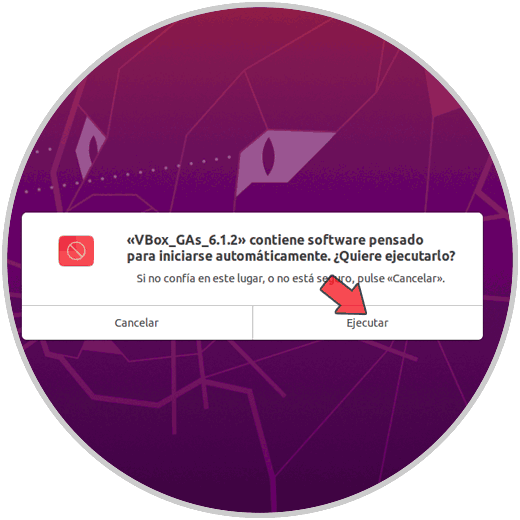
This will display the following window:
Step 3
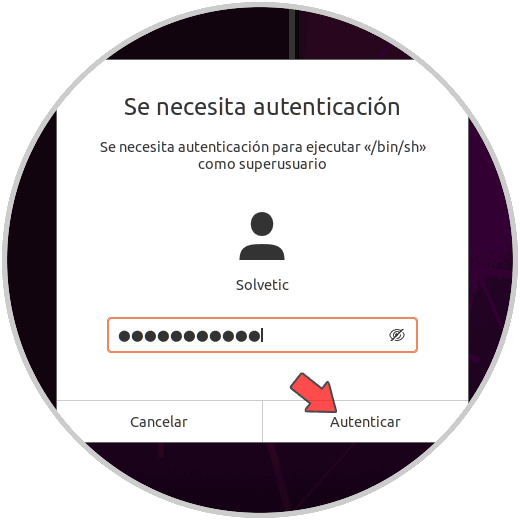
We confirm the action by clicking "Run" and then it will be necessary to enter the administrator password:
Step 4
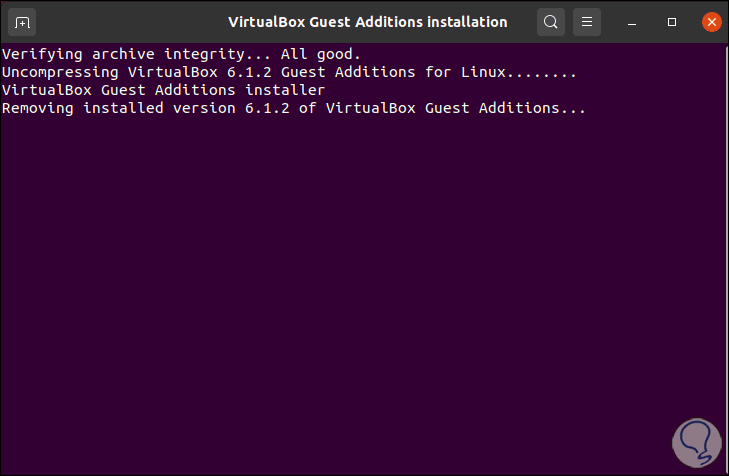
We click on “Authenticate” and it will start installing them in Ubuntu 20:
Step 5
When this process ends we will see the following. There we press the Enter key to complete the process.
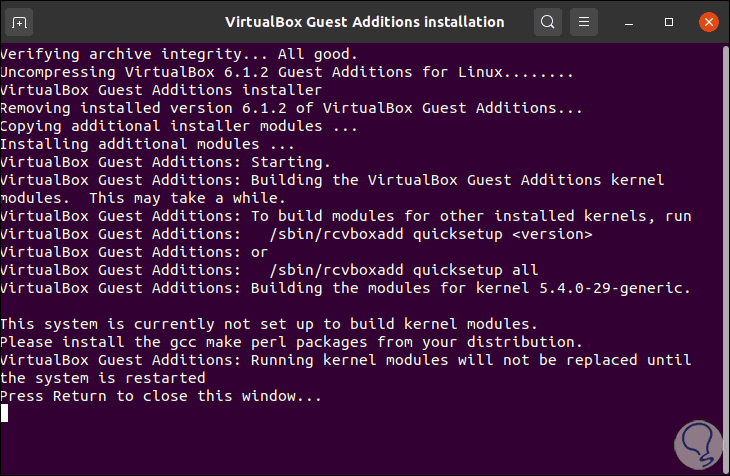
2. How to install VirtualBox Guest Additions from Linux terminal
Step 1
In case for some reason it is not possible to use the previous method it is possible to do it from the terminal, for this we go to the console and execute the following:
sudo apt install build-essential dkms Linux-headers - $ (uname -r)
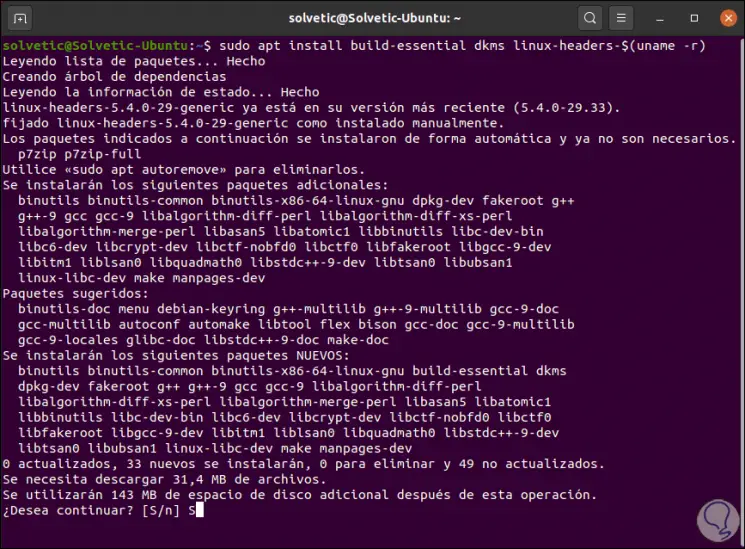
We enter the letter S to confirm the download and installation of these utilities. Then we can use the previous method so that the installation of the Guest Additions is recognized..
Step 2
The next thing we can do is go to VirtualBox and access the virtual machine configuration. There we go to the "General" section and in the "Advanced" tab we can see that the two-way method can be used between both teams:
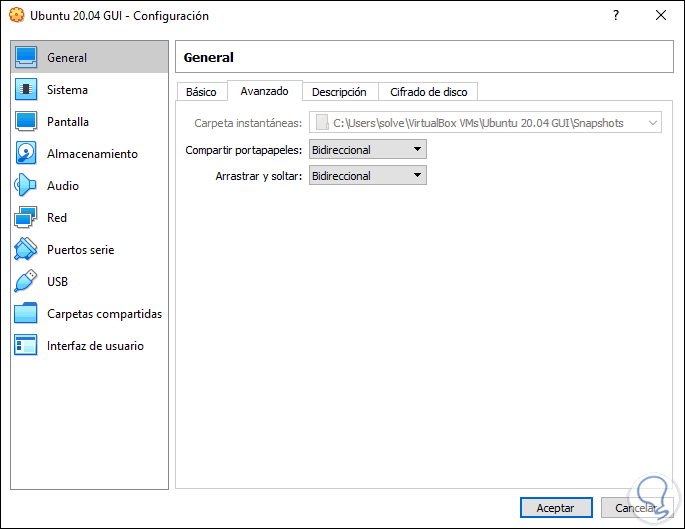
From this point it is possible to make maximum use of these Guest Additions and thus have a central and complete administration of the virtual machine from our physical equipment.