VirtualBox is one of the most used platforms for all virtualization processes thanks to its various functionalities and capabilities of development and scope of virtual machines , remember that the use of virtual machines helps mitigate impacts in productive environments and is ideal for carrying out tasks like:
Virtual Machine Functions
- Testing applications and operating systems is the need for them to run in a real environment.
- Valid compatibility and performance of programs in a specific operating system.
- Saving of both operational and hardware expenses.
- They prevent the presence of malware or viruses in productive machines.
VirtualBox is available for various operating systems and has been developed for virtualization in x86 and AMD64 / Intel64 environments and is available as open source software under the terms of the GNU General Public License (GPL) version 2..
VirtualBox integrates a group of functionalities called VirtualBox Guest Addition, which are available for all guest operating systems compatible with VirtualBox . These options are available as a single image file called VBoxGuestAdditions.iso, the main task of this functionality is to allow all actions between the guest computer and the virtual machine to be fully executed. If you also work with Linux systems, here is how to install Virtualbox Guest Additions in Ubuntu or centOS.
This VBoxGuestAdditions.iso image file is located in the VirtualBox installation directory and to be able to install it correctly it will be necessary to mount that ISO file in the virtual machine as a virtual CD-ROM and then install it from the menu “ Devices / Insert CD image of the “Guest Additionsâ€..
Guest Additions Features
Some of the functions offered by Guest Additions are:
- Integration of the mouse pointer: With this functionality it is possible to have a compatibility with the mouse since in this way we will only have a mouse pointer and it will no longer be necessary to press the Host key to release the mouse at the moment the system guest operation capture it as is traditional in virtual environments to achieve this a special mouse driver is installed on the guest computer which has the mission of establishing communication with the mouse controller on the physical computer and thus be able to move the pointer of the guest mouse
- Shared folders It is one of the most striking functions since these folders give us the possibility to exchange files between the host and the guest in a secure and fully functional way.
- New video support: In the Guest Additions, custom video drivers are installed whose objective is to offer better quality video modes and not based on the standard configuration, accelerated video performance is also included.
- Full window: Thanks to this option it is possible that the individual windows that are displayed on the virtual machine's desktop have the possibility of being mapped on the host's desktop, this creates a simulation environment that the actions are executed in The host directly.
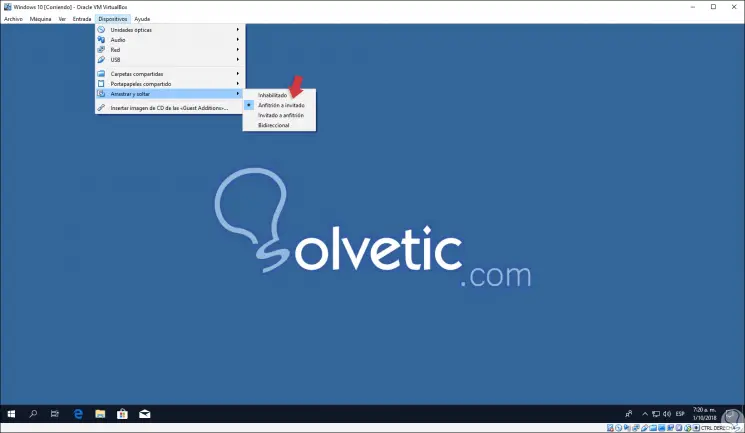
- Shared clipboard: Another interesting feature since this option allows the clipboard of the guest operating system to be shared with the host operating system.
- Automated session logins: it is an alternative which can be configured so that all logins are executed automatically without entering the credentials manually as usual in virtual machines.
- Generic host / guest communication channels: This is a mechanism through which it will be possible to control and monitor the execution of guests as a generic base in chains and thus be able to exchange bits of data between the guest and a specific host.
- Time synchronization: Using this option ensures that the host system time is synchronized with that of the host using the NTP protocol.
1. Install VirtualBox on Windows 10
Step 1
To download the latest version of VirtualBox we must go to the following link:
Virtualbox
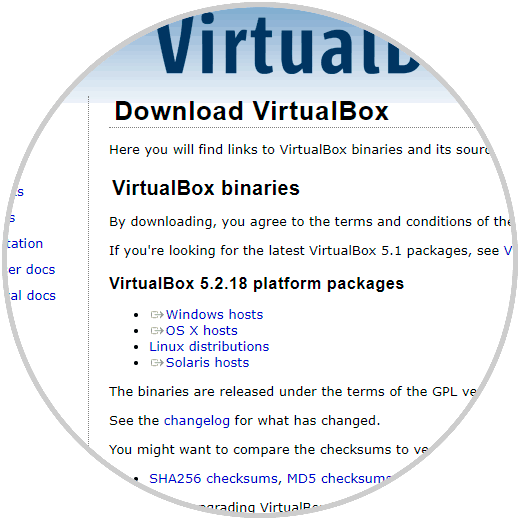
Step 2
We click on the “Windows hosts†line to start the download of the VirtualBox executable. Once downloaded, double click on it the following wizard will be displayed:
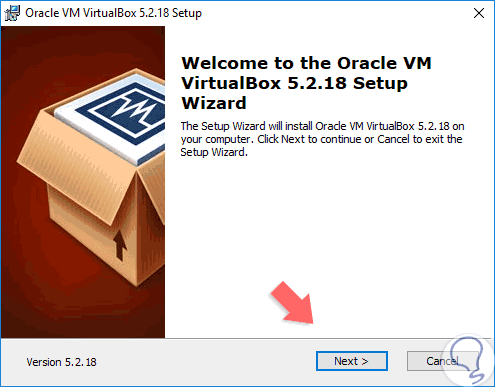
Step 3
There we click on Next and the following window will be displayed:
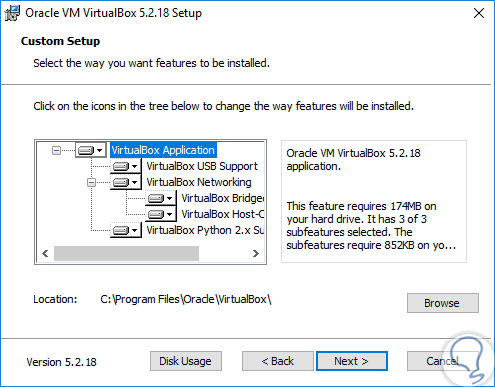
Step 4
In it we must select, if we want, which feature of VirtualBox must be installed, by default all are active as they integrate functions such as:
VirtualBox Application
This allows the integration of applications between the host and guest computers.
VirtualBox USB Support
It allows the recognition of USB media in the virtual machine.
VirtualBox Networking
This option allows all network tasks to be carried out normally and effectively, thus many more options.
Step 5
Defined this, we click on Next and now we activate the boxes that we consider necessary for:
- Create a shortcut on the desktop
- Add VirtualBox to the Start menu
- Associate log files and more
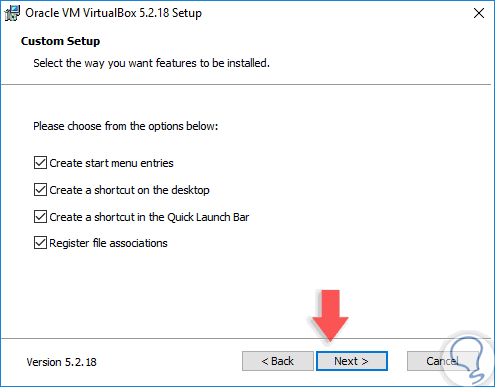
Step 6
Again click on Next and the following warning will be displayed:
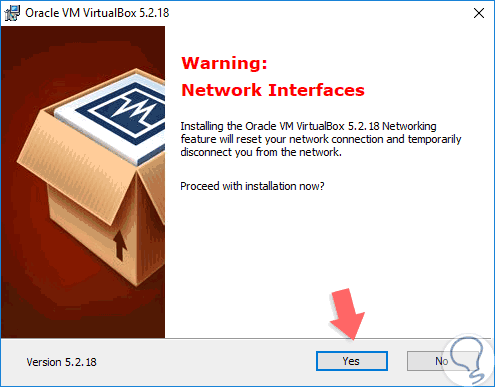
Step 7
This indicates that during the installation of VirtualBox we may lose network connectivity due to the integration processes of the network features, we click on the Yes button to continue and the following will be displayed:
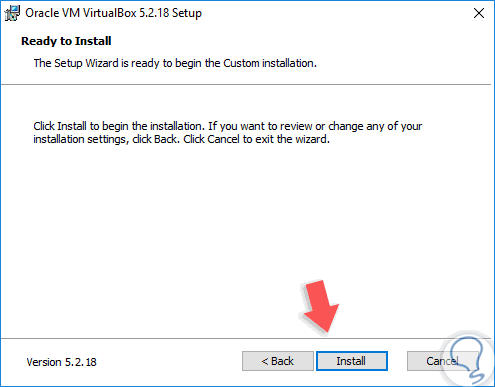
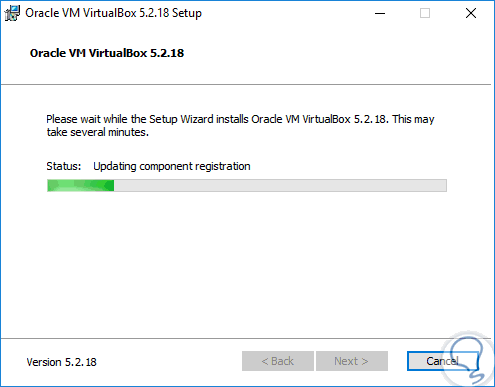
Step 8
Click on the "Install" button to proceed with the VirtualBox installation process in Windows 10:
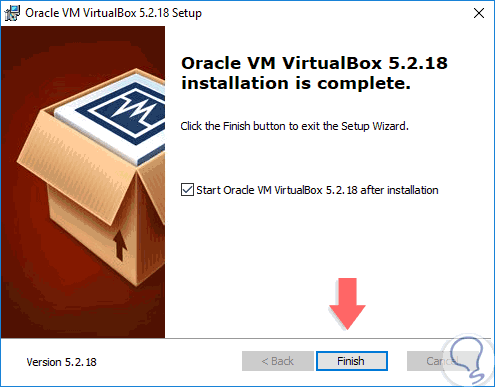
Step 9
Once this process is finished we will see the following. There we can activate the respective box to automatically run VirtualBox if desired, click on the "Finish" button to close the wizard. In this way we have installed VirtualBox in Windows 10.
2. Install VirtualBox Guest Additions on Windows 10
Now, once the virtual machines necessary for the virtualization environment have been created, it is time to add the Guest Additions so that all VirtualBox functions can be executed.
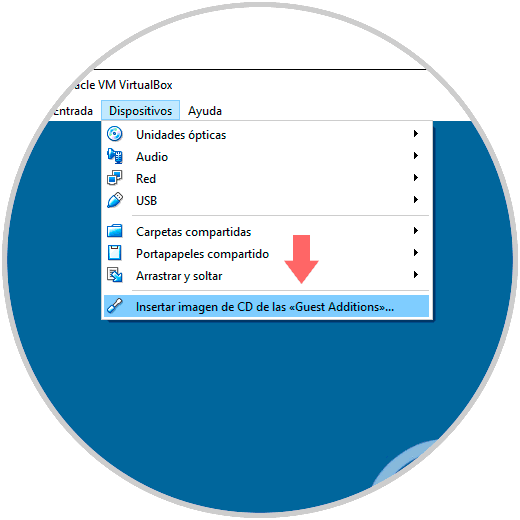
Step 1
For this we execute the desired virtual machine and go to the “Devices†menu and there we select the option “Insert CD image of the“ Guest Additions â€â€:
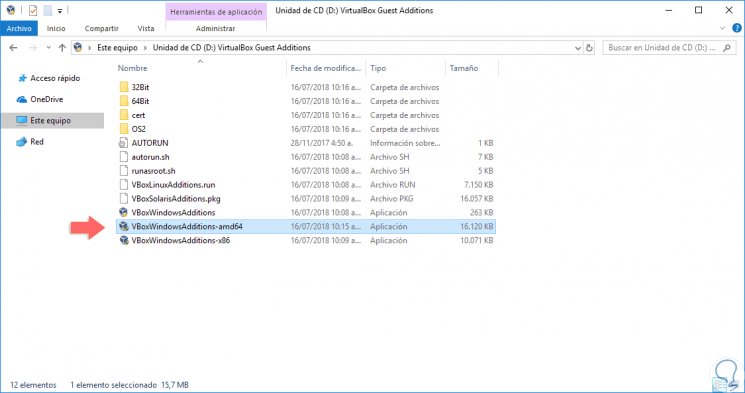
Step 2
A pop-up window should automatically appear indicating what kind of action we want to perform with the CD drive, in case it is not deployed, we can go to the file explorer and there we find the VirtualBox virtual CD drive mounted:

Step 3
We double click on it and use the executable based on the architecture of the equipment used:
Step 4
There the following wizard will be displayed:
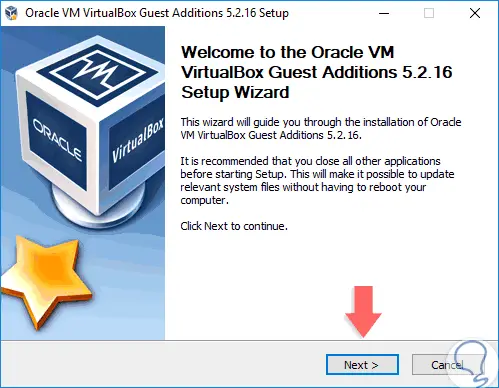
Step 5
Click on Next and now establish, if necessary, a new route where Guest Additions will be installed:
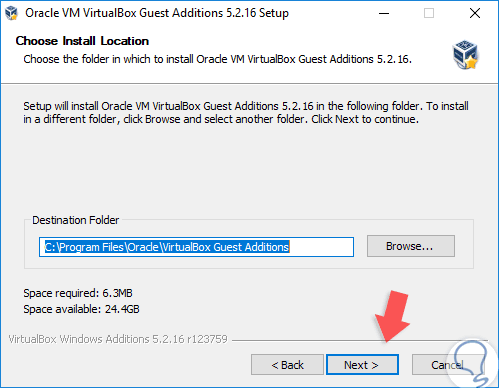
Step 6
Click Next and define the components of the Guest Additions to install:
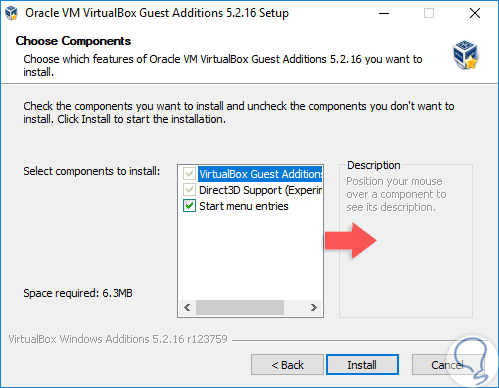
Step 7
Click on the "Install" button to carry out the installation process of Guest Additions in Windows 10:
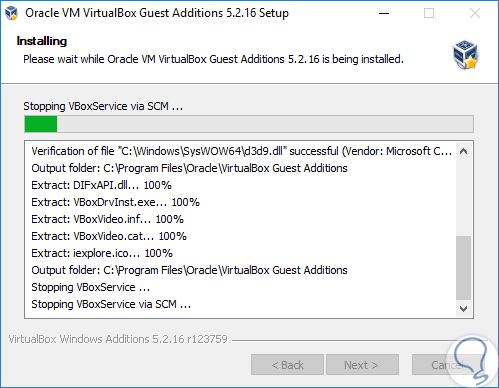
Step 8
Once finished we will see the following:
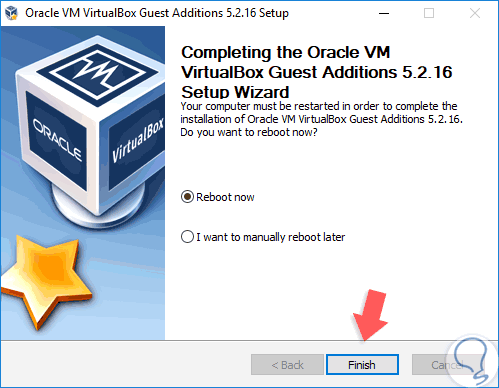
Step 9
The system must be restarted to apply the changes, click on the "Finish" button to restart Windows 10:
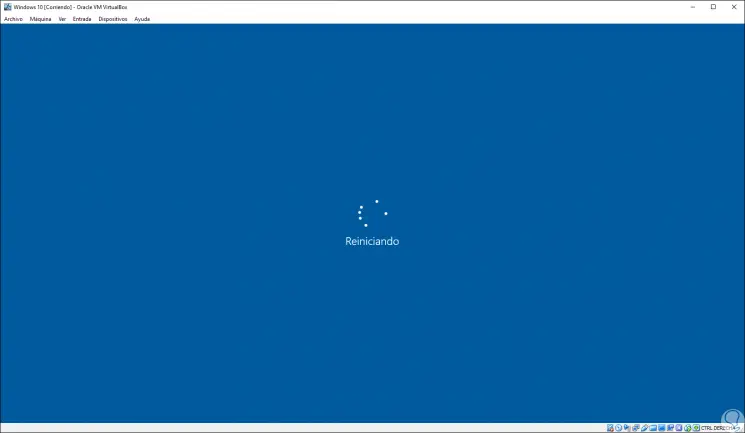
Step 10
Thus, when Windows 10 is loaded again, we will be able to use the integrated features of VirtualBox and thus have a better virtualization experience between both systems:
In this way we managed to get the maximum benefit of VirtualBox for the entire theme associated with virtualization.