Apple has released macOS Big Sur with version 11.0 which will position itself as one of the great updates of macOS since we will find numerous improvements in this system, as well as radical design changes. It is possible to create a USB bootable Mac with this new operating system which will serve to be installed on other computers without having to download the system, which has a weight of 9.56 GB, remember that macOS Big Sur will only be compatible with following equipment:
MacOS Big Sur compatibility
- MacBook from year 2015 or later
- MacBook Air from 2013 onwards
- MacBook Pro late 2013 and later
- Mac Mini from 2014 onwards
TechnoWikis will explain how to create bootable USB macOS Big Sur with macOS Big Sur's own tools and nothing extra..
To stay up to date, remember to subscribe to our YouTube channel! SUBSCRIBE
1. Download macOS Big Sur Installer
The first step is to download the system installer since with it it is possible to create the USB.
Step 1
For this we must register as Apple developers at the following link:
Developer Apple
Step 2
This will allow us to download the “macOS Public Beta” utility with which the team will be able to receive this type of update. Once the utility is installed, we will search for updates either from the System Preferences Dock or from the Apple menu - System Preferences, we will see the following:

Step 3
Let us consider two aspects. There we click on "Update now" to download the installer.
- First of all, the version is beta (test) since the official version has not been released yet
- In the beta version 10.16 comes out but officially it will be 11.0
2. Set up macOS Big Sur
Step 1
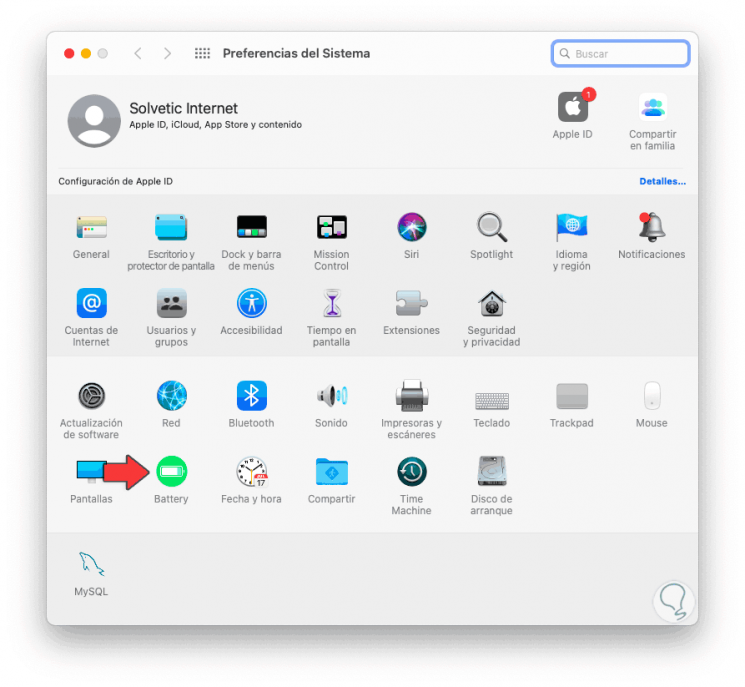
It is important to configure the equipment to prevent it from going to sleep since it will affect the process of creating the Big Sur boot USB, for this we go to System Preferences and there we will see the following:
Step 2
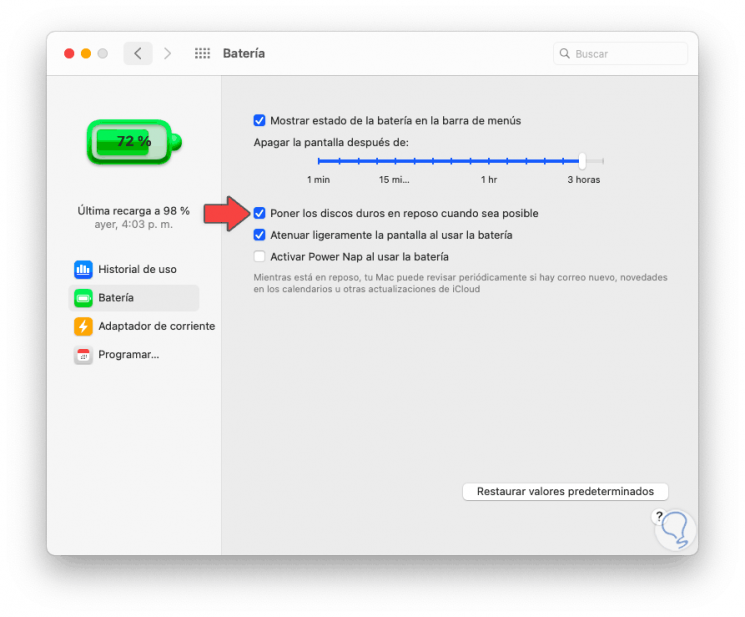
We go to the "Battery" section and there it is possible to uncheck the box "Put the hard drives at rest when possible" to prevent the drive from shutting down if it detects no activity, in the same way we can set the time in which the screen it should not be turned off:
3. Configure USB Boot macOS Big Sur
Step 1
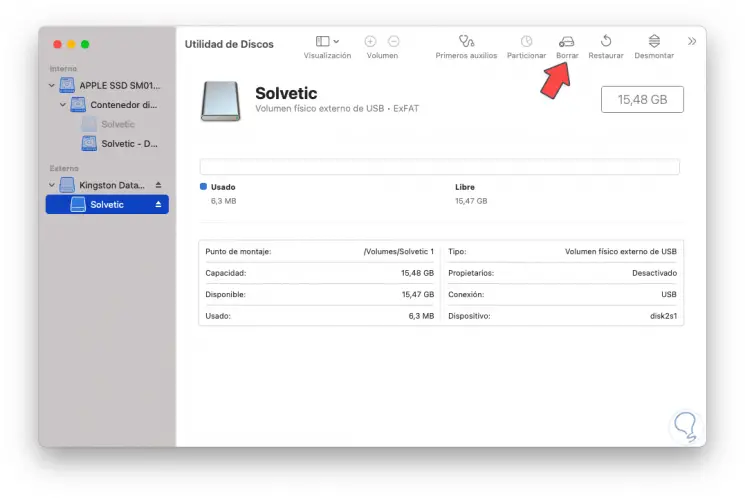
It is time to configure the USB, for this we connect the USB to the computer and go to the disk utility:
Step 2
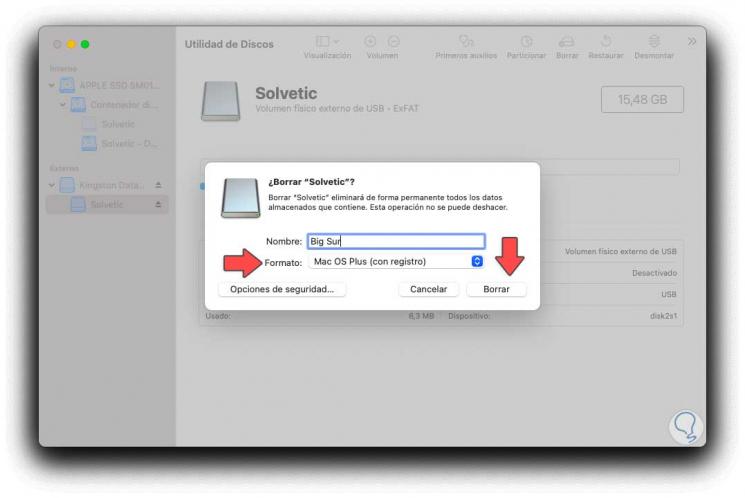
Select the USB and click "Delete", assign the name of the medium to be created and in the "Format" field select "Mac OS Plus (with registration)":
Step 3
We click on "Delete" and the process of deleting and formatting will start:
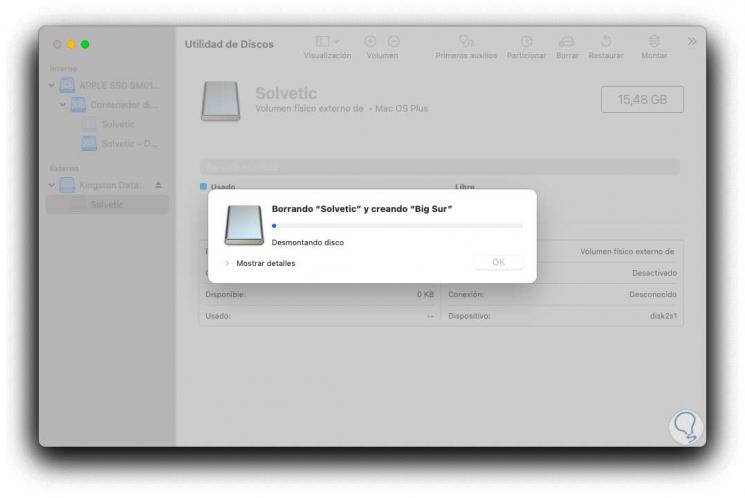
Step 4
Once finished we will see the following:
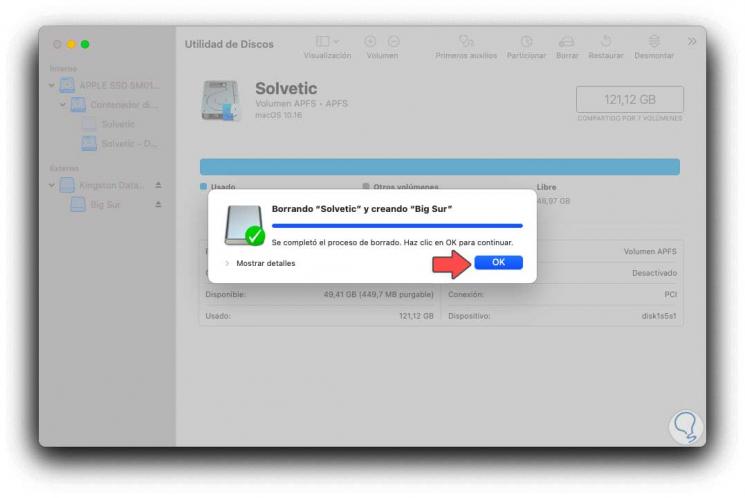
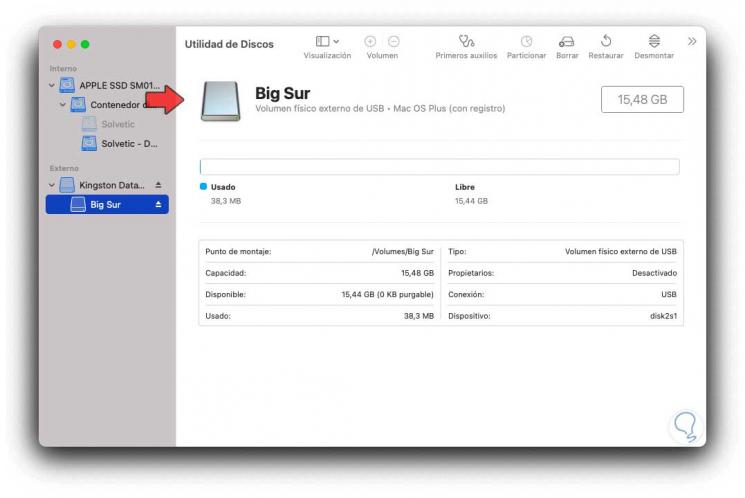
Step 5
We click OK and we will see that the change has been applied to the USB:
4 . Create USB Bootable macOS Big Sur
Step 1
First, we go to Applications in macOS to validate that the installer has been downloaded:
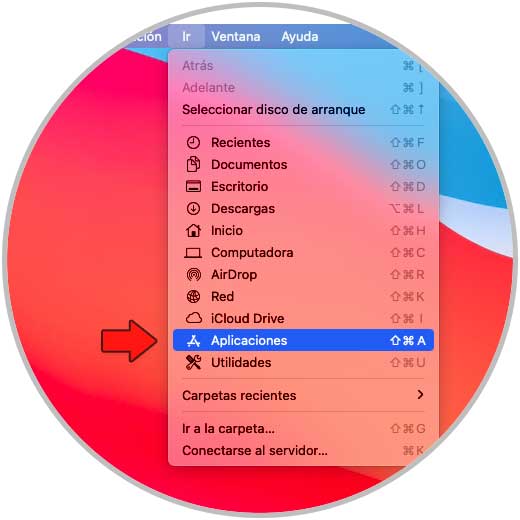
Step 2
There we can see it:

Step 3
With this confirmed we access the terminal and we will execute the following line:
sudo / Applications / Install \ macOS \ Beta.app/Contents/Resources/createinstallmedia --volume / Volumes / ”USB”
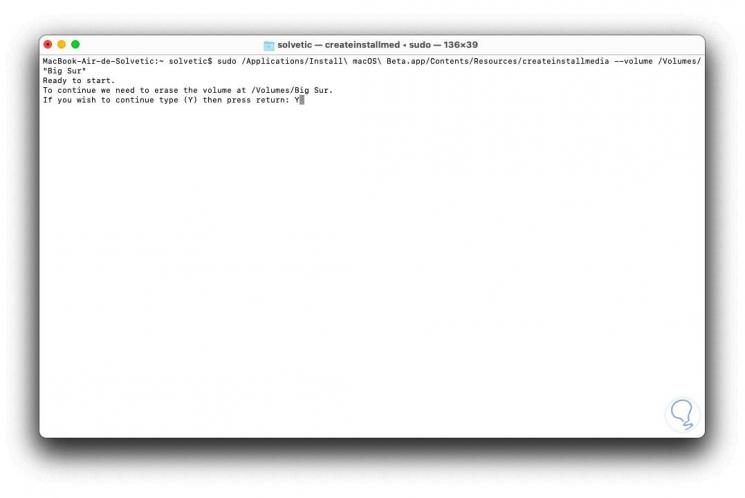
Step 4
In the field "USB" we must enter the name assigned to the USB, in this case it goes in quotes due to the space created, if it did not have space the quotes would not be necessary.
When pressing Enter we must enter the letter "Y" to accept the deletion of the data and proceed to create the installation medium, first the data on the USB will be deleted:

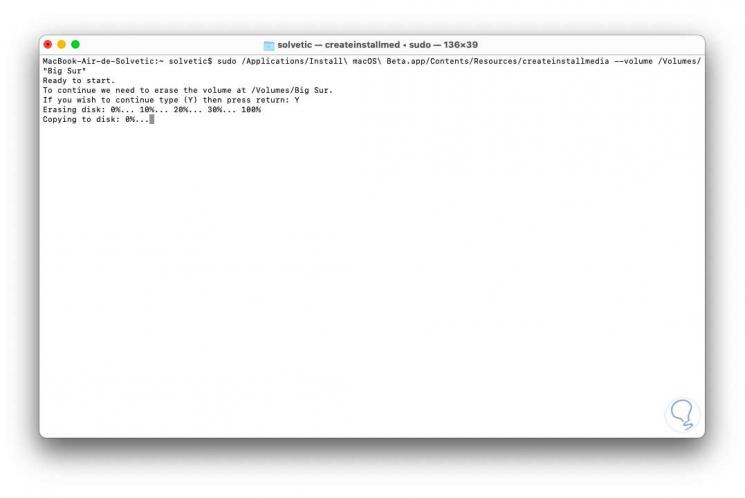
Step 5
Then we proceed to copy the data from macOS Big Sur:
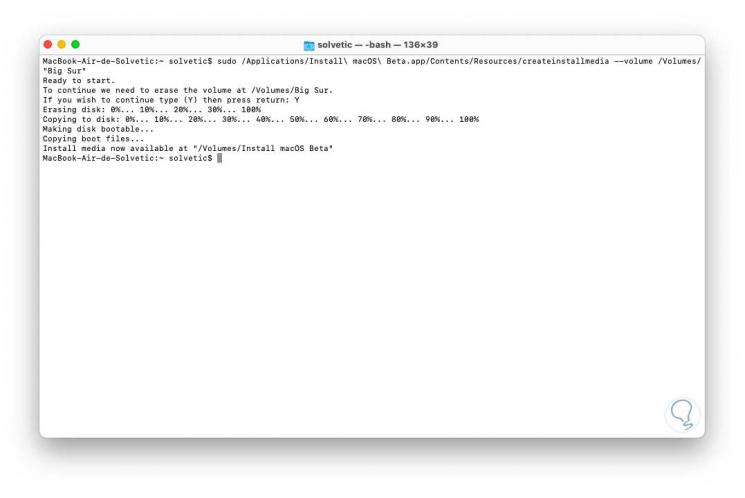
Step 6
When this process reaches its end we will see the following, note that the system creates the bootable USB, copies the boot files and others:
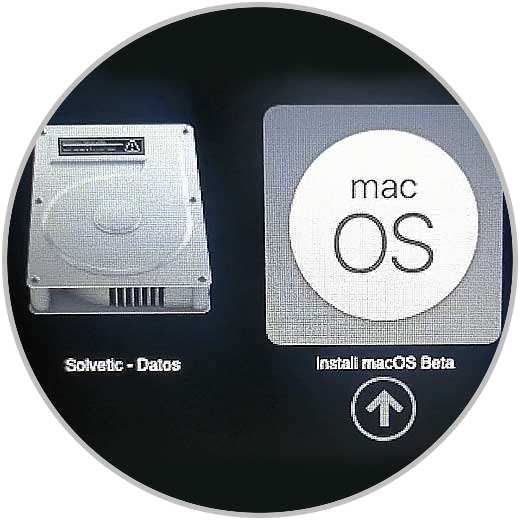
Step 7
We are ready to use the USB in macOS, for this we connect the medium in the computer and turn it on or restart it and during the process we press the Option key (Alt), there we will see the USB that we have created available:
With this method we have learned to create our bootable USB with macOS Big Sur.