The file transfer has been present for many years and through various operating systems all require security, compatibility and performance by FTP resources, so it is ideal to have a practical and functional solution for this and FileZilla is key in this type of tasks. FileZilla Client supports the FTP protocol and additionally supports FTP over TLS (FTPS) and SFTP., FileZilla has been developed as a free open source software under the terms of the GNU General Public License..
Your download is available at the following link:
FileZilla
FileZilla Features
Among the FileZilla features we highlight:
- Can be run on Windows, Linux, BSD, Mac OS X and more
- Supports FTP, FTP over SSL / TLS (FTPS), and SSH File Transfer Protocol (SFTP)
- Allows you to resume and transfer large files larger than 4 GB
- It is available in different languages
- Support for HTTP / 1.1, SOCKS5 and FTP-Proxy
- Has a site administrator and transfer queue
- Synchronized directory browsing function and much more
We also leave you the video tutorial to configure Filezilla Server in windows 10
To stay up to date, remember to subscribe to our YouTube channel! SUBSCRIBE
Install and configure FilleZilla Server on Winodws 10
Step 1
For this case we download FileZilla Server and once downloaded and executed we will see the following:
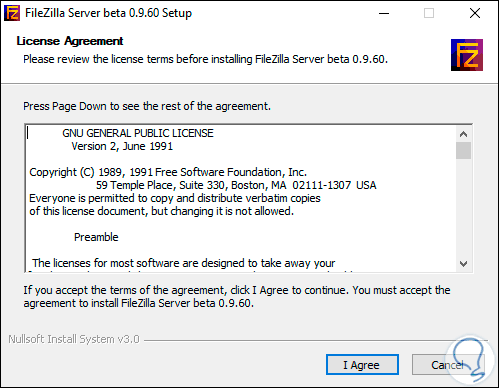
Step 2
We click “I Agree” to accept the license terms, then we select the components to be installed:
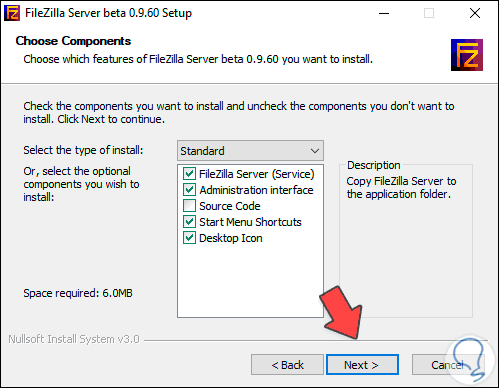
Step 3
We click Next and define the path where FileZilla must be installed:
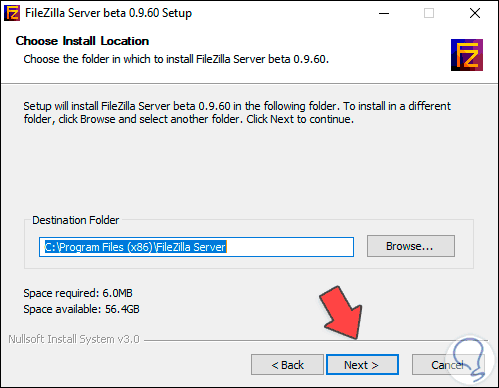
Step 4
In the following window it is possible to define the port to use (we recommend leaving the default port) and to establish if FileZilla will start as a system service:
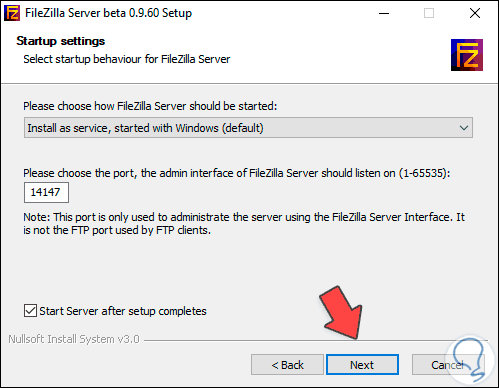
Step 5
Now we configure the startup of FileZilla:
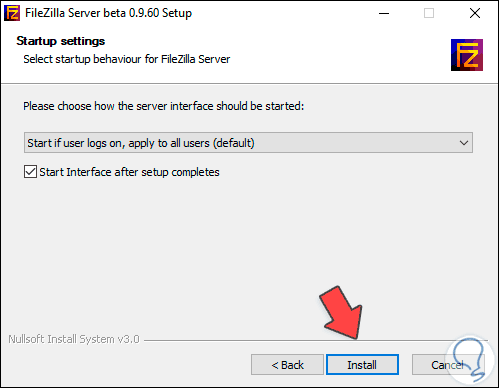
Step 6
We click “Install” to carry out the installation process in Windows 10:
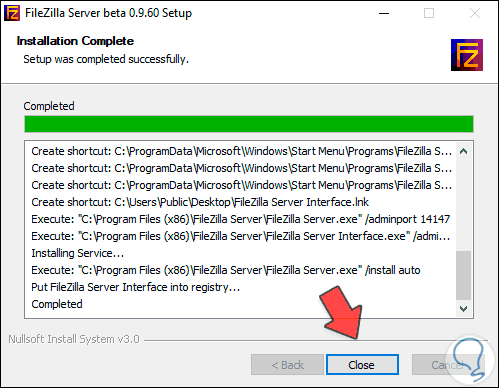
Step 7
Pressing Close will open FileZilla and we will see the following:
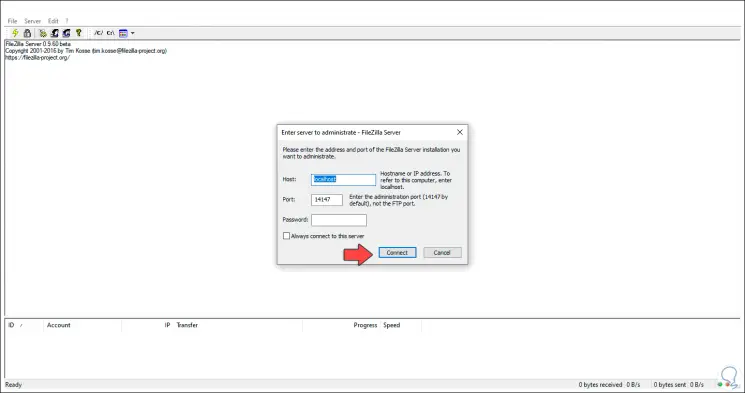
Step 8
There the following values are established:
- In the field "Host" the local computer "localhost" is defined
- In port we see the default value which is 14147
- It is possible to assign an access password if we wish
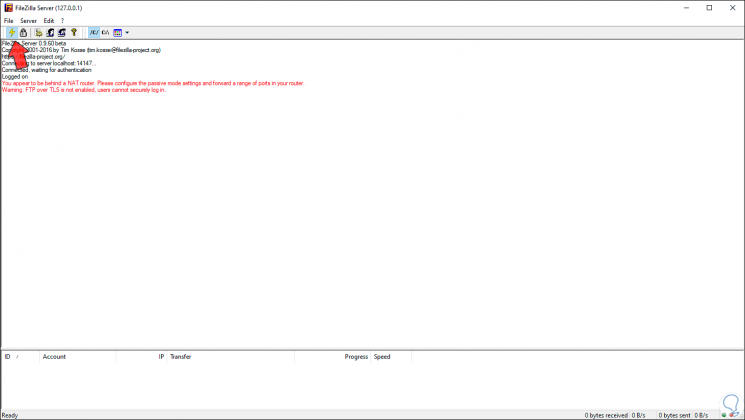
Step 9
We click on “Connect” and we will see the following:
Step 10
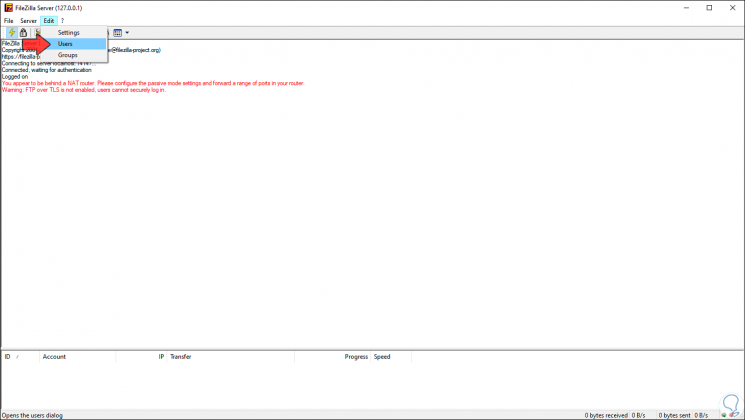
We will go to the "Edit - Users" menu:

Step 11
We will see this:
Step 12
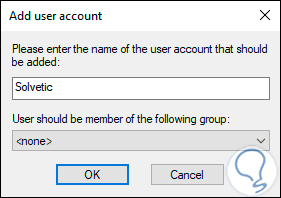
We add a user by clicking on the "Add" button and enter the desired name:
Step 13
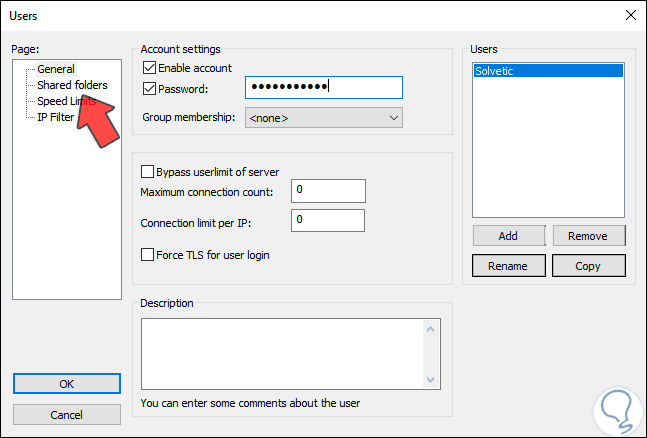
We click OK and then we can configure different aspects of the user such as:
- Send and receive speed settings and more
Step 14
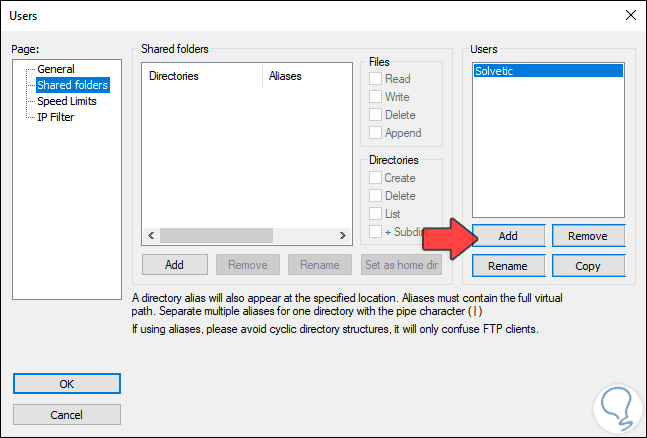
We go to the “Shared folders” section where we will see the following:
Step 15
We add a share by clicking Add and selecting the desired folder:
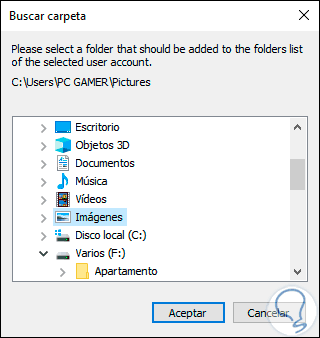
Step 16
We click OK to apply the change:
Step 17
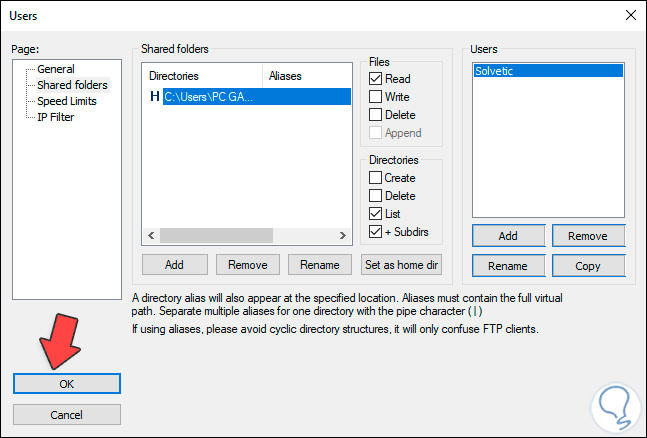
On the side we can define the permissions on shared resources as:
Step 18
These will be adjusted based on the need of the moment. We click OK and we will see that the change is registered in the central console:
Step 19
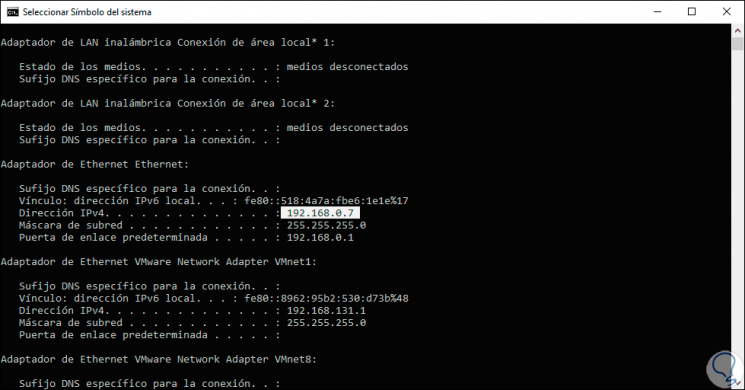
We access the command prompt and there we execute the command "ipconfig" in order to verify the IP address of the local computer:
Step 20
With this we open the FileZilla client and in the Server field we enter the IP address of the computer, in the "User name" field we enter the user we have created and in the "Password" field the password that has been established:
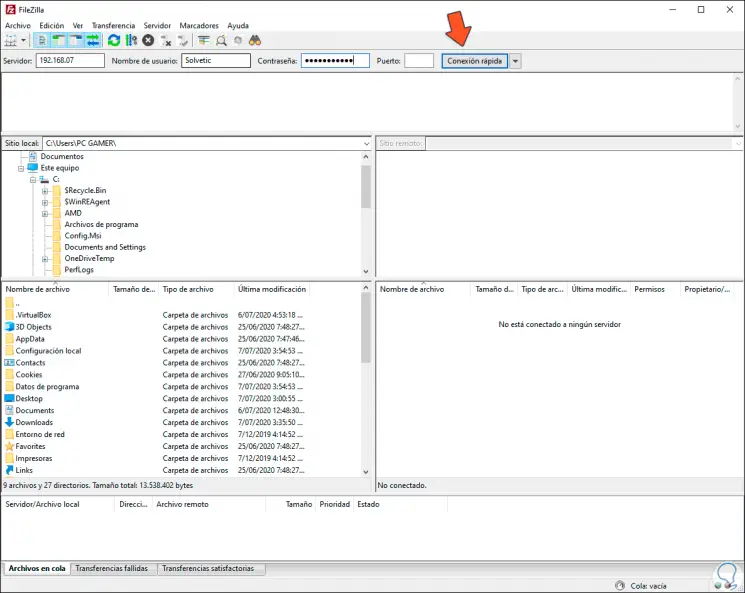
Step 21
In the port field we can enter FTP port 21, click on "Quick connection" and see that the connection has been established:
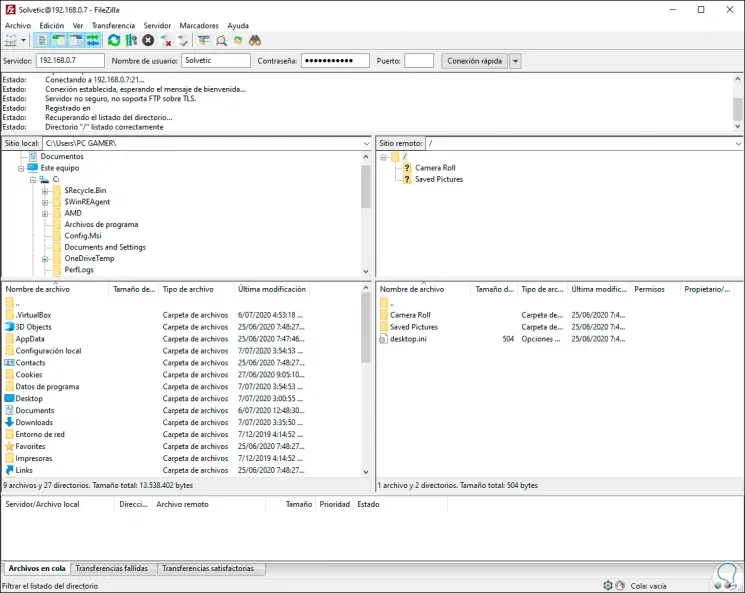
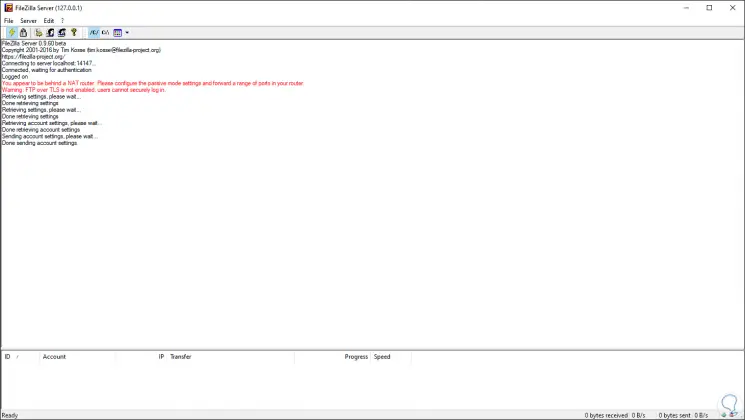
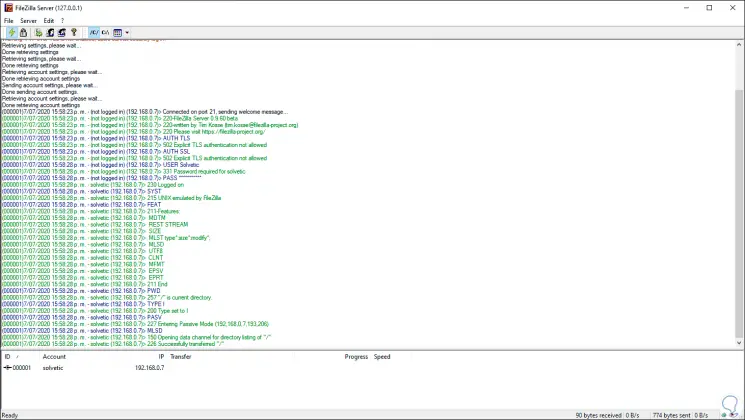
Step 22
In the FileZilla Server we will see each change:
Note
We can connect externally knowing the public IP address of the equipment.
From this moment we can administer the file management with FileZilla thanks to its different functions.