Through the times one of the most used file transfer solutions in various operating systems has been FTP (File Transfer Protocol) which has been supporting since 1971 and whose operation is based on the client software model / server through which it gives us the opportunity to transfer any type of file between computers based on a network using the TCP / IP protocol..
The use of the FTP protocol is simple, it is enough for some user to access an FTP client program from a computer in order to connect to another computer on which an FTP server is configured, after this, when the connection is established, the The client must authenticate with a defined username and password and when the client has authenticated, the file-sharing process can be started.
FTP advantages
Some of the advantages we have when using an FTP server are:
- It will be possible to manage FTP files directly from the application in synchronous or asynchronous mode.
- Supports FTPS - FTP over TLS 1.2, 1.1, 1.0 and SSL 3.0
- It is compatible with SSL / TLS
- Supports most popular FTP servers and current proxies.
- It is possible to resume (restart) FTP uploads and downloads without wasting time.
- It will be possible to synchronize the local directory tree with the remote directory tree in any direction
- All operations are abortible
- Supports international file names in all major languages
- Supports using secure FTP (FTPS) through AUTH TLS or AUTH SSL
- Deletes the control channel (CCC) after FTPS authentication
- We can download text and binary files directly into memory
- We will be able to create a remote directory
- We can change or delete the name of remote files and directories.
- Supports asynchronous loads and downloads.
- Supports binary transfers and ASCII.
- It is compatible with Stream
- It supports large files as it will be possible to upload or download files larger than 4 GB
- QUOTE and SYST compatible
- It allows the client's SSL certificate to be used for SSL connections and much more.
Now, the best of all this is that it will be possible to make use of FTP in Windows 10 for free and with a simple configuration process through which we will have the opportunity for various users to establish this connection with security, integrity and with the best current benefits..
To keep up, remember to subscribe to our YouTube channel! SUBSCRIBE
1. Install the FTP components in Windows 10
Step 1
Windows 10 includes support for the configuration of an FTP server, but it will be necessary to add the necessary components manually, for this we access the Control Panel and there we go to the “Programs†section where we will see the following:
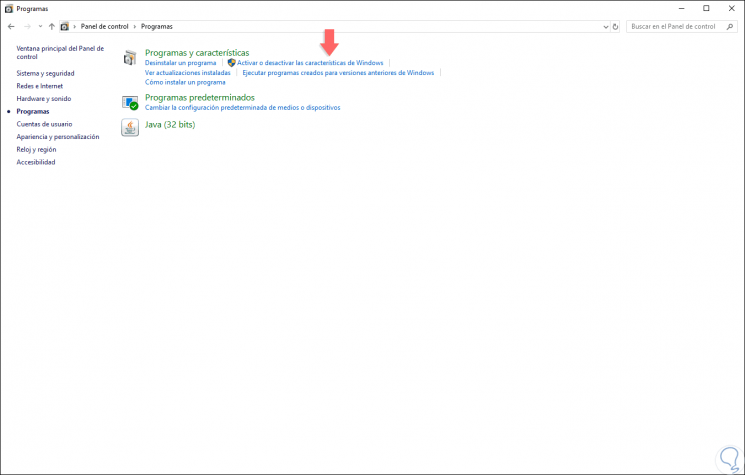
Step 2
There we click on the “Activate or deactivate Windows features†line and in the pop-up window we go to the “Internet Information Services†section where we also display the “FTP Server†section and there we activate the following boxes:
- FTP Extensibility
- FTP service

Step 3
Click on the Accept button so that these add-ons are installed in Windows 10:

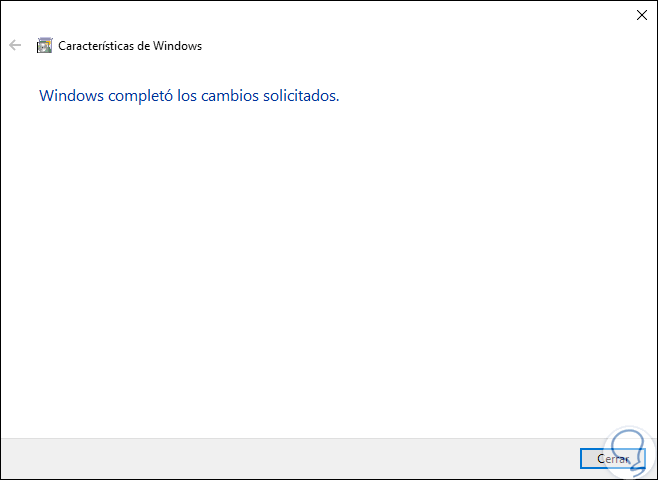
Step 4
Once this process is completed, the following will be displayed. Click on the Close button to complete the process and close the wizard.
2. Configure FTP in Windows 10
Step 1
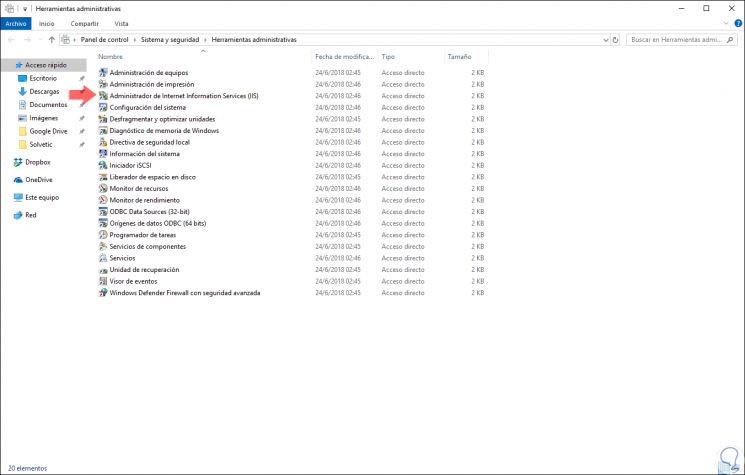
Once this is done, we will create a new FTP site, configure firewall rules and allow external connections which is vital in any FTP connection. First, we are going to create our FTP site and for this we go to the following route:
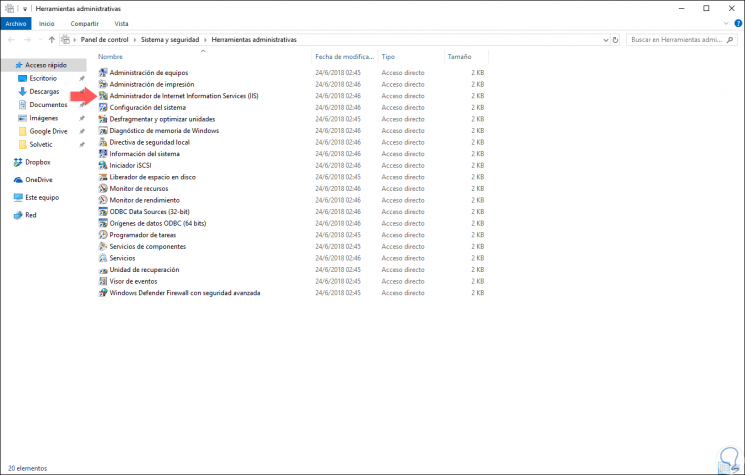
Step 2
There we will double click on the option called “Internet Information Services (IIS) Manager†and in the window we will go to the connection panel (left side) and there we will right click on “Sites†and select the option “Add FTP site†:

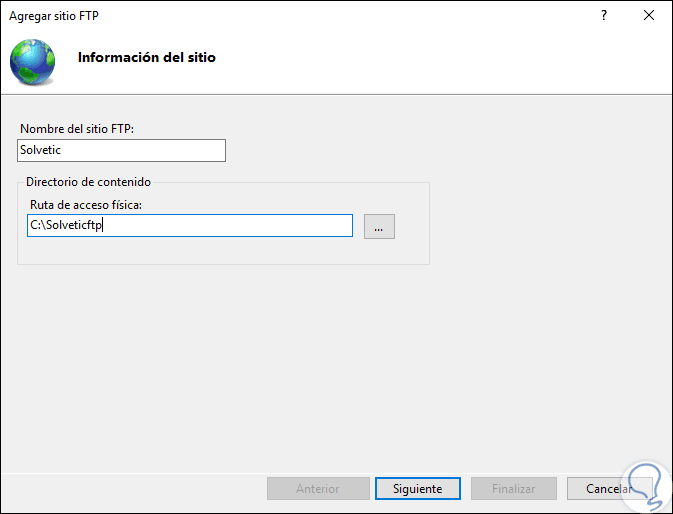
Step 3
When clicking there we must enter the following:
- Physical path where the folder will be created to store the FTP files in Windows 10, for this we click on the side button and we will go to the selected folder
Step 4
At this last point it is recommended to create a folder at the root of the operating system drive, usually the C drive, or on a different hard drive, since, if the startup folder is configured as one of the default folders for FTP, When adding multiple accounts, users will not have the necessary permissions to access the FTP route.
There we can establish a range of IP addresses, ports to use, automatically execute FT or define SSL security values, we can leave the default values, or if we want to activate the “Without SSL†box to avoid permission conflicts, and press New in "Next." Click on Next and we will see the following window:
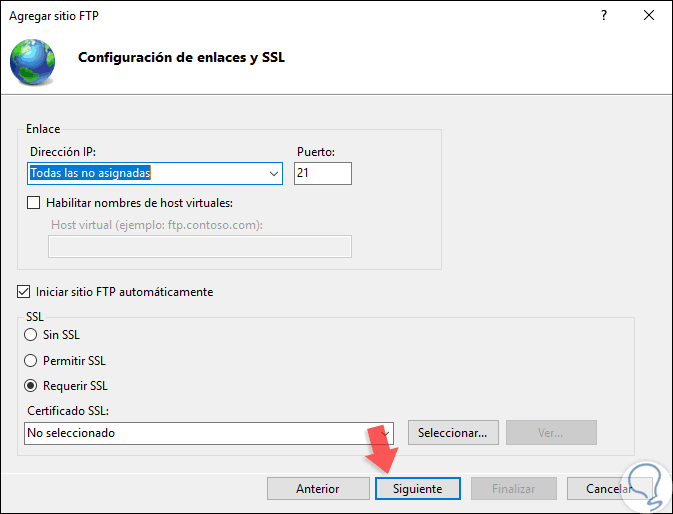
Note
If we carry out this process in a corporate environment it is ideal that we activate some SSL configuration.
Step 5
In the next window we will configure the following:
- "Authentication type", in this case we activate the "Basic" box.
- "Allow access to", there we must define which users will have access to FTP, the options to be used are All users, Anonymous users, Roles or groups of users specified and Users specified
- We define the permissions for the users in the FTP (Reading or writing)
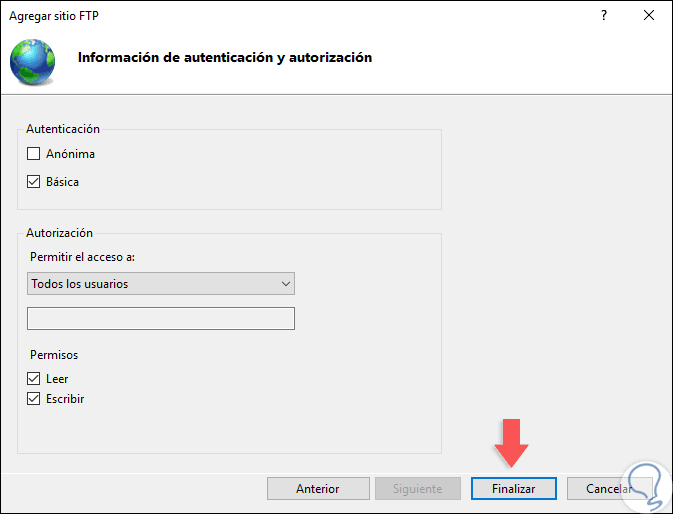
Step 6
Click on Finish to complete the process and we will see our FTP site created correctly:
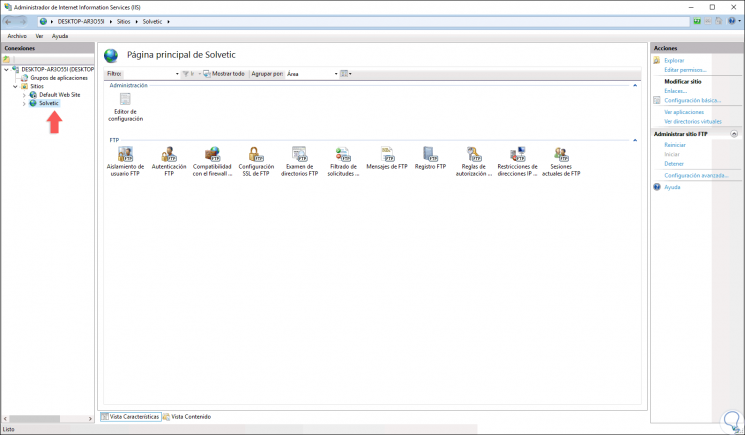
3. Configure Firewall rules in Windows 10
This is a fundamental point since by default the Windows 10 Integrated Firewall will block FTP connections when they are considered a security threat and when trying to connect we will generate an access error.
Step 1
To allow connections to FTP in Windows 10, we go to the "Windows Security" utility and there we go to the "Firewall and network protection" section where we will see the following:
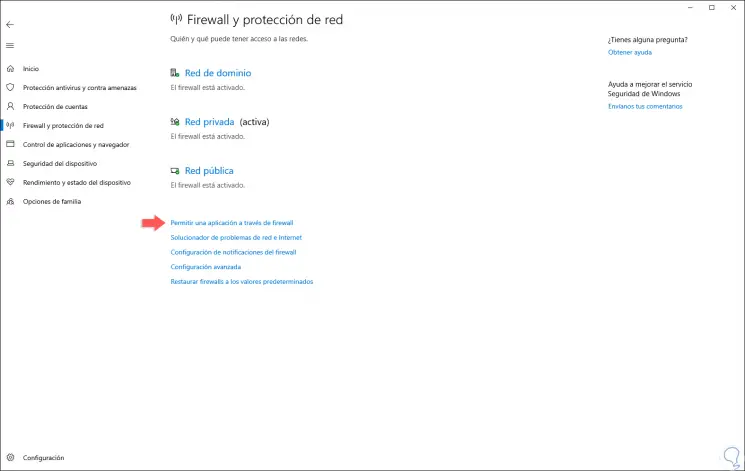
Step 2
There we click on the line “Allow an application through firewall†and the following window will be displayed:

Step 3
There we click on the "Change settings" button at the top and locate the line called "FTP Server" and check the boxes of private and public networks.
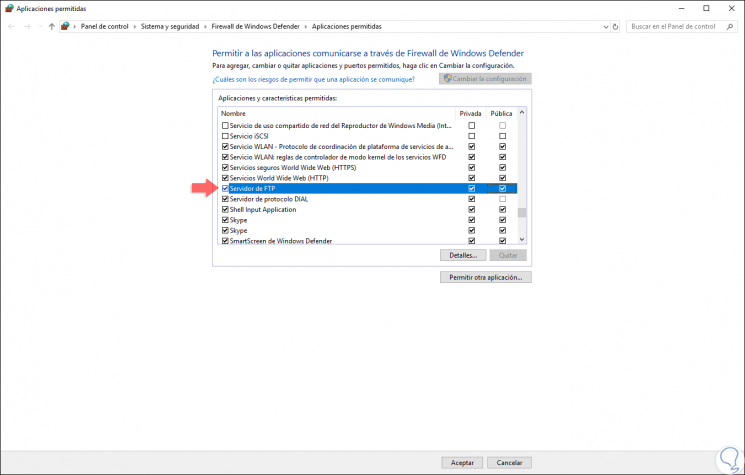
Step 4
Click on OK to apply the changes. Once these steps have been completed, it will be possible to access the FTP server from the local network. To verify this connection, we go to a browser and enter the following syntax:
ftp: // IP_address
Step 5
The respective access passwords will be requested:
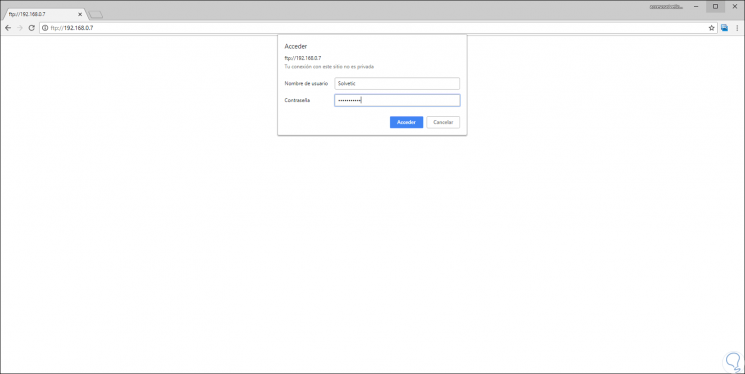
Step 6
Click on Access and in this way we access the FTP folder created. This way we can connect locally to the configured FTP server.

4. Allow external connections to FTP in Windows 10
Now, another important point to configure is to allow users to connect from an external network, for this we will follow the next steps. It is important to clarify that for the FTP server to be accessible from the Internet, it will be necessary to open port 21 of the TCP / IP protocol on the router. To forward port 21 to allow FTP connections outside our local network we will execute the following.
Step 1
First, we go to the Start / Settings menu where we will see the following:

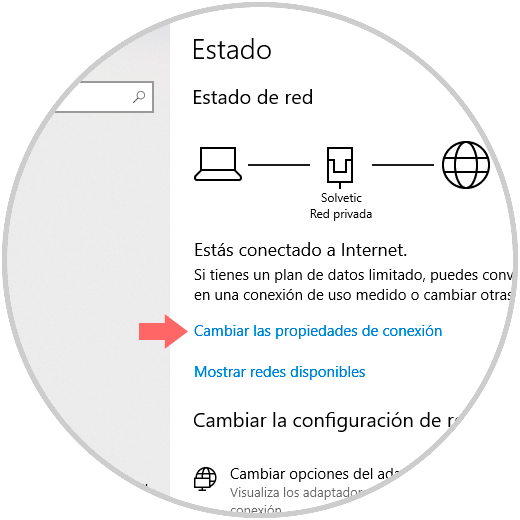
Step 2
There we click on the “Network and Internet†category and in the “status†section we click on the “Change connection properties†line:
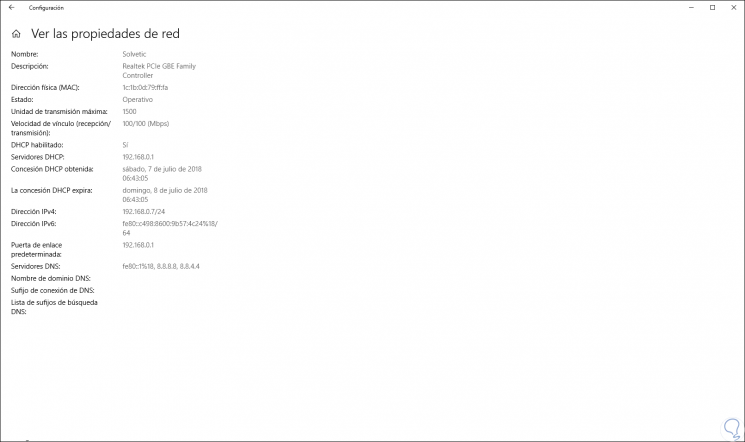
Step 3
When clicking there, we must keep in mind the IP address in the “Default Gateway†line:
Step 4
Now, this IP address will be entered in a new browser window and when we press Enter we will be directed to the main access window to our router where we will enter the credentials provided by the provider:
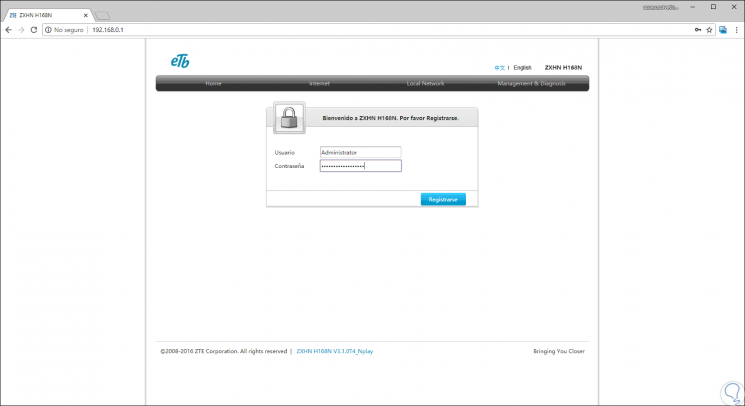
Step 5
Click on the button, in this case, "Register" to access the configuration of this. Now, we will go to one of the following sections: WAN, NAT or Advanced options (depends on the router model) and there we will go to the "Port Forwarding" section:
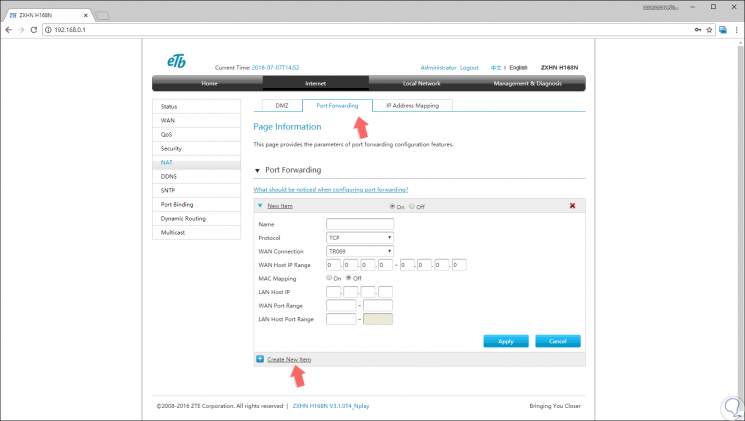
Step 6
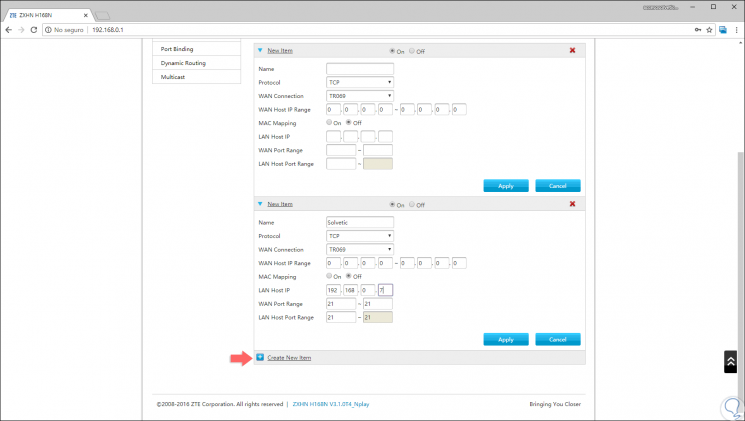
There we click on the “Create new item†line and there we will define the following values. Click on the "Apply" button to save the changes.
- Service Name: We will register a descriptive name for the port forwarding rule to use
- Local IP: Here we enter the IP address of the FTP server that will be used by the router to forward incoming connections.
5. Configure a static IP address in Windows 10
This configuration will be necessary in case we want to use the FTP server constantly as we remember that a dynamic IP address will be variable, which will prevent correct access when changing the IP address.
Step 1
To define this static IP address we go to the next route.
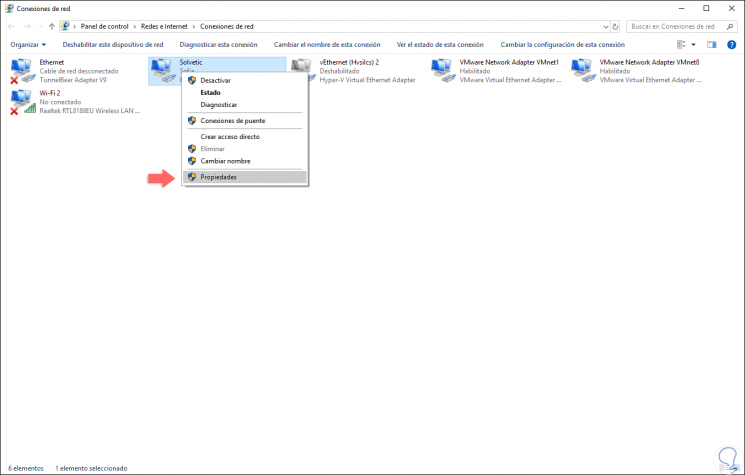
Step 2
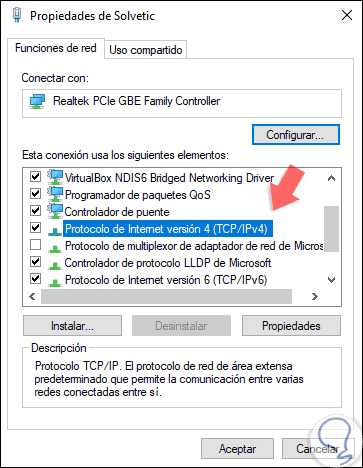
There we will right click on the current Windows 10 network adapter and select the “Properties†option:
Step 3
In the window that appears, we locate the "Internet Protocol version 4" line and click on the "Properties" button:
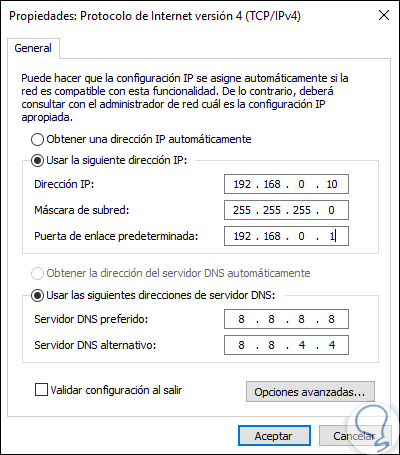
Step 4
In the new window we activate the box “Use the following IP address†and there we enter the IP to use, as well as the default gateway, the netmask will be created automatically. Click on OK to apply the changes.
6. Create multiple accounts for FTP access in Windows 10
Step 1
It is normal that we want to add more users so they can access the FTP server and make changes such as uploading or downloading files.
Step 2
For this we will create a standard account by accessing the following route.
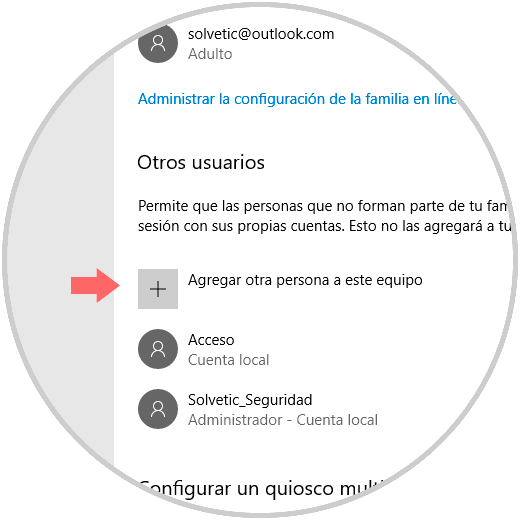
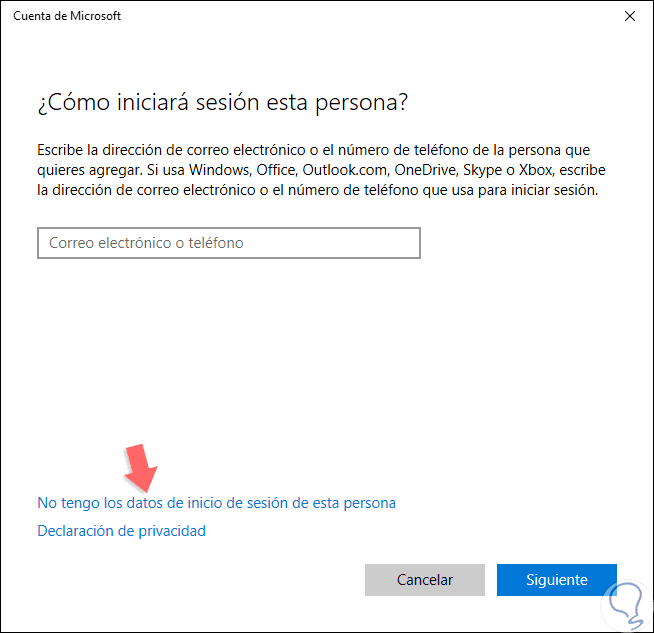
Step 3
There we click on the “Add another person to this team†line and the next assistant will be displayed. There we must enter the Microsoft account of the desired user or click on the line "I do not have the login data of this person" to create a local account and follow the steps of the wizard.
7. Configure user accounts for FTP access in Windows 10
Step 1
This option allows us to allow several users to access the FTP server simultaneously without problems, to achieve this we will go to the following route:
Step 2
There we double-click on the "Internet Information Services (IIS) Manager" line, and in the new window we will go to the "Connections" section and there we click on the FTP site we have created:
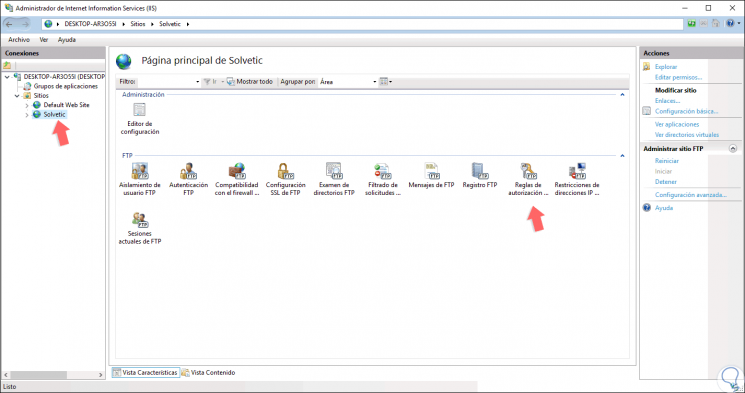
Step 3
We will double click on the “FTP authorization rules†option and the following will be displayed:
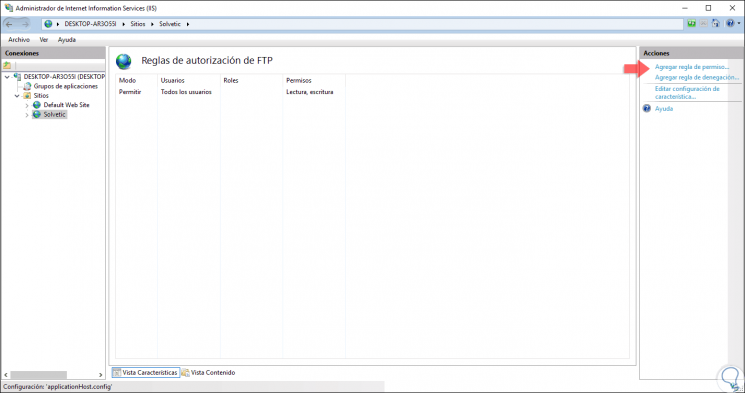
Step 4
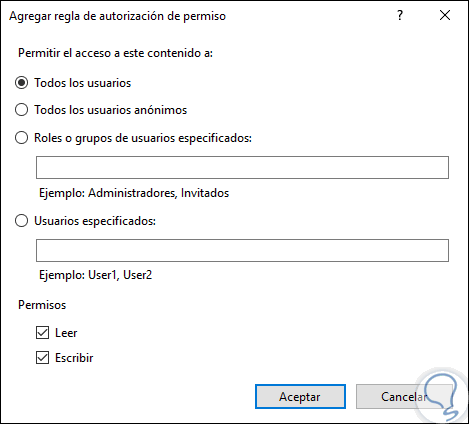
There we click on the “Add permission rule†line located on the right side and in the window we will have the following options:
All users
This option allows all users created and configured in Windows 10 to access the FTP server.
Specified users
With this option it will be possible to specify all users who will have access to the FTP server, each user must be separated with a comma.
Step 5
At the bottom we define what type of permits will be granted. Click on OK to apply the changes.
8. Connect remotely to the FTP server in Windows 10
Step 1
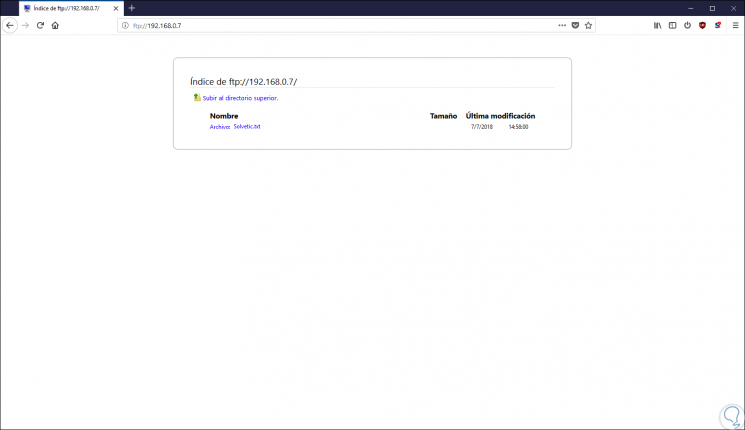
Now so that users can connect from an external network, they can use a browser such as Internet Explorer, Firefox or Chrome and in a new window prefix ftp: // followed by the IP address of the server, we will see that it will be necessary to enter the respective credentials:

Step 2
There we will see the FTP content:
Step 3
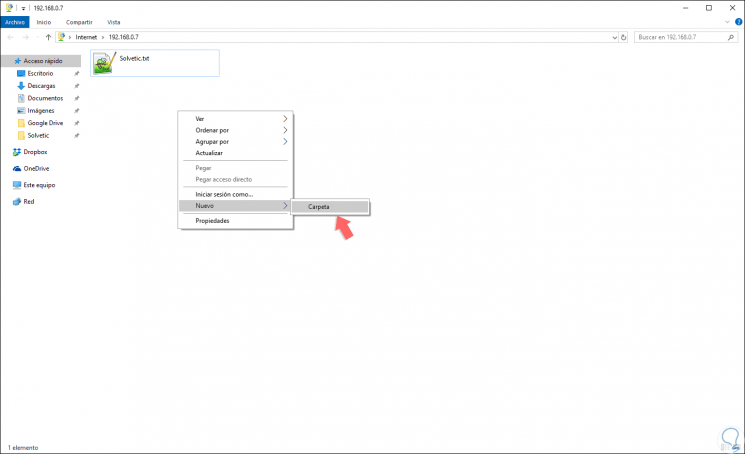
If we want to manage the files on the FTP server, we go to the file explorer of Windows 10 and in the title bar we enter again ftp: // followed by the IP of the server and the following pop-up window will be displayed where we will enter the appropriate credentials:

Step 4
We can activate the boxes to save the password or to execute the anonymous login. Once we access it, it will be possible to create new elements in the FTP server:
Step 5
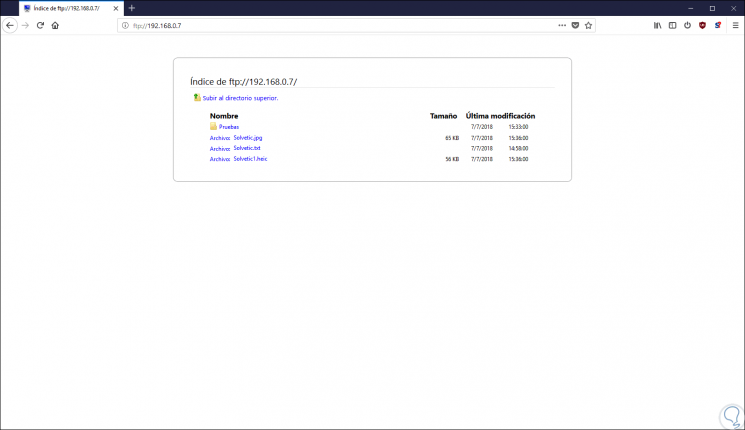
Or it will also be possible to copy and paste the desired files there. Thus, from where we access, local or remote, we will see all the files created or uploaded on the FTP server:
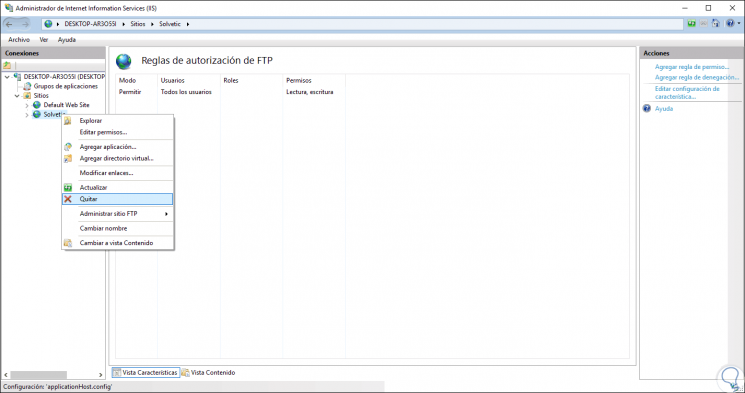
9. Manage the FTP server in Windows 10
To perform various actions on the FTP server in Windows 10, just right click on the server and carry out actions such as:
- Add virtual applications or directories
- Set a new type of view for this FTP server
Thus, we have seen and verified how Windows 10 gives us the necessary tools are useful and simple, to create our FTP server and thus share various elements through the network with the benefits and security that FTP gives us.