The Linux operating systems administer groups and objects through permits , this allows a user who does not have the permissions simply correct access to the contents of that element, but in addition to this there is another key aspect in the work of objects and ownership of this, logically the owner will have all the power over the object and may or may not grant permissions to other users.
In Linux we have the chgrp command which allows us to change the group ownership of a file or directory in the system either for a collaboration or support work.
Normally this type of permission assignment tasks can be performed with the chown command but chgrp handles a simpler syntax for this task, additionally it is an administrator command , that is, only the root user can change the group of a file or directory determined.
The chgrp usage syntax is as follows:
chgrp [options] new_group object_name
Let's see how to use this command in Linux.
1. How to use chgrp on Linux
Step 1
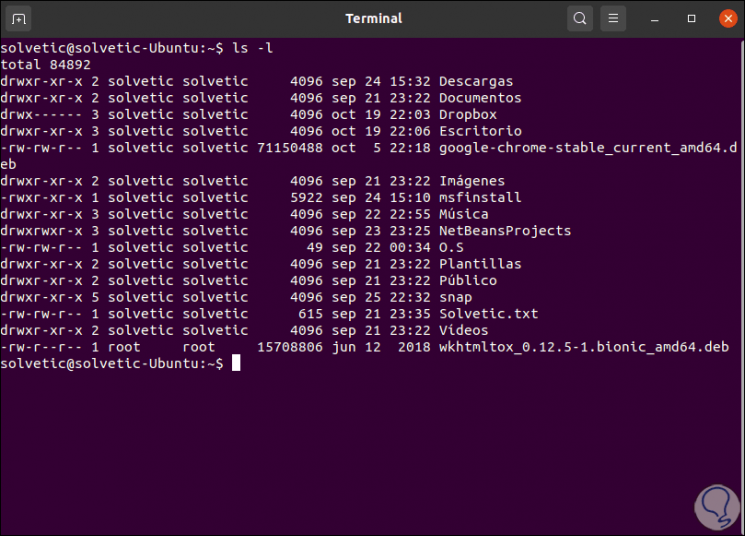
Remember that it is necessary to use sudo for execution, we go to the terminal and there we list the content with its permissions using the following command:
ls -l
Step 2
We can see, for this example, that the TechnoWikis.txt file is owned by "technowikis". We will
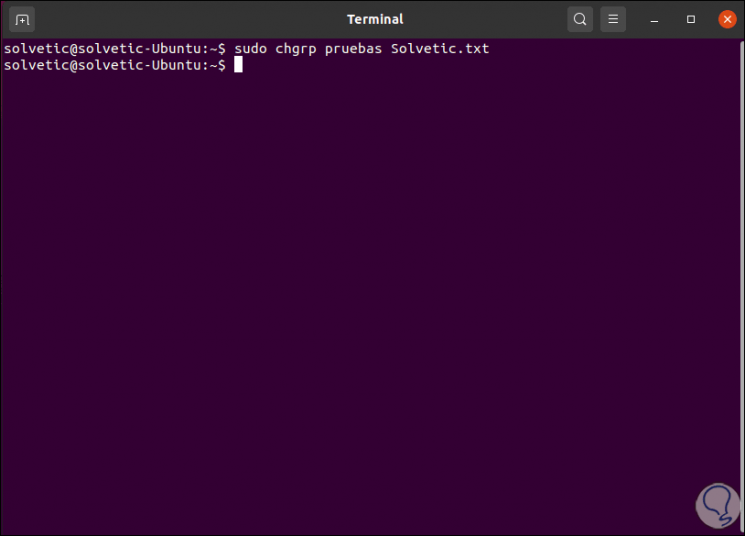
change the property so that it belongs to the group "tests", for this we execute the following:
sudo chgrp tests TechnoWikis.txt
Step 3
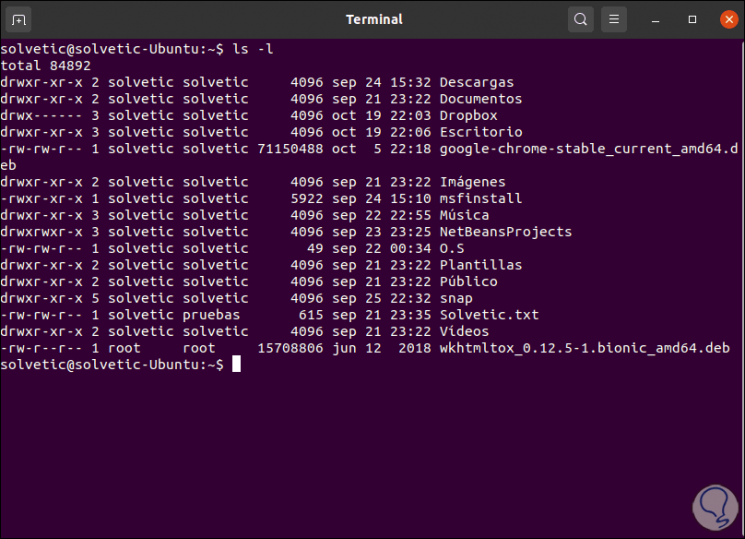
With "ls -l" we can validate that the group has been changed correctly:
Step 4
In case it is necessary to change the property of the group for several files simultaneously, we must use wildcards, for example, to change the property of all the .txt files we execute:
sudo chgrp tests * .txt
Step 5
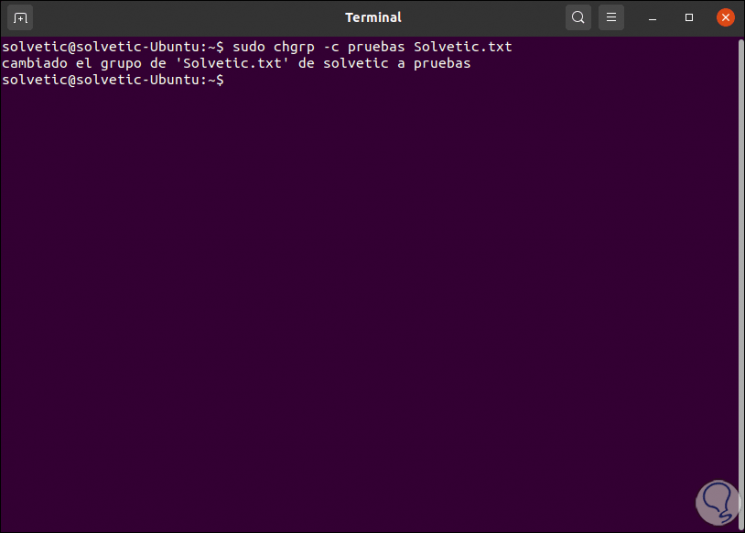
It is possible to use the parameter -c (changes - changes), so that the chgrp command lists the changes that have been made, in this case we execute:
sudo chgrp -c tests * .txt (If there are multiple files) sudo chgrp -c tests TechnoWikis.txt (single object)
2. How to use chgrp to change ownership of a Linux directory
Step 1
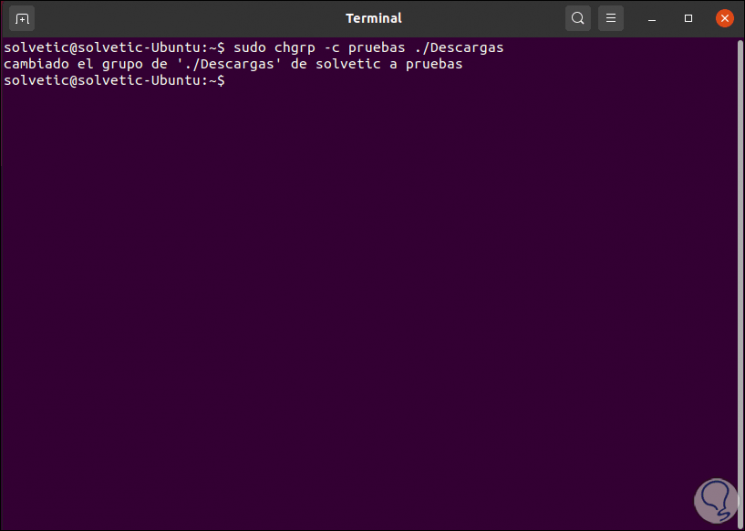
With the same mechanism we can change the property of a directory, for example, we will change the property of Downloads, we execute the following:
sudo chgrp -c tests ./Downloads
Step 2
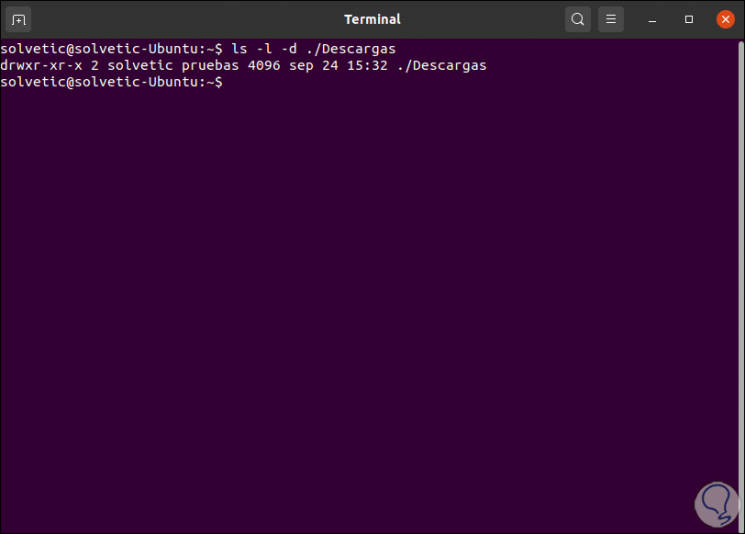
We check that the owner has been edited with the following command:
ls -l -d
3. Use recursive options with chgrp
Group ownership can be changed for both files and directories stored in a directory.
Step 1
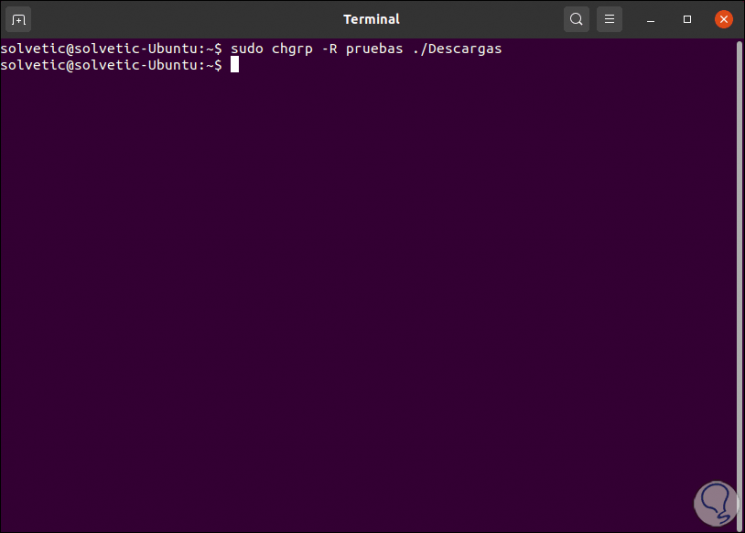
For this we can resort to the -R (recursive) option, this option allows the chgrp command to modify the group property for all files and subdirectories of the specified directory, we execute:
sudo chgrp -R tests ./Downloads
Step 2
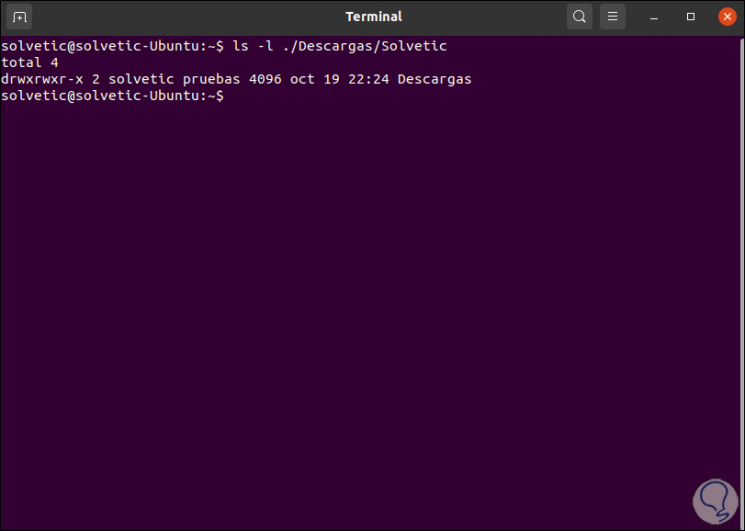
To check that the change has been effective, we list the permissions of some of the available subdirectories:
ls -l ./Downloads/TechnoWikis
4. How to use a reference file with chgrp Linux
We can make use of parameters so that the chgrp command modifies the permissions based on an indicated criteria.
Step 1
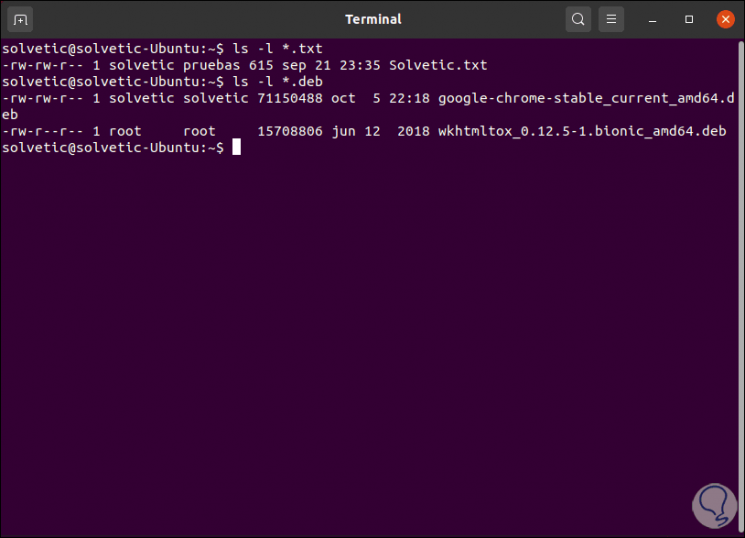
To demonstrate this we will list the objects with extensions .txt and .deb:
ls -l * .txt ls -l * .deb
Step 2
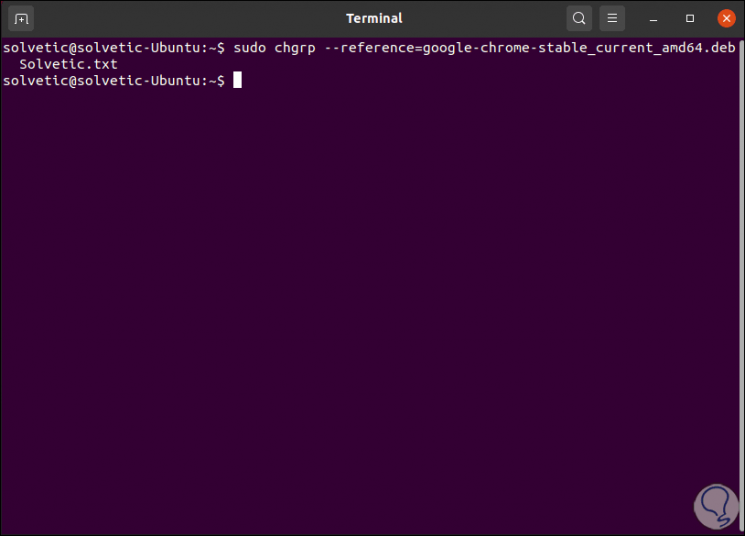
We are going to reference that the properties of * .deb are replicated in * .txt:
sudo chgrp --reference = file.deb file.txt
Step 3
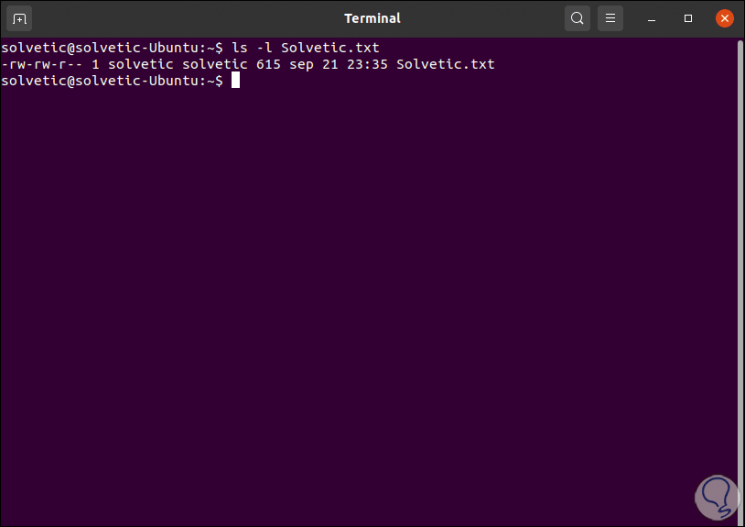
We validate that the property has been replicated:
ls -l TechnoWikis.txt
5. How to use symbolic links with chgrp Linux
The chgrp command allows us to make use of symbolic links to work, for this it is possible to use chgrp to change the property of the group of symbolic links or of a file to which the symbolic link points.
For this type of case we will use the following syntax:
ls -l "link" sudo chgrp --dereference "group" link
It's that simple to use the chgrp command to manage permissions on Linux.