Working with Windows 10 databases is a task that can be complex if you do not have the appropriate tools for it, this implies not only the platform on which you work but also the compatible syntax and functions integrated into the application..
If we are looking for the best solution to work on databases, MySQL is undoubtedly one of the most comprehensive solutions for this task. MySQL is an open source SQL database management engine with which its functions and characteristics can be increasingly scalable.
MySQL functions
Some of the MySQL functions are:
- Integrates the use of B-tree disk tables (MyISAM) with index compression
- Supports the use of multiple compilers
- We have SQL functions through the optimized class library to optimize the performance of the databases to be managed
- Supports data 1, 2, 3, 4 and 8 bytes long, FLOAT, DOUBLE, CHAR, VARCHAR, BINARY, VARBINARY, TEXT, BLOB, DATE, TIME, DATETIME, TIMESTAMP, YEAR, SET, ENUM and OpenGIS
- Supports DELETE, INSERT, REPLACE and UPDATE functions
- We can make use of large capacity databases
- C, C ++, Eiffel, Java, Perl, PHP, Python, Ruby and Tcl APIs are available to use.
- Full support for multiple types of characters
- At the administration level, there are different clients and applications
MySQL enhancements
The most current version of MySQL is 8.0.22 which has presented improvements and new features such as:
- Lock handling for grant table declarations improved
- For log files in JSON format, MySQL Enterprise Audit now supports read log operations through the user-defined function audit_log_read ()
- The MySQL client library includes a C API function mysql_real_connect_dns_srv ()
- Visual Studio 16.4 is now the minimum version for MySQL build
- The minimum version of the Boost library for server builds is 1.73.0
- For the SASL LDAP authentication plug-in, the SCRAM-SHA-1 authentication method is not supported on SLES 12 and 15 and EL6 systems and many more
TechnoWikis will explain how to install MySQL 8.0.22 on Windows 10..
To stay up to date, remember to subscribe to our YouTube channel! SUBSCRIBE
How to install MySQL 8.0.22 on Windows 10
Step 1
Let's go to the following official MySQL link:
MySQL
Step 2
We will see the following:
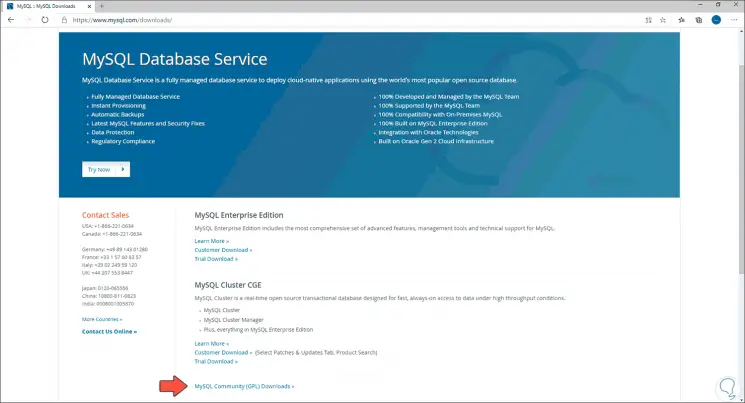
Step 3
We click on the line “MySQL Community (OPL) Downloads and we will see the following:
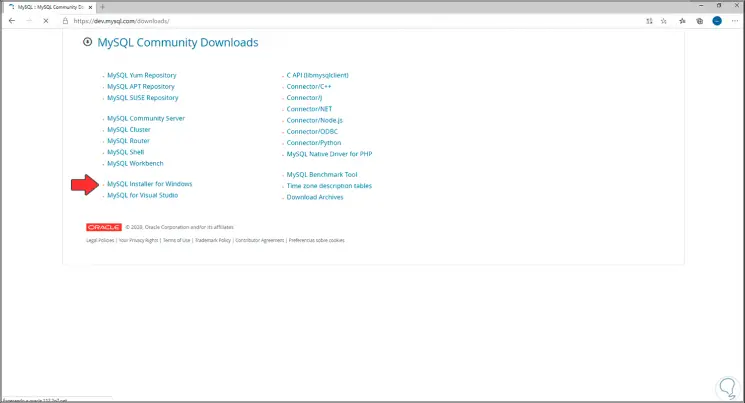
Step 4
We click on the option "MySQL Installer for Windows", we will see the following window:
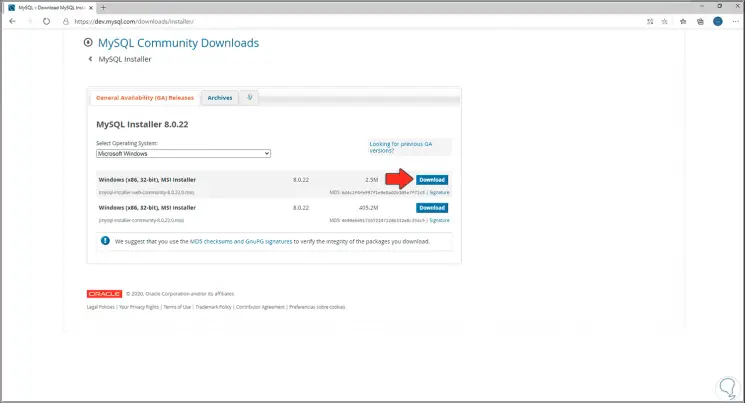
Step 5
There we click on the "Download" button of the MSI Installer option, we will see this:
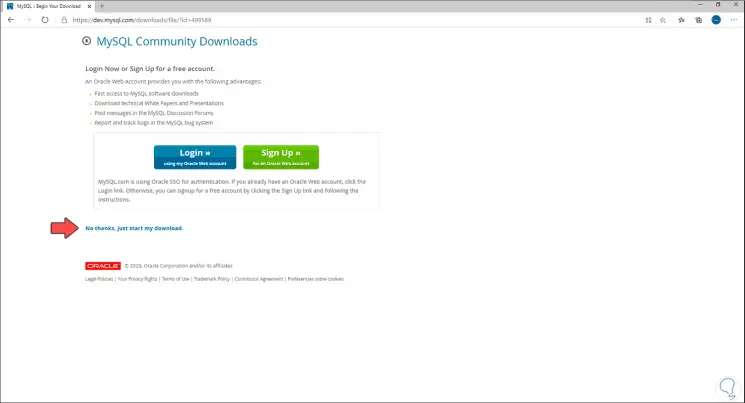
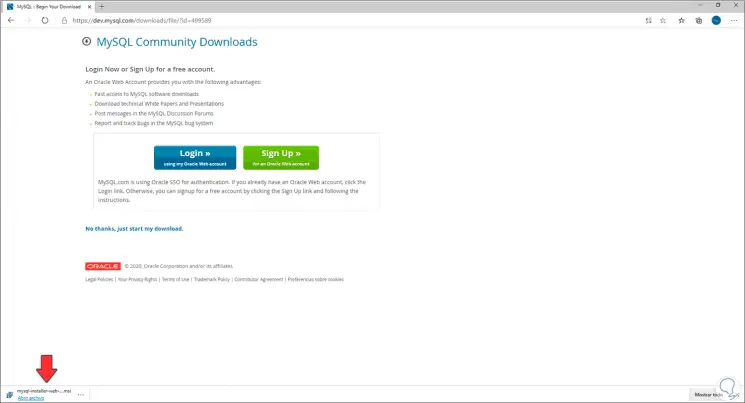
Step 6
We click on "No thanks, just Start my download" and the MySQL 8.0.22 executable will be downloaded:
Step 7
We double click on this file and the MySQL installation process in Windows 10 will take place:
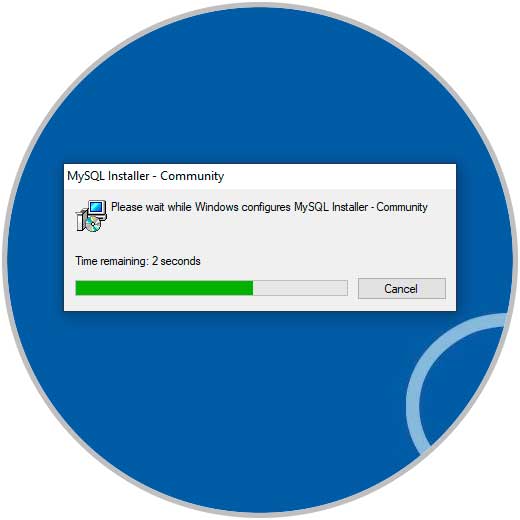
Step 8
We will see the following:
Step 9
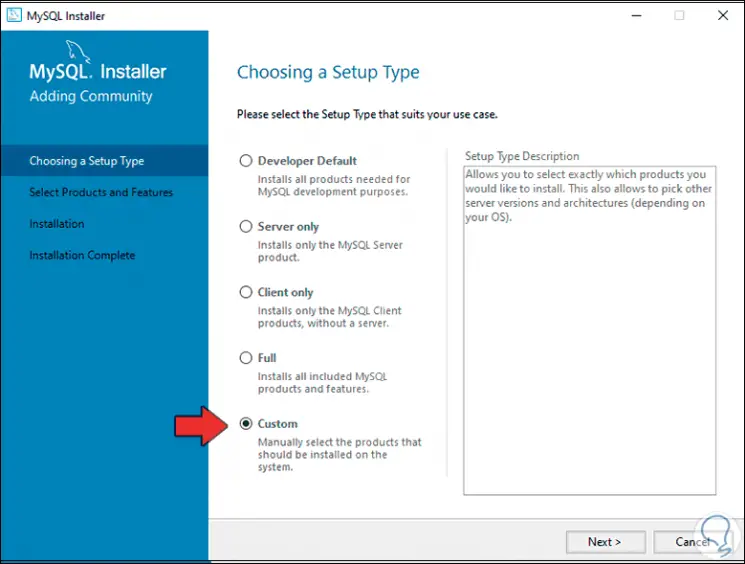
After this we will see the different MySQL installation options:
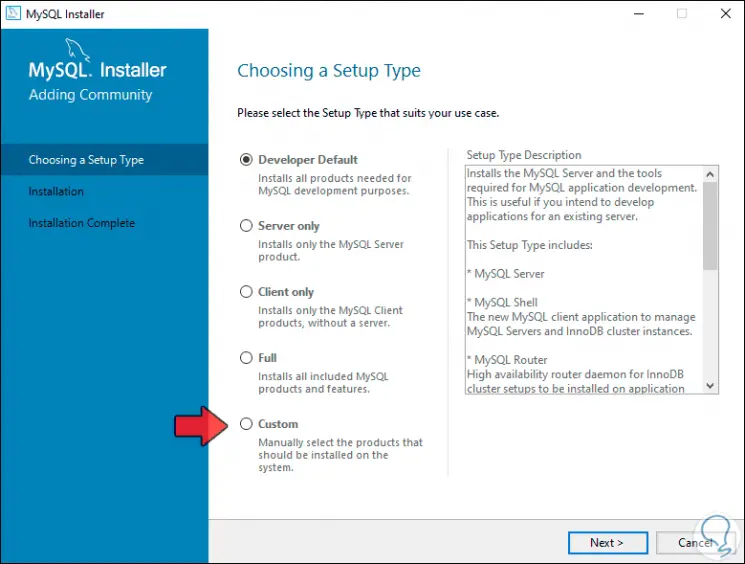
Step 10
For this case we activate the "Custom" box:
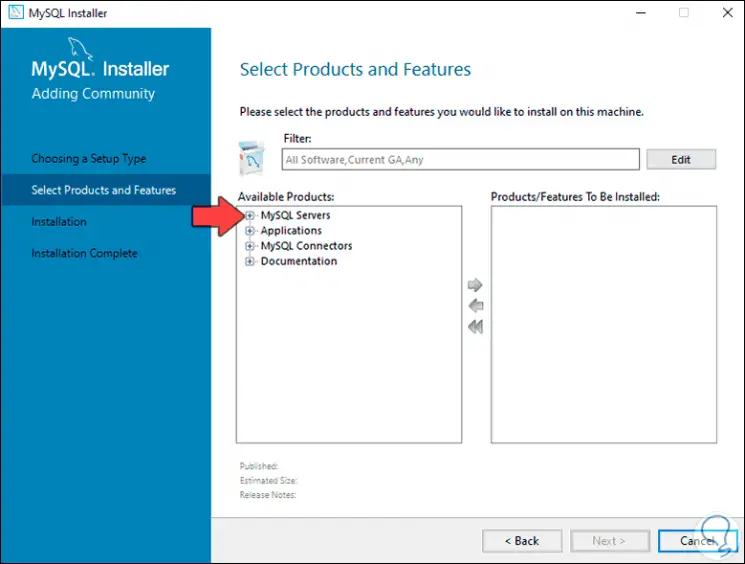
Step 11
We click Next and we will see the following options:
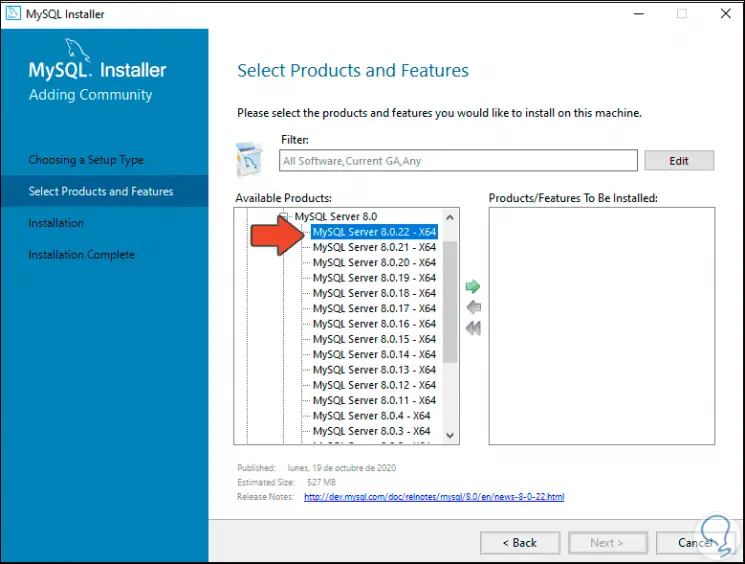
Step 12
We display the field "MySQL Servers", select "MySQL Server 8.0 and then select" MySQL Server 8.0.22 x64 ":
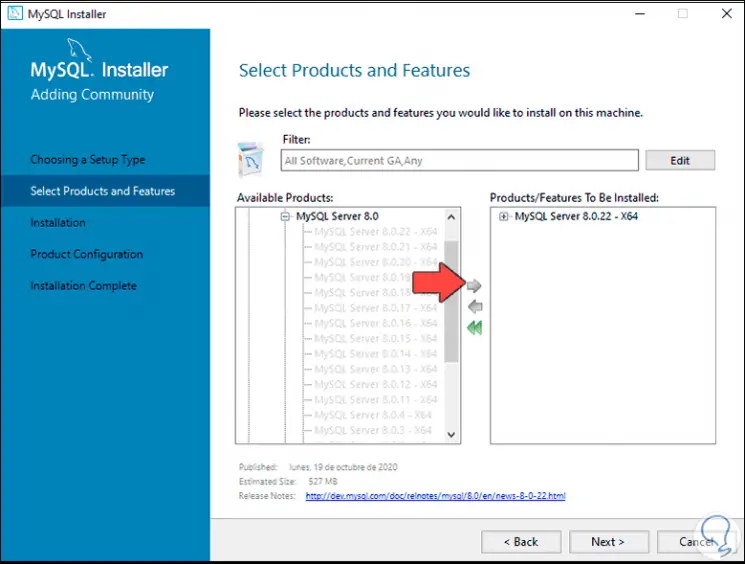
Step 13
We click on the right arrow to move this component to the right side:
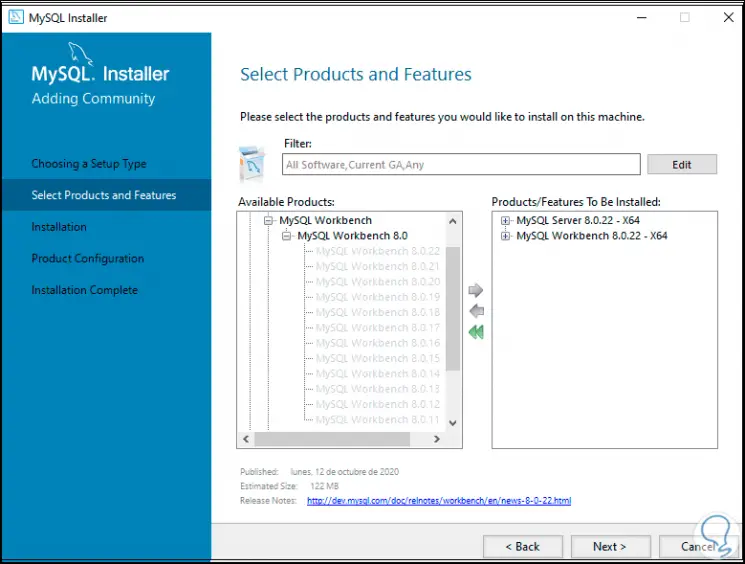
Step 14
Now we go to the "MySQL Workbench" section and select "MySQL Workbench 8.0.22 - x64":
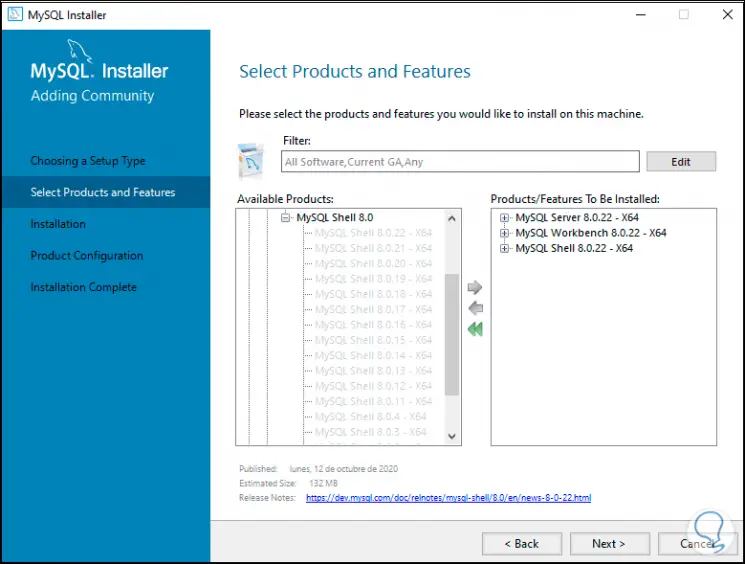
Step 15
After this we go to "MySQL Shell" and add "MySQL Shell 8.0.22 - x64":
Step 16
Then we click Next and see the MySQL components that have to be installed:
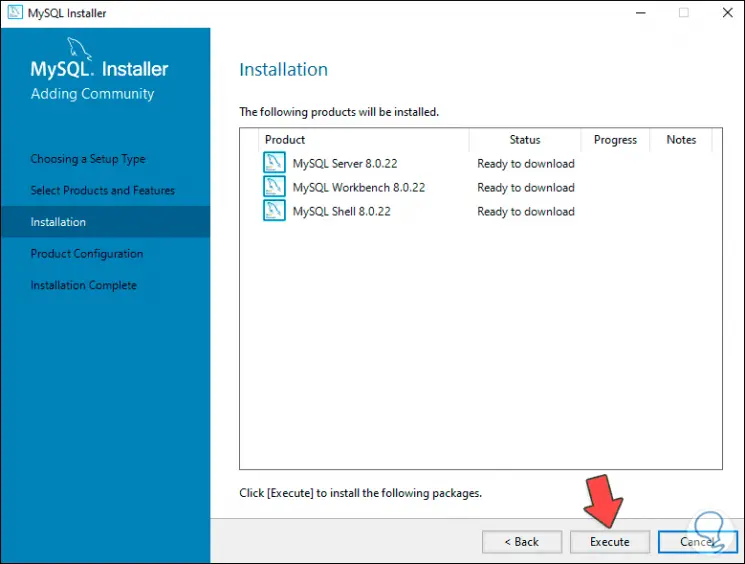
Step 17
We click on the "Execute" button to start the download of these components:
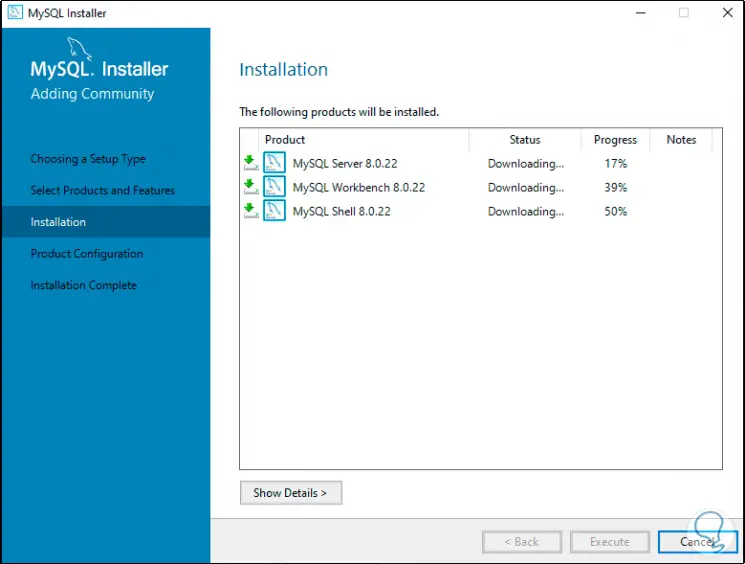
Step 18
Once they are downloaded, the installation of each of them will begin:
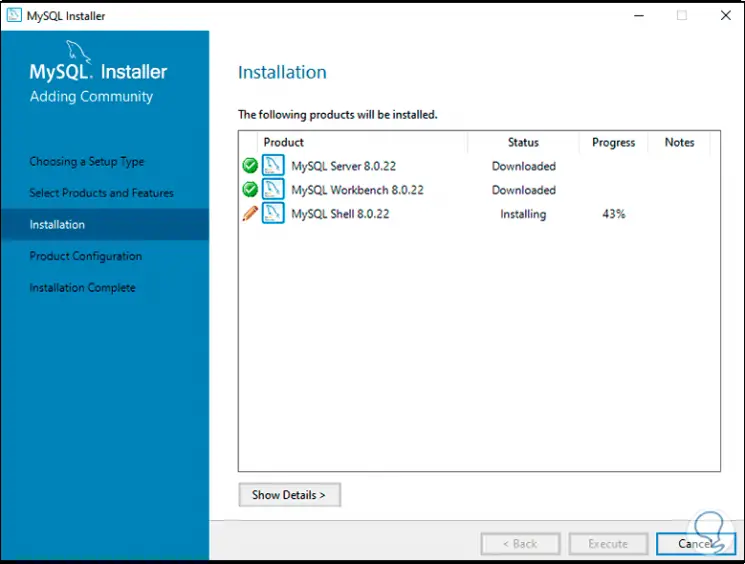
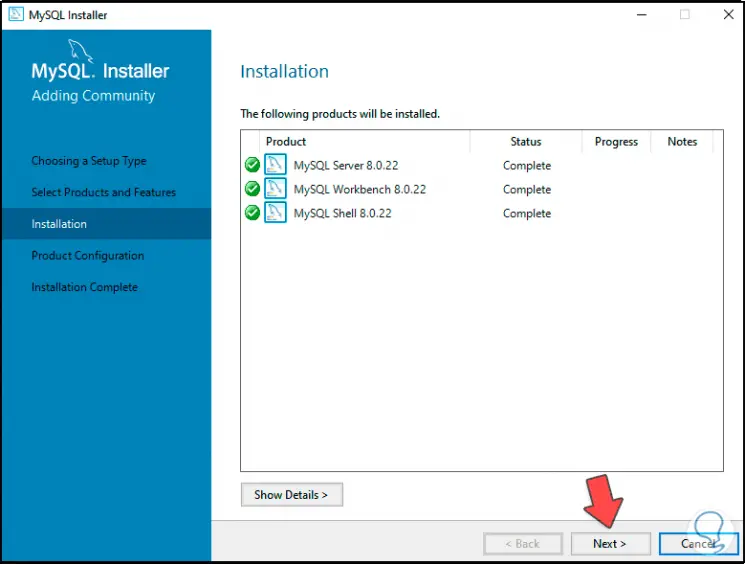
Step 19
When the installations have been completed we will see the following:
Note
in case of errors in this process we can update again so that the download is applied.
Step 20
We click Next and the following window will be available:
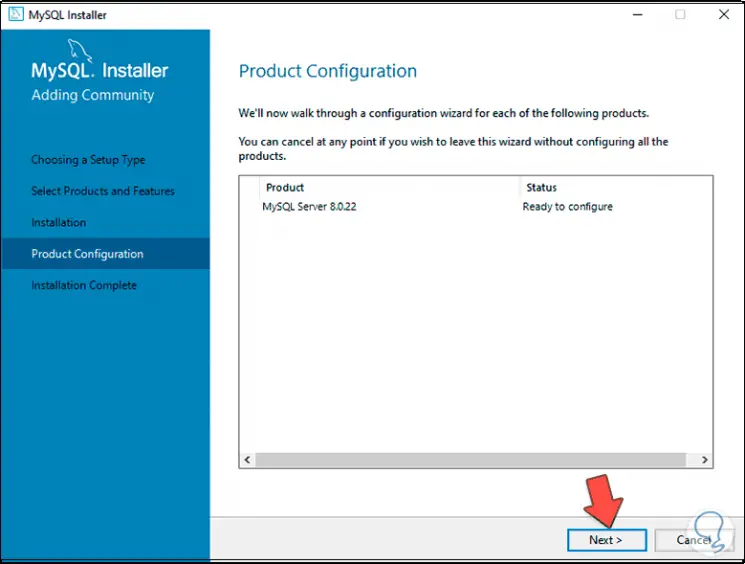
Step 21
We click Next again and we will see details of the MySQL configuration such as:
- Type of configuration used
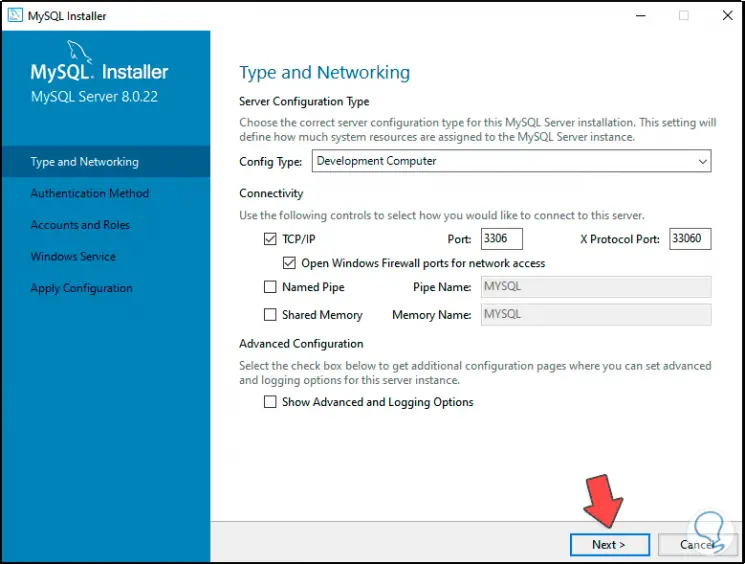
Step 22
Additionally we can adjust extra details if it is the case and by clicking Next it is possible to define the authentication method to MySQL, these options are:
- Use Strong Password Encryption for Authentication, this option supports the SHA-256 security mechanism increasing access security
- Use Legacy Authentication Method - it's a bit more insecure as it's special for older versions of MySQL
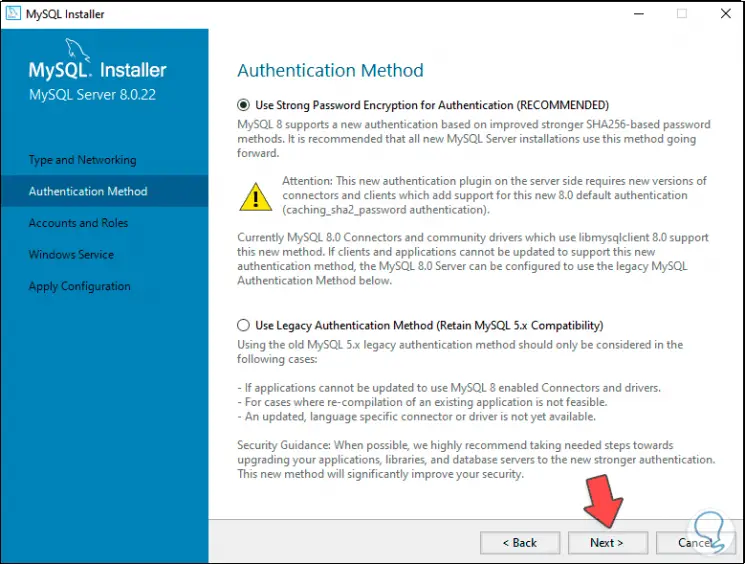
Step 23
We leave the first option active and click Next, now we define the root user password:
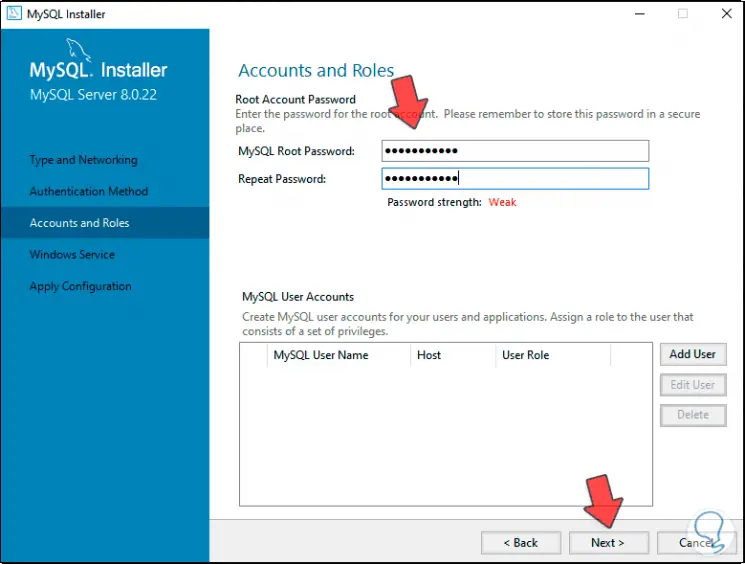
Step 24
At the bottom it is possible to add new users if it is the case for administration tasks, in the next window we see the MySQL services area in Windows 10 as:
- Option to start MySQL with Windows 10 boot
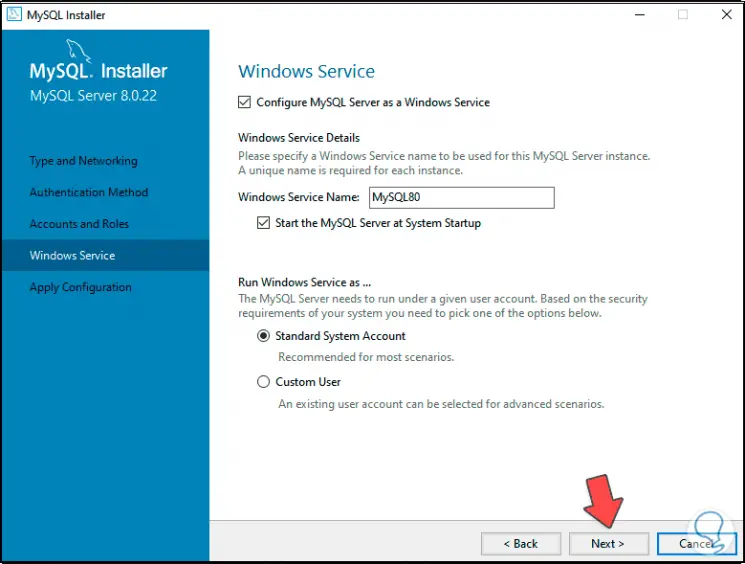
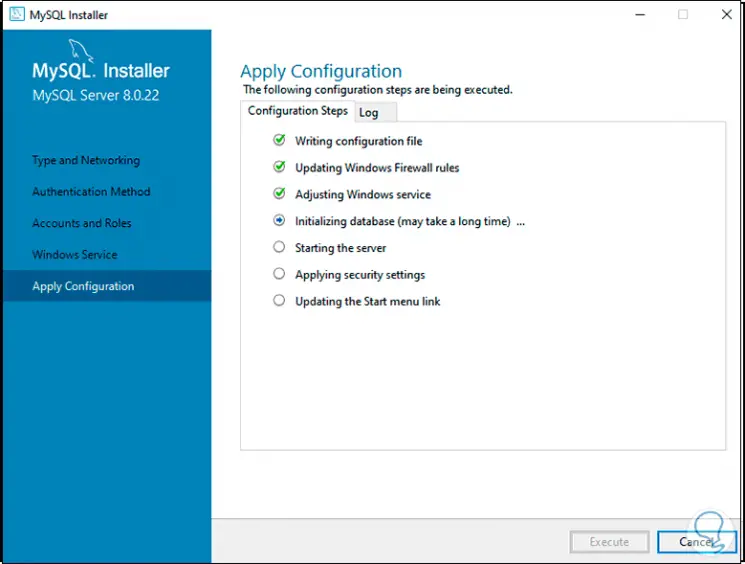
Step 25
We leave the default options and in the next window we see the steps to execute:
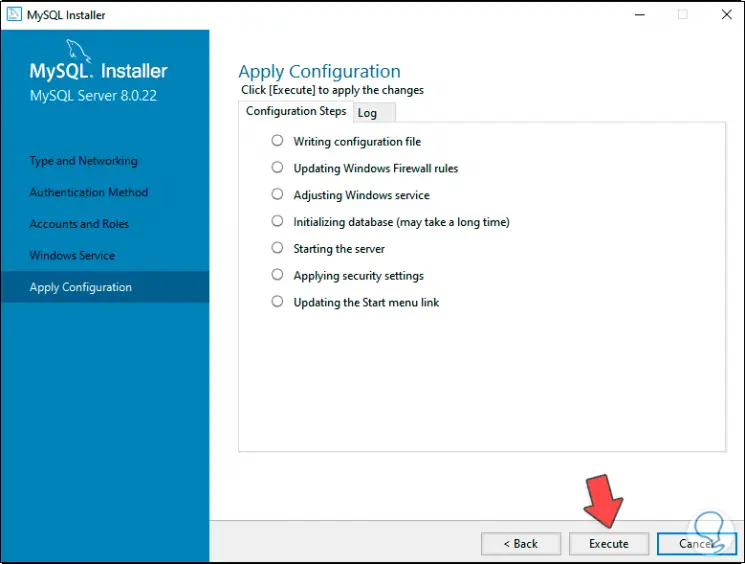
Step 26
We click on "Execute" so that each of them is applied:
Step 27
When this process comes to an end we will see this:
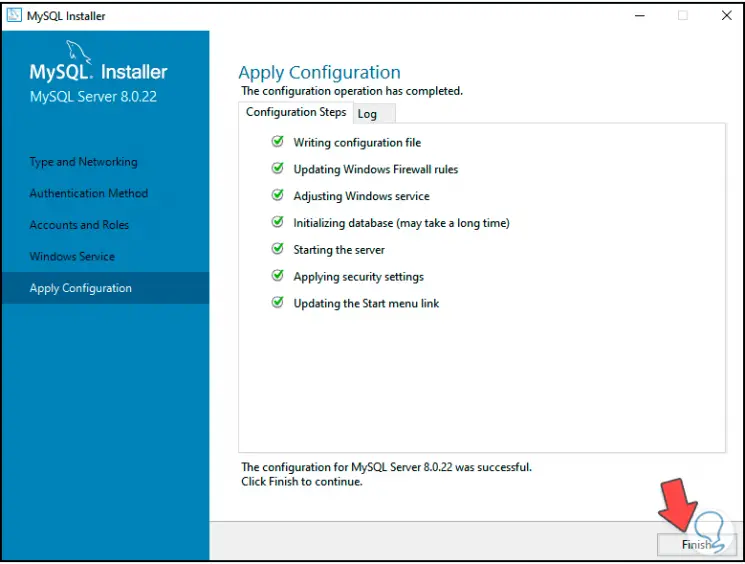
Step 28
We click on “Finish” to complete the process and we see a summary of the product that has been installed:
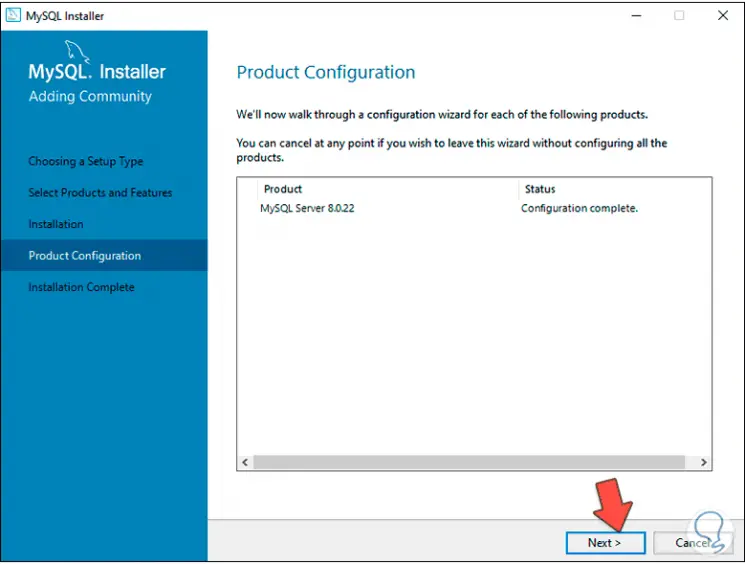
Step 29
We click Next and we will see the following:
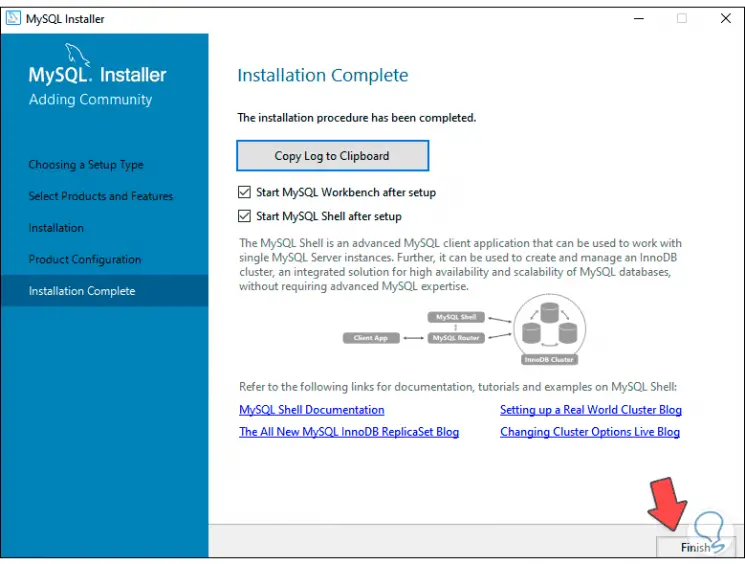
Step 30
There we can access the MySQL site or click Finish to access the MySQL platform, first a command prompt console will open:
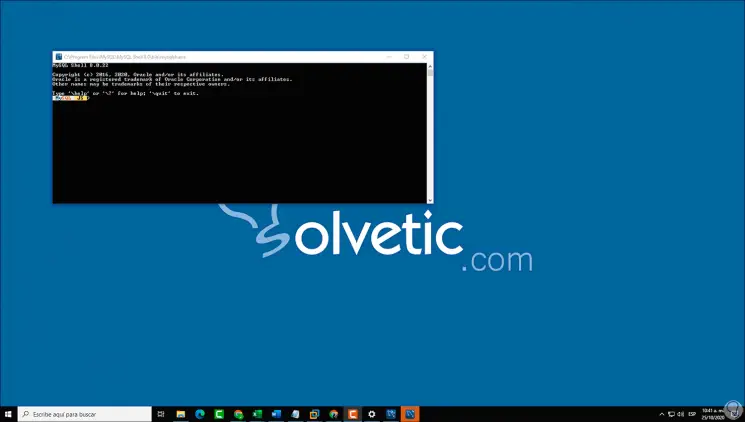
Step 31
Then we access the MySQL platform:
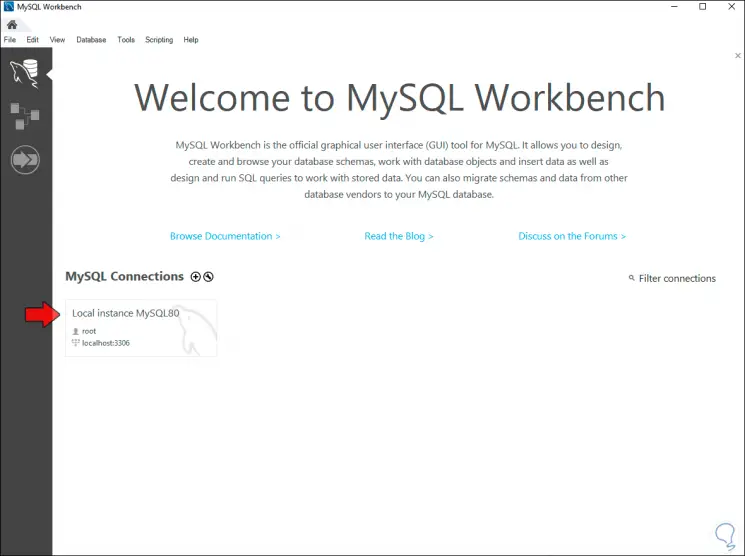
Step 32
We click on the local instance and this will be visible in the next window:
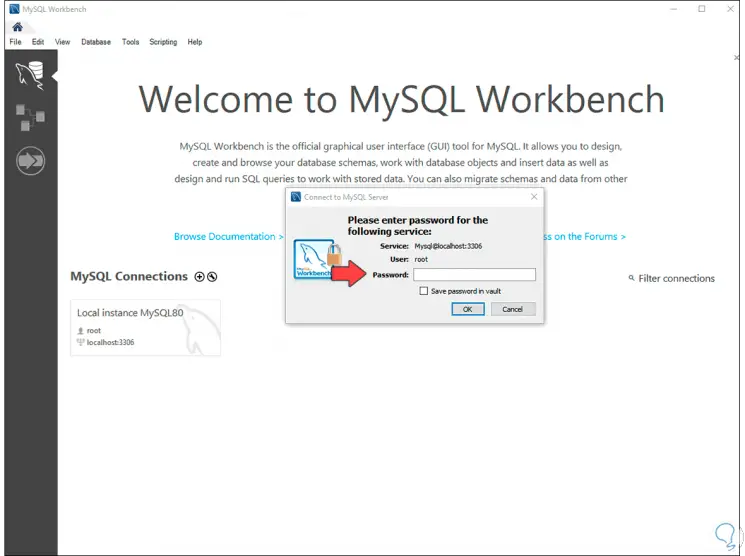
Step 33
We are going to enter the password that we have previously registered:

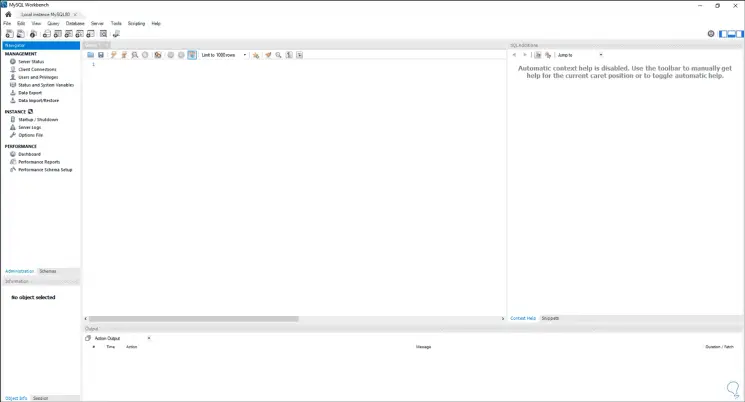
Step 34
We click OK and we will log into MySQL:
Step 35
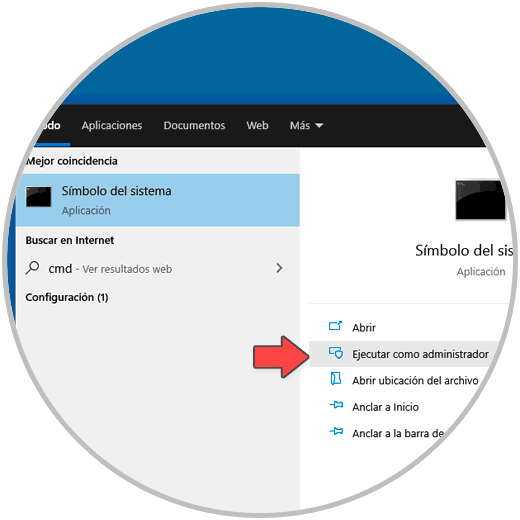
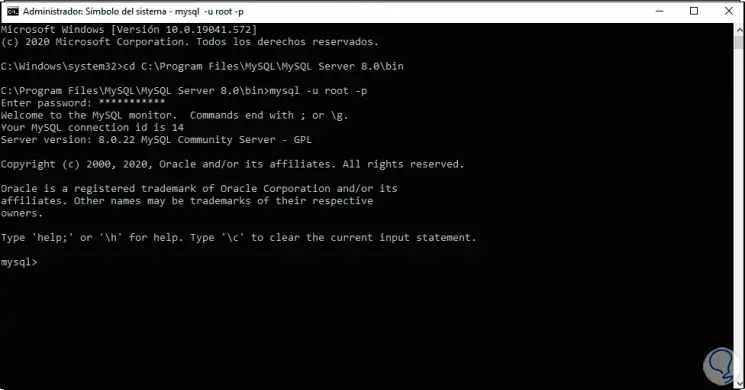
We access the command prompt console as administrators:
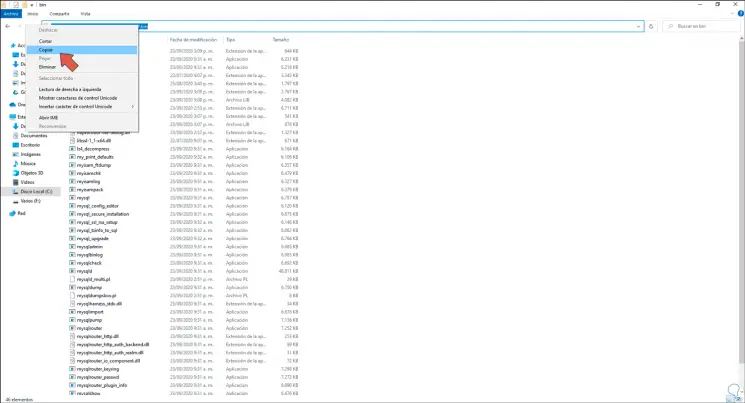
Step 36
We open the File Explorer and go to the path "C: \ Program Files \ MySQL \ MySQL Server 8.0 \ bin", we copy this path:
Step 37
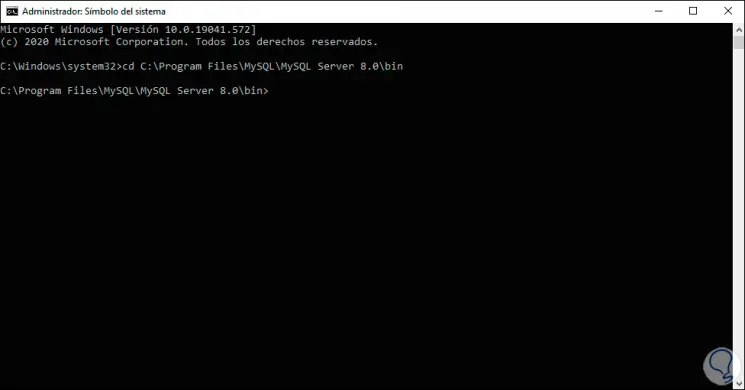
In the console we execute:
cd C: \ Program Files \ MySQL \ MySQL Server 8.0 \ bin
Step 38
We log into MySQL from there by executing the following:
mysql -u root -p
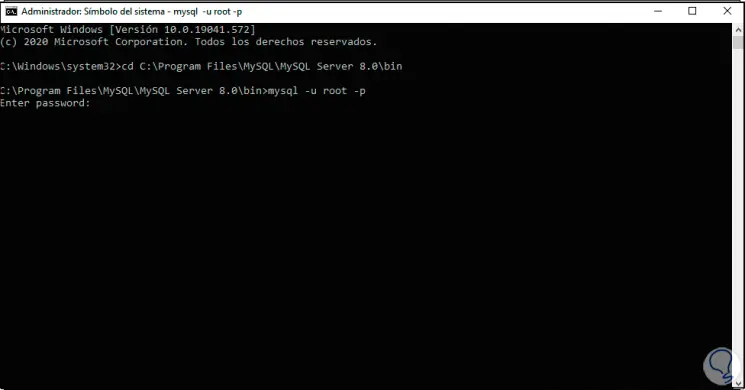
Step 39
This will request the password of the root user to access the platform from CMD:
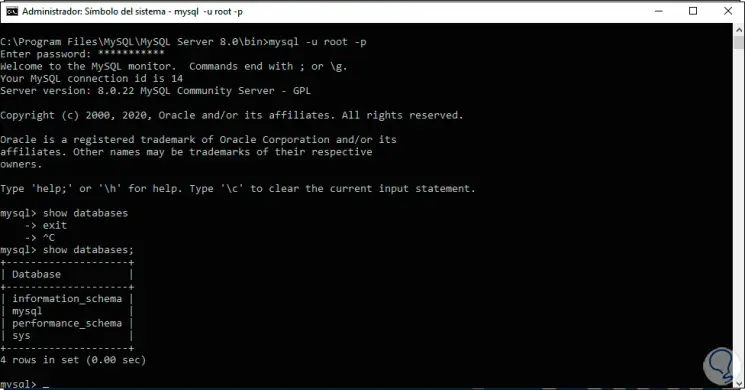
Step 40
Once here we are going to list the default databases with the following command:
show databases;
Step 41
We create our own database with the following command:
create database TechnoWikis;
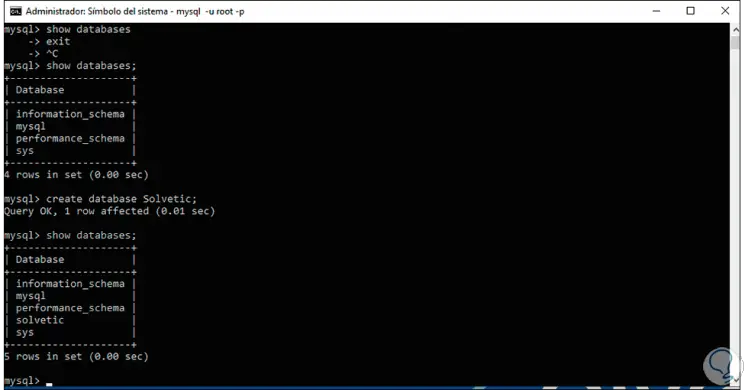
With these steps we have seen how it is possible to install MySQL in Windows 10 and access either from the installed application itself or from the command prompt console if we want to manage it with commands directly.