One click too many and the folder with the vacation photos is accidentally deleted. Or a damaged JPG file can no longer be opened. But don't panic, there are ways to get the pictures back. IMPORTANT: Do not save any further files on the affected storage medium after accidental deletion. This would allow you to permanently overwrite the deleted files. To learn how to repair deleted or damaged files, refer to this article.
Repair damaged JPG files
When JPG files are damaged, they can often no longer be opened. This can be caused by interrupted storage processes, computer viruses or damage to the hard drive. In many cases, however, you can repair the file. To do this, try the following steps. If that doesn't help, you can try the software .
- Renaming a file: Make sure that the ending ".jpg" remains unchanged.
- Open in image editing program: If you can no longer open an image in a gallery, it may work with GIMP, Paint, IrfanView, Photoshop or a similar program. Then you can save the photos again with "Save as ...".
- Change format: You can convert a file to another format in both image editing programs and online tools. You may then be able to open it again.
Recover deleted and broken files
With software, you can often recover deleted and damaged image files. We'll show you how to do this using the free demo version of the Disk Drill software. You can use it to restore files from external storage media and from PC drives. Unfortunately, we were unable to access the PC's file system in our test. Are the functions of free programs insufficient for your purposes? Then you can turn to the help of specialists or paid programs. Here you will find an overview of software for data recovery.
Note: In spite of everything, it can happen that your files cannot be restored even by software and are irrevocably lost. Below we give you tips on how you can prevent data loss.
To recover damaged photos using Disk Drill software, follow our step-by-step guide or see the quick start guide . Alternatively, this article will teach you how to recover deleted files using Recuva software..
Step 1:
 Download the Disk Drill software and run it. First click on " Options " in the start window .
 Step 2:
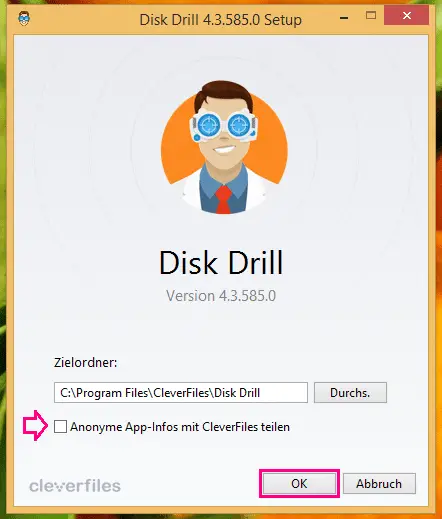 Here you can change the directory in which the program is saved. You can also uncheck the box if you do not want to share anonymous usage data with Disk Drill. Confirm with " OK ".
 Step 3:
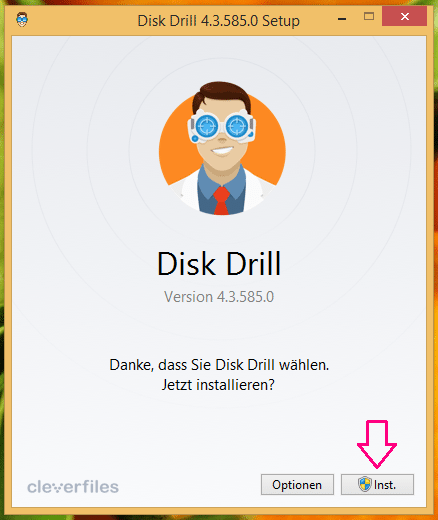 Then click on " Inst. " During the installation you will have to restart your computer.
 Step 4:
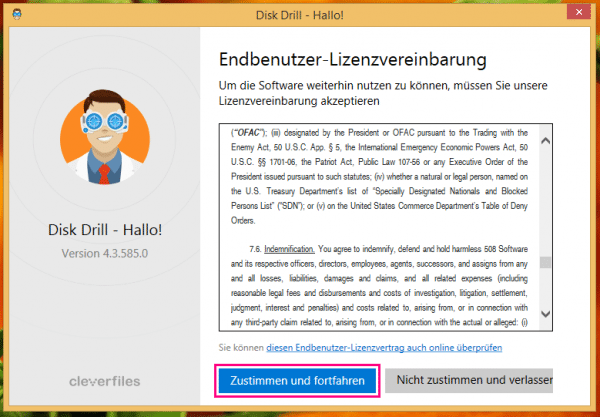 Read the license agreement . If you agree, click on " Agree and continue " to use the software.
 Step 5:
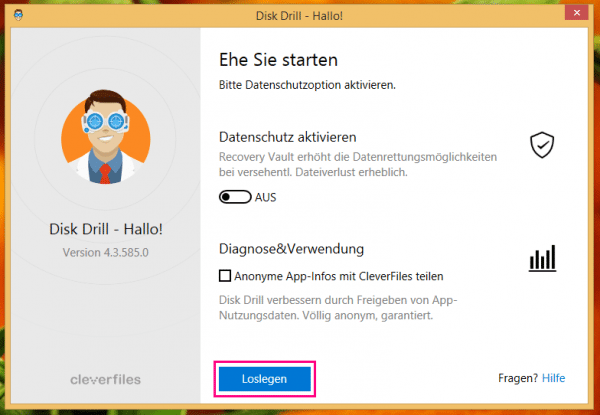 You can now activate data protection options and still consent to the use of your usage data . To start the software, click " Get Started ".
 Step 6:
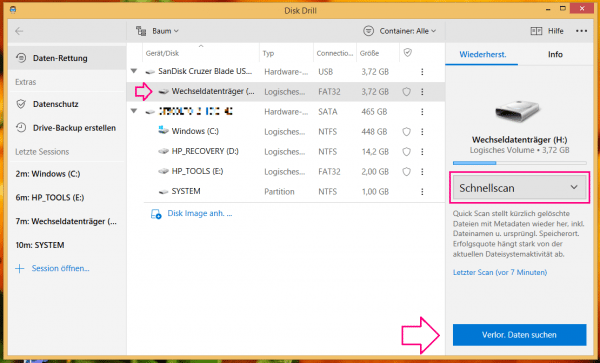 In the Disk Drill window you will now see individual drives on your computer and, if applicable, external storage media. Select the desired medium and set on the right which type of scan is to be carried out (a brief description appears below each). Then click on " Find lost data ".
 Step 7:
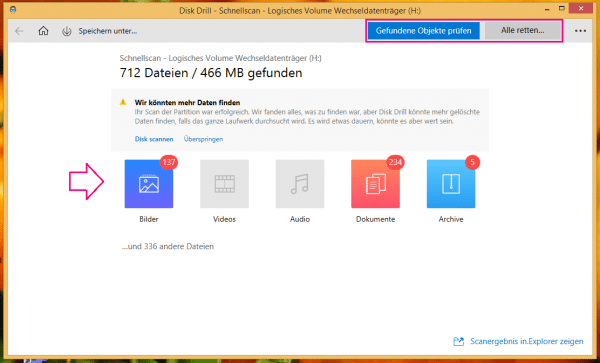 The data found are grouped into categories. Select one of these to view the data in it, or click " Check Items Found " above to see all of the data. You can also go directly to " Save all " (top right), in which case skip to step 9 of these instructions.
 Step 8:
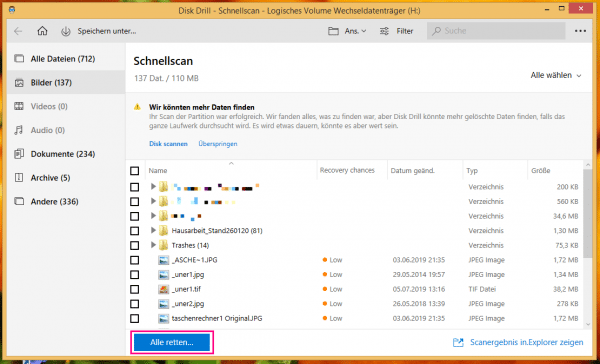 In the detail view, you can see the data found with storage location, size, date of modification and recovery chances. You can navigate through the folder structure and select individual folders or files with ticks . At the end click on " Save " at the bottom to repair selected files or on " Save all" to restore all files found.
 Step 9:
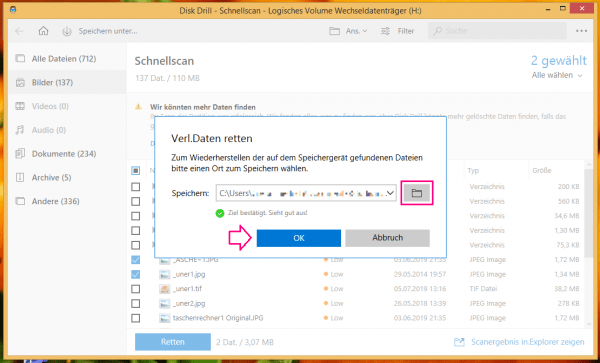 Choose a location for the recovered files. To do this, click on the folder symbol . Confirm the storage location with " OK ". The data will now be restored or repaired and saved there.
 Step 10:
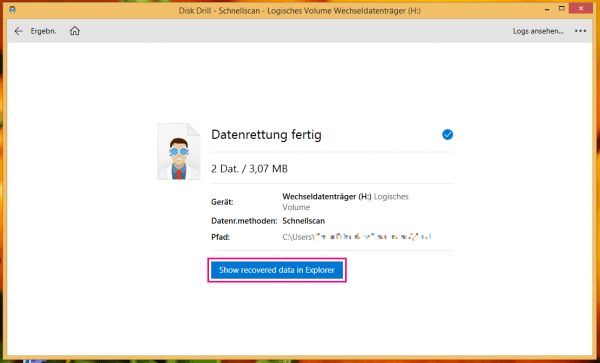 Once the repair is complete, you can go directly to the folder by clicking on " Show recovered data in Explorer ".
 This is how you prevent data loss
There are a number of things you can do to avoid the bother of restoring files in the first place. You should regularly create backups of your files, for example in a cloud or on an external storage medium. You should also ensure that you always remove storage media safely. This will prevent a storage process from being interrupted and files being saved incorrectly.
This applies, for example, to your camera's SD card: Do not remove the card until your photos have been saved. You also have to be careful with USB sticks and external hard drives on the PC. Always use the "Safely remove" or "Eject" function. Storage processes are then terminated before you can remove the medium.
Quick Start Guide: Recovering Files with Disk Drill
- Download and install Disk Drill . At the end of the installation process, click " Get Started ".
- You can now see the drives on your PC and, if applicable, external storage media. Click on the desired medium and select a scan type on the right . Then click on " Find lost data ".
- You will now see the data found sorted by categories. Click on " Check Items Found " above to take a closer look at the files. Alternatively, you can also directly " Save all " (top right); then skip to step 5.
- In the check view you can see all files with their storage location, size, modification date and recovery chances. Navigate through the folder structure and select individual folders or files. Then click on " Save " below (for selected files) or on " Save All ".
- Set a location for the repaired files by clicking the folder icon and selecting a folder. Confirm with " OK ".
- When the process is finished, you can use " Show recovered data in Explorer " to open the folder with the recovered files.