As with the vast majority of technological devices that we use, we want to have them with us to use them no matter where we are and for this reason it is important that the battery of these small devices is charged and ready..
For this reason we must know how the battery of the devices we use is charged, and the same happens in the case of wireless headphones. Although we can use these devices at home, it is normal to use them when we are on the street, on the way to work, in the gym, taking a walk and a long etcetera of possibilities. It is for this reason that we are interested in them being loaded and ready when we leave the house.
Precisely in this TechnoWikis tutorial we explain the procedure on how to charge Lenovo LP40 headphones explained step by step and in detail in the form of text and video..
How to charge Lenovo LP40 headphones
To charge the headphones, the steps to follow are detailed below:
To stay up to date, remember to subscribe to our YouTube channel!
SUBSCRIBE ON YOUTUBE
Step 1
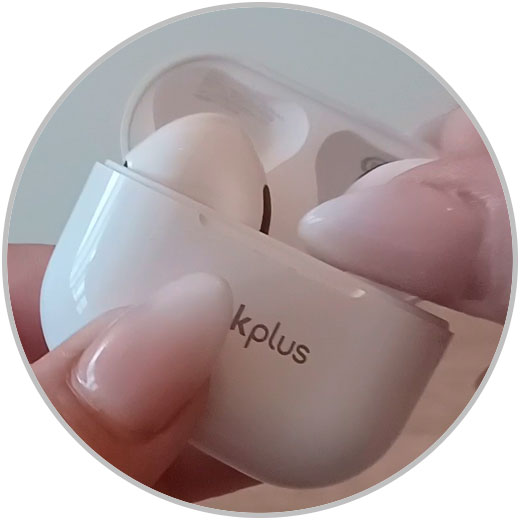
The first thing we will do is put both headphones in their charging case.
Step 2
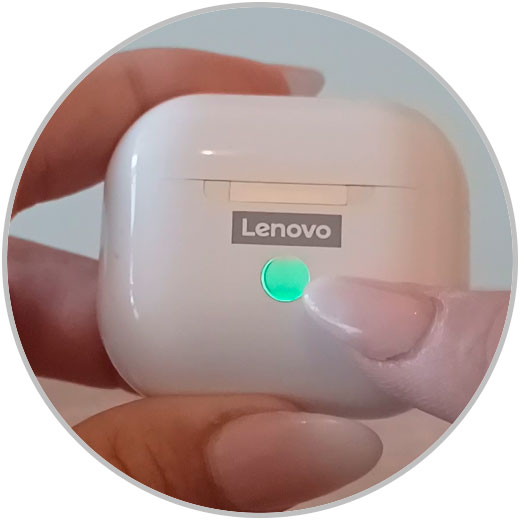
The green light on the case will indicate that the case is charging the earphones now.
Step 3
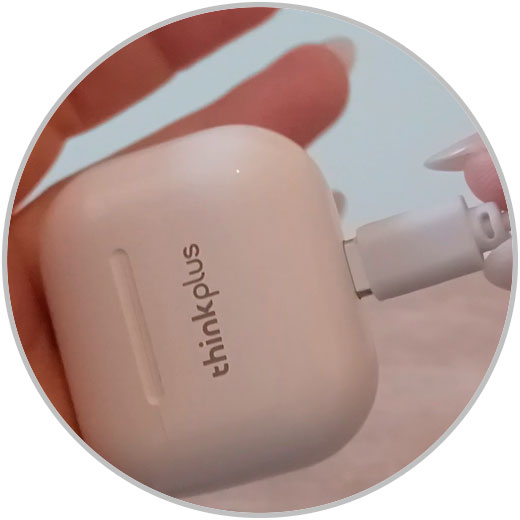
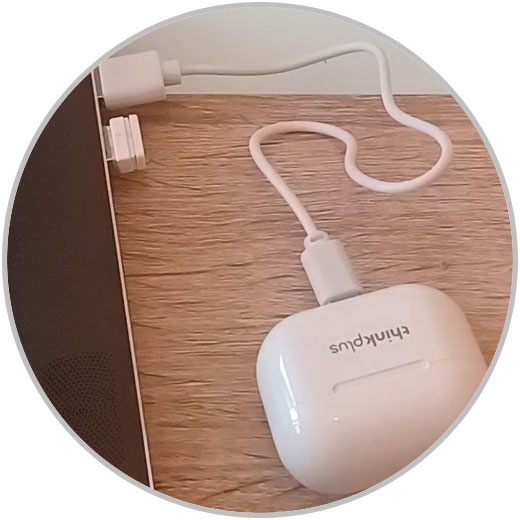
At the bottom of the case we find a charging connector. We connect the end of the USB C cable to the charging case.
Step 4
Now, to charge the headphones we have 2 options.
Option 1
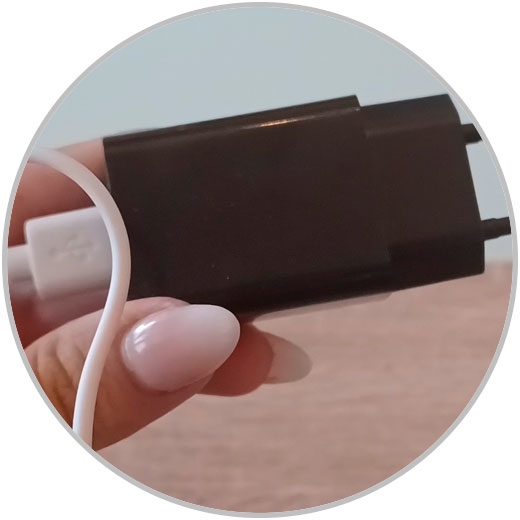
The first is to connect the USB end to a network adapter and this to the electrical current.
Option 2
The second would be to directly connect the USB end to a working USB port.
step 5
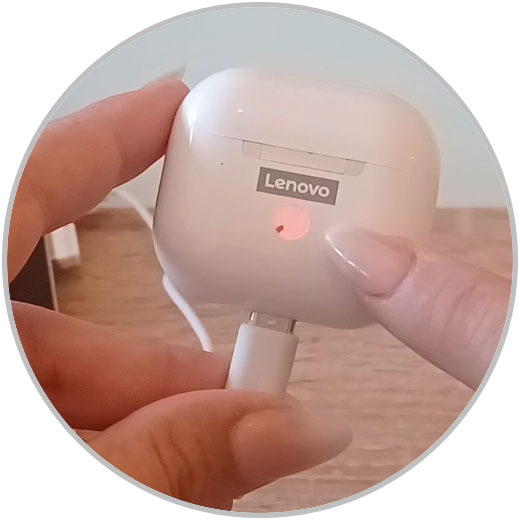
The flashing red light on the case indicates that the case is in the process of charging. When the red light stays on, it means that they are fully charged.
With these simple steps we will have managed to charge the Lenovo LP40 headphones and have them ready for use.