When we use any technological device, failures can occur due to their accumulated use over time, and the same happens in the case of wireless headphones. In addition to being able to present errors in use at a certain time, you may also want to delete all the information and return them to their factory state in order to link them to a new terminal. That is, reset them or restore them to their factory state..
To do this, we must know how this procedure is carried out since depending on the type of wireless headset the steps may vary too much, and precisely in this TechnoWikis tutorial we explain this process in the Lenovo LP40 headset model step by step and in the form of text and video.
How to reset or reset Lenovo LP40
To reset or restore these headphones you must follow the steps that we indicate below in an orderly manner.
To stay up to date, remember to subscribe to our YouTube channel!
SUBSCRIBE ON YOUTUBE
Step 1
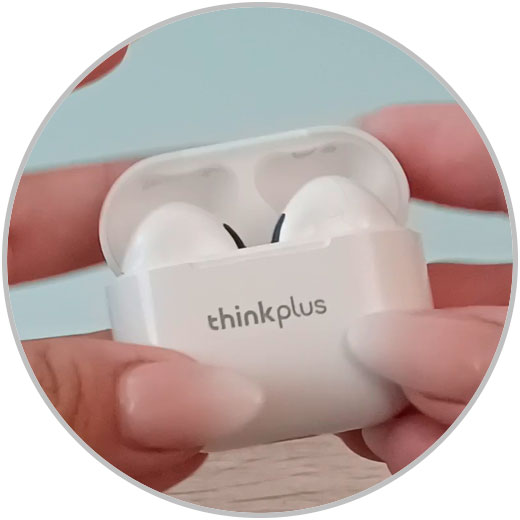
The first thing we will do is take the Lenovo LP40 headphones out of their charging case.

Step 2
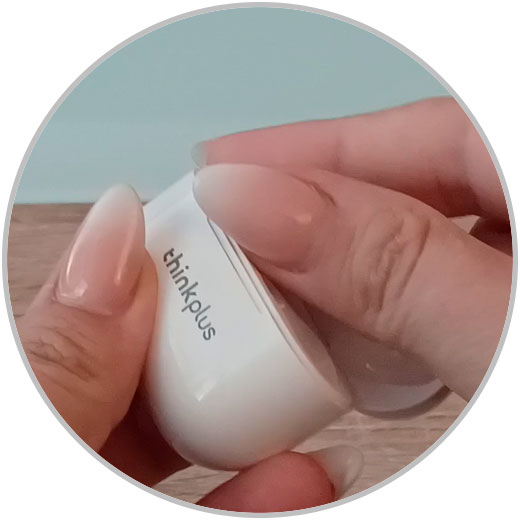
Now, we tap 6 times on the top of the headphones with our fingers.

Step 3
We put the Lenovo LP40 headphones back in their charging case.

Step 4
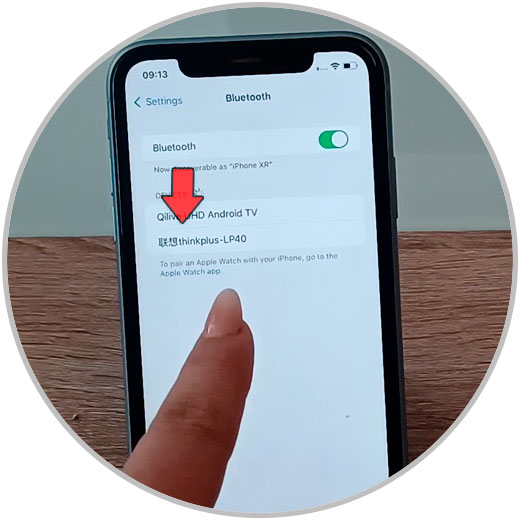
When we try to link these headphones to a new device we see how they appear among the available devices when linking via Bluetooth, therefore we will have returned them to their factory state.

Note
If you want to know how to link the Lenovo LP40 step by step, in the following link we show you the procedure to do it:
With these simple steps we will have managed to reset or restore the Lenovo LP40 wireless headphones to its factory state to erase all data, resolve possible malfunctions and link them to a new device in an easy and fast way.