Linux distributions both at the user and organizational level have been developed to facilitate the user the option of using all their functions and features to the fullest and as we know, one of the great advantages of Linux environments is the versatility to install new applications and this is achieved thanks to the package manager ..
The package manager who is responsible for carrying out the installation, configuration and removal tasks of these applications, but the problem is when we use a distribution of which we do not know which is your package manager, remember that this administrator varies between them so that the same Package Manager is not the same as Fedora as CentOS or Ubuntu .
To solve this situation there is a tool called Sysget and therefore TechnoWikis will explain what it is and how to use it for better control of Linux packages..
What is sysget
Sysget is an interface developed to manage package managers in Linux, it can be used as a specific front end for each package manager, so Sysget can be used with the same syntax for each package manager available in Linux.
Sysget is a script created for package managers and is written in C ++ and its source code is available for free on GitHub.
Package Administrators
Sysget supports various package managers such as:
- yum (Enterprise Linux / Legacy Fedora)
features
Among the features offered by this utility we find:
- Clear the package manager cache
- Update a specific package
1. How to install Sysget on Linux
Step 1
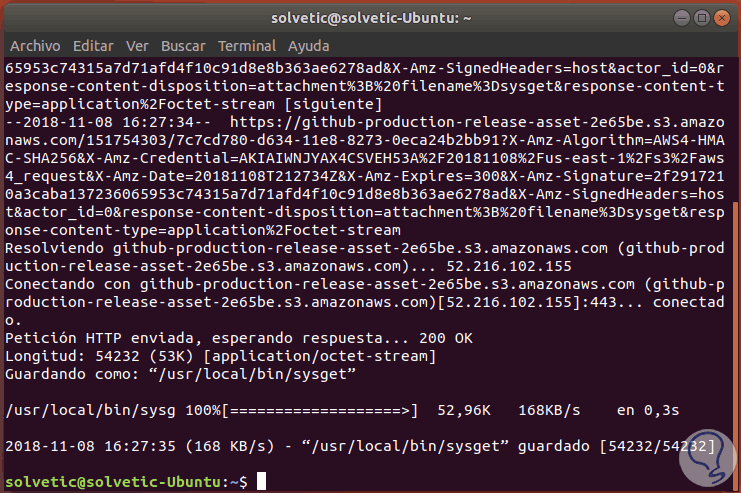
To carry out the Sysget installation process we will execute the following commands:
sudo wget -O / usr / local / bin / sysget https://github.com/emilengler/sysget/releases/download/v1.2.1/sysget
Step 2
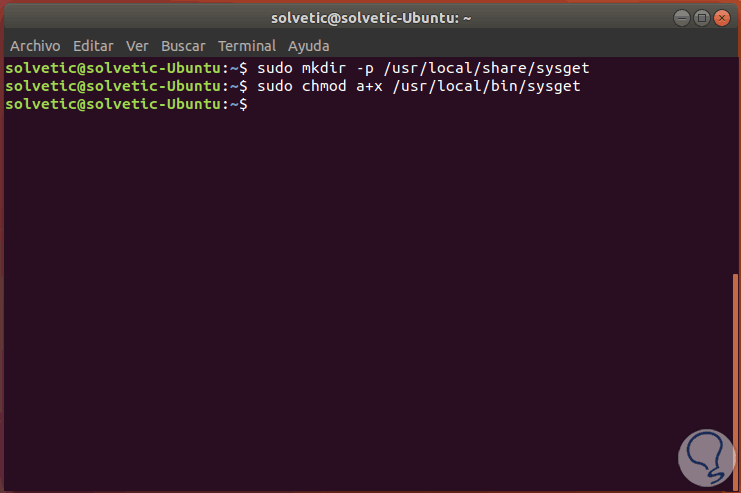
After this command we will execute the following commands:
sudo mkdir -p / usr / local / share / sysget sudo chmod a + x / usr / local / bin / sysget
Step 3
At the moment of running Sysget for the first time, the package manager of the used system will be indicated and we will be able to see a list of the available managers, there we will select the one that best suits the distribution used, for this we execute:
sudo sysget
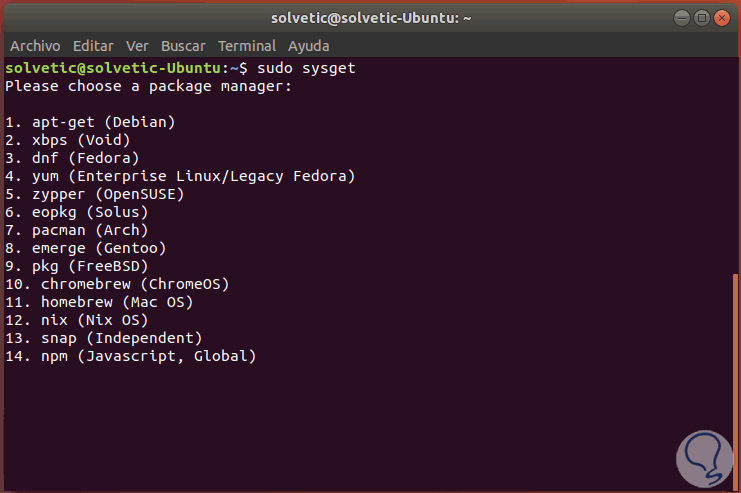
There we enter the desired number and press Enter or we can assign the desired package by executing the following syntax:
sudo sysget set “packageâ€
2. How to use Sysget on Linux
Once installed we can make use of the following functions:
Step 1
To install a package we will execute the following syntax:
sudo sysget install <package name>
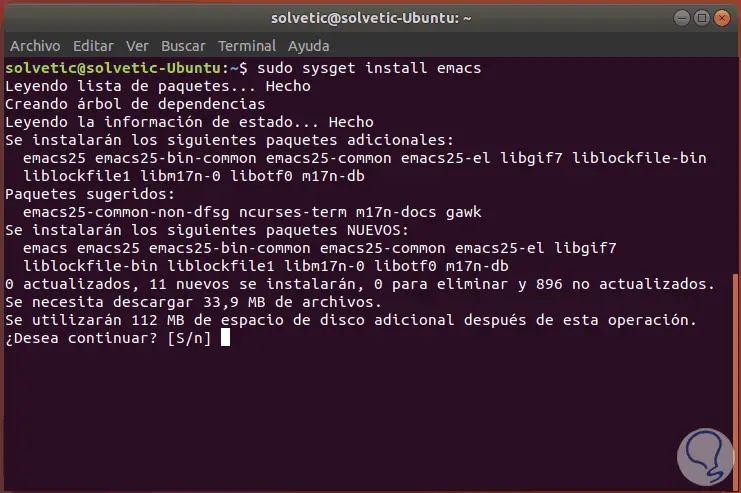
For example, we can execute the following:
sudo sysget install Emacs
Step 2
There we enter the letter S to continue the process of downloading and installing the selected package.
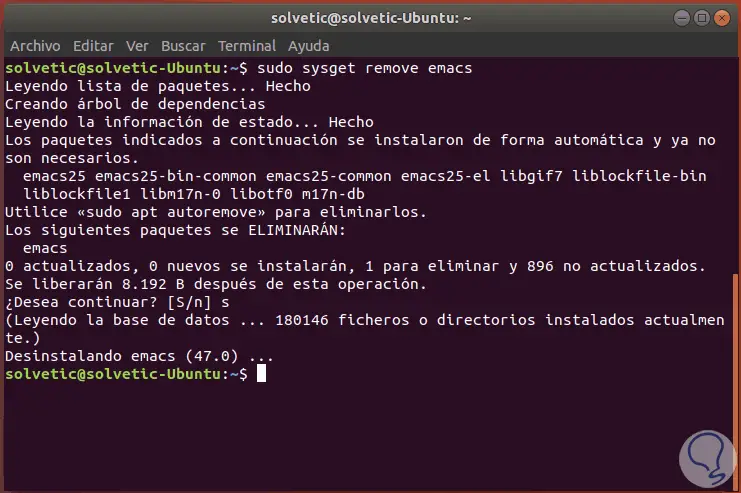
To remove a package we will execute the following syntax:
sudo sysget remove “packageâ€
Step 3
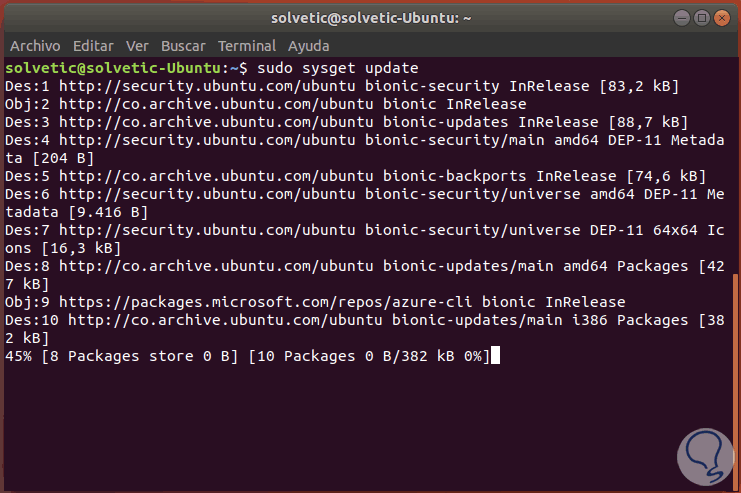
To run an update we will use the following line:
sudo sysget update
To update the entire system we execute:
sudo sysget upgrade
Step 4
To update a specific package we will execute the following:
sudo sysget upgrade <package>
If we want to eliminate orphaned packages, that is, they no longer depend on anyone and are not in use, we execute:
sudo sysget autoremove
If the goal is to clear the system cache:
sudo sysget clean
Optional, if we want to search for a package in the repository we will use the search parameter plus the package name.
In this way, Sysget becomes an ally for the entire package management process in the different Linux distributions..