TechnoWikis has mentioned to you many times that Windows 11, and the other versions, are service-based systems whose task is to allow many of the tasks that are executed both in the foreground and in the background to be carried out without errors. This is achieved thanks to the fact that the services allow the creation and administration of processes which are linked to the applications and programs. Something to keep in mind is that Windows services can be started without us carrying out the process, as well as they can continue to run even after closing the session..
These services work in the background and come into action when you start the computer, but when we install third-party applications or certain configurations have been made, services may be activated that can have a negative impact on the performance of Windows 11 as they are non-vital services. . In this case, we can eliminate said service, but TechnoWikis recommends that before removing a service, carefully review the type of service and its impact on the system, since if we accidentally remove a service from the system, we can trigger a series of global errors. Let's see various ways to remove a service in Windows 11.
To stay up to date, remember to subscribe to our YouTube channel!
SUBSCRIBE ON YOUTUBE
1 How to delete a Windows 11 Service Backing up the registry
TechnoWikis seeks with this step to have a backup copy of the system records so that in case of failures we have the recursion to access this copy and recover all normal services..
Step 1
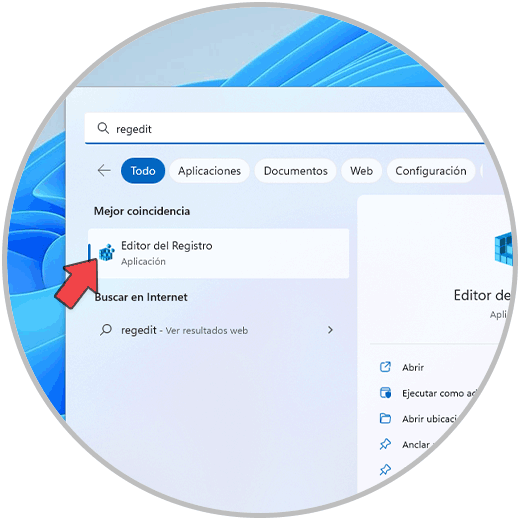
To create this backup open the Regedit Registry Editor:
Step 2
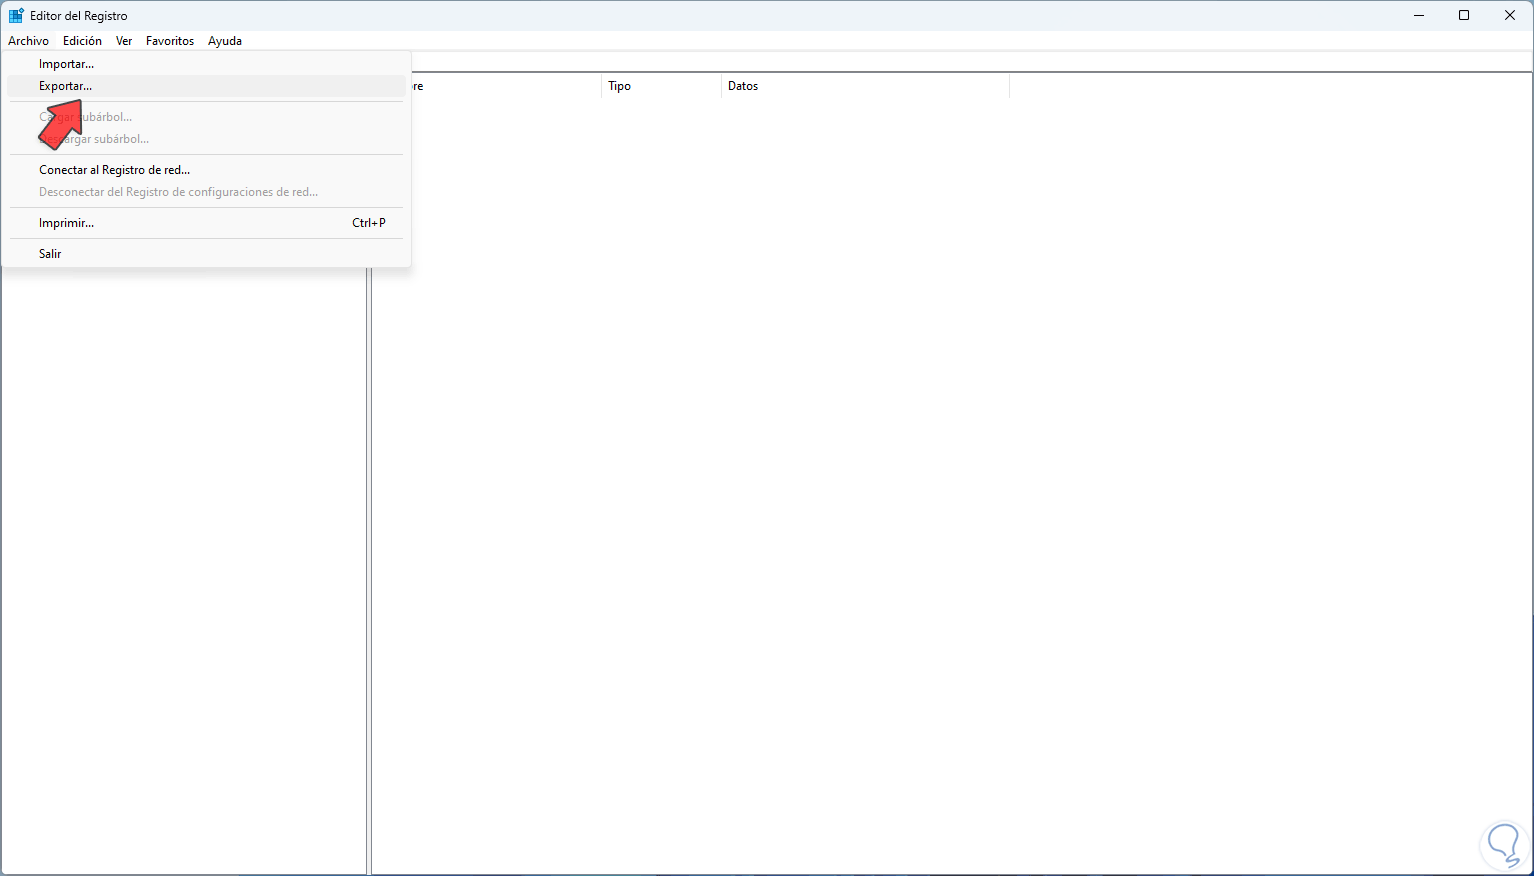
Let's go to "File - Export":
Step 3
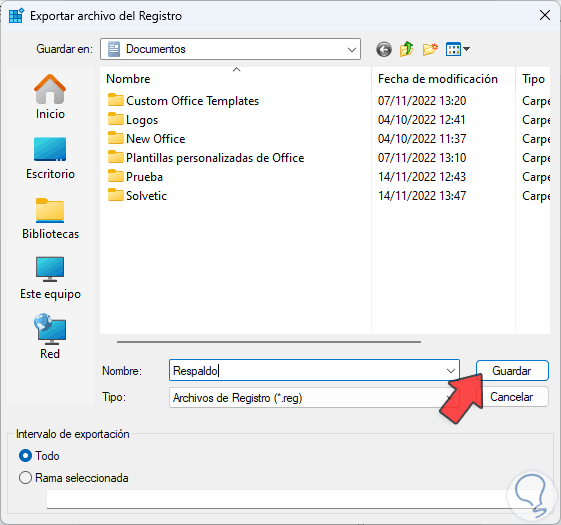
We assign a name and define where the backup of the records will be stored. We expect the backup to be saved.
2 How to remove a Windows 11 Service from Registry Editor
Step 1
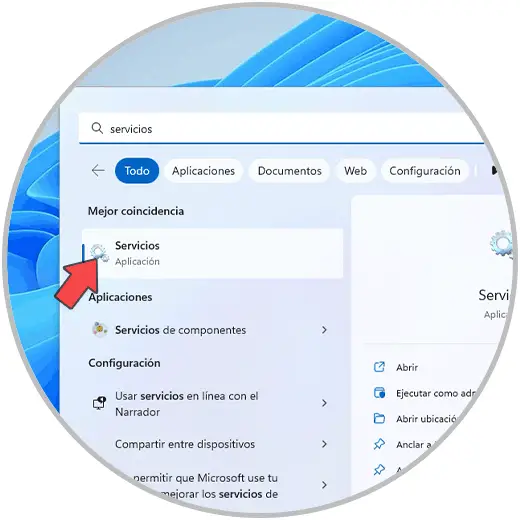
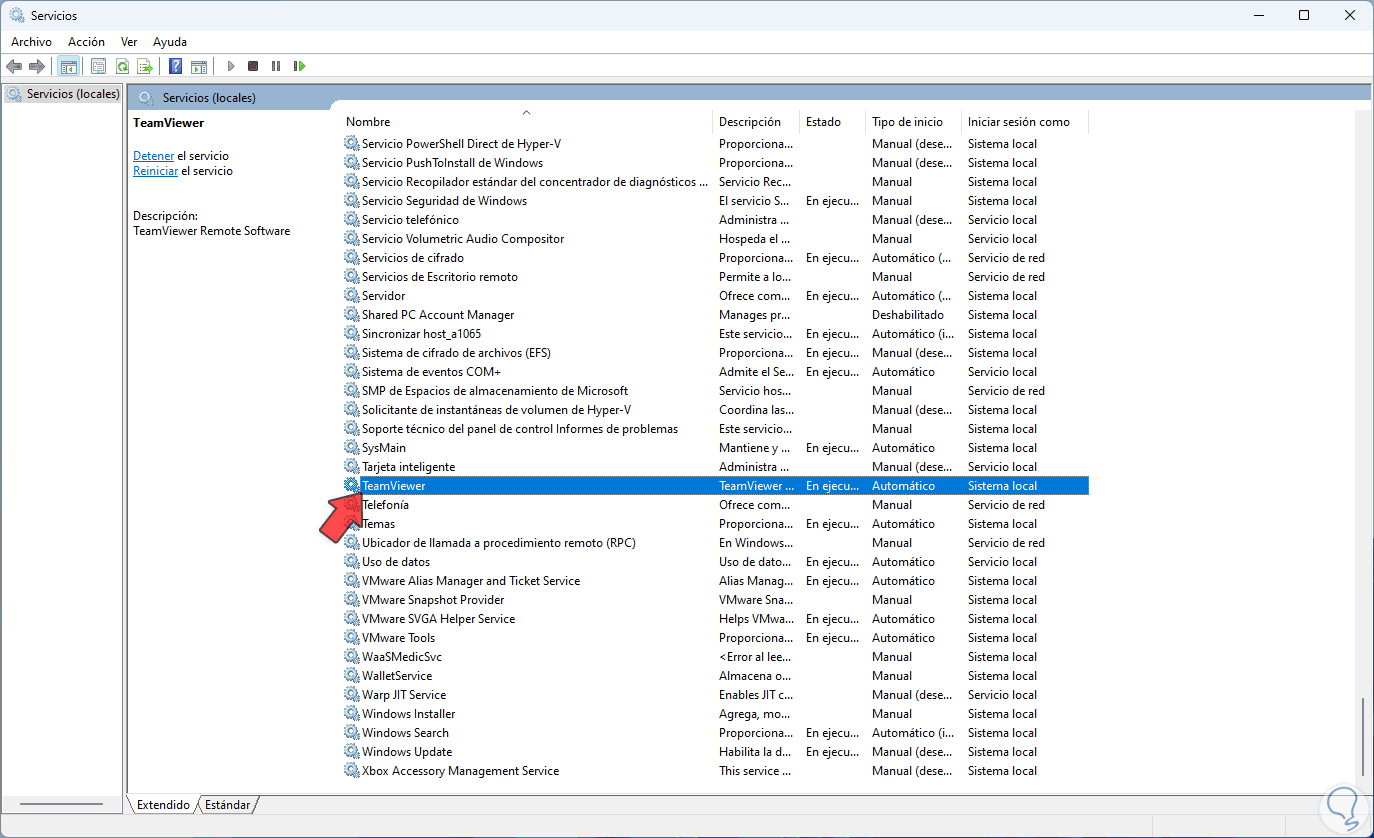
The first method to eliminate a service is precisely from the Registry Editor, for this we must know the name of the service with certainty, to know this we open Services:
Step 2
We locate the service to eliminate:
Step 3
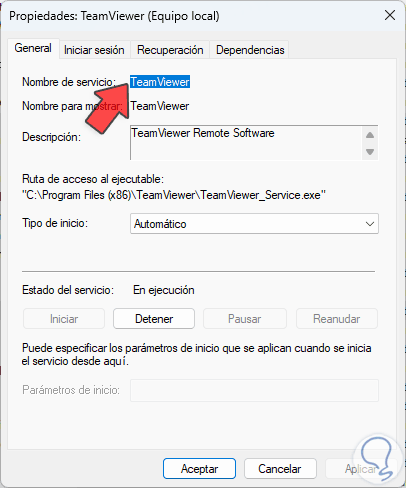
We double click on it to see its name:
Step 4
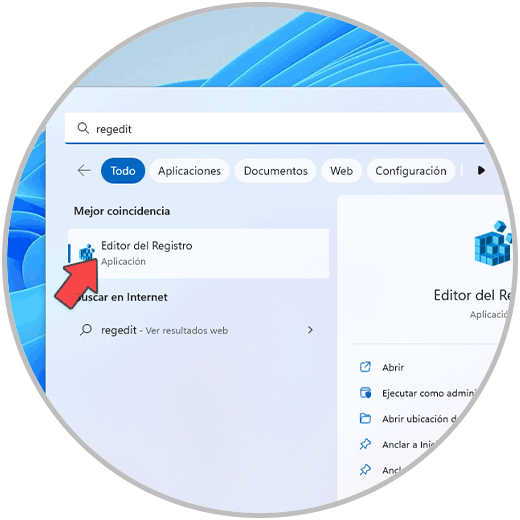
Once this is defined, we open the Regedit Registry Editor:
step 5
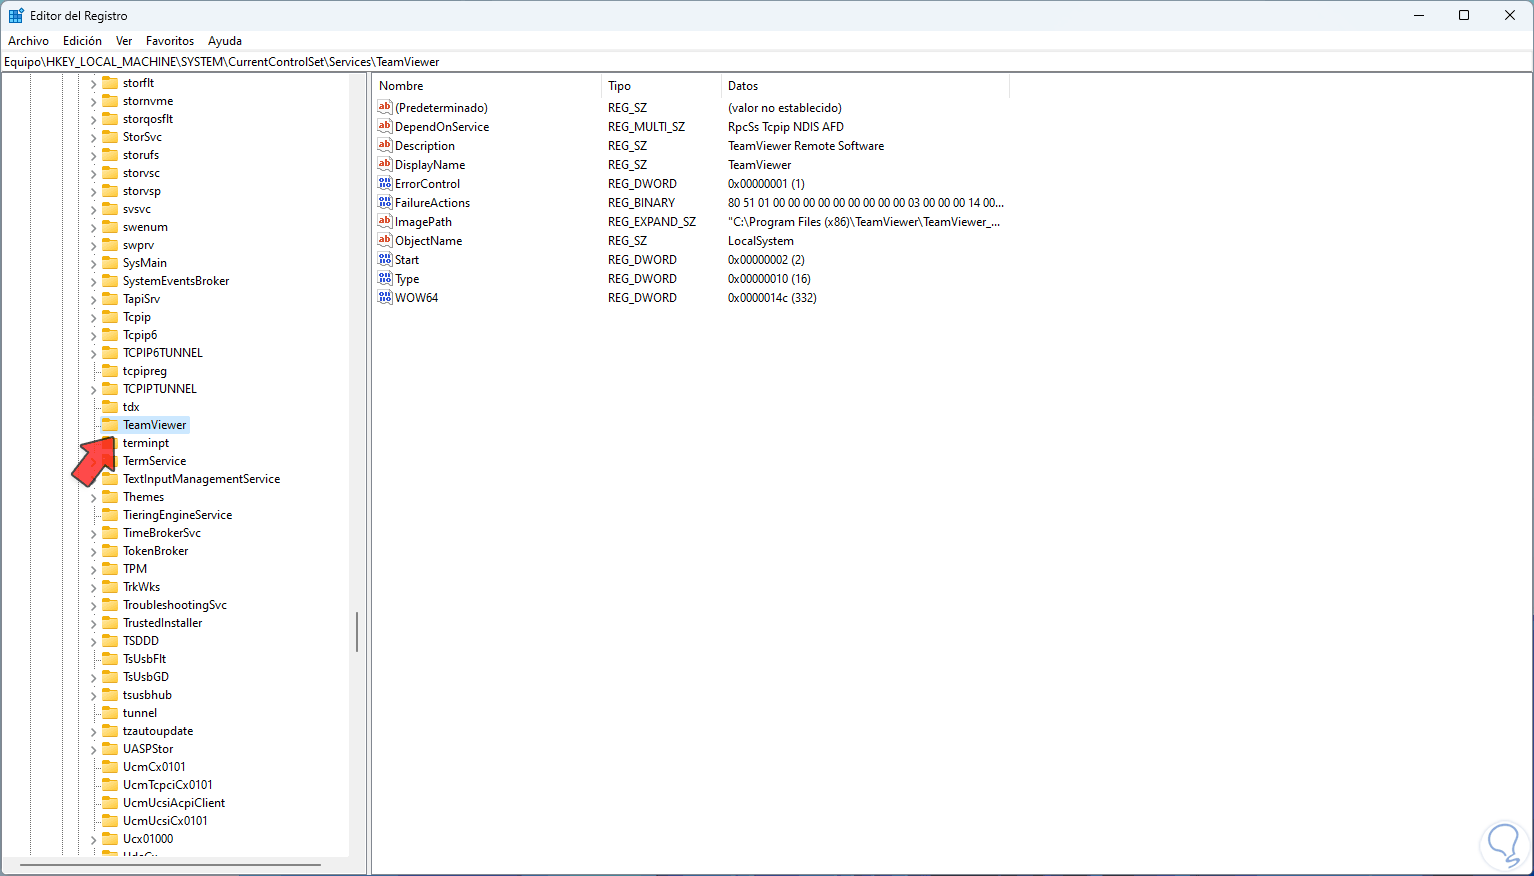
Let's go to the route:
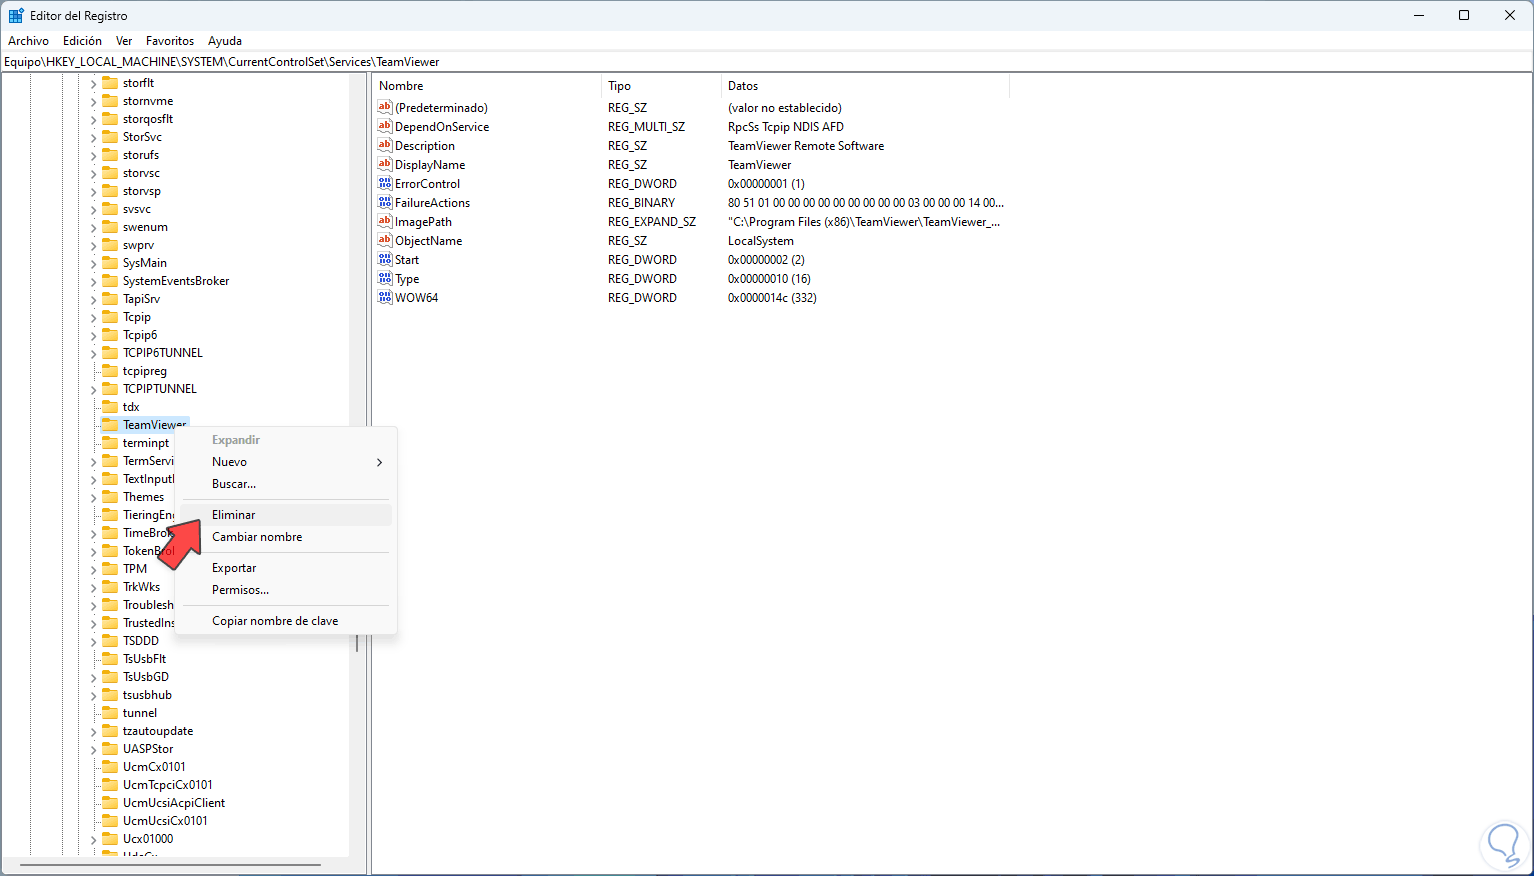
HKEY_LOCAL_MACHINE - SYSTEM - CurrentControlSet – Services
step 6
There we find all the services, right click on the desired service and select "Delete":
step 7
The following message will be displayed:

step 8
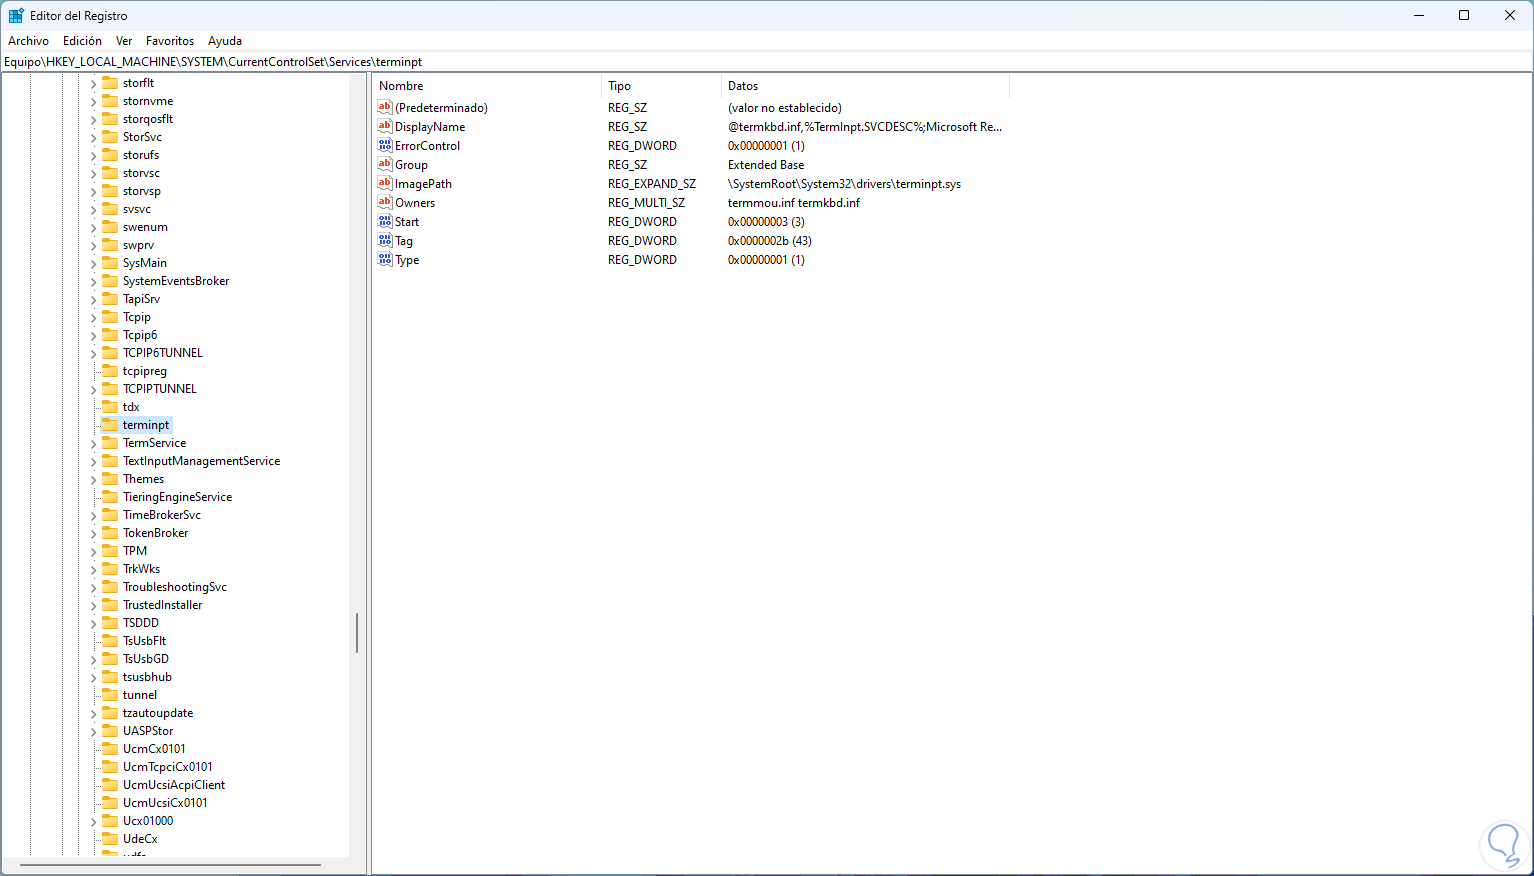
Confirm the process and said service will no longer be available:
3 How to remove a Windows 11 Service from CMD
Step 1
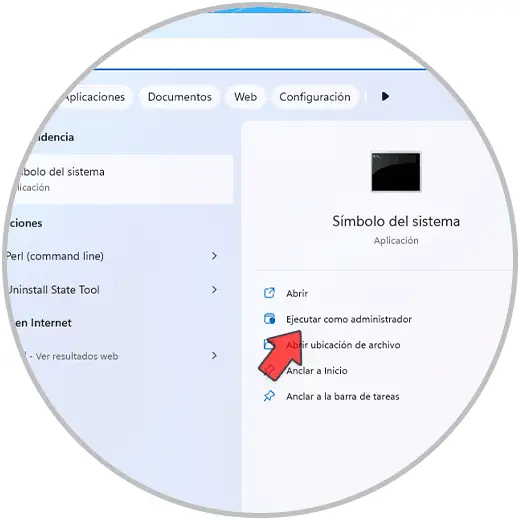
From the CMD console we are able to carry out this service removal process, to do so, open CMD as administrator:
Step 2
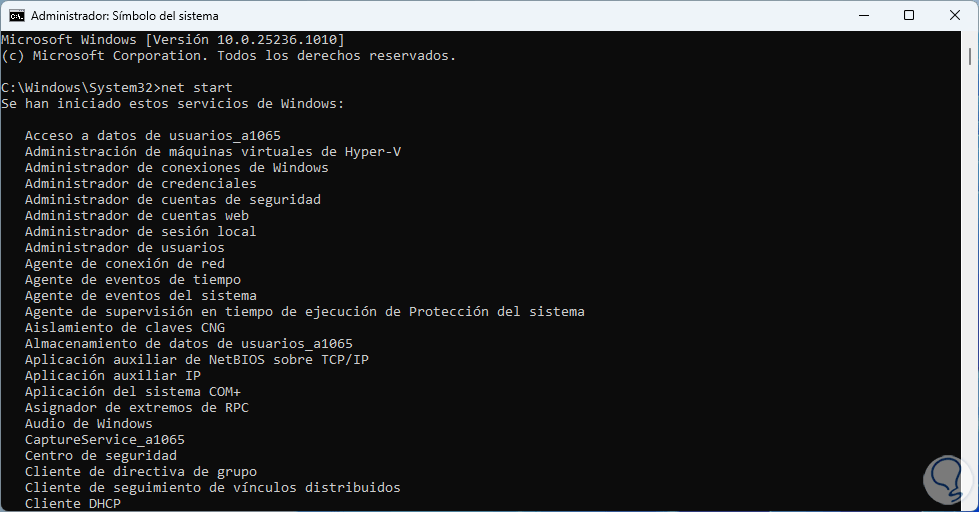
We list the current services to know for sure the name of the service to delete:
net start
Step 3
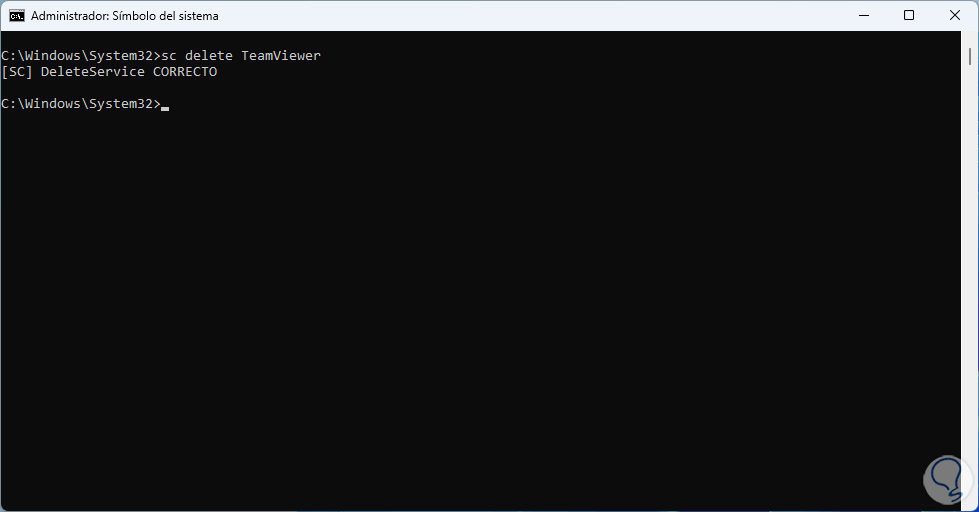
We eliminate the service by executing the following:
sc delete "service"
Service Controller SC is a command with which we can manage the services in Windows 11 in a simple and fully functional way.
4 How to remove a Windows 11 Service from PowerShell
Step 1
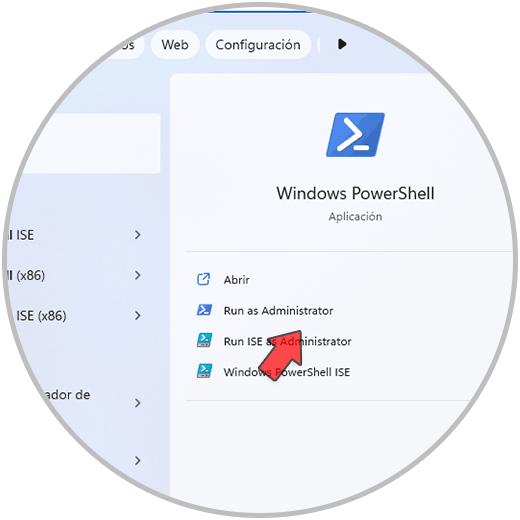
Another option to delete a service in Windows 11 is with the PowerShell console, in this case we open PowerShell as administrators:
Step 2
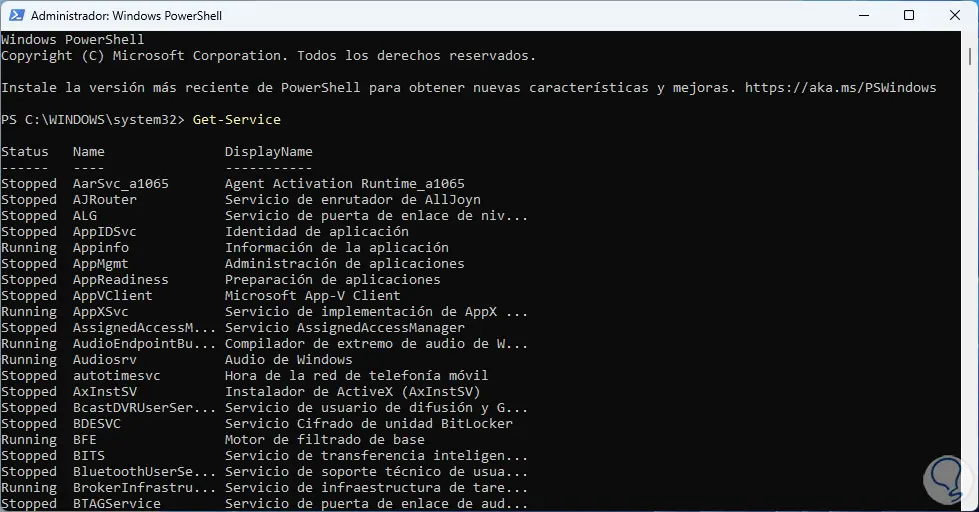
List the current services using the cmdlet:
Get-Service
Step 3
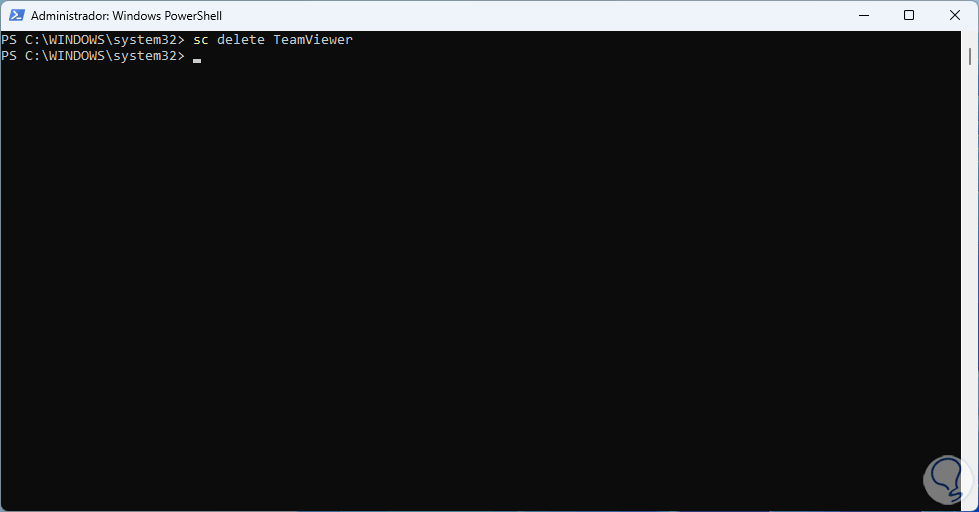
Finally we eliminate the desired service:
sc delete "service"
We see how each of these options is ideal for removing a service but remembering the importance of these and how delicate it is to remove a vital Windows service.