Windows 11 by default from the moment of installation or update asks the user to create and assign a password or PIN to access the system with which a classic security method will be added since if another user tries to access it will not be possible thanks to the secure password that we have implemented, but when it is only us or the environment where Windows 11 is used is safe, it will be possible to remove the password and doing this is much easier than it seems, TechnoWikis will explain how to do it in a few steps..
Many times, having so many security keys, it is possible that we find that we do not know what it was and we have to recover a forgotten password in Windows 11 to be able to enter the operating system again. Remember that before choosing to eliminate the security password to avoid problems, you can directly see saved passwords in Windows 11 and thus consult the ones you already have. If you do not want this, you can directly remove the startup password in Windows 11 as we will see below.
To stay up to date, remember to subscribe to our YouTube channel!
SUBSCRIBE ON YOUTUBE
How to remove startup password in Windows 11
Step 1
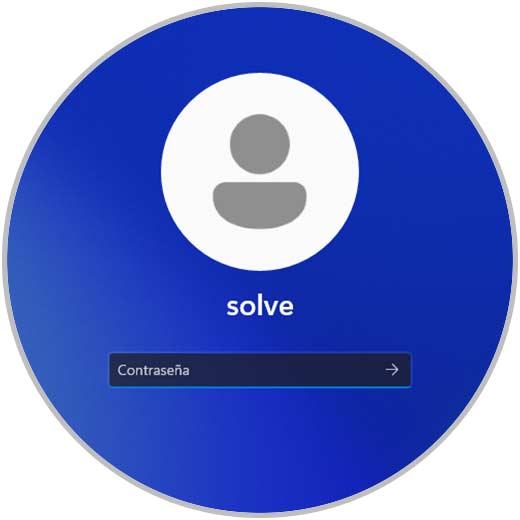
When logging into Windows 11 it will be necessary to enter the password:
Step 2
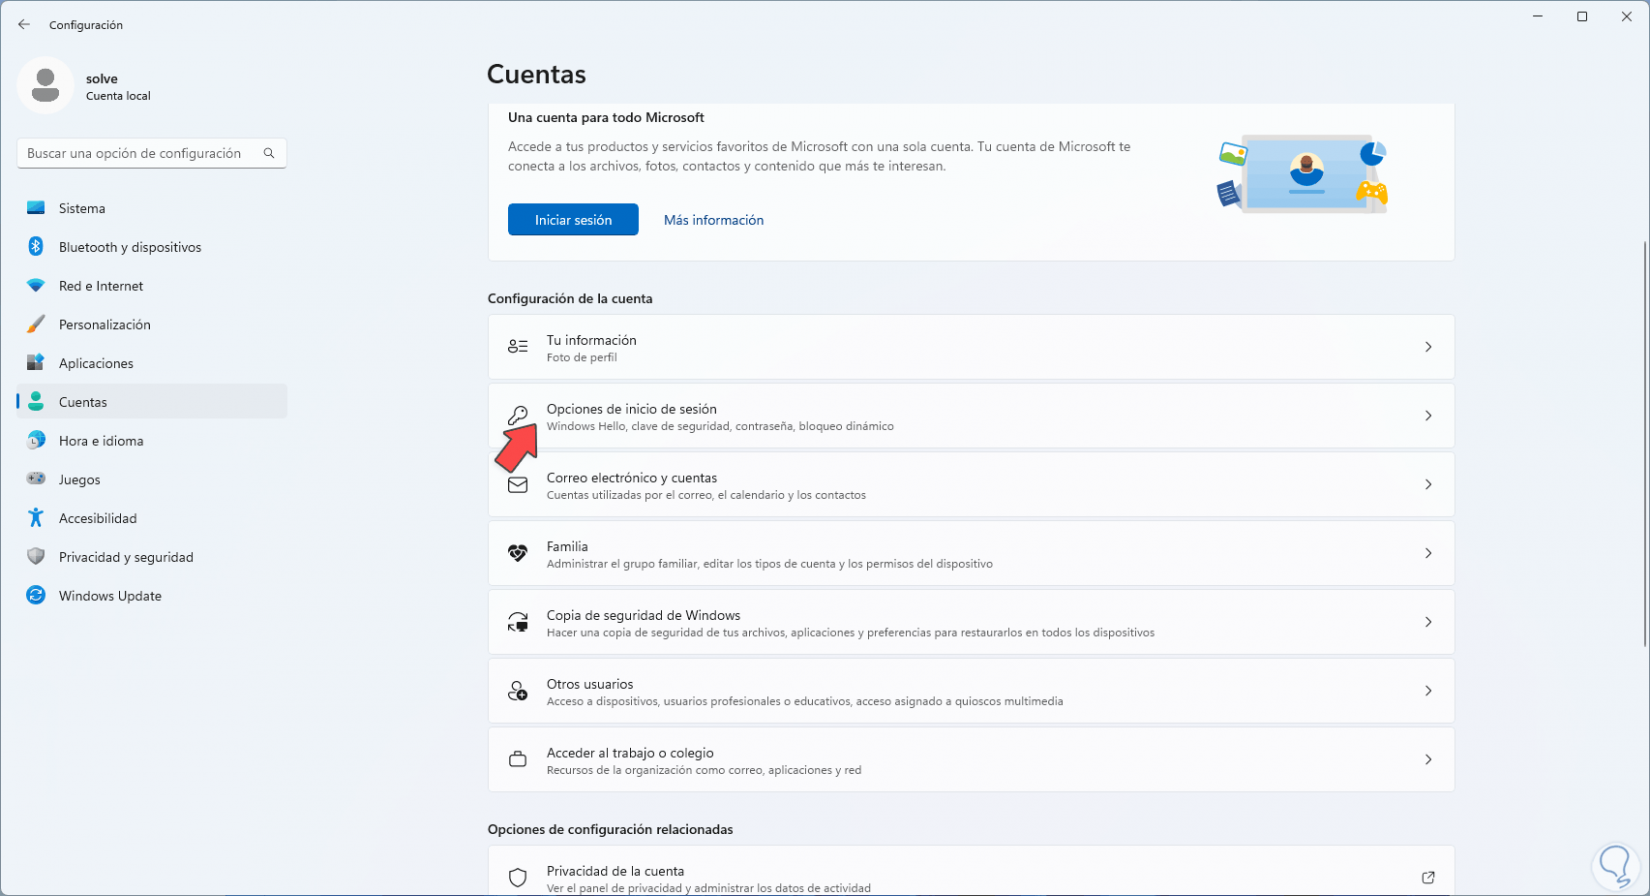
To remove it, we will go to:
Step 3
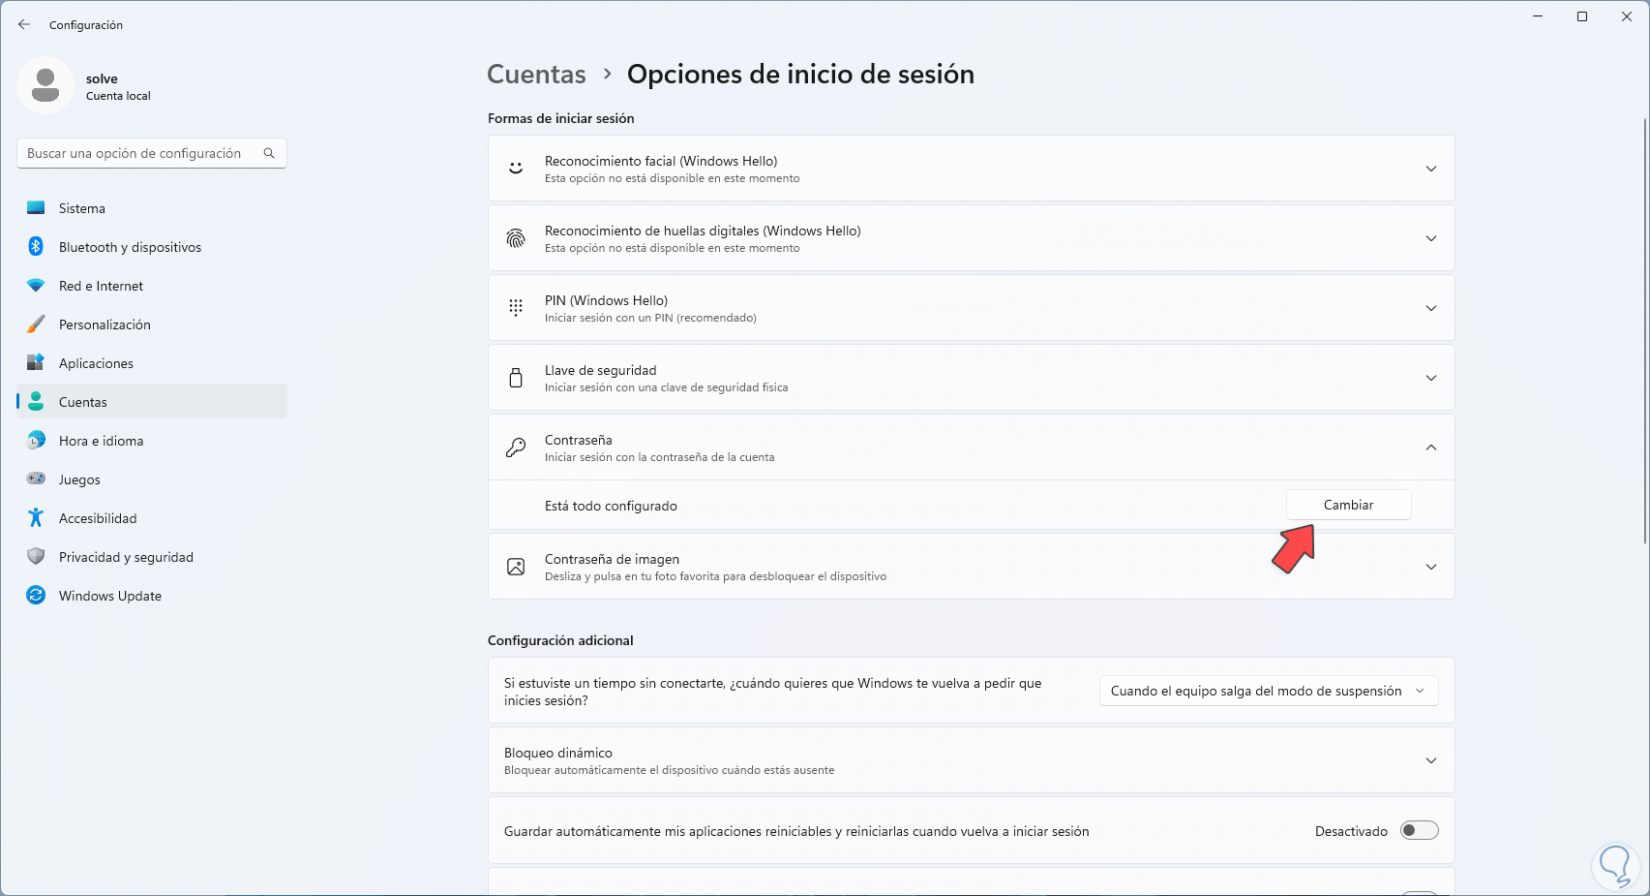
When accessing there we click on "Password" and then click on "Change":
Step 4
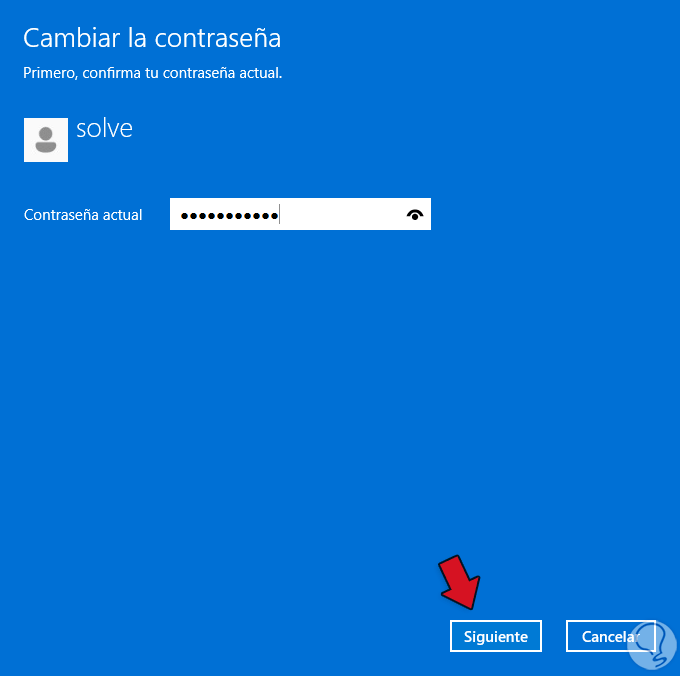
In the pop-up window we enter the current password:
step 5
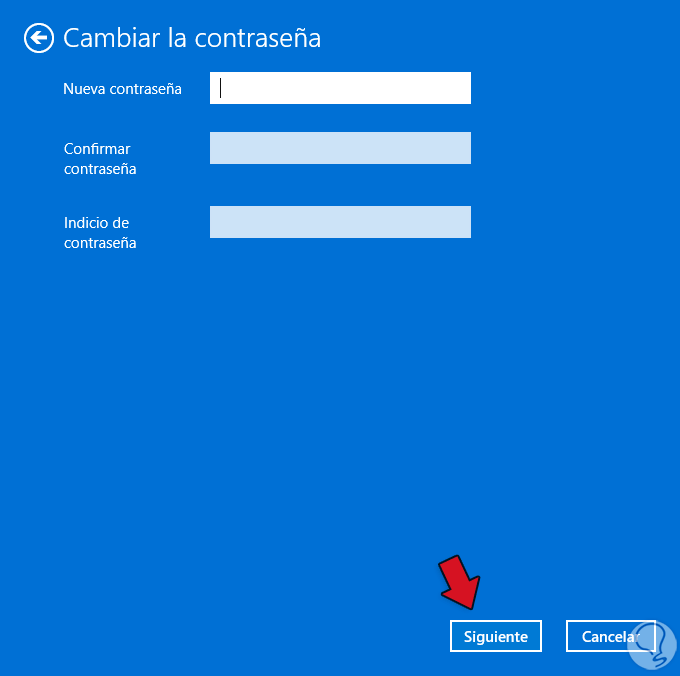
We click on "Next" and in the new window we leave the fields blank:
step 6
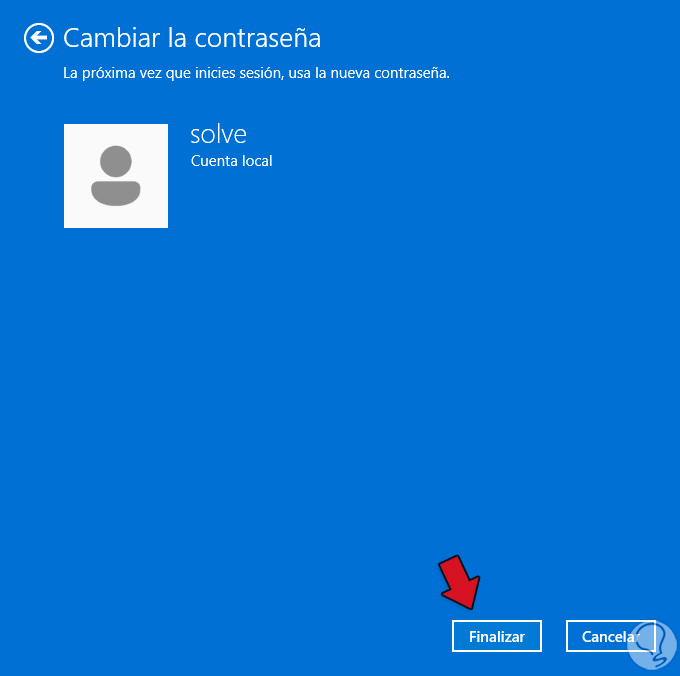
With this we look for the login to be automatic in Windows 11, we apply the changes:
step 7
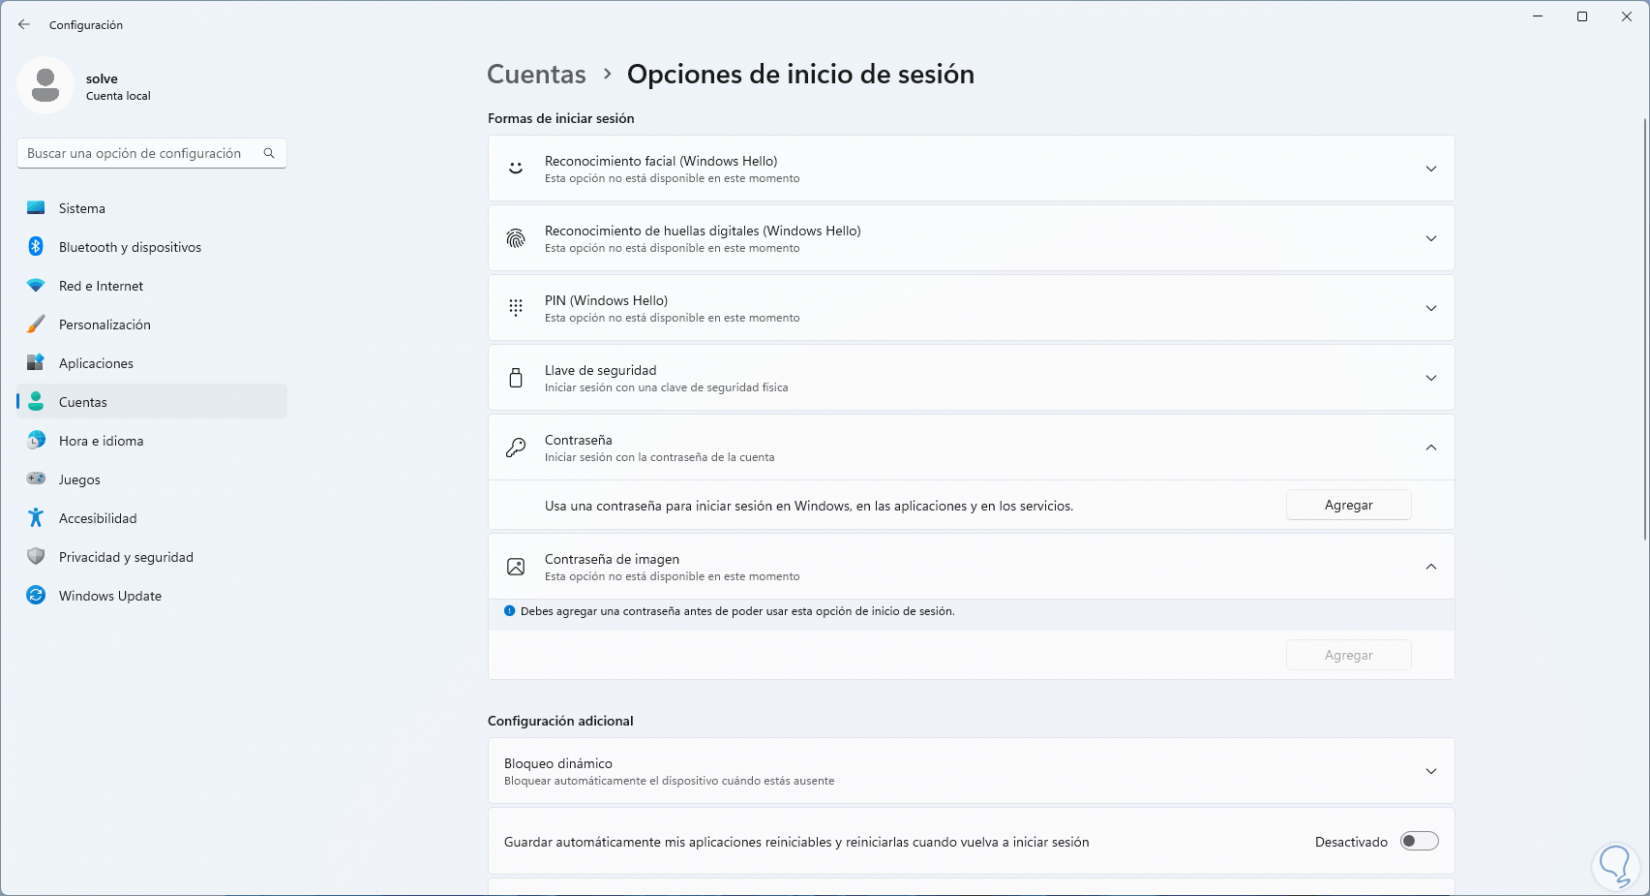
Now we will see in the "Password" section that it has been removed:
step 8
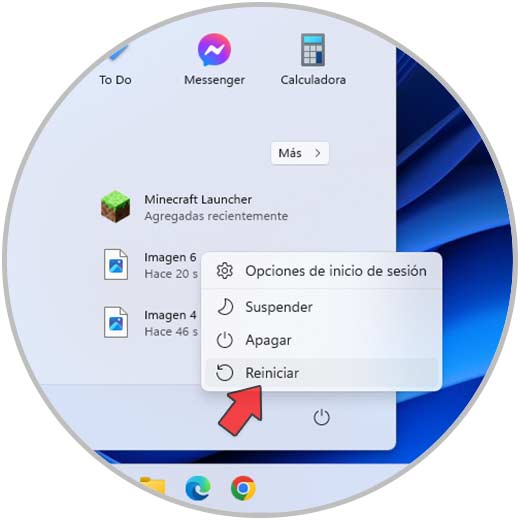
To check this, we restart Windows 11:
step 9
We wait for the restart:

step 10
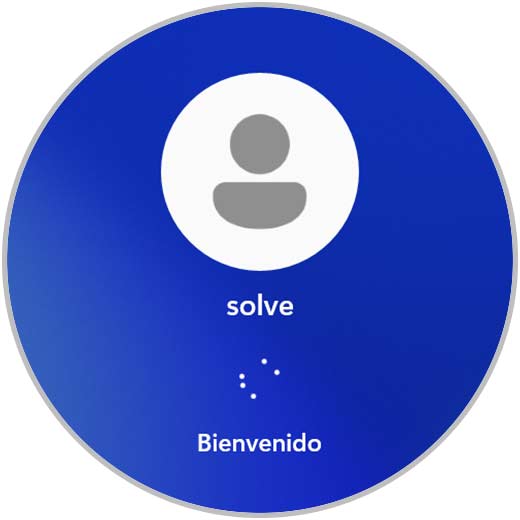
We can check password-free access to Windows 11:
It is that simple to remove the startup password in Windows 11 and have automatic access..