- Due to various circumstances, you may have to record your PC screen at some point, and if you have already upgraded to Windows 11, you may wonder if Windows 10 solutions are still active.
- We review some of the options we have to record the screen in Windows 11, some with products created by Microsoft, and others using different third-party software
Recording the screen is one of the many resources that we have available to be able to make the most of our PCs. When we carry out this procedure, we obtain a file in which everything that is seen on the panel is replicated. Therefore, it can be a very interesting solution to many of the problems that arise daily, so today we will show you three useful tricks to be able to record the screen on your Windows 11 PC ..
And the problem is that the latest version of the operating system for Microsoft computers still does not have a specially developed tool to record the screen , a native tool that is claimed. But we know from our experience in Windows 10 that there are some ways out of this problem, so we have decided to focus on three options to record screen in Windows 11, although there are many others.
How to record your computer screen with Windows 11?
As we said, the alternatives that exist when recording the screen of a PC that is already updated to Windows 11 are different, although in general terms they are the same as we already had in Windows 10 ..

With Xbox Game Bar
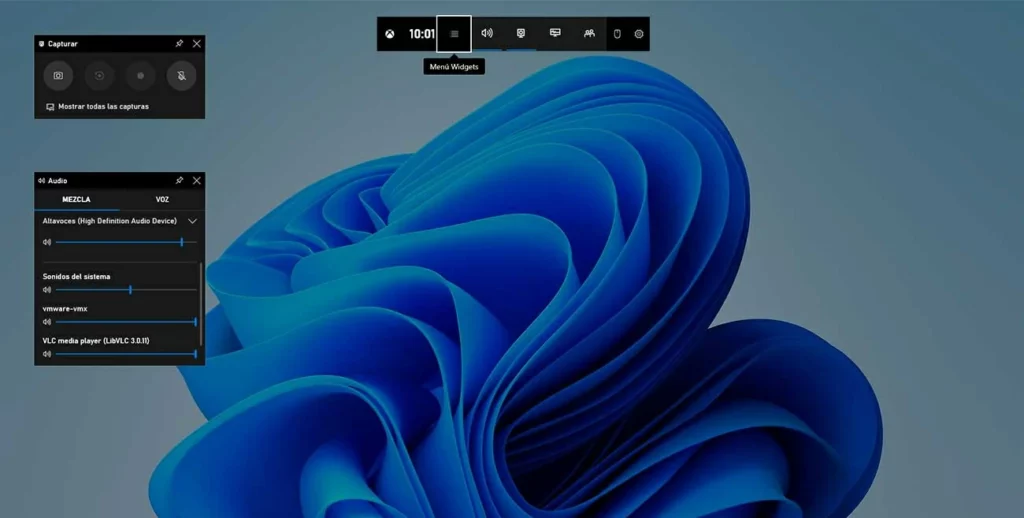
While Windows 11, or Windows 10 for that matter, doesn't come with a built-in screen recorder, there is the Xbox Game Bar that allows us to record screen with ease .
Although this system is intended to record game sessions, we can also use it to record other windows. The only disadvantage is that it does not record when File Explorer is open or if we are on the desktop, so in those cases you will have to resort to some of the solutions that we explain later in this post..
The best thing about this trick is that a keyboard shortcut is enough to put it to work, saving a lot of time.
- Outside of Windows Explorer and the Desktop, press Win + G, to open the Xbox Game Bar
- Then, go to the Capture function from the menu available at the top of the screen
- A pop-up window will open, from which you have to click on Start recording
Immediately Windows 11 will start recording your screen, and you have to make sure that your microphone is enabled if you also intend to record your voice. This is especially important if you are going to create a tutorial .
Eventually, with the keyboard shortcut Win + Alt + R you can start the screen recording directly.
To stop it, you have to press the Stop button in the Capture Status floating window .
Finally, you will find all the files stored in C:\Users\yourusername\Videos\Captures .
With OBStudio
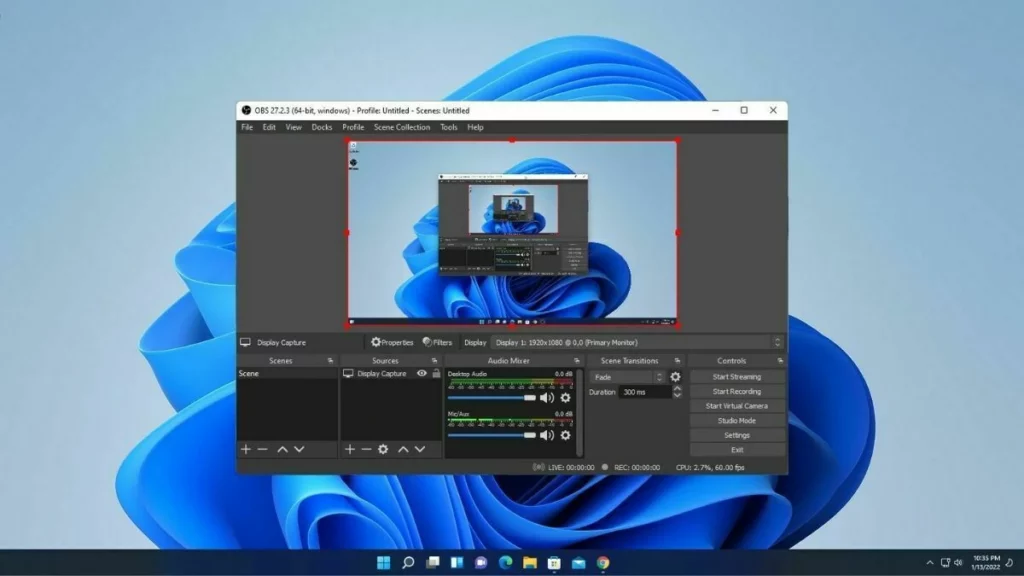
OBS Studio is a piece of software that we have already talked about on a few occasions before, and in this case it makes sense especially if you want to record Windows Explorer or the desktop, and the Xbox bar does not allow it.
Many users consider OBS Studio to be the best Windows 11 screen recording software out there. Among its positive features we can mention that it is free and open source .
- Download and install OBS Studio from this link that leads to its website, or from the Microsoft Store
- Open the app and select "Optimize for recording only, I won't stream" in the initial window
- Once the program runs, click on the +, then Fonts and Screenshot
- Once you have assigned a name to the new file or recording, click Start recording
Recording will automatically start, watching the audio coming from the computer, without you touching anything.
By clicking Stop Recording you can tell OBS to stop capturing the screen.
Finally, you will find all the generated files in the path C:\Users\ yourusername \Videos .

With the third-party app Free Cam
If for some reason OBS Studio does not leave you 100% satisfied, there is always the possibility of using Free CAM . We could say that it is the ideal program for those looking for an extremely simple screenshot.
Actually, the only criticism we can make of it is that it only exports videos in WMV , so you will need a converter later if you know that you will be using another format. Other than that, it performs without major problems.
- Download and install OBS Studio from this link that leads to its website
- Open the app and select the “New recording” option
- Determine the area of the screen you want to record, or Full Screen, and enable the microphone
- When the settings are perfect according to what you want, start recording
To stop Free Cam recording, all you have to do is press Esc on the keyboard , and in a few seconds you will be able to edit the video, or click on Save as video to establish a folder where it will be saved.