Windows 11 has a set of effects which allow the system to have a modern design based on Fluent Design which applies a default transparent background style to the desktop, taskbar, Start menu, Windows Terminal as well as for other pre-installed apps..
Fluent Design is based on a Microsoft environment called Acrylic which seeks to improve the visual appearance of context menus, floating elements and overlapping windows, which are those that are activated when the mouse passes over them.
Although this is a modern effect for Windows 11, it is possible that if the computer does not have stable hardware in terms of RAM, CPU and graphics, the transparency effects can trigger slowness when used. TechnoWikis will explain various ways to enable or disable transparency effects in Windows 11..
To stay up to date, remember to subscribe to our YouTube channel!
SUBSCRIBE ON YOUTUBE
1 Transparency effects Windows 11 | activate or remove from Settings
Step 1
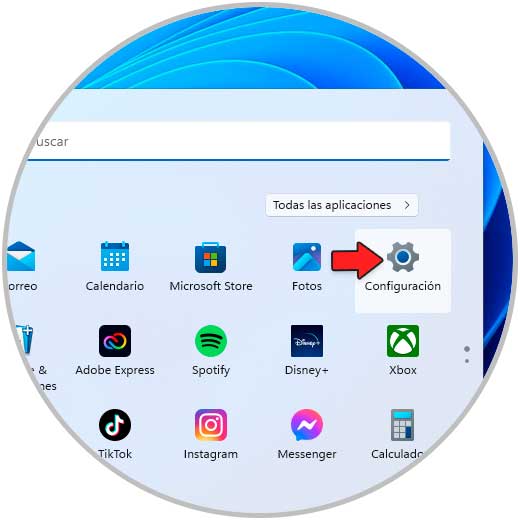
This is one of the simplest methods to achieve this, we will go to "Start - Settings":
Step 2
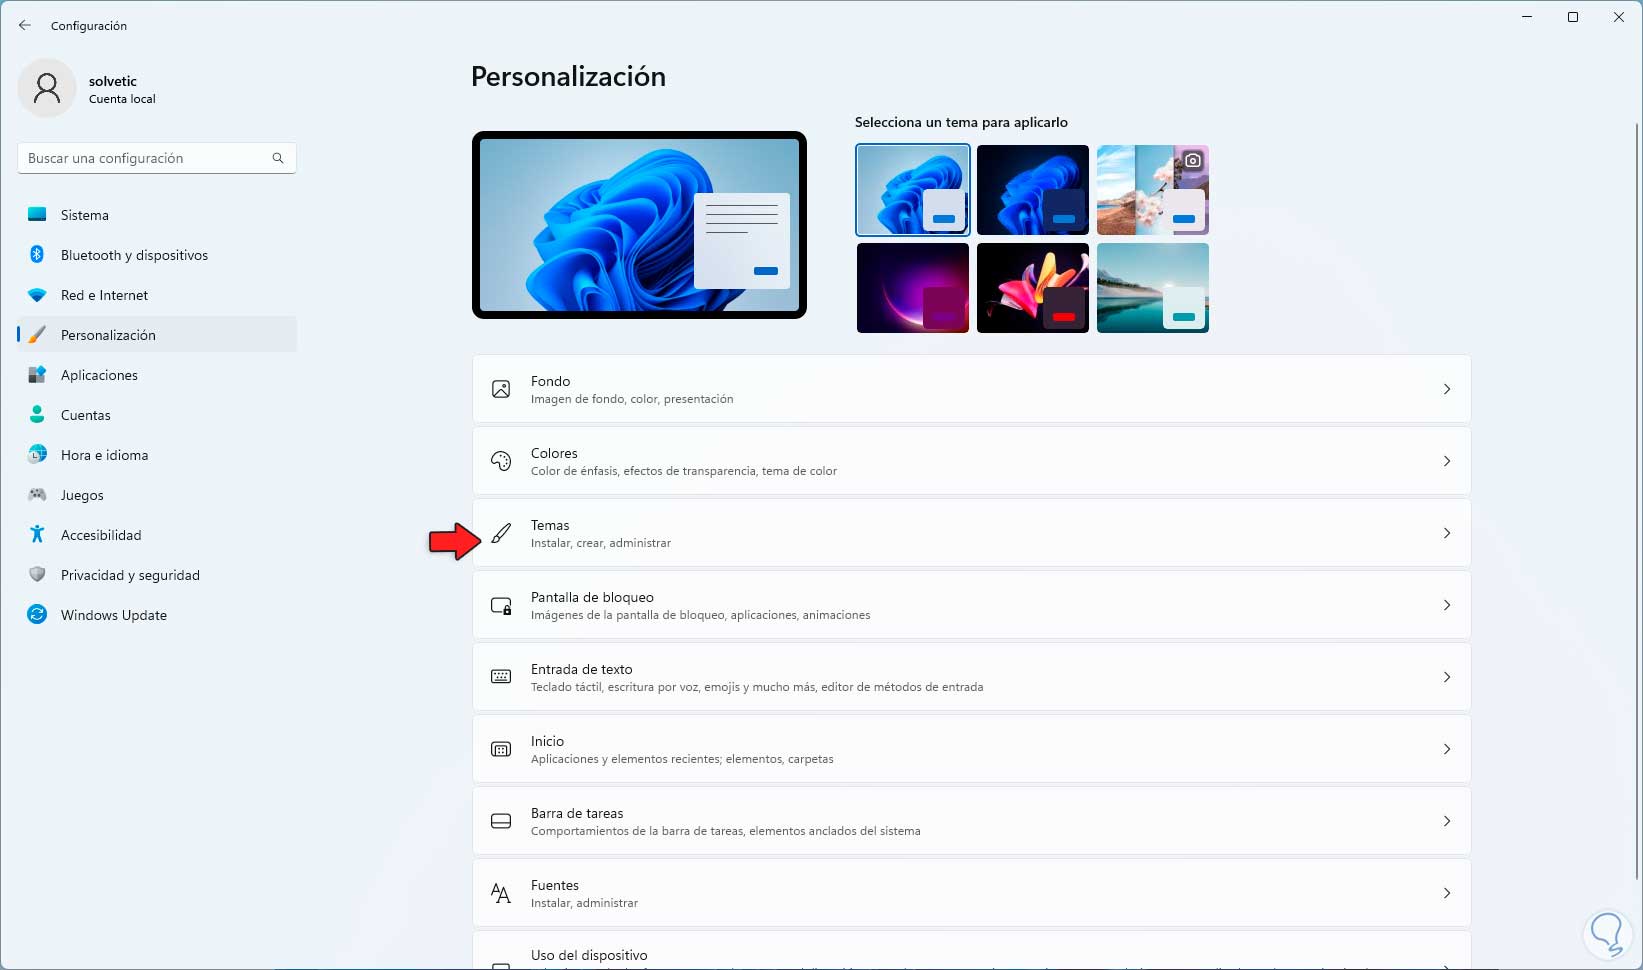
Then we go to "Personalization - Themes":
Step 3
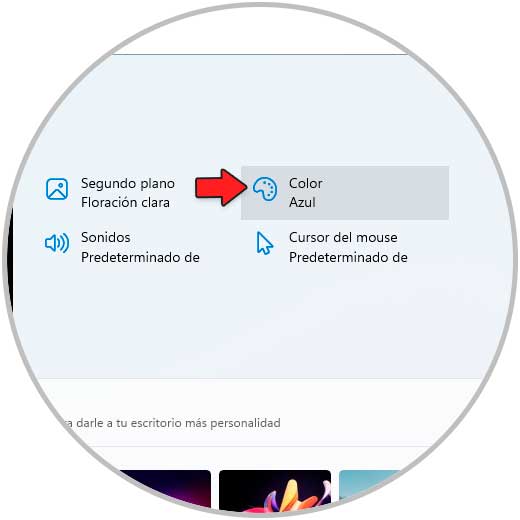
By clicking there we will see the following:
Step 4
At the top we click on "Color" to access the configuration of the current Windows 11 theme:
step 5
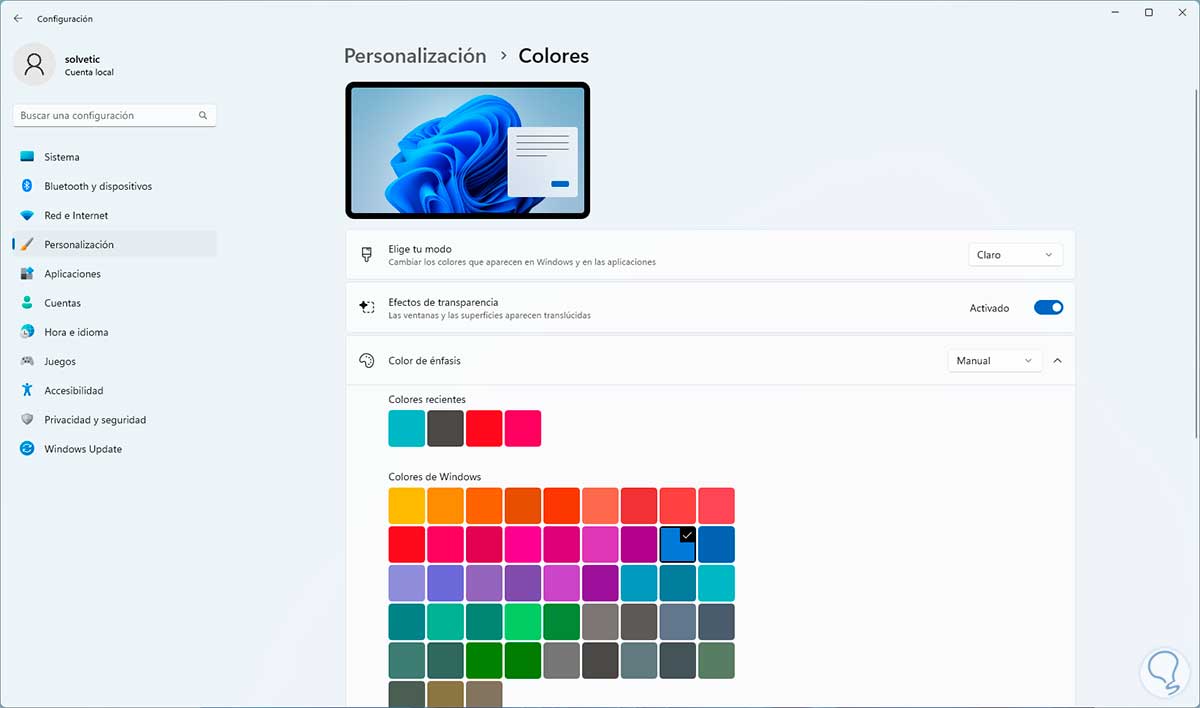
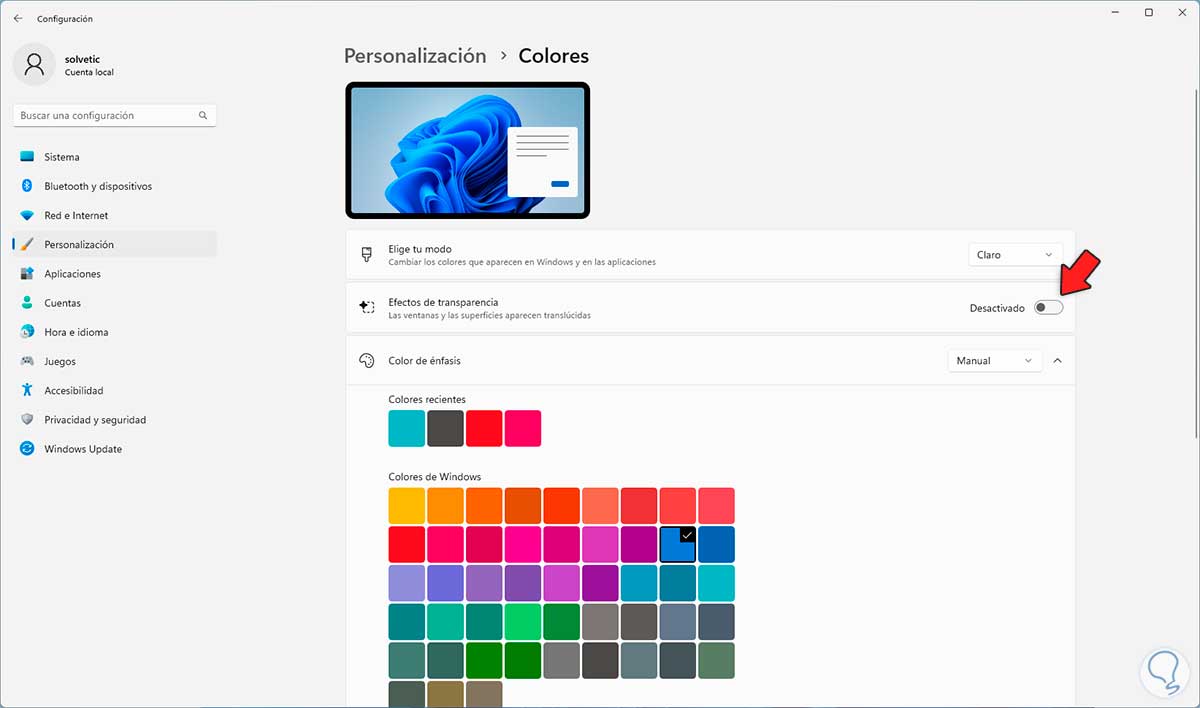
We activate or deactivate the "Transparency effects" switch as necessary and this is active by default, deactivating it will disable the transparency effects:
2 Transparency effects Windows 11 | enable or remove from Registry Editor
Step 1
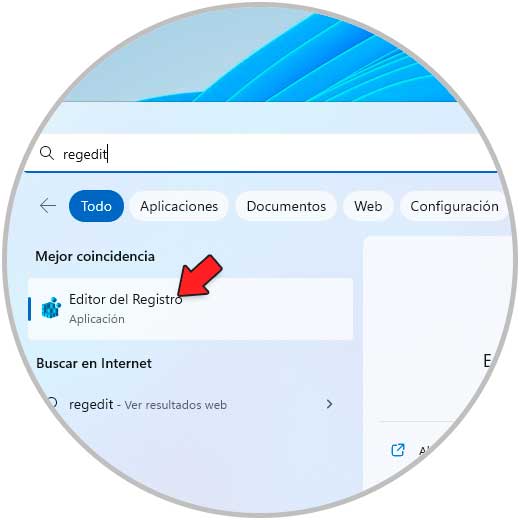
From the Registry Editor it is possible to make some changes for the effects of transparency of the system or its components, we open the Regedit Registry Editor from Start:
Step 2
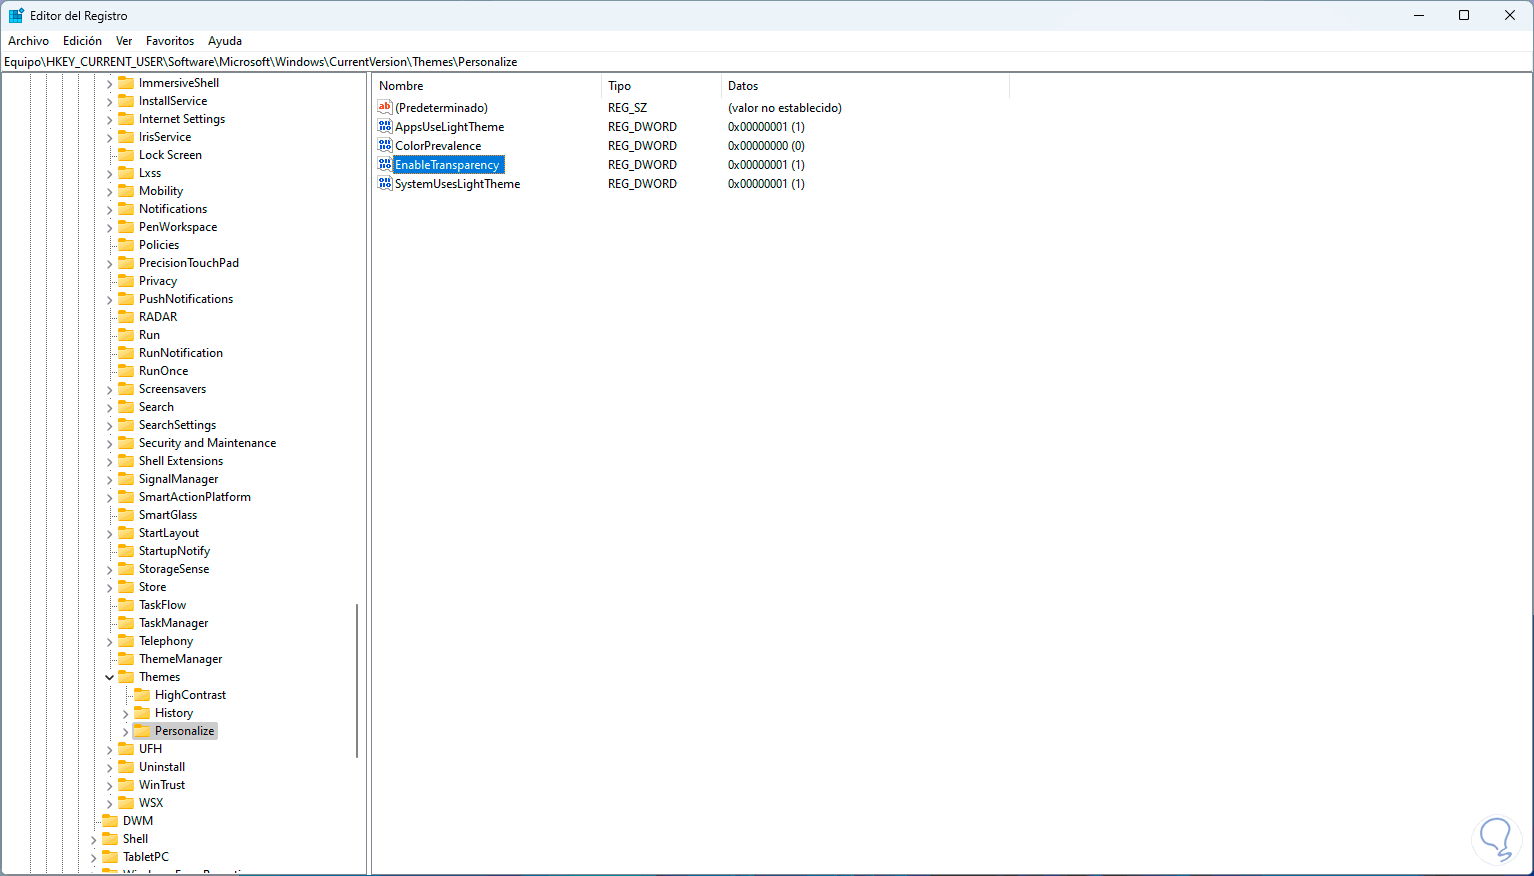
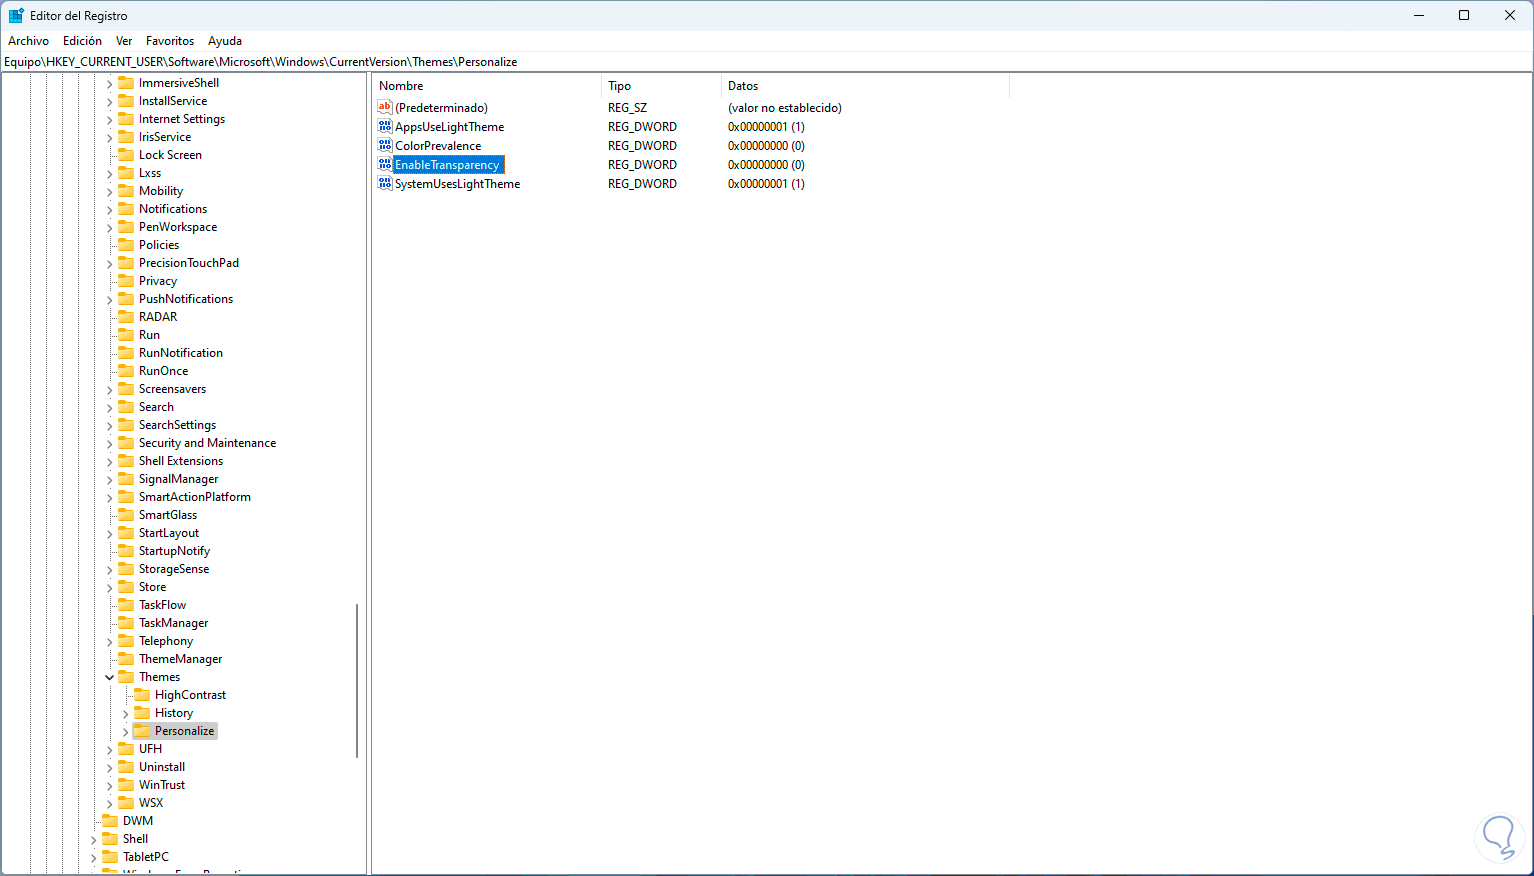
Let's go to the route:
HKEY_CURRENT_USER - Software - Microsoft - Windows - CurrentVersion - Themes – Personalize
Step 3
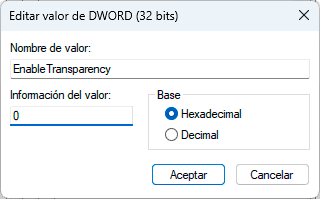
We double click on the "EnableTransparency" value to access its properties:
Step 4
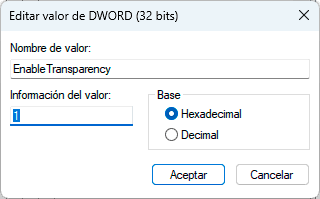
To activate transparency we assign the value 1 (by default) or to deactivate it we assign the value 0:
step 5
Apply the changes:
3 Transparency effects Windows 11 | enable or remove using transparency settings
This is a proprietary setting built into the operating system.
Step 1
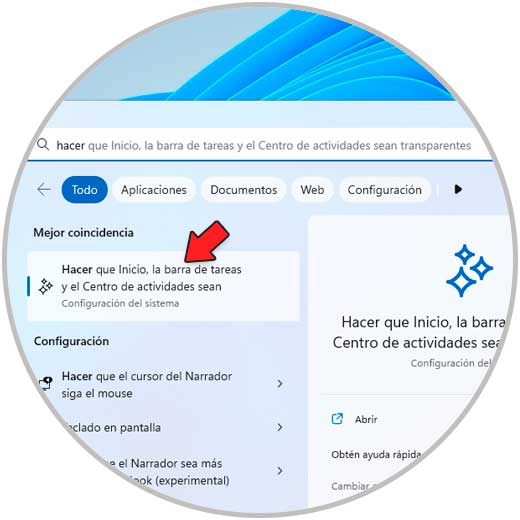
To make use of it in the search engine we enter the word "make" and then click on "Make Start, the taskbar and the Action Center be":
Step 2
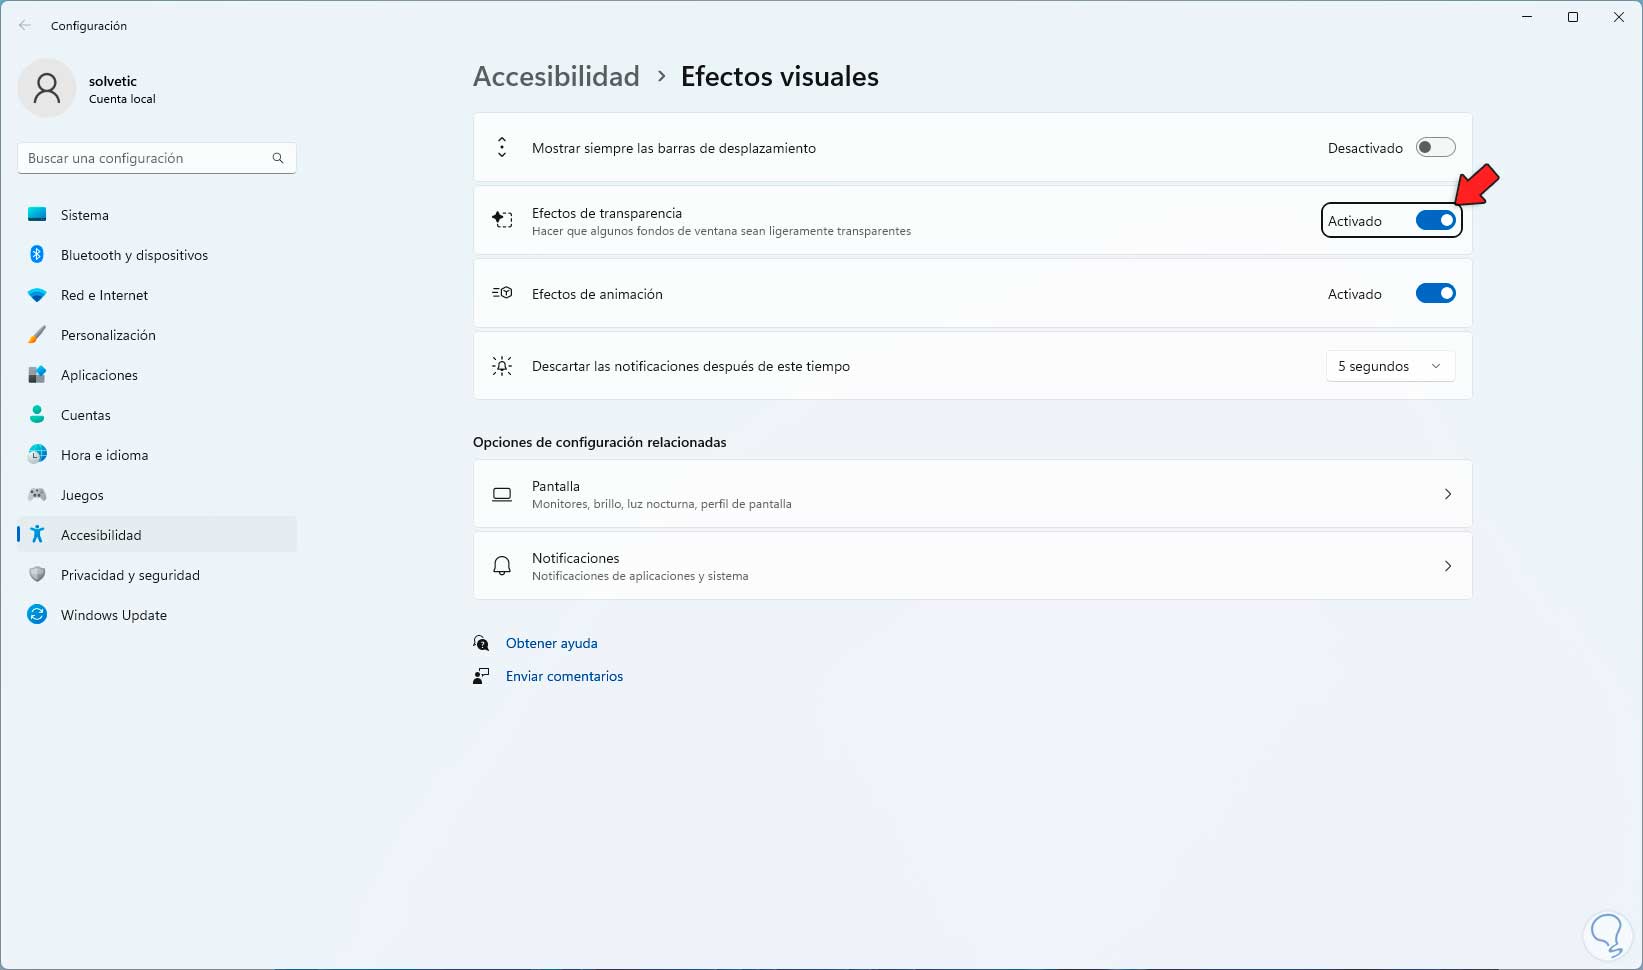
Clicking there will open the following:
Step 3
We activate or deactivate the "Transparency effects" switch to enable or not the transparency effects of Windows 11:
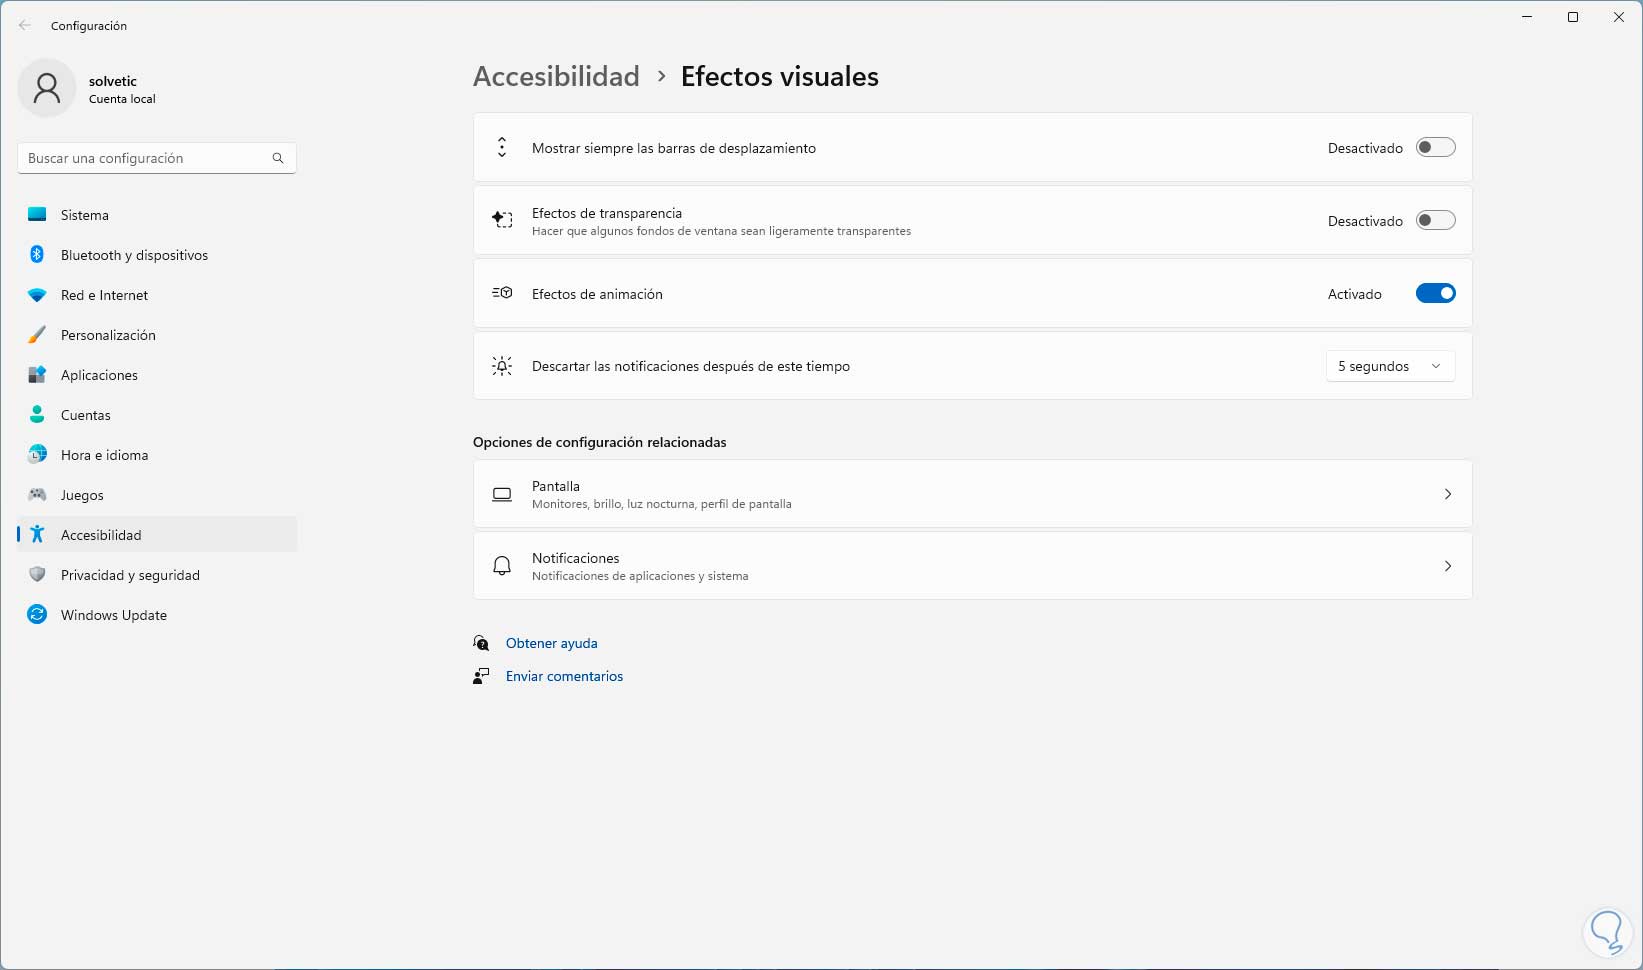
4 Transparency Effects Windows 11 | enable or remove on lock screen
Another location in Windows 11 where we can apply transparency effects is on the lock screen.
Step 1
For this we open the Regedit Registry Editor from Start:
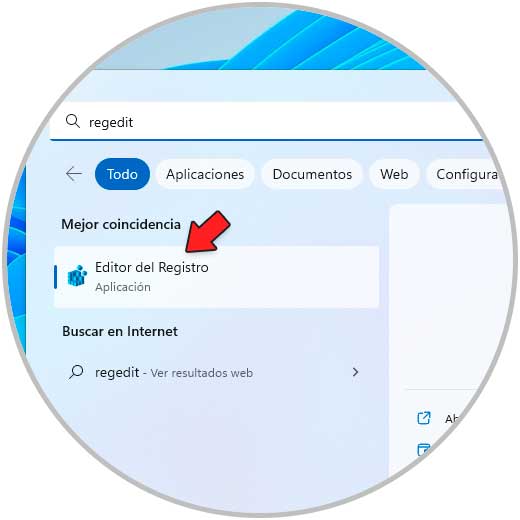
Let's go to the route:
HKEY_CURRENT_USER - Software - Microsoft - Windows – DWM
Step 2
There we right-click somewhere free and select the option "New - DWORD Value (32 bits)":
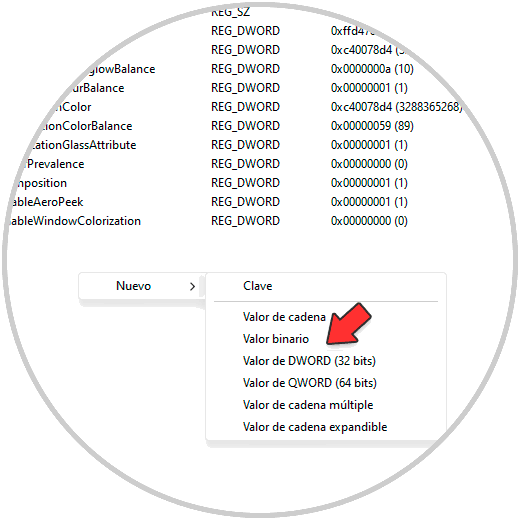
Step 3
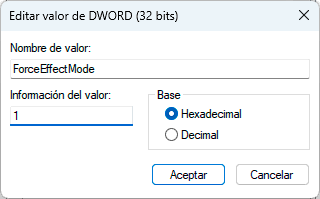
We assign the name "ForceEffectMode":
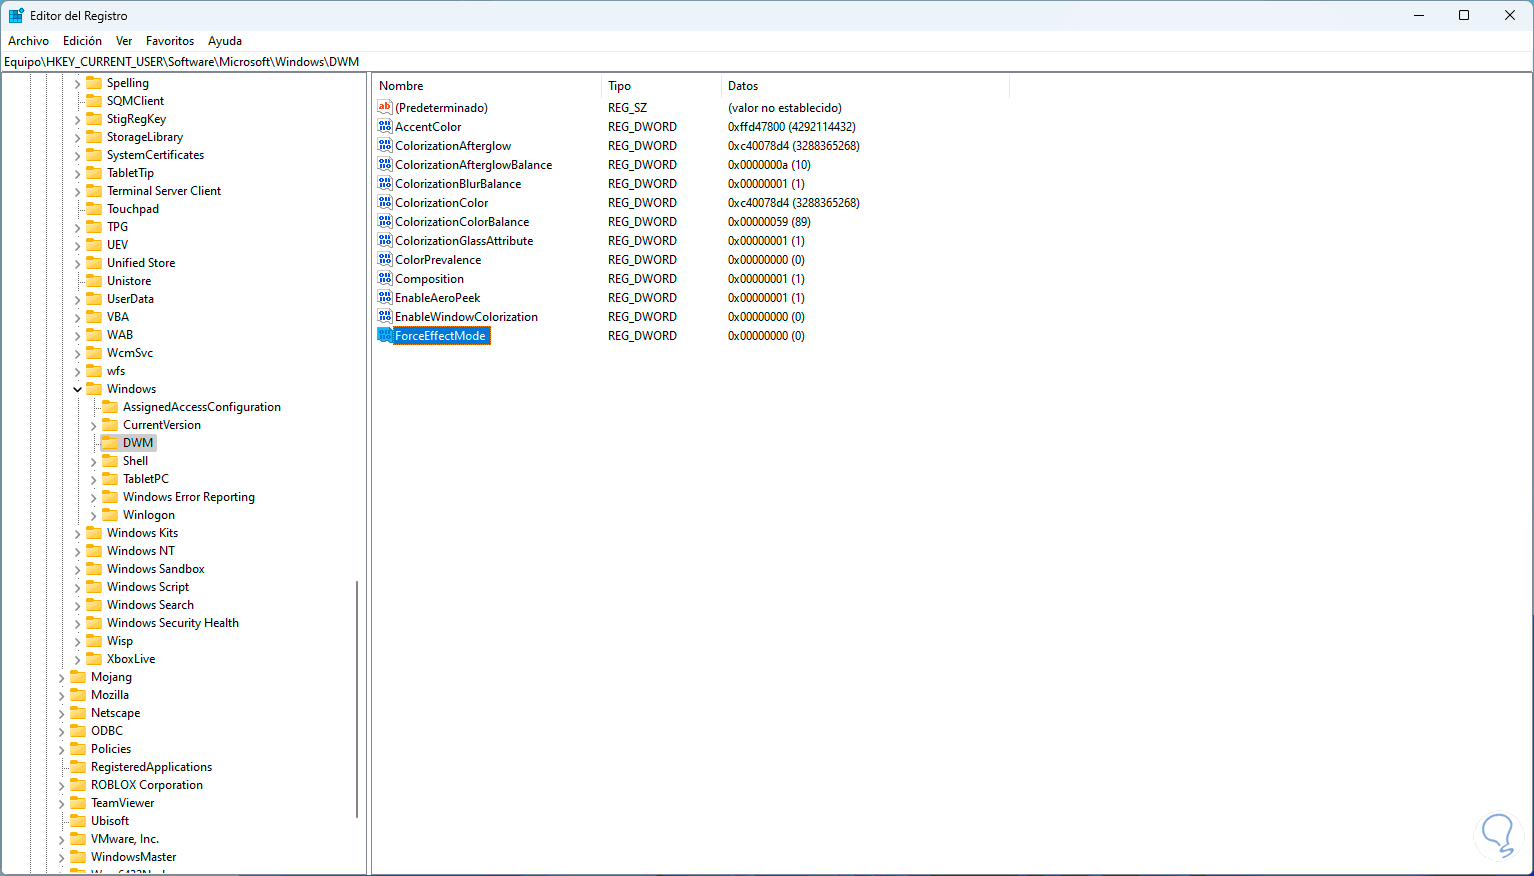
Step 4
We double click on this value to see its properties:
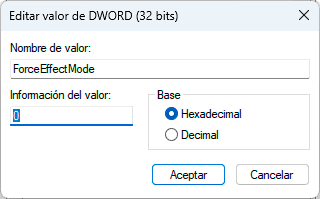
step 5
To activate transparency we assign the value 1 and apply the changes:
step 6
Sign out to see transparency on the lock screen:

5 Transparency Effects Windows 11 | activate or remove in the Start menu
Step 1
Another option is to apply transparency to the Start menu, if you want to do this we open the Regedit Registry Editor from Start:
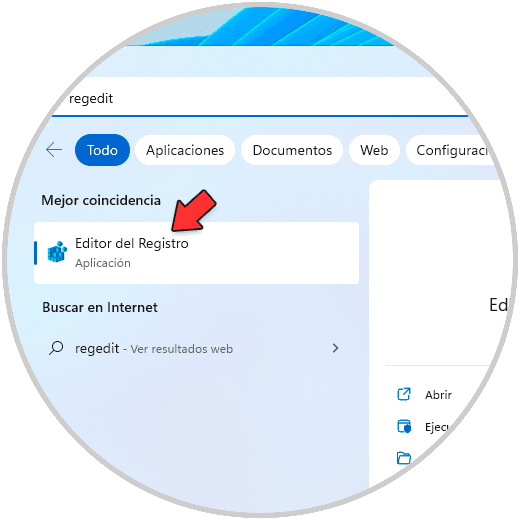
Let's go to the route:
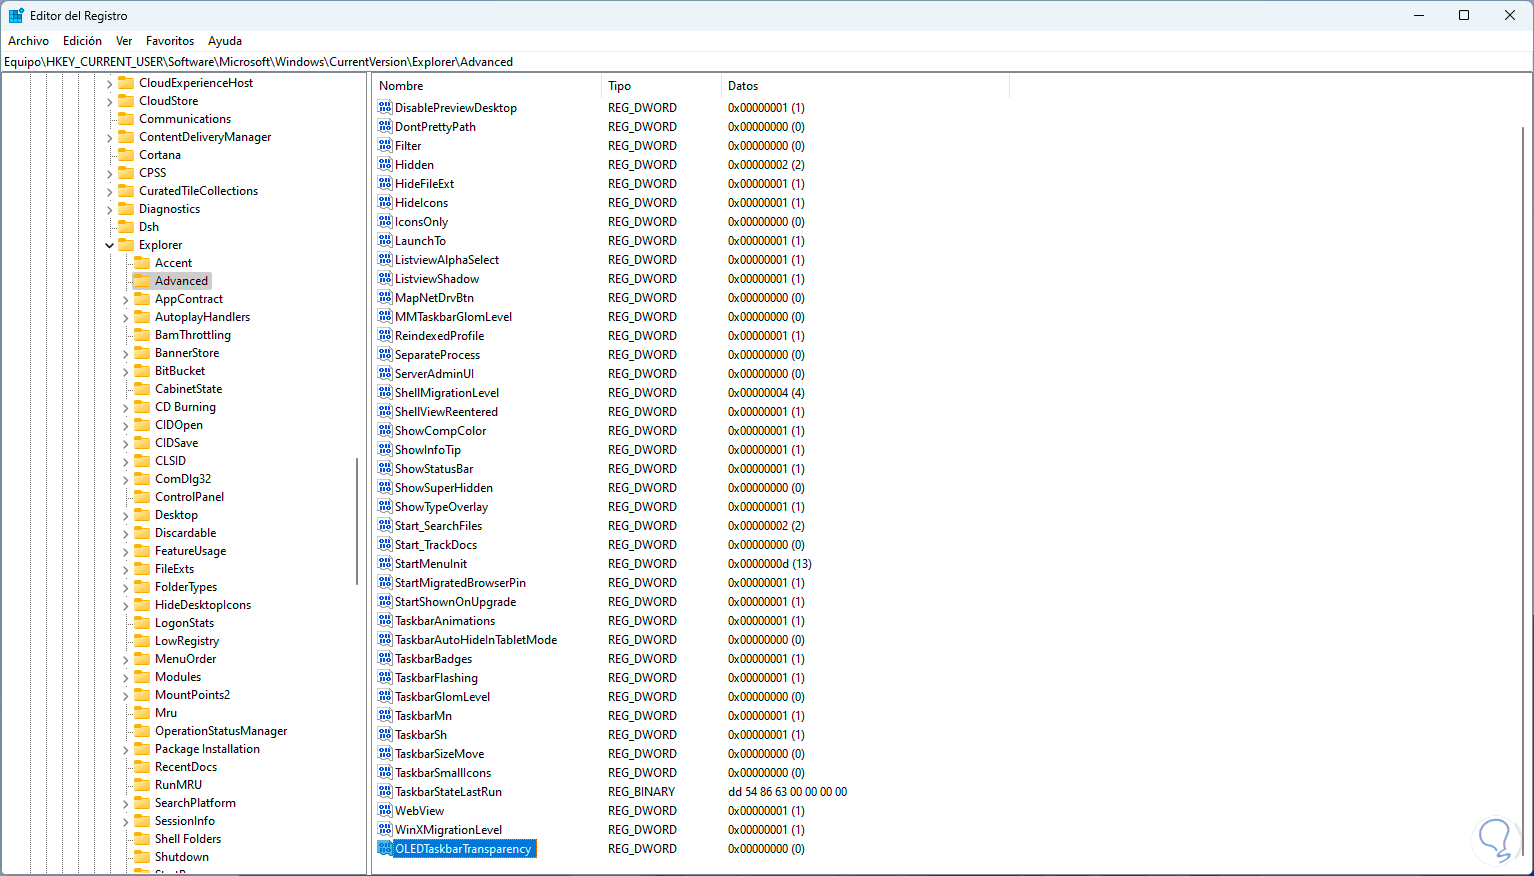
HKEY_CURRENT_USER - Software - Microsoft - Windows - CurrentVersion - Explorer – Advanced
Step 2
We right-click somewhere free and select "New - DWORD Value (32-bit)":
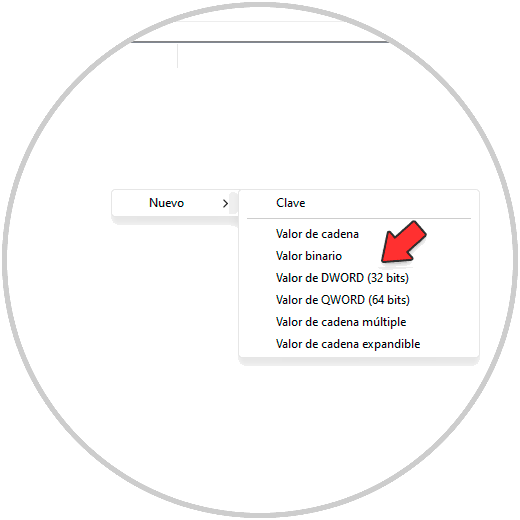
Step 3
We assign the name "OLEDTaskbarTransparency":
Step 4
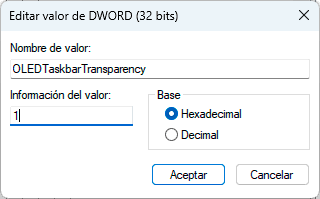
We double click on the value and to activate the transparency we assign the value 1:
Note
To deactivate it, assign the value 0.
step 5
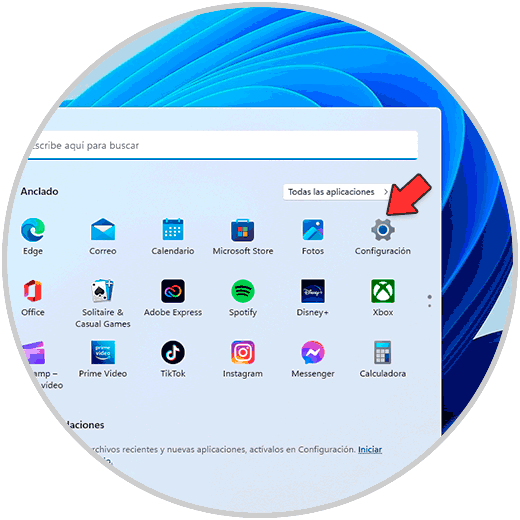
We apply the changes and open the Start menu:
6 Transparency Effects Windows 11 | enable or remove title bar
Title bars are present in folders and File Explorer windows for example, it is also possible to assign or not assign the transparency effect there.
Step 1
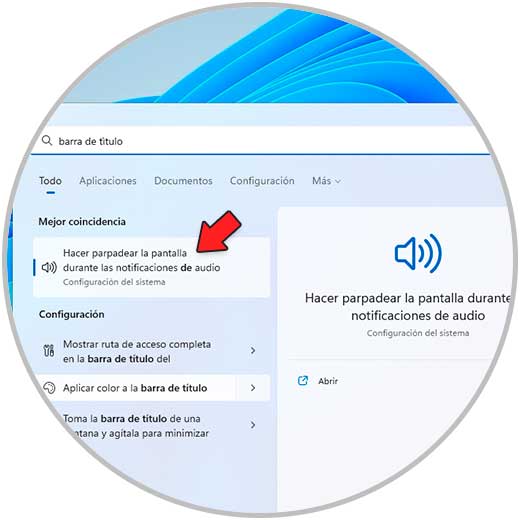
In the search engine we enter "title bar" and click on "Apply color to the title bar":
Step 2
We will see the following:
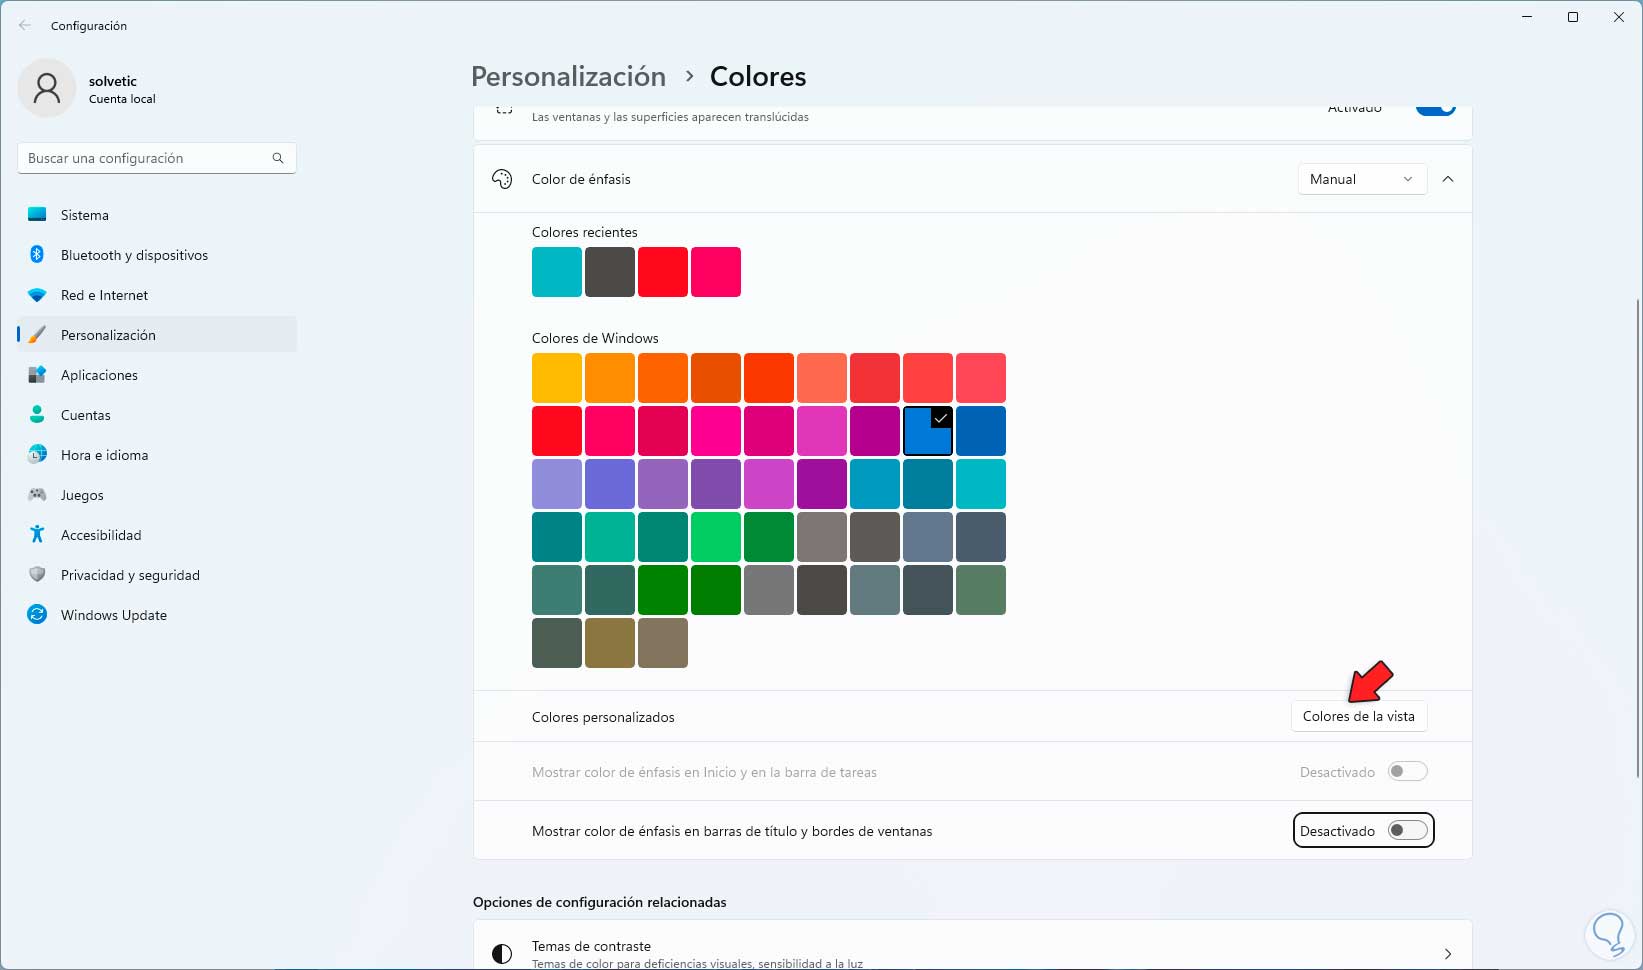
Step 3
We click on "View colors" to display the following:
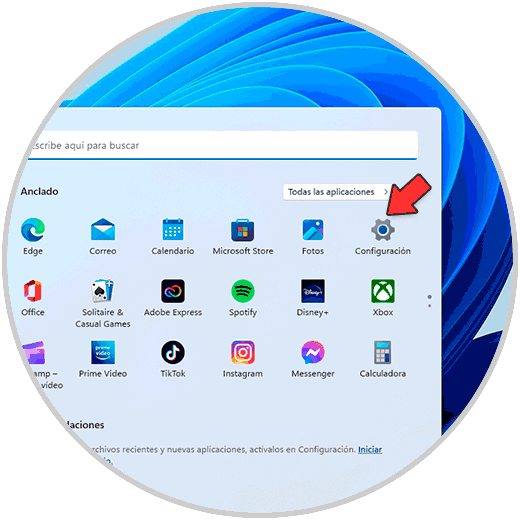
You can select the desired color and adjust its fade from the slider bar and then apply the changes.
7 Transparency Effects Windows 11 | activate in Terminal
Step 1
It is possible to add transparency effects in the Windows 11 terminal to improve its appearance, we open the Terminal as administrator:
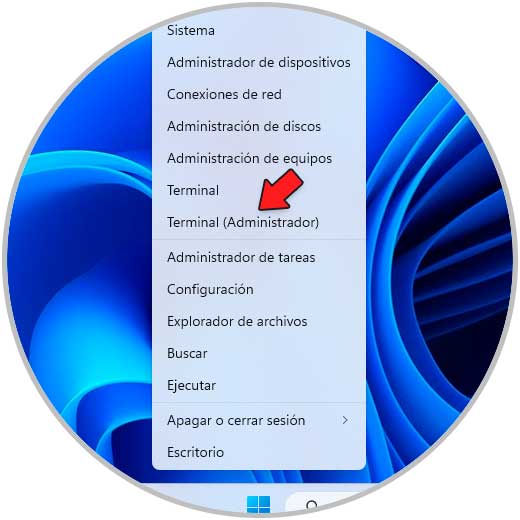
Step 2
We right click on the title bar of the Terminal and select "Settings":
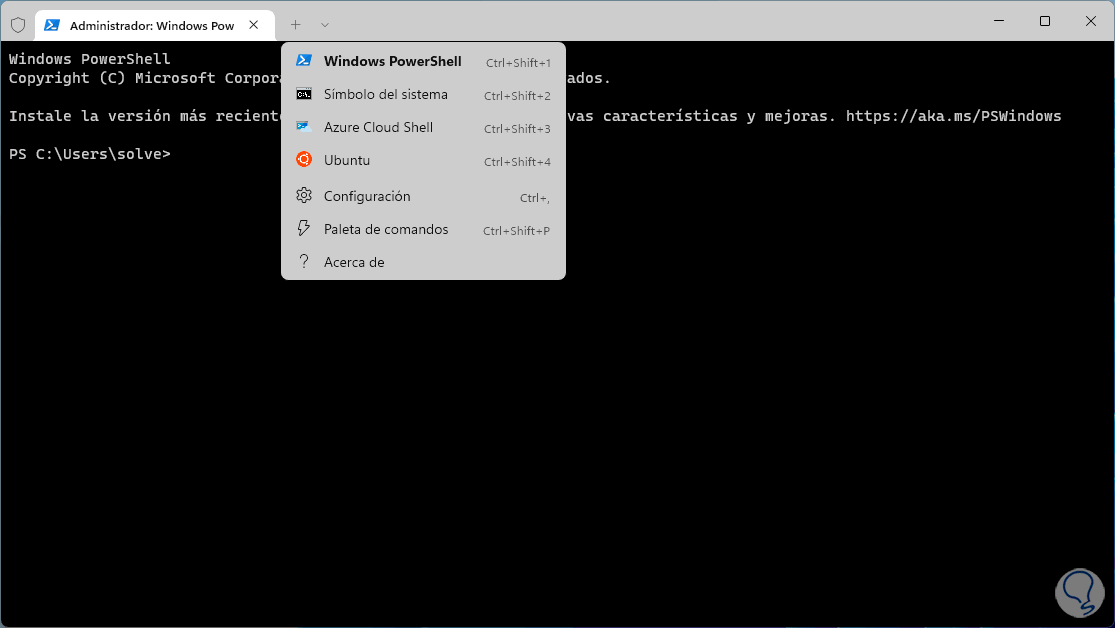
Step 3
In "Appearance" we will see the following:
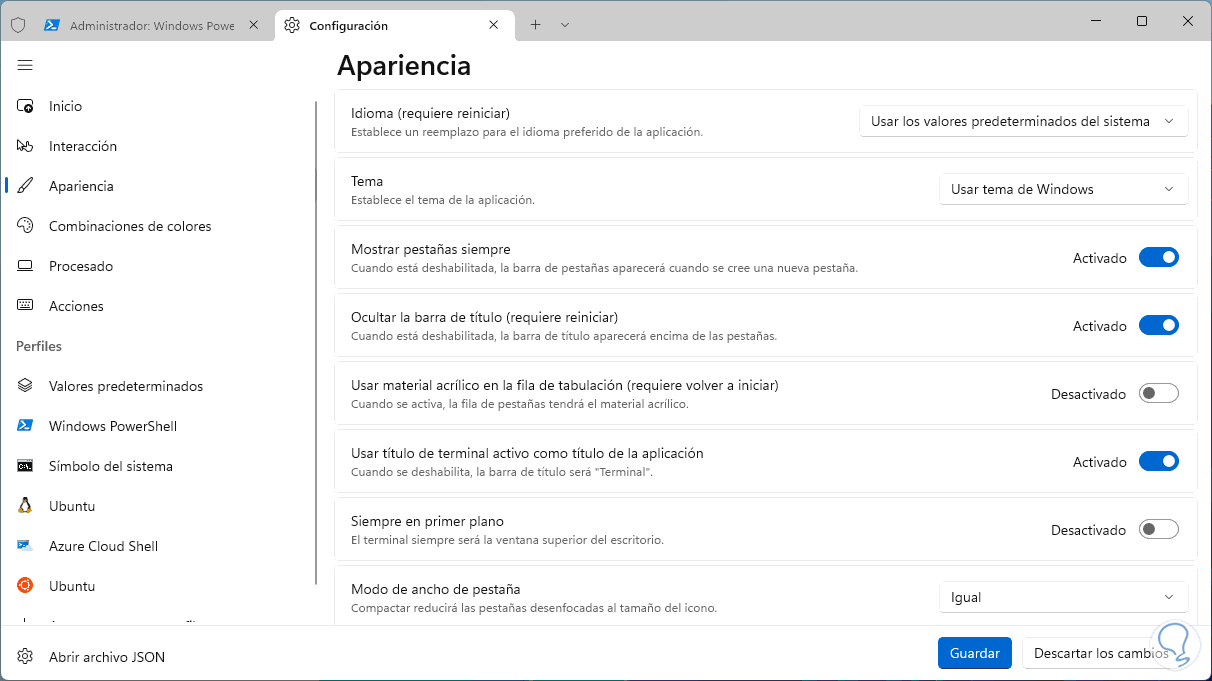
Step 4
We activate the switch "Use acrylic material in the tabulation row":
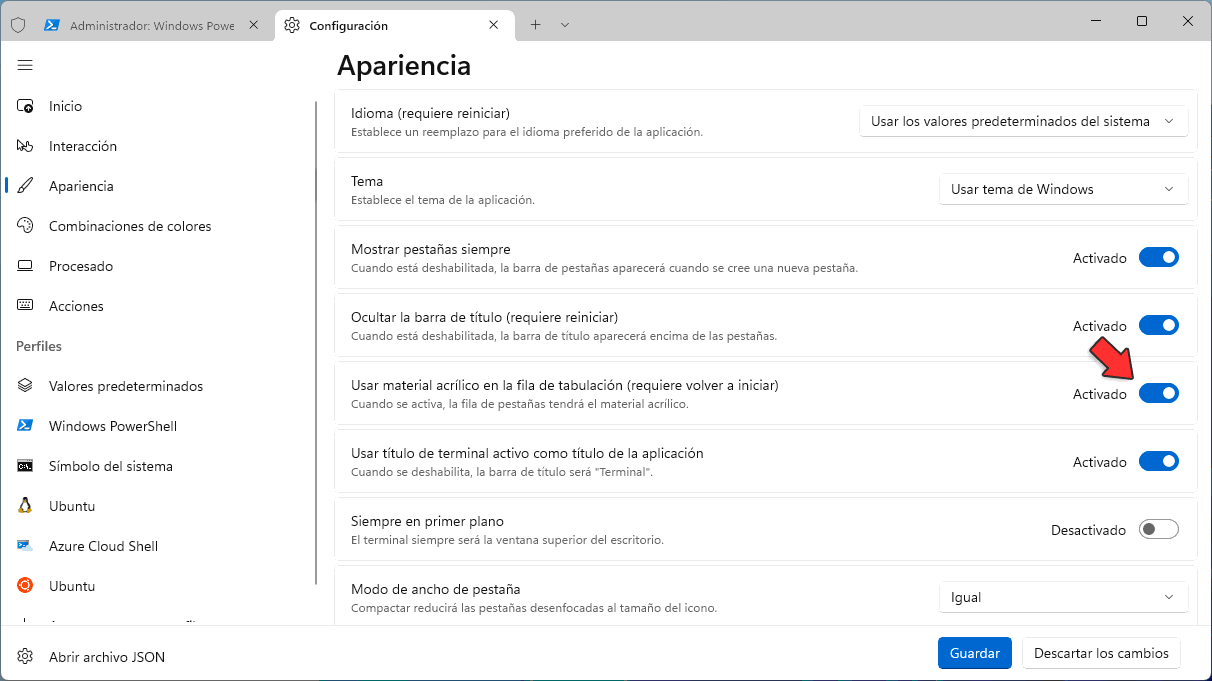
Save the change..
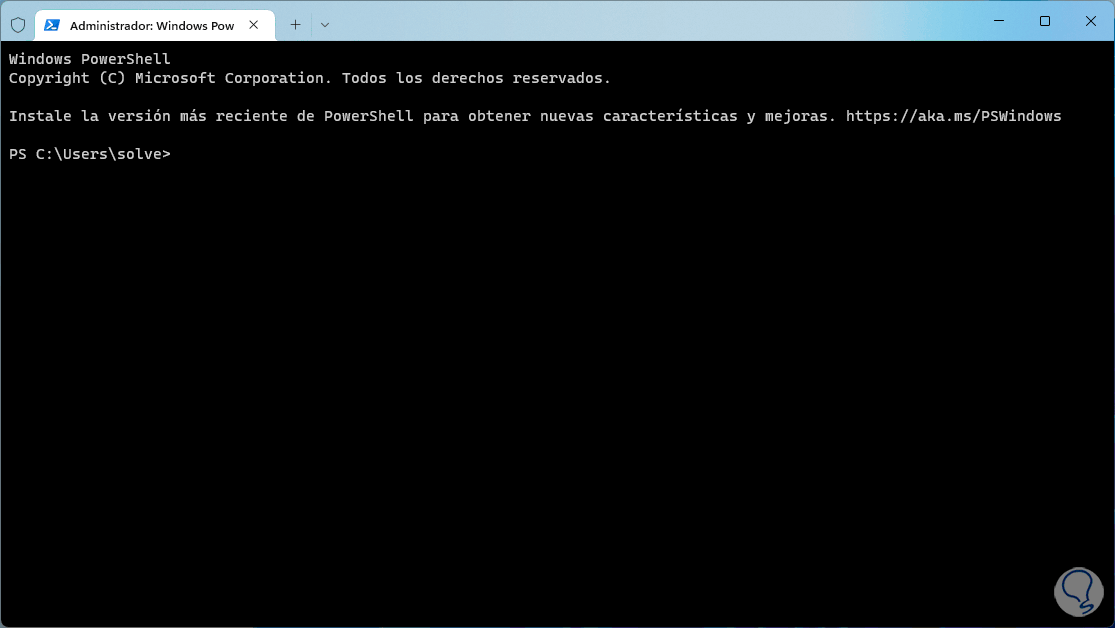
step 5
We close and open the Terminal again as administrator and we will see the acrylic mode applied:
8 Transparency Effects Windows 11 | activate in cmd
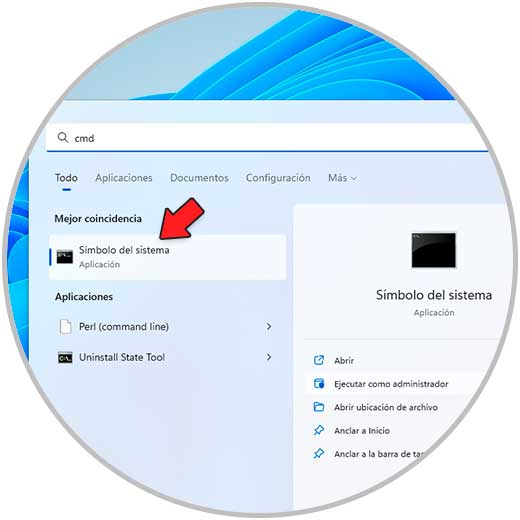
Step 1
It is also possible to apply transparency in the CMD console, for this open CMD as administrator:
Step 2
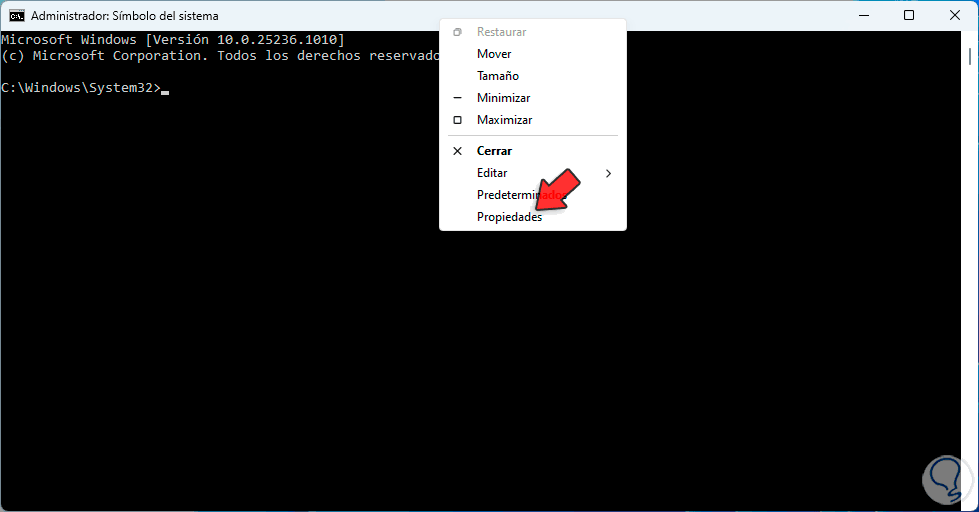
We right click on the title bar and select "Properties":
Step 3
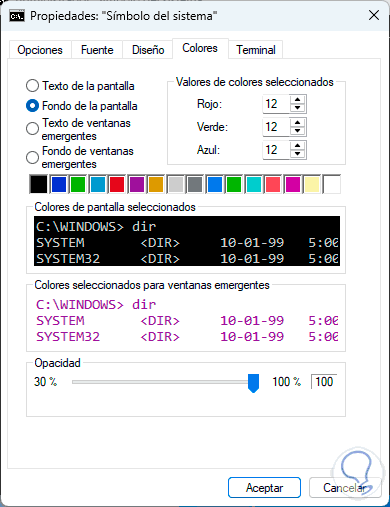
In the pop-up window we go to the "Colors" tab:
Step 4
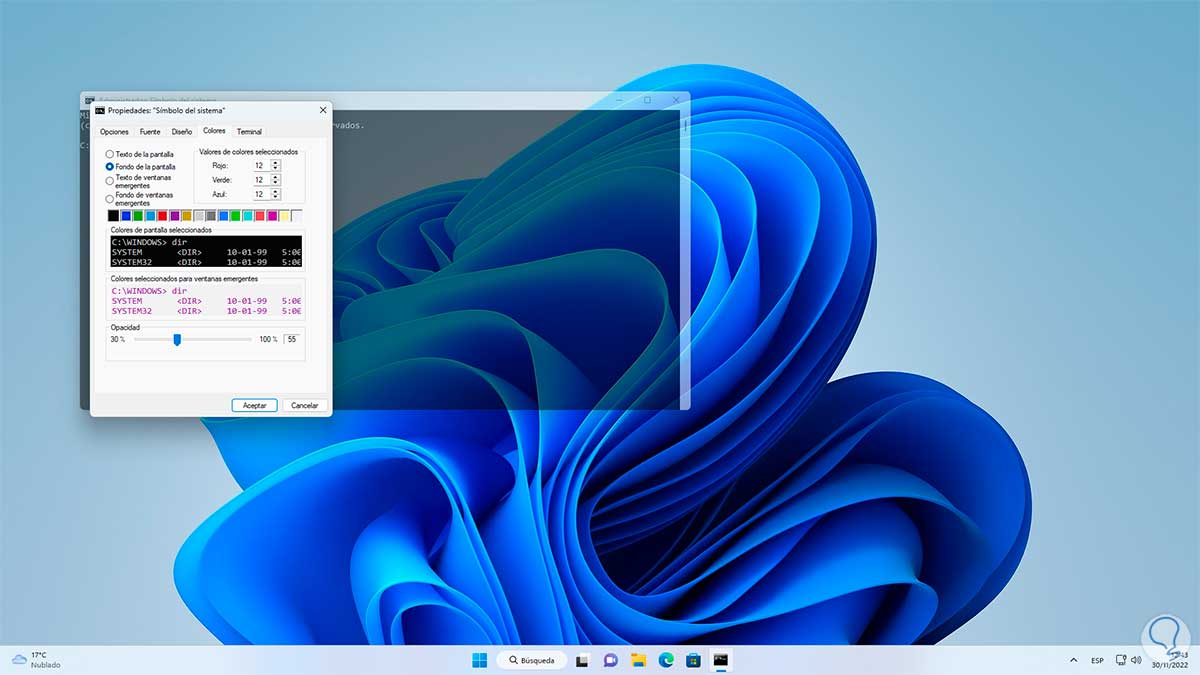
In "Opacity" adjust the levels to taste, the change is immediate:
step 5
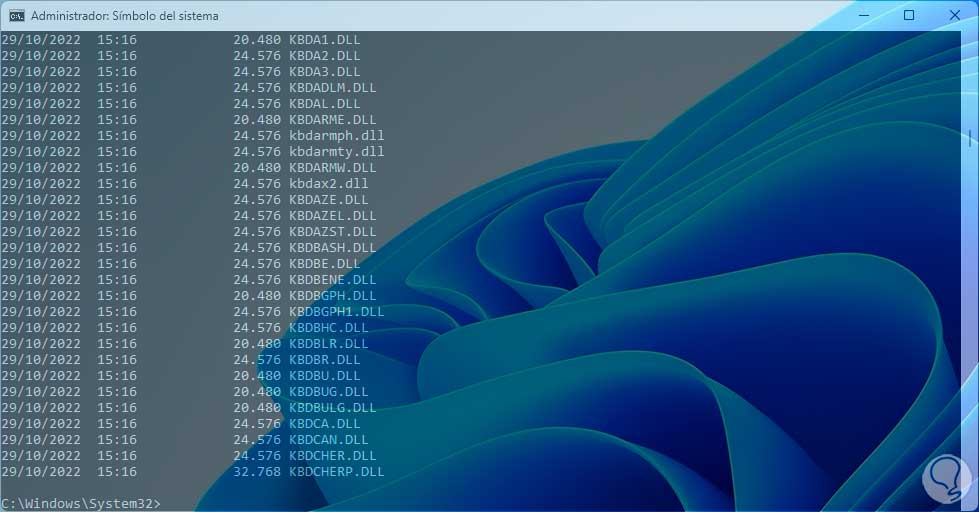
Apply the changes:
These are the ways available to activate or not the transparency effect in Windows 11.