Security is something that has been taken very seriously in Windows 11 due to the high increase in threats that put both the integrity of the operating system and user data and information at risk. A high percentage of threats is present in the code of the applications that are installed and this is because there are millions of apps that we download from the Internet and these can come from an unreliable source and by executing the file we are simply giving rise to Let the virus do its job. In Windows 11, to prevent this, the Sandbox function (isolated space) has been added, which is an alternative to protect everything we work on on the PC..
Windows Sandbox is responsible for creating a lightweight desktop environment in which we can install and run applications in isolation (hence the name isolated space), that is, this is a safe environment where it is not integrated with real hardware or software. All the apps and programs that we install within the Windows Sandbox environment will be in the "sandbox" mode so that it runs separately from the client machine, so we will have the certainty that everything that is installed will stay there and will not have a Negative impact on the team.
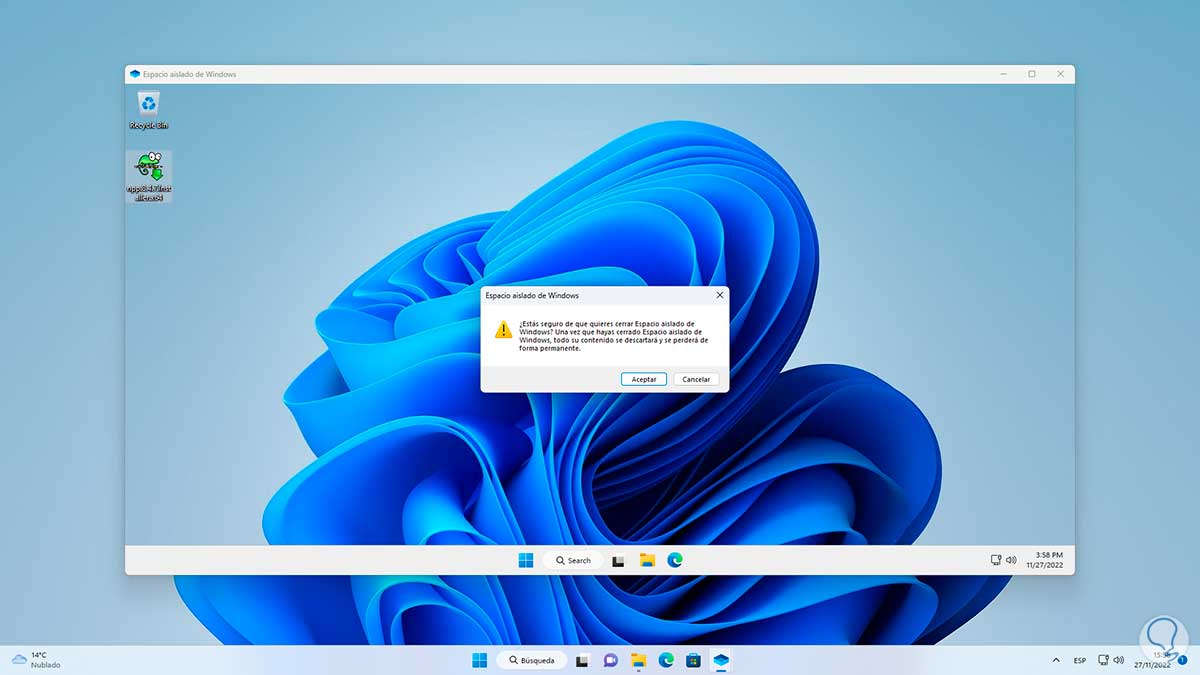
Something important is that everything we do in this isolated space is temporary, at the moment of closing this space, all the software, files and the state of the machine will be eliminated and when opening Sandbox again a new instance of use is created. Important to know that the software and all applications installed locally in Windows 11 will not be available as such in the Sandbox for security..
Characteristic
Windows Sandbox offers us features such as:
- It is an integral part of Windows 11 as a feature
- Everything is discarded at the time of closing Sandbox
- Each access to Sandbox creates a new session
- It makes use of hardware-based virtualization for all kernel isolation and is based on Microsoft's hypervisor that allows running a separate kernel to isolate systems
- Sandbox makes use of the built-in kernel scheduler to manage smart memory and virtual GPU
Requirements
The requirements to use Sandbox are:
- Windows 11 Pro, Enterprise, or Education (Sandbox is not compatible with Windows Home edition)
- 1 GB of free hard disk space
- AMD64 architecture and since Windows 11 Build 22483 ARM64
- Virtualization capabilities enabled in BIOS or UEFI
TechnoWikis will explain how to activate and use Windows Sandbox in Windows 11.
To stay up to date, remember to subscribe to our YouTube channel!
SUBSCRIBE ON YOUTUBE
1 How to activate and use Sandbox Windows 11
Step 1
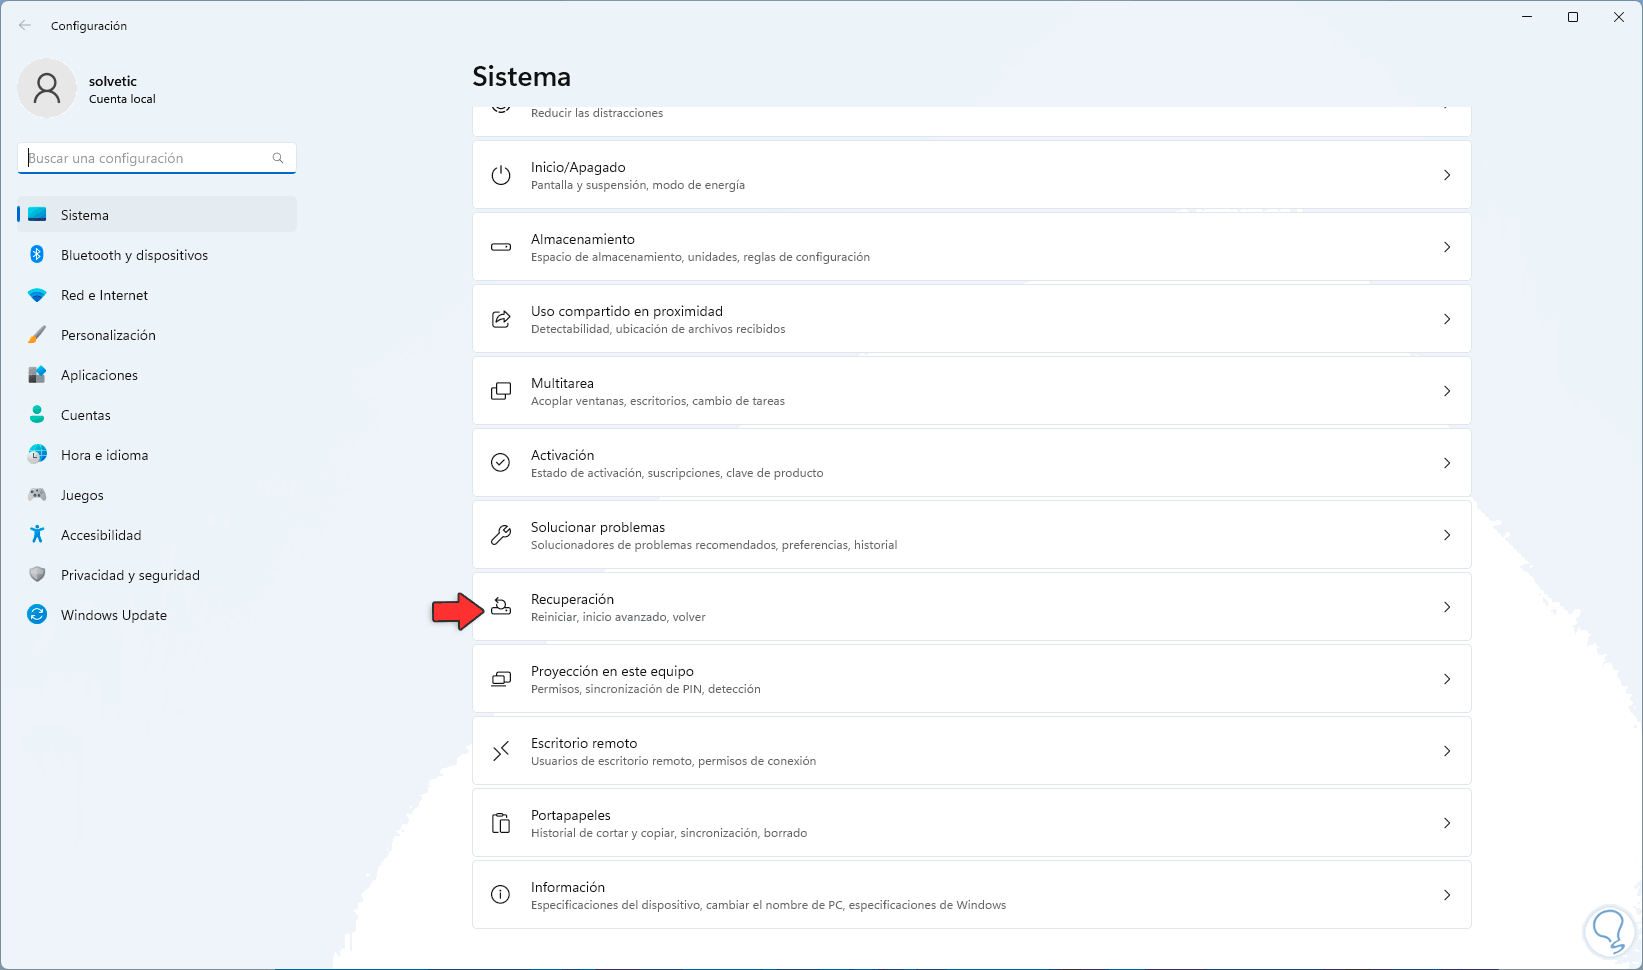
The first thing will be to validate or activate virtualization in BIOS or UEFI, remember that Windows 11 requires UEFI, to validate this we go to "Start - Settings - System - Recovery":
Step 2
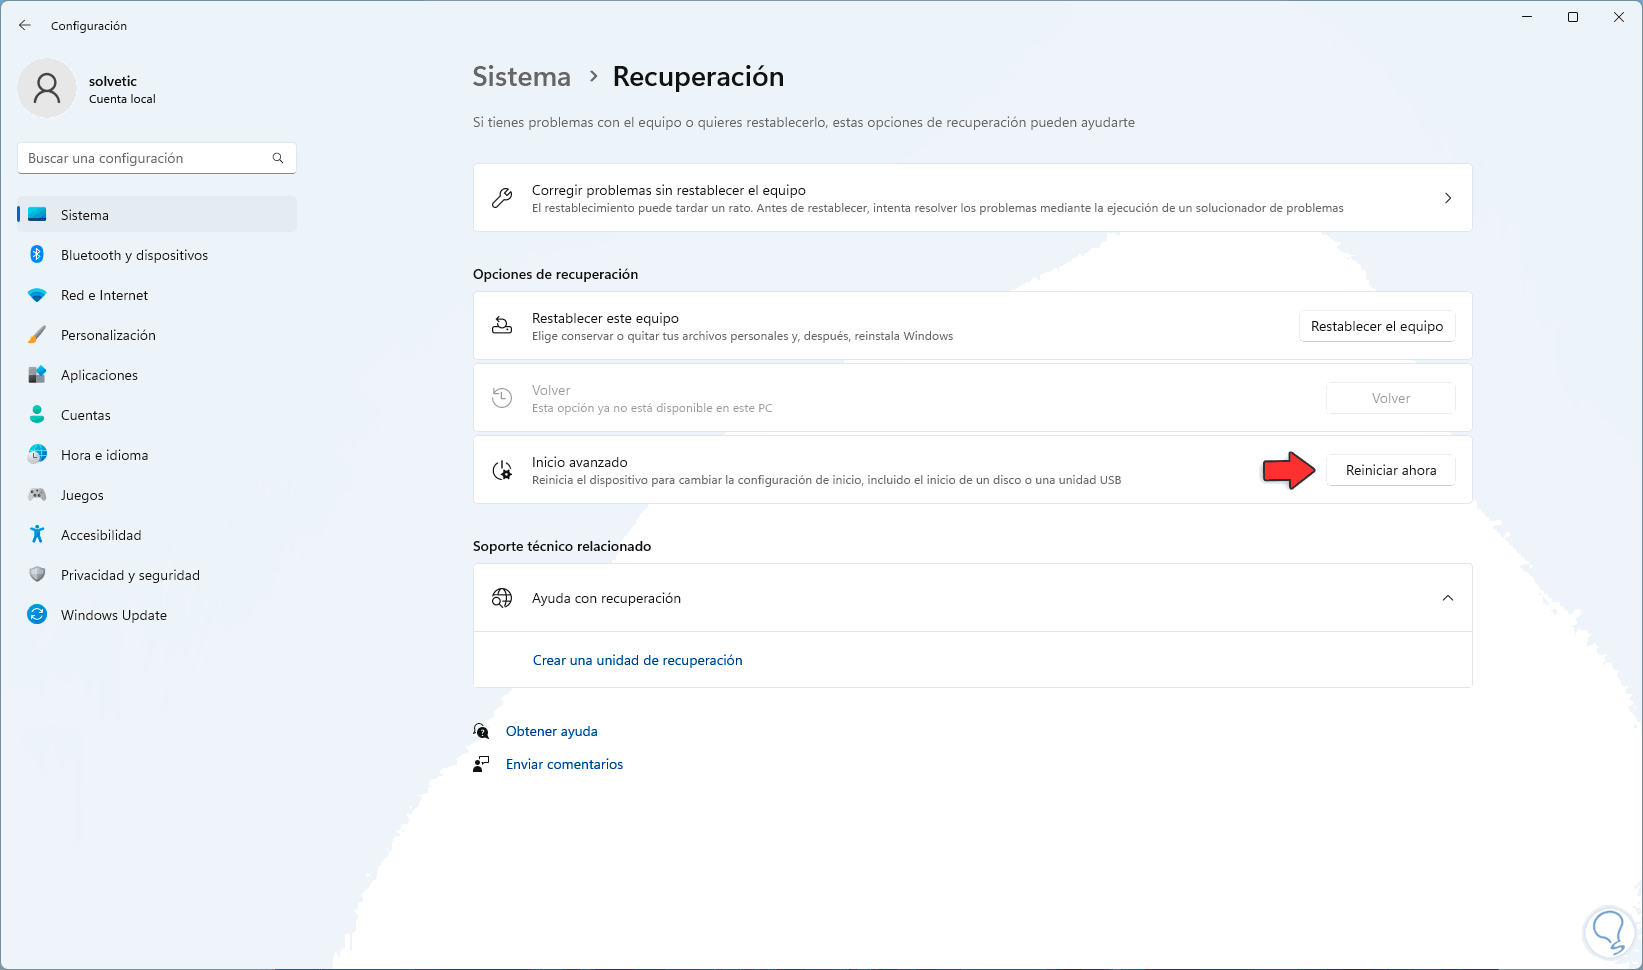
By clicking there we will see the following:
Step 3
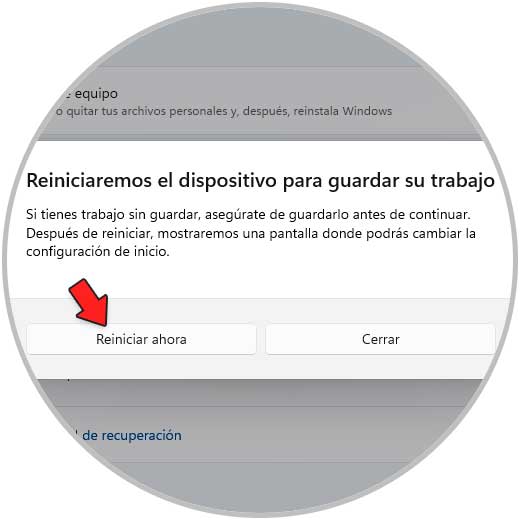
We click on "Restart now" to access the advanced reset and we will see the following:
Step 4
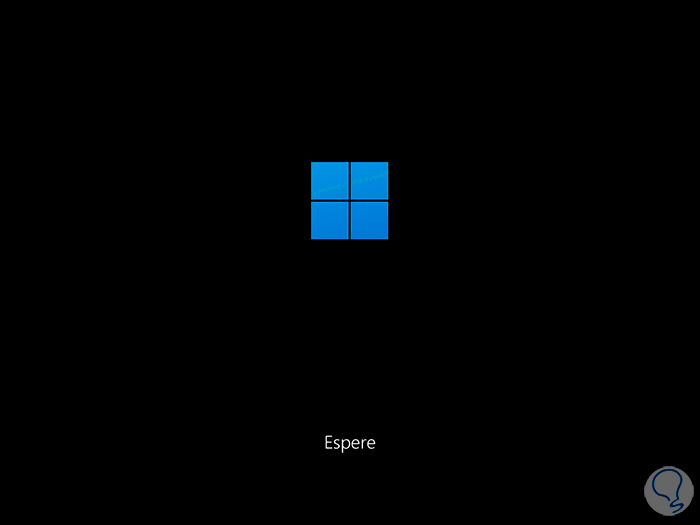
We confirm the action to restart Windows 11:
step 5
In the displayed window we click on "Solve problems":
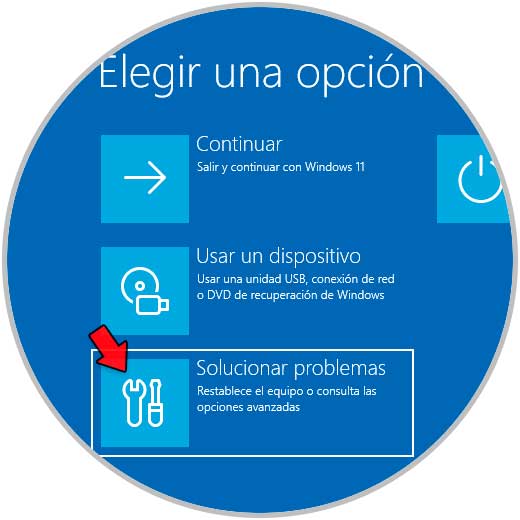
step 6
Then we click on "Advanced options":
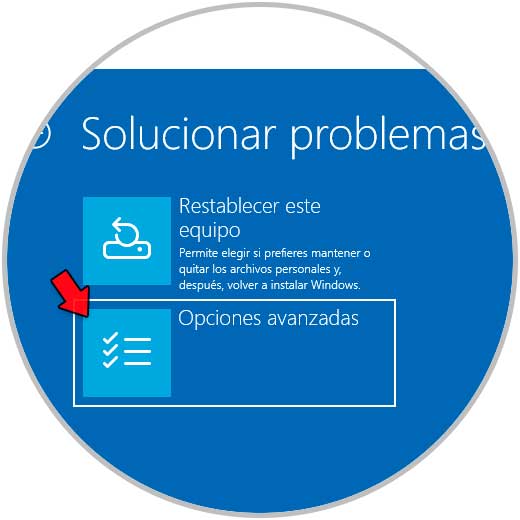
step 7
Then we will see the following options:
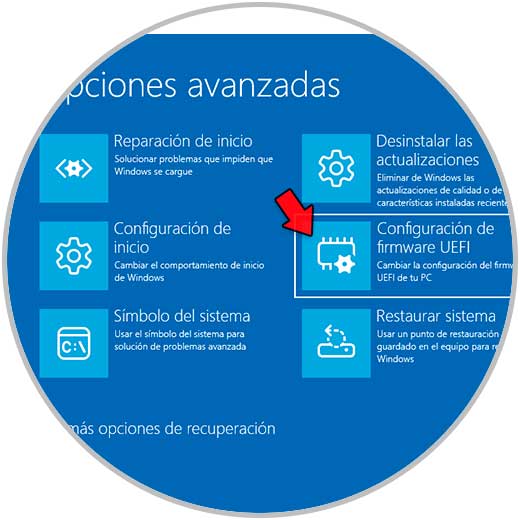
step 8
We click on "UEFI Firmware Settings" and then click on "Restart" to enable virtualization in UEFI:
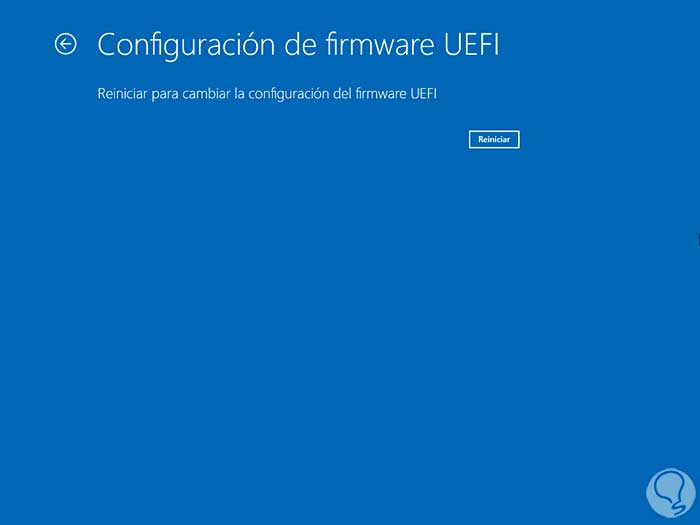
Based on the motherboard we must activate virtualization..
step 9
Another method to check the status of virtualization is in the Task Manager in Performance the CPU option:
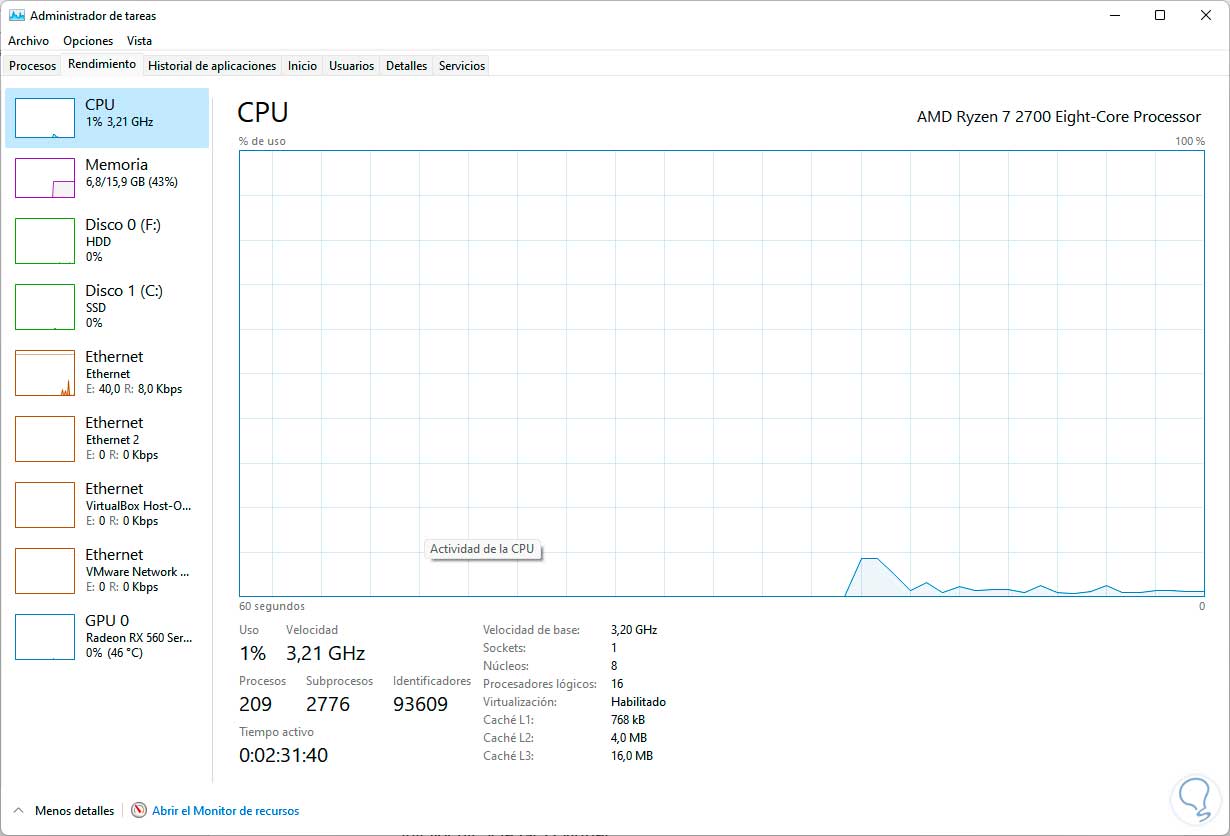
At the bottom we validate the "Virtualization" line.
step 10
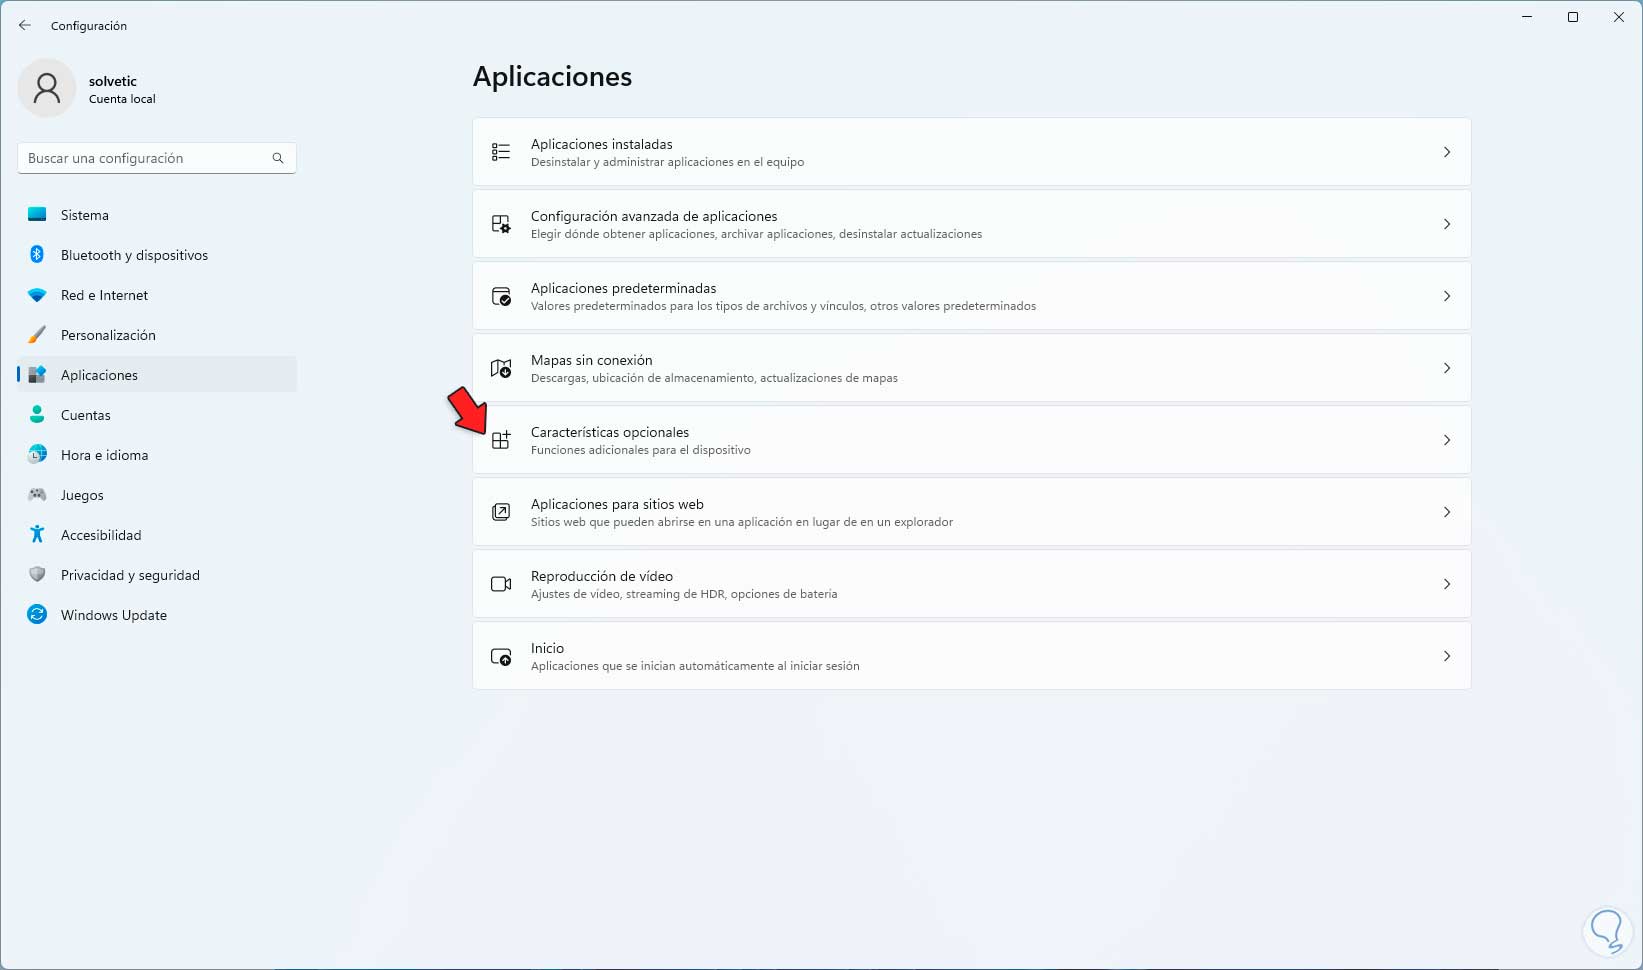
Now, to install Sandbox we go to "Start - Settings - Applications - Optional features":
step 11
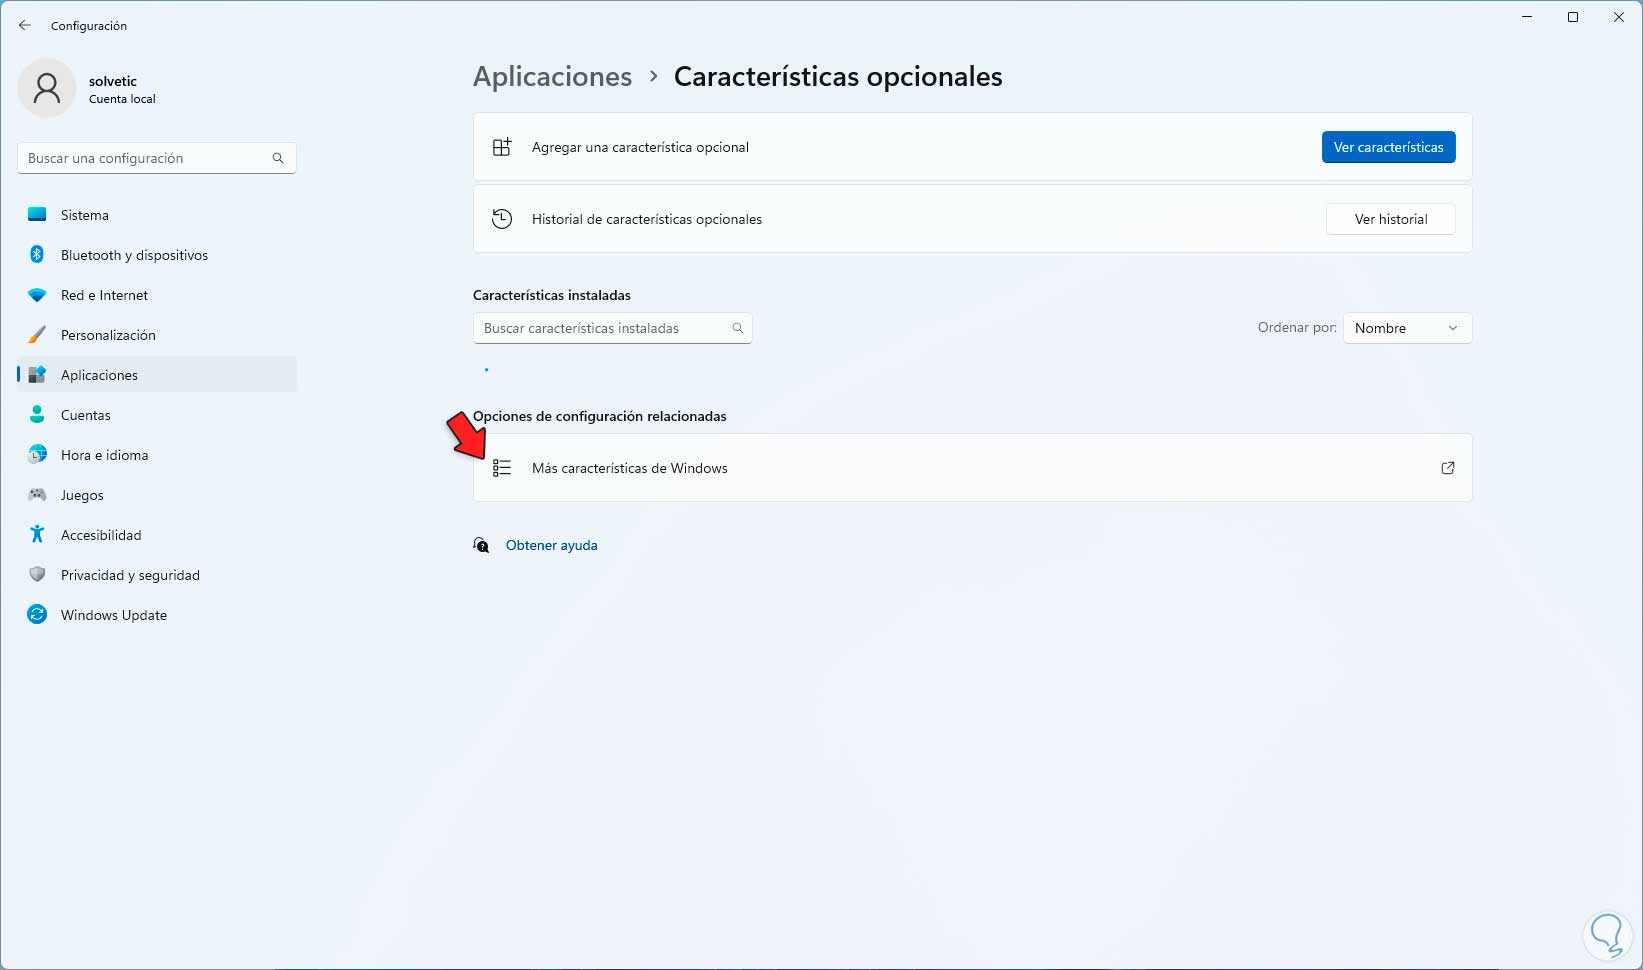
We click there to see the following:
step 12
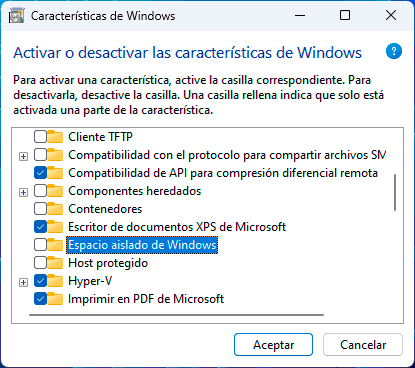
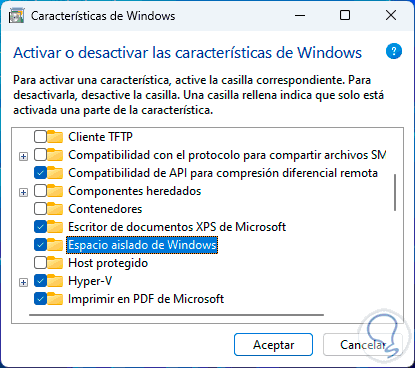
We click on "More Windows features" and in the pop-up window we look for "Windows sandbox":
step 13
We activate the "Windows isolated space" box:
step 14
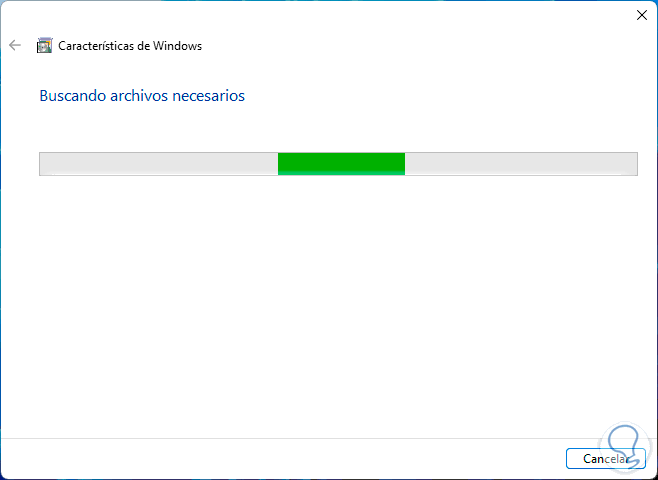
We click OK and the search for the files will begin:
step 15
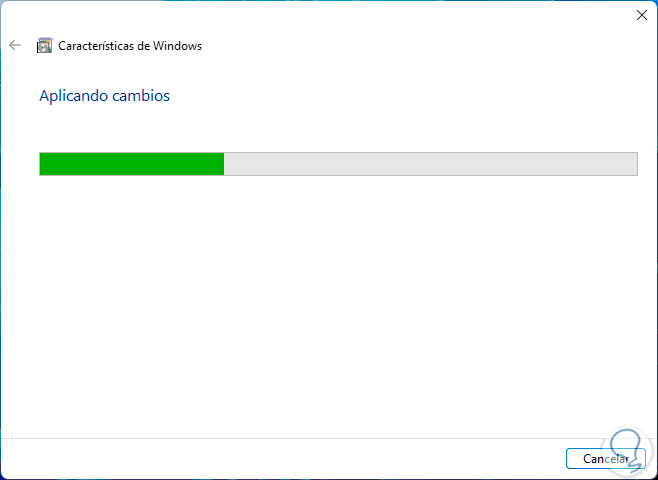
Then the changes will be applied:
step 16
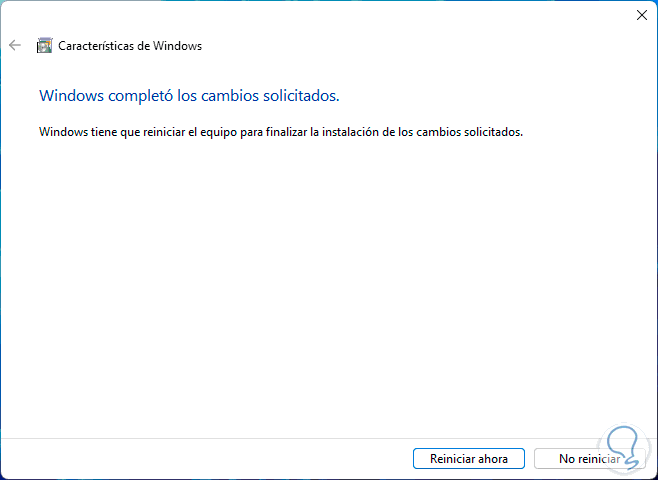
At the end we will see the following:
step 17
We restart Windows 11:

step 18
We expect the updates to be applied:

step 19
We follow the percentage of use:

step 20
Windows 11 will restart again:
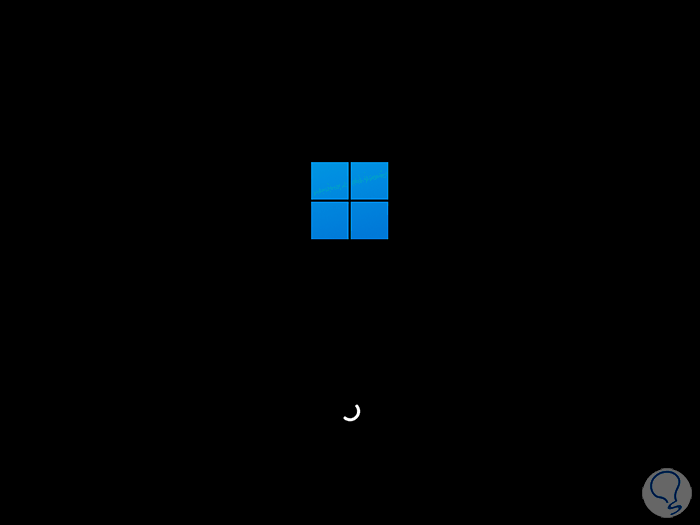
step 21
The process is completed:

step 22
Once we log in, we look for "sandbox" and run "Windows Sandbox" as administrator:
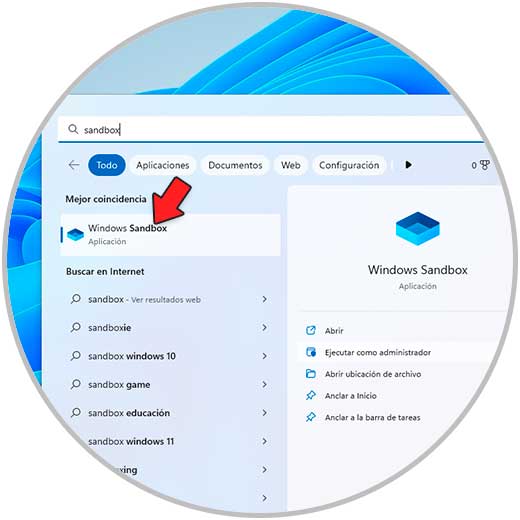
Step 23
We confirm the permissions:
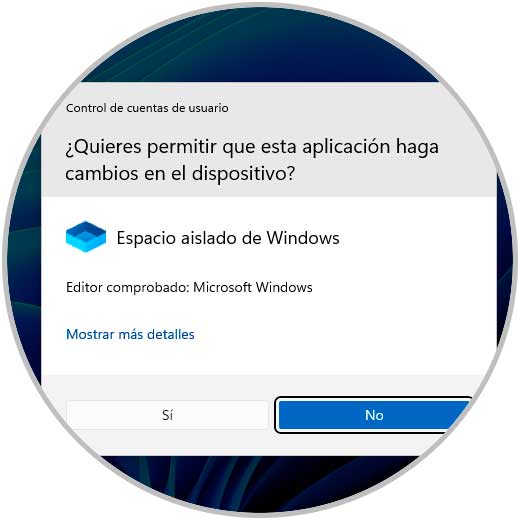
step 24
Sandbox access will start:
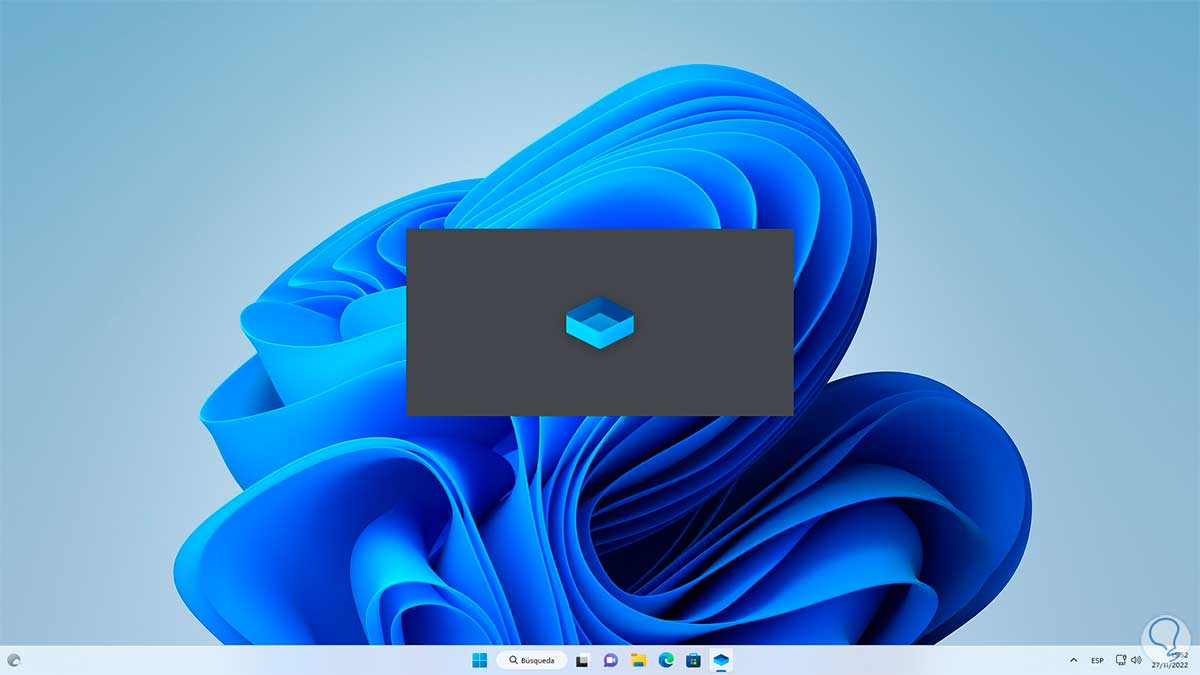
step 25
We will see the following:
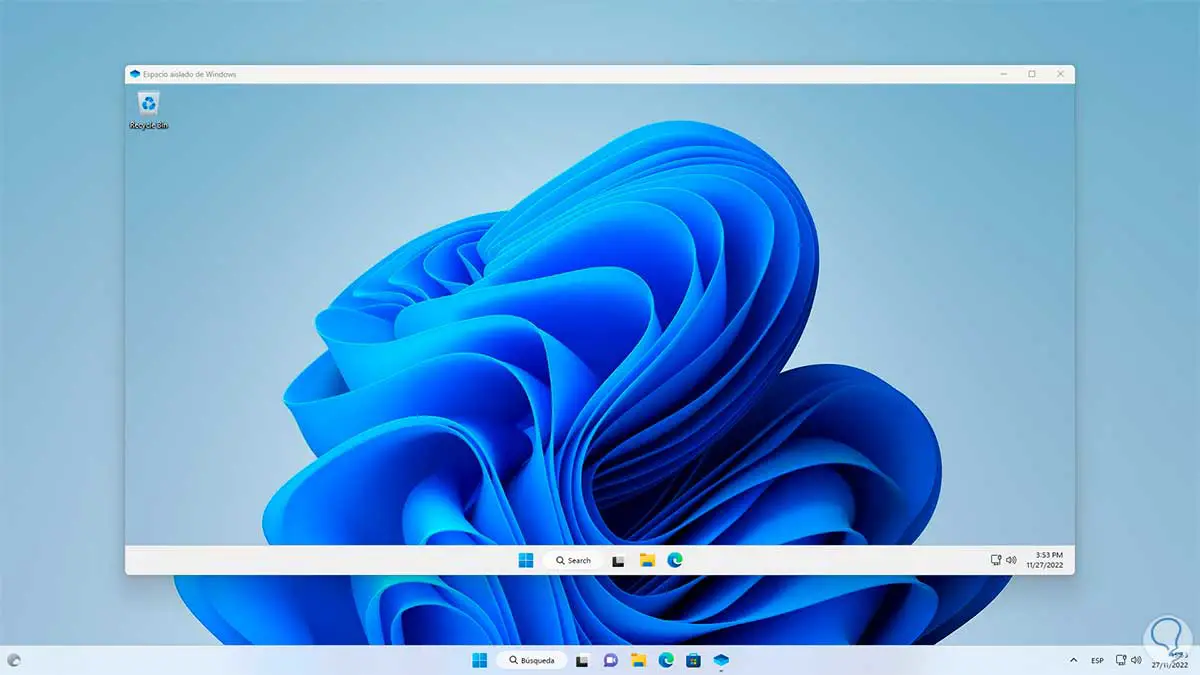
Step 26
We see that it is a Windows 11 environment, now in the physical system we copy the executable:
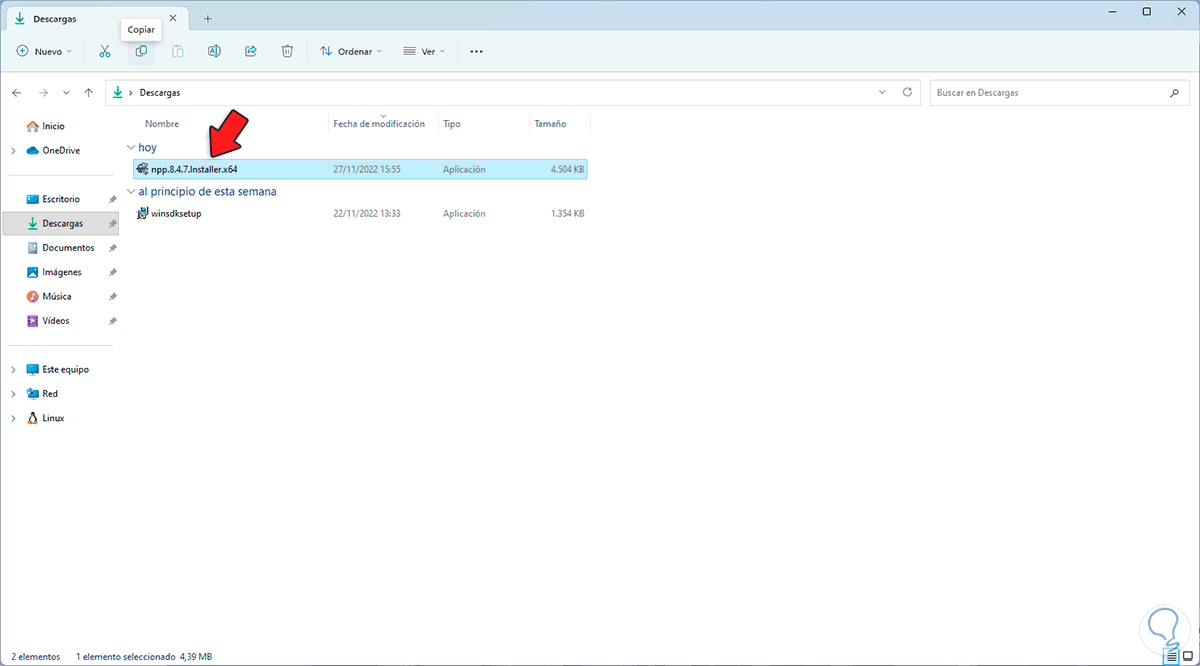
Step 27
Paste that file into the sandbox:
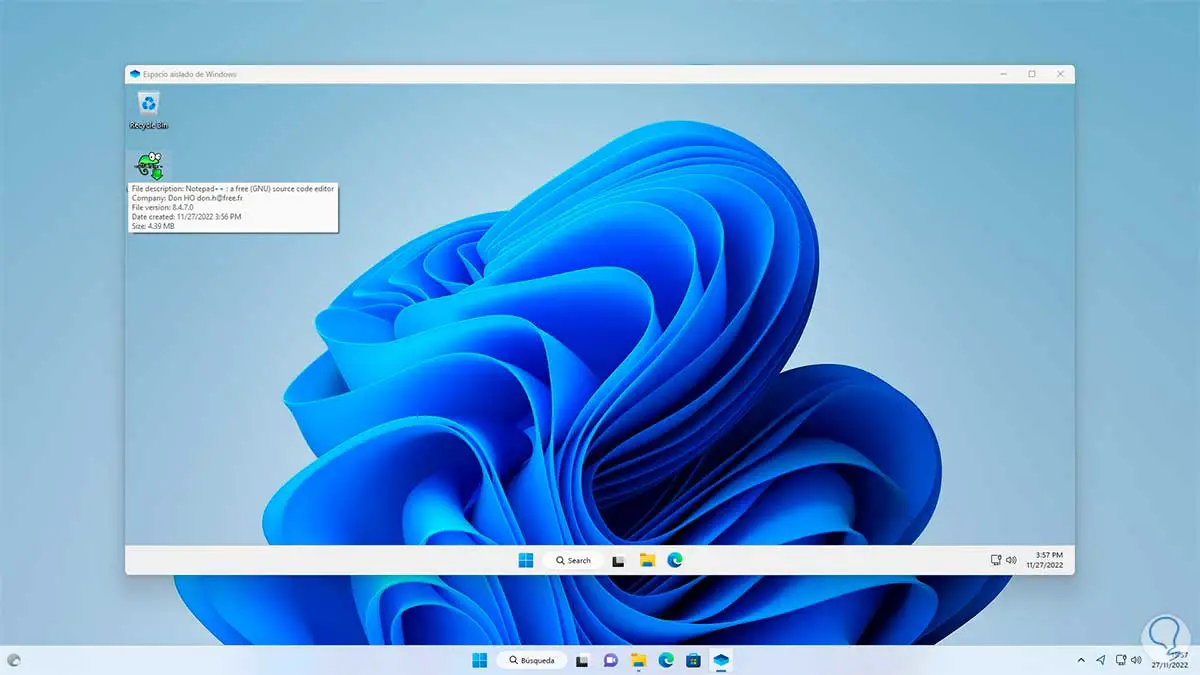
Step 28
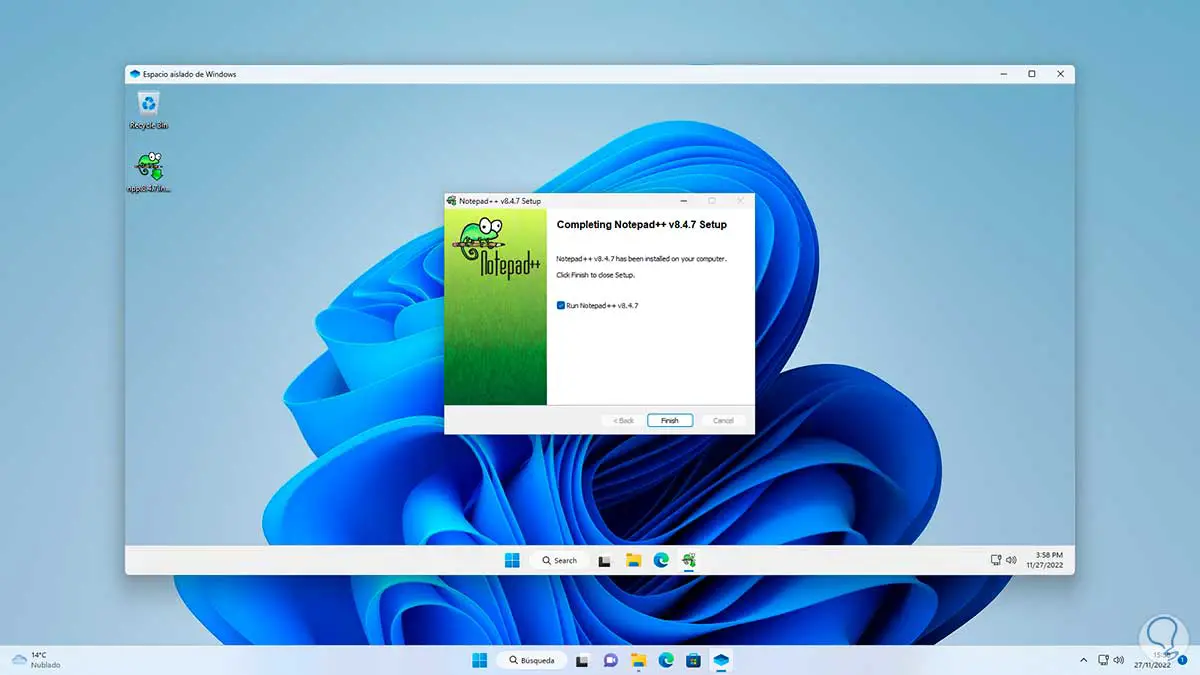
We execute the file for its installation:
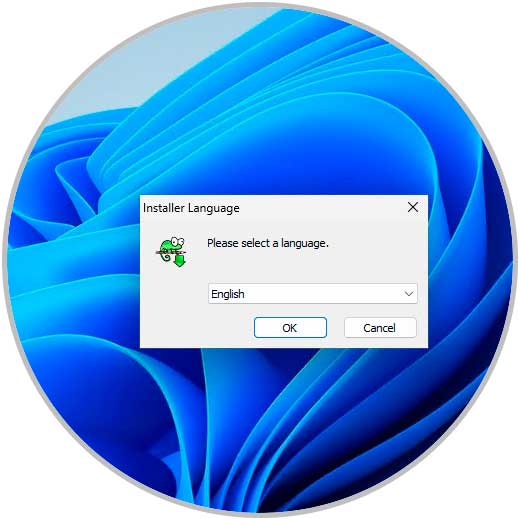
Step 29
We see that the installation is performed in the sandbox:
step 30
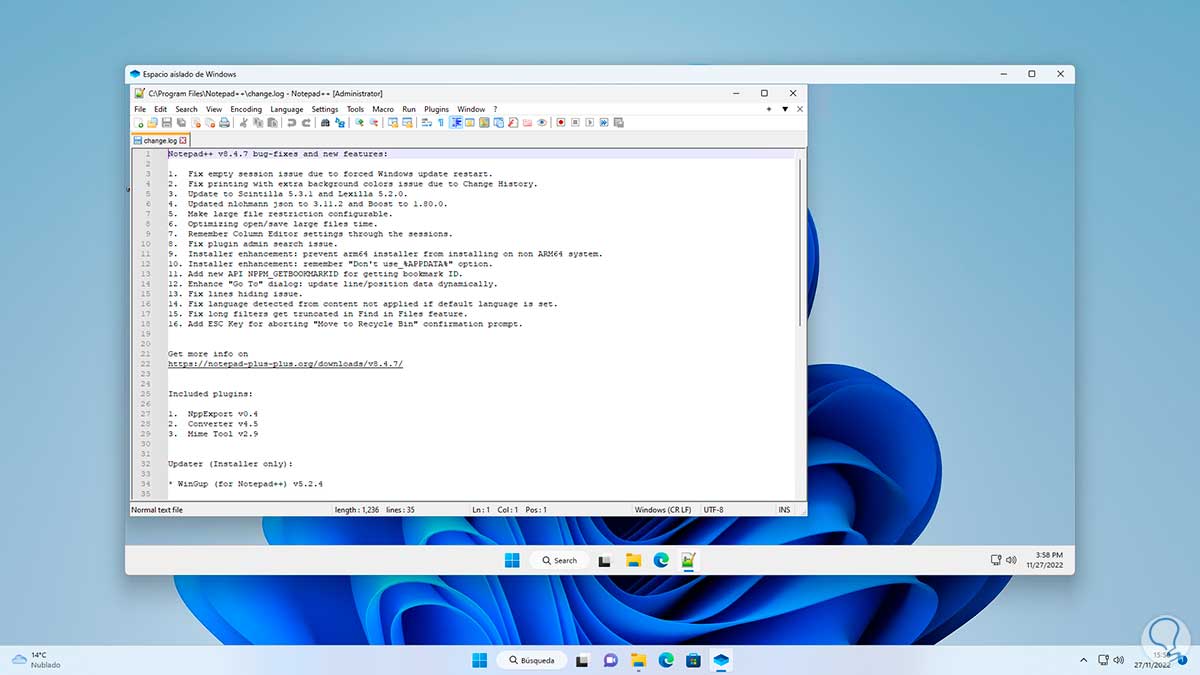
At the end we can work on this:
step 31
Upon closing the sandbox we will be notified that all changes will be lost:
This is how Sandbox works in Windows 11 as an additional security option.