There are many tools that give us the opportunity to manage Windows in different segments of it, some can help manage programs, others validate services and others focus on customizing the environment, but currently we have a new tool called PC Manager and as its name indicates it is a PC administrator in sections as vital as the security and optimization of both Windows 10 and Windows 11..
PC Manager Tasks
This is a tool with which it will be possible to intuitively perform tasks such as:
- Validate system health status
Its free download is available at the following link:
PCManager
TechnoWikis will explain how to install and use this utility in Windows 11 but the process is similar for Windows 10.
To stay up to date, remember to subscribe to our YouTube channel!
SUBSCRIBE ON YOUTUBE
How to install and use PC Manager on Windows 10 and Windows 11
Step 1
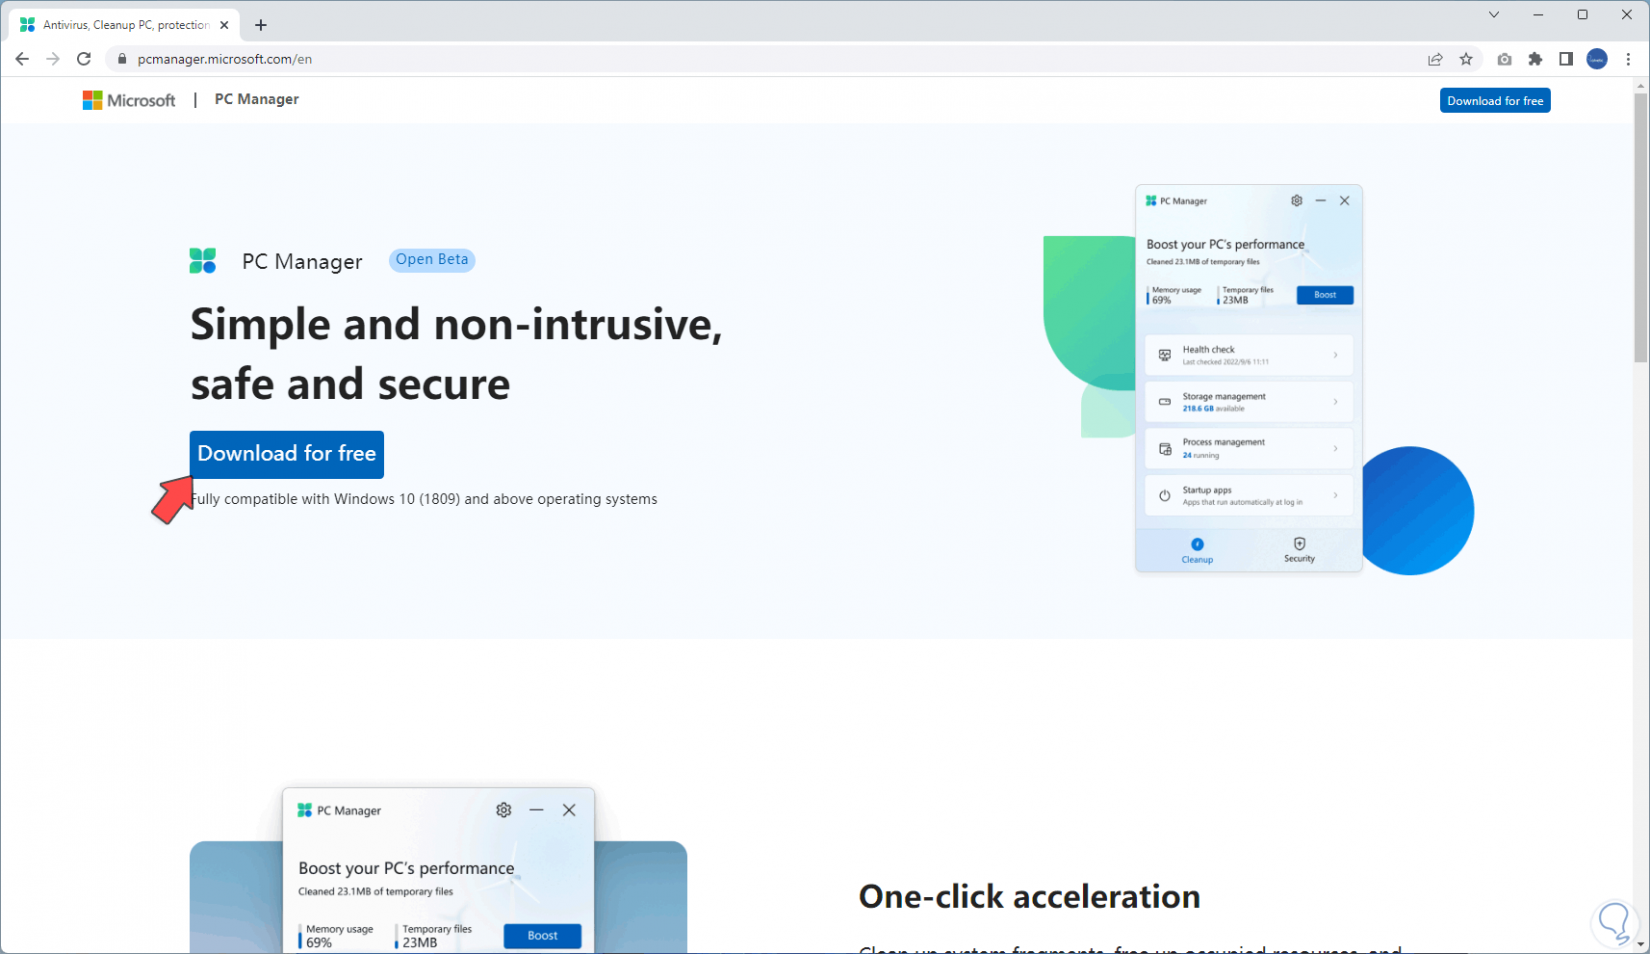
On the website we will see the following:
Step 2
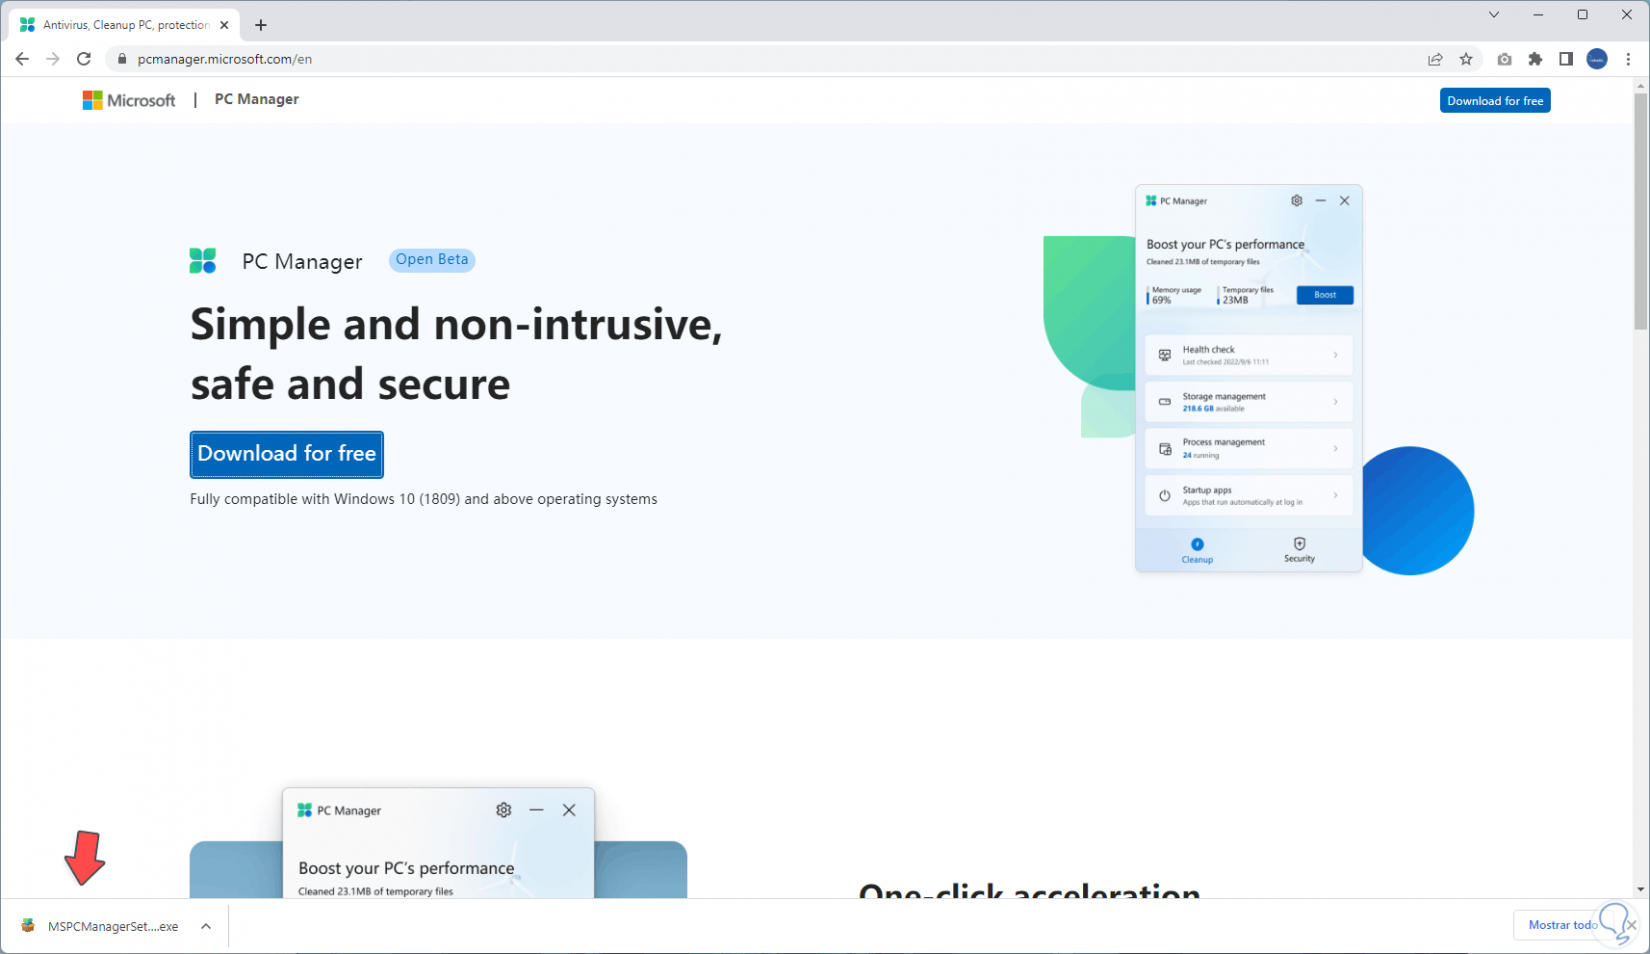
We click on the button to download the PC Manager utility:
Step 3
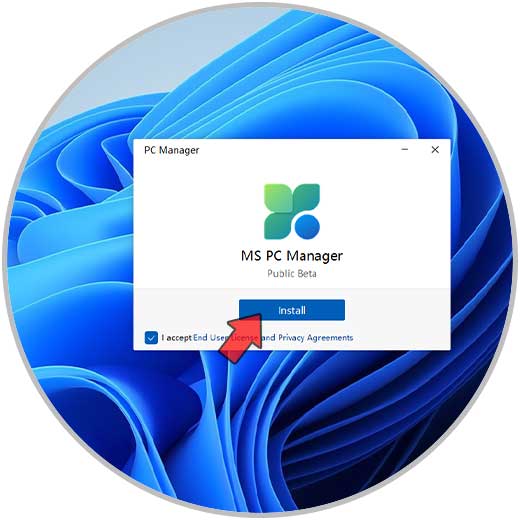
We execute the installation file and in the pop-up window we activate the license box and then we click on "Install":
Step 4
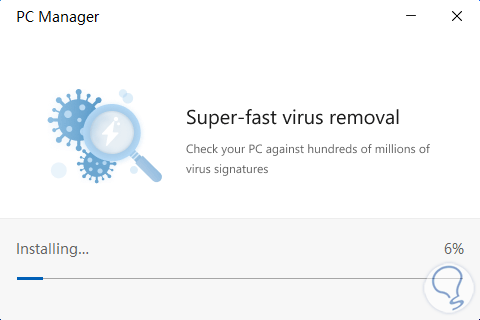
The installation process of PC Manager in Windows 11 will start:
step 5
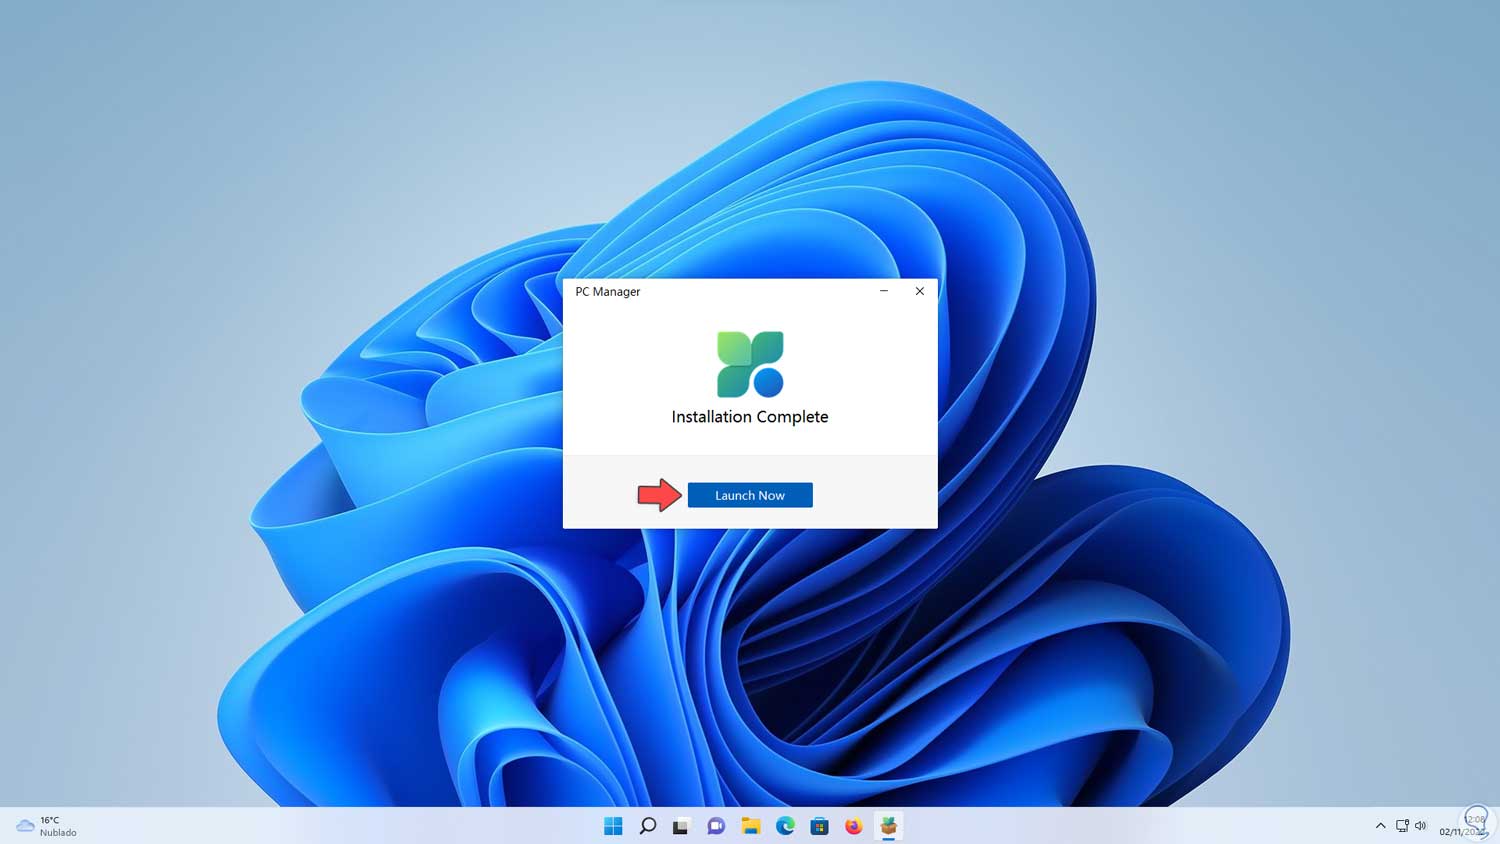
At the end we will see the following:
Step 6
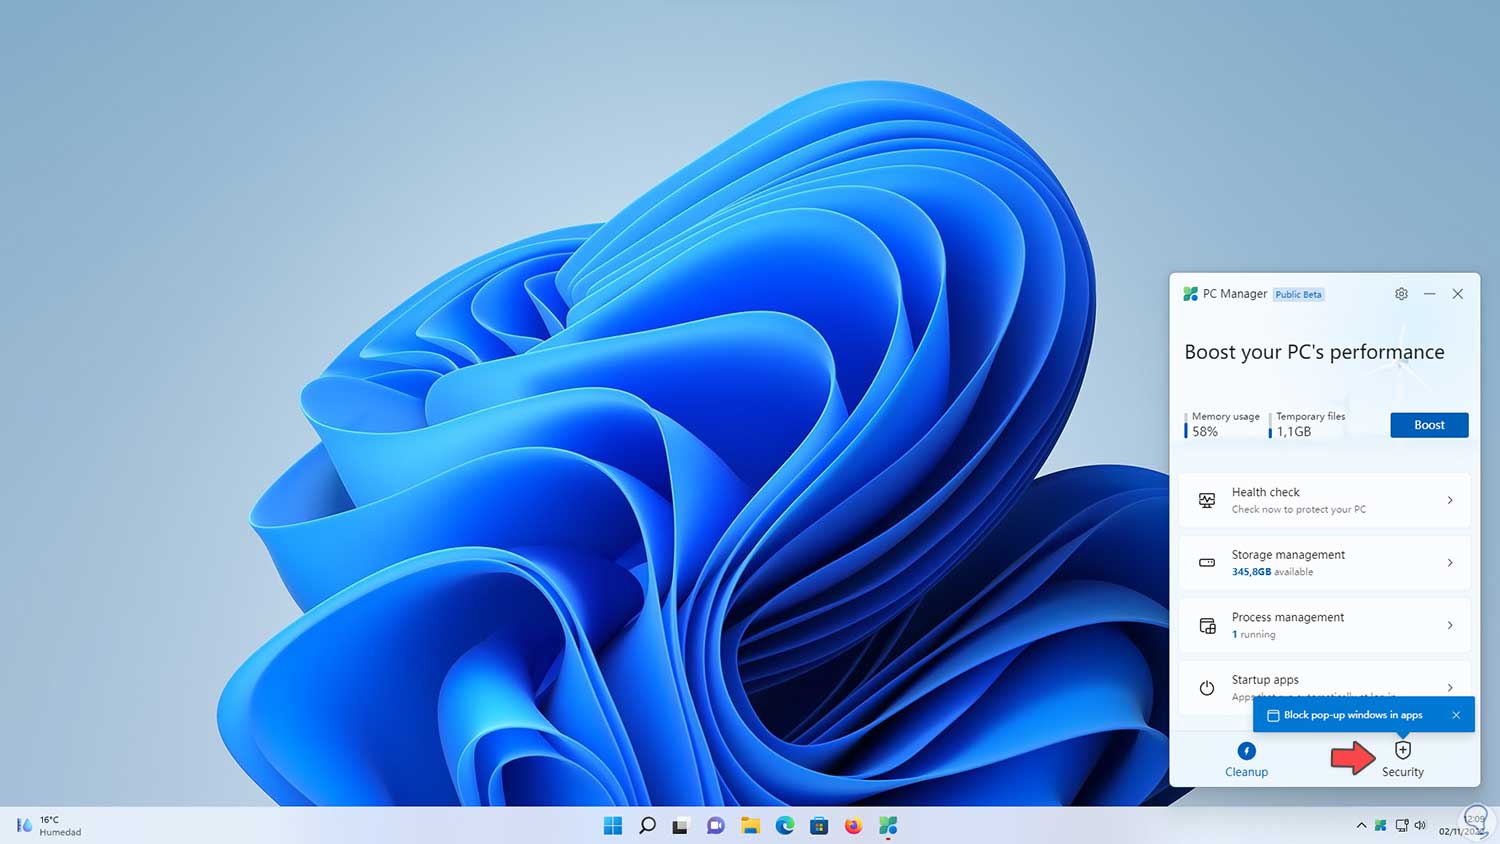
We click on "Launch Now" to access PC Manager and it will be located from the taskbar:
Step 7
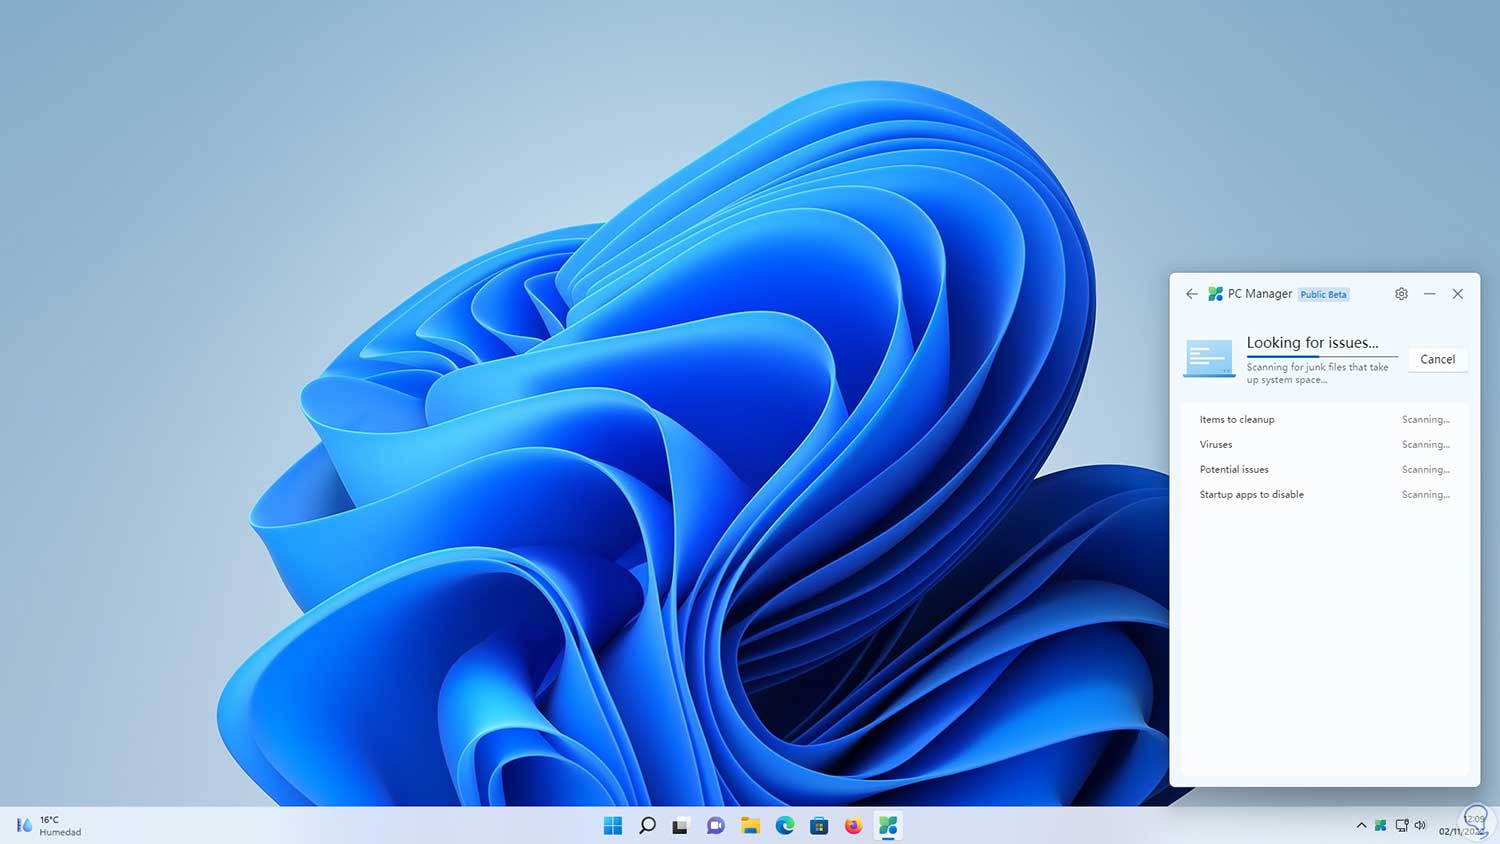
In the "Cleanup" section we click on "Health check" to perform an analysis of the system status:
step 8
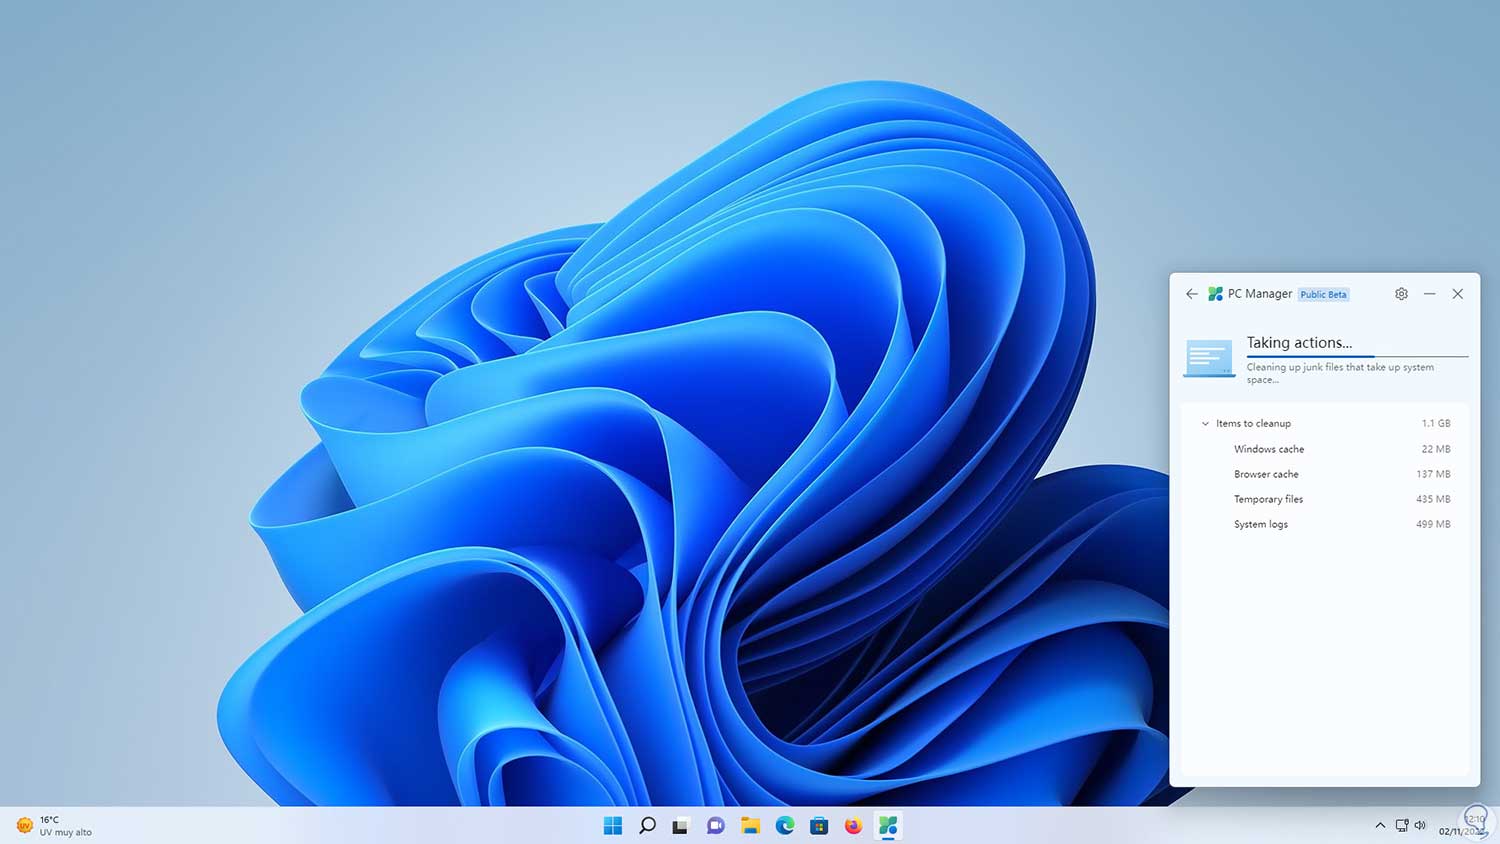
When analyzing we will see that actions are carried out on this:
step 9
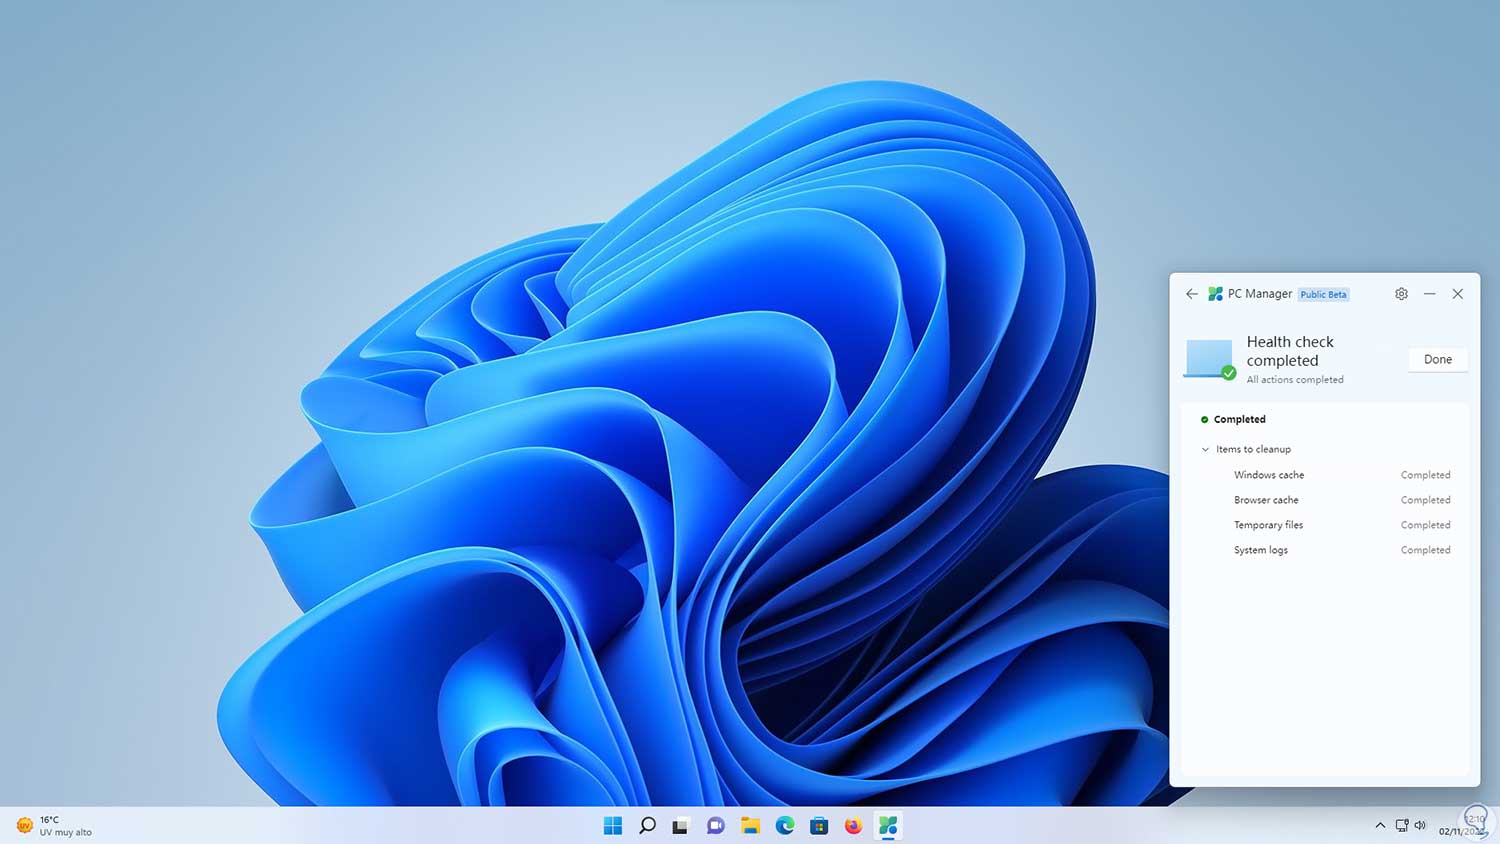
At the end we will see the result of this analysis:
step 10
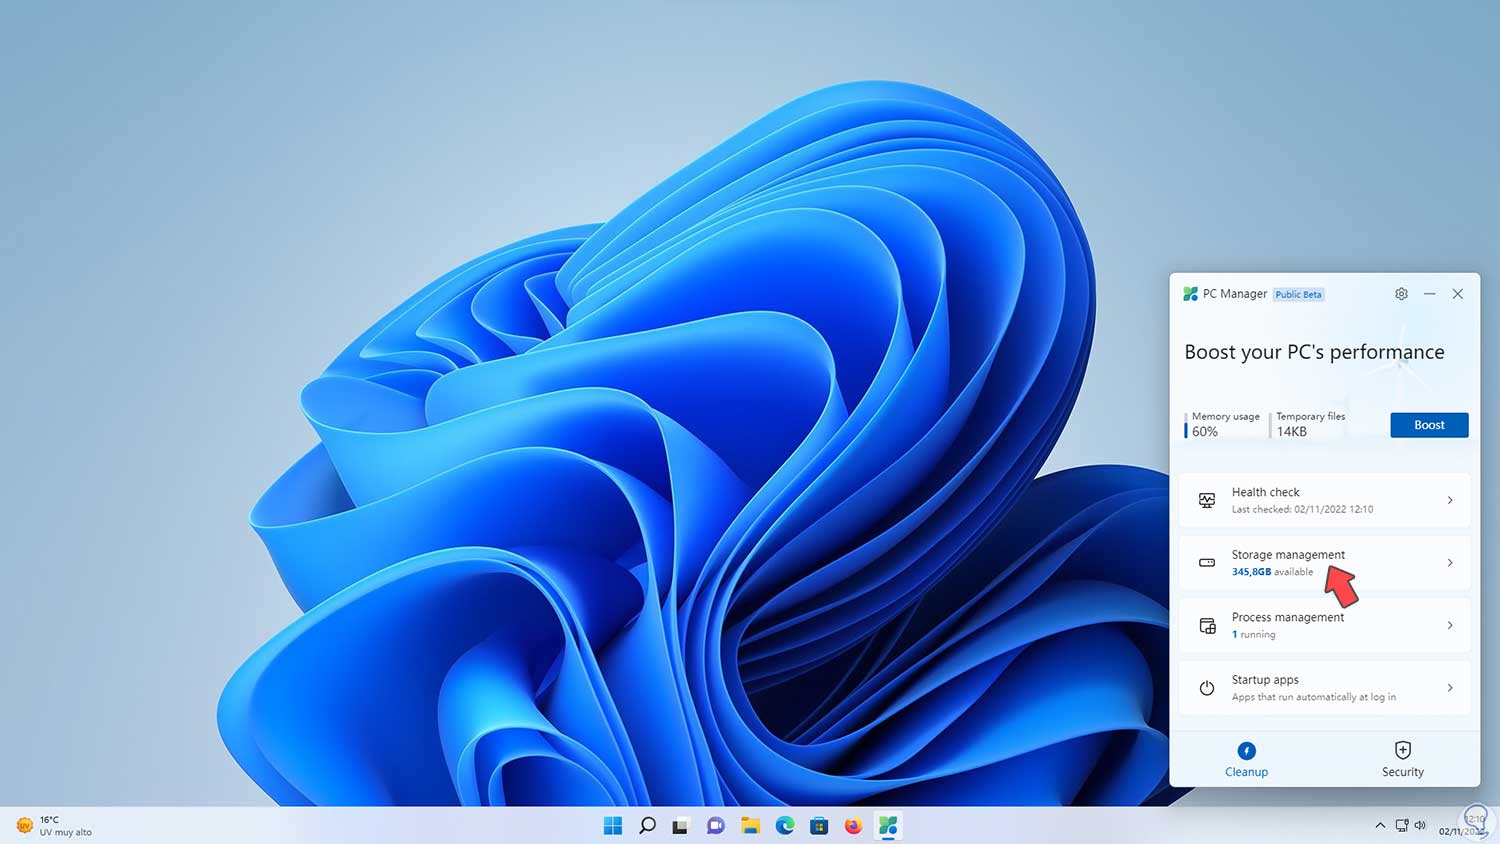
We return to the main window:
step 11
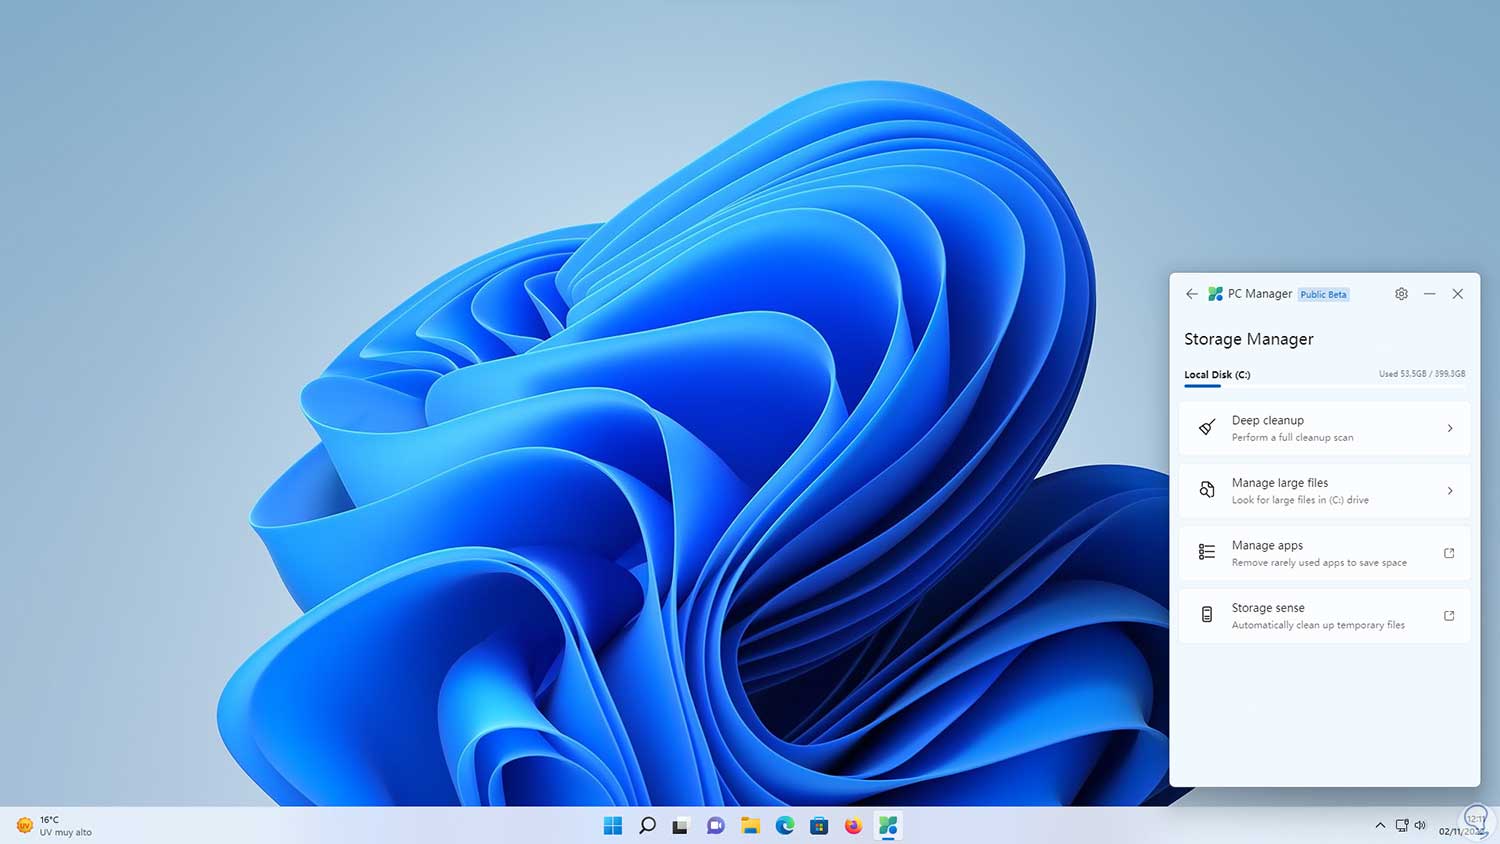
In "Storage Management" we will see the following:
step 12
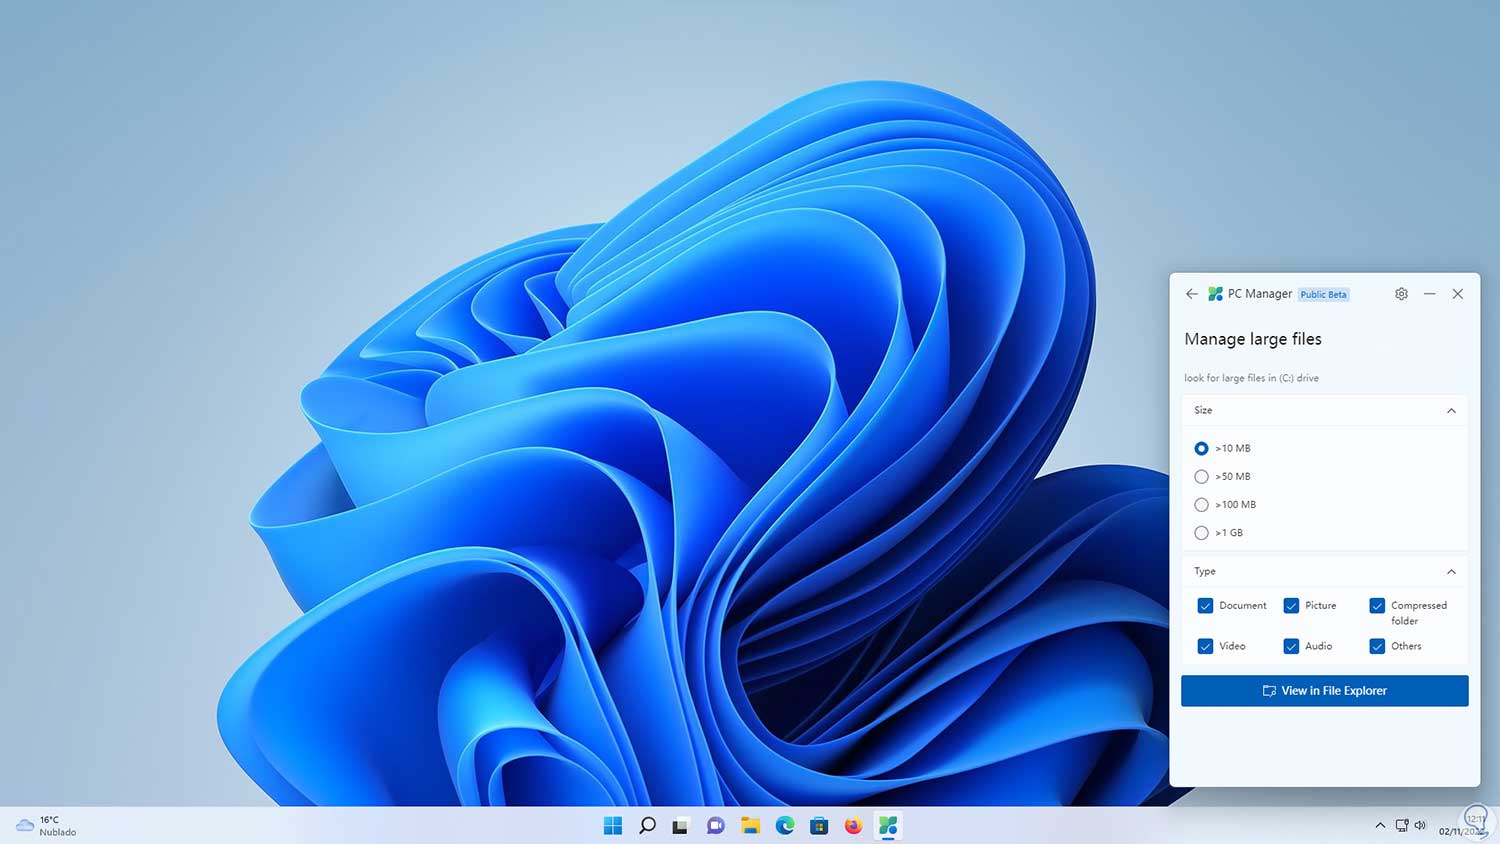
We see various actions to manage storage in Windows, for example, we can filter files by size and open them directly in File Explorer with the “Manage large files” option:
step 13
We click on “View in File Explorer” to see these files specifically there:
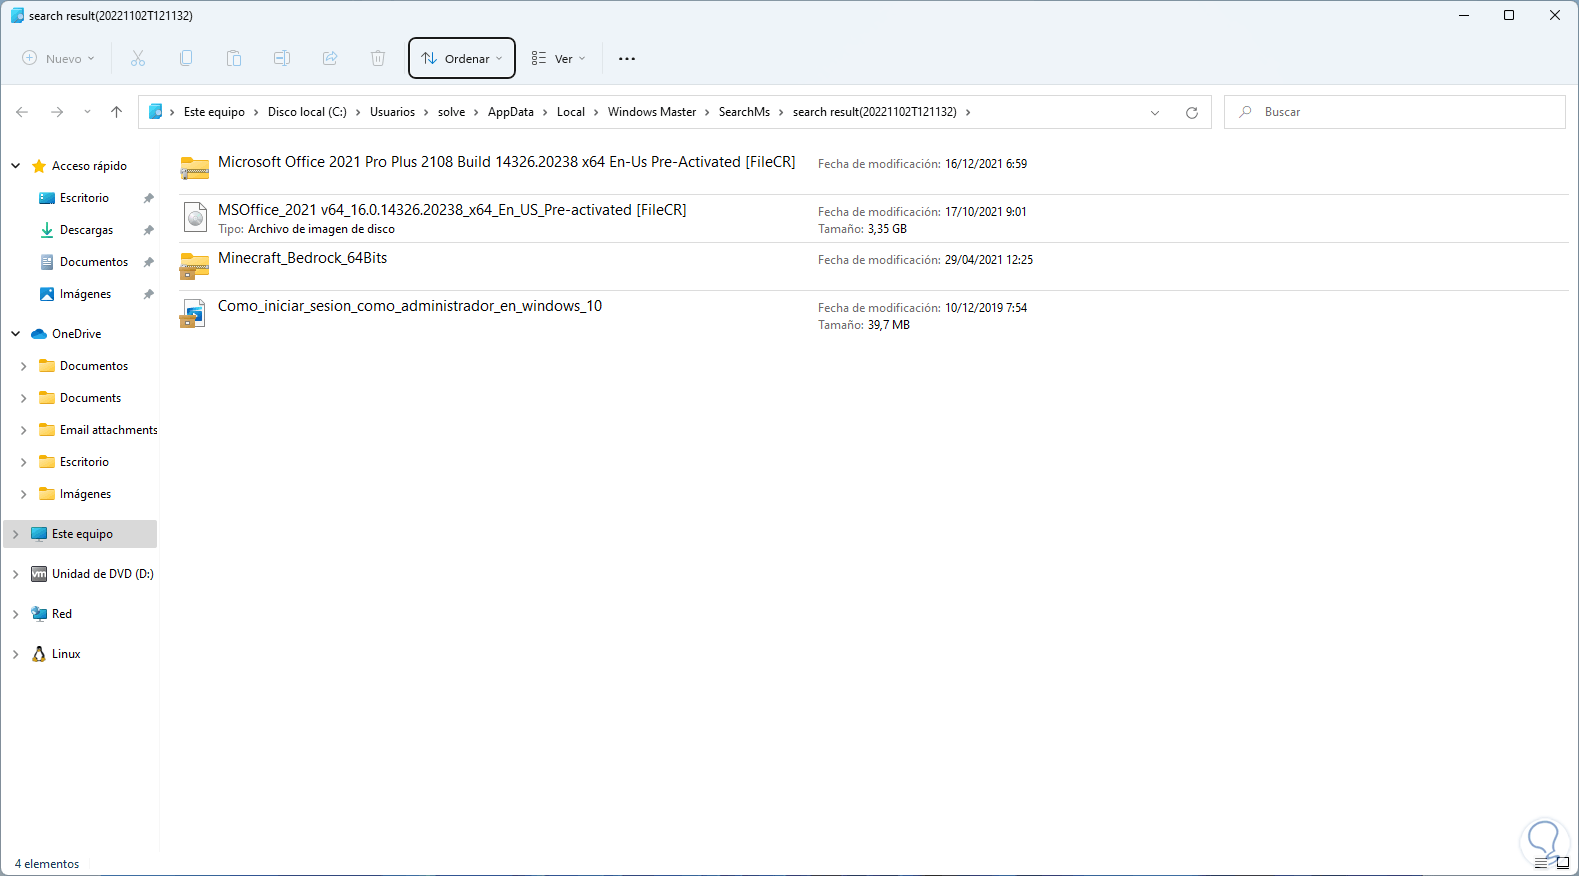
step 14
Here it will be possible to delete them if this is the case, we can also click on “Manage apps” to manage the applications in order to uninstall them from Settings:
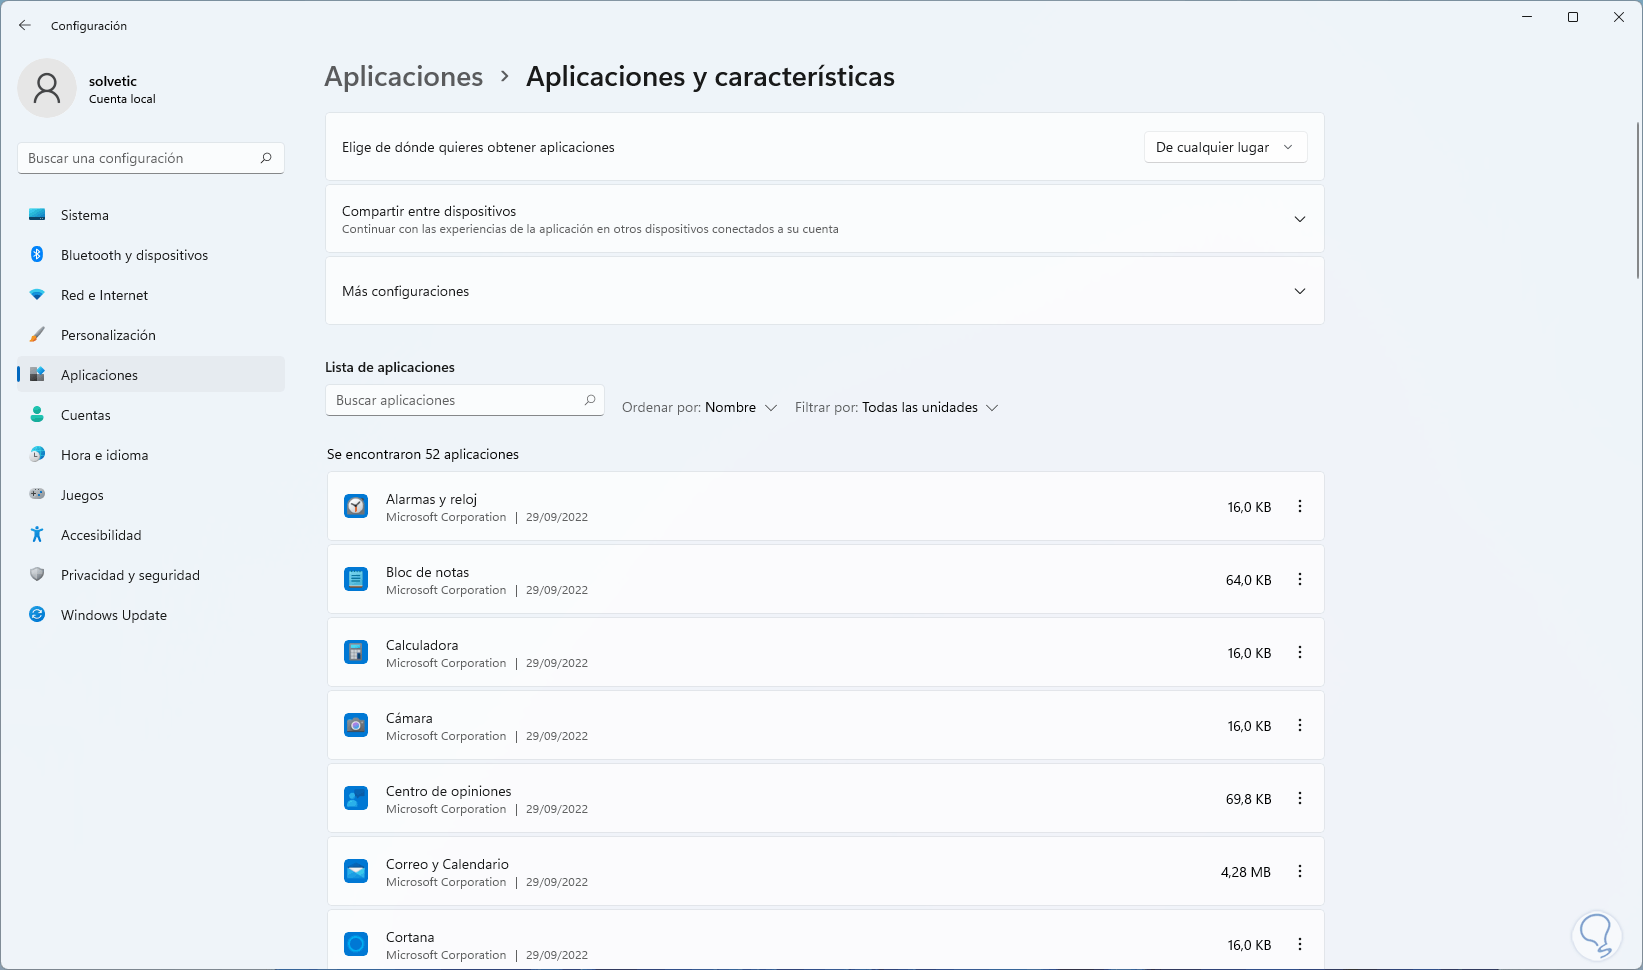
step 15
We return to the options:
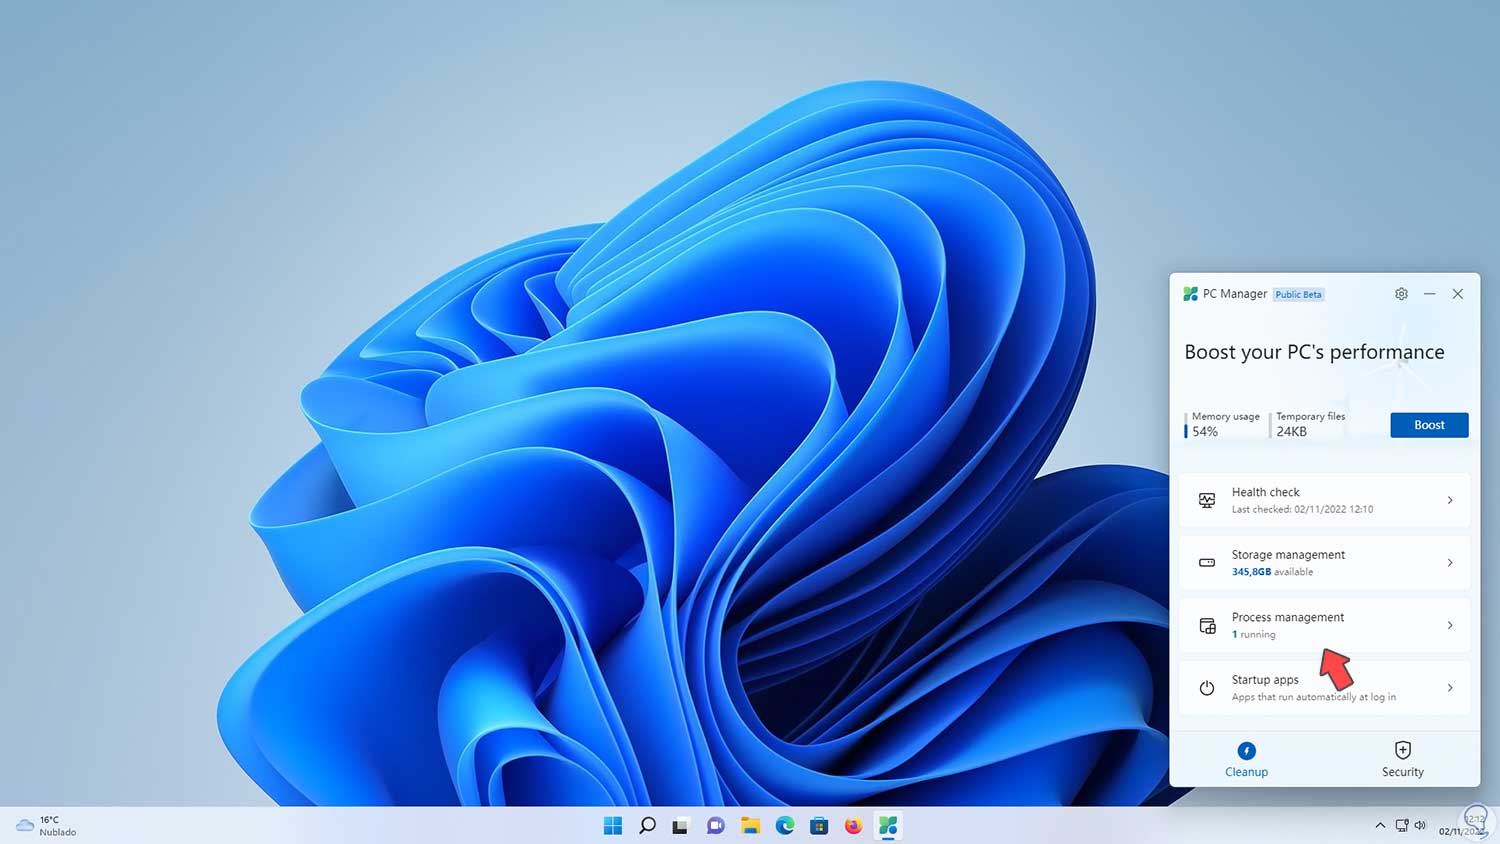
step 16
From "Process management" we can finish processes if necessary:
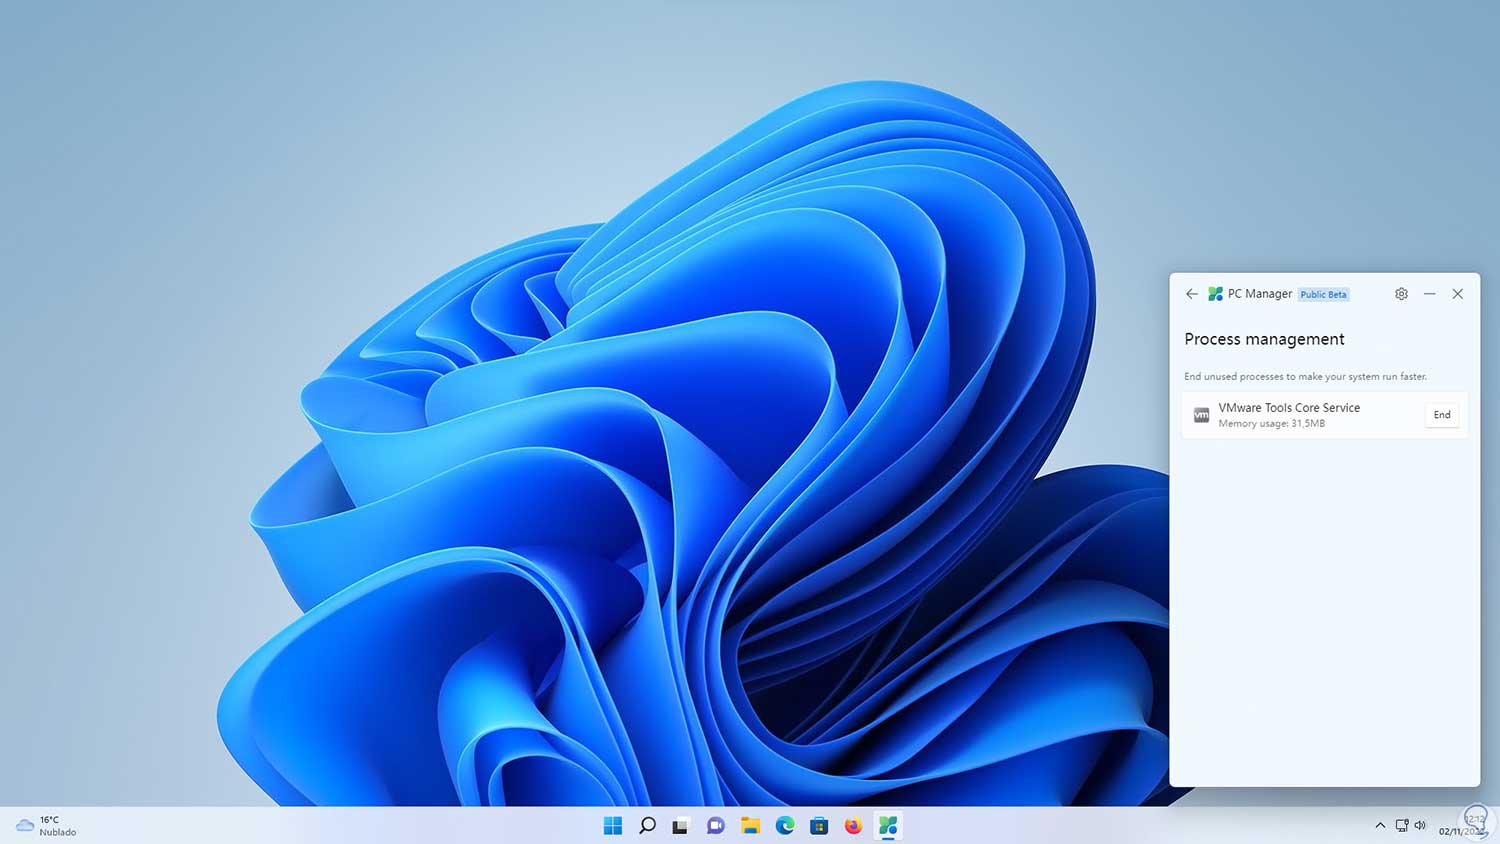
step 17
Again we go to the options:
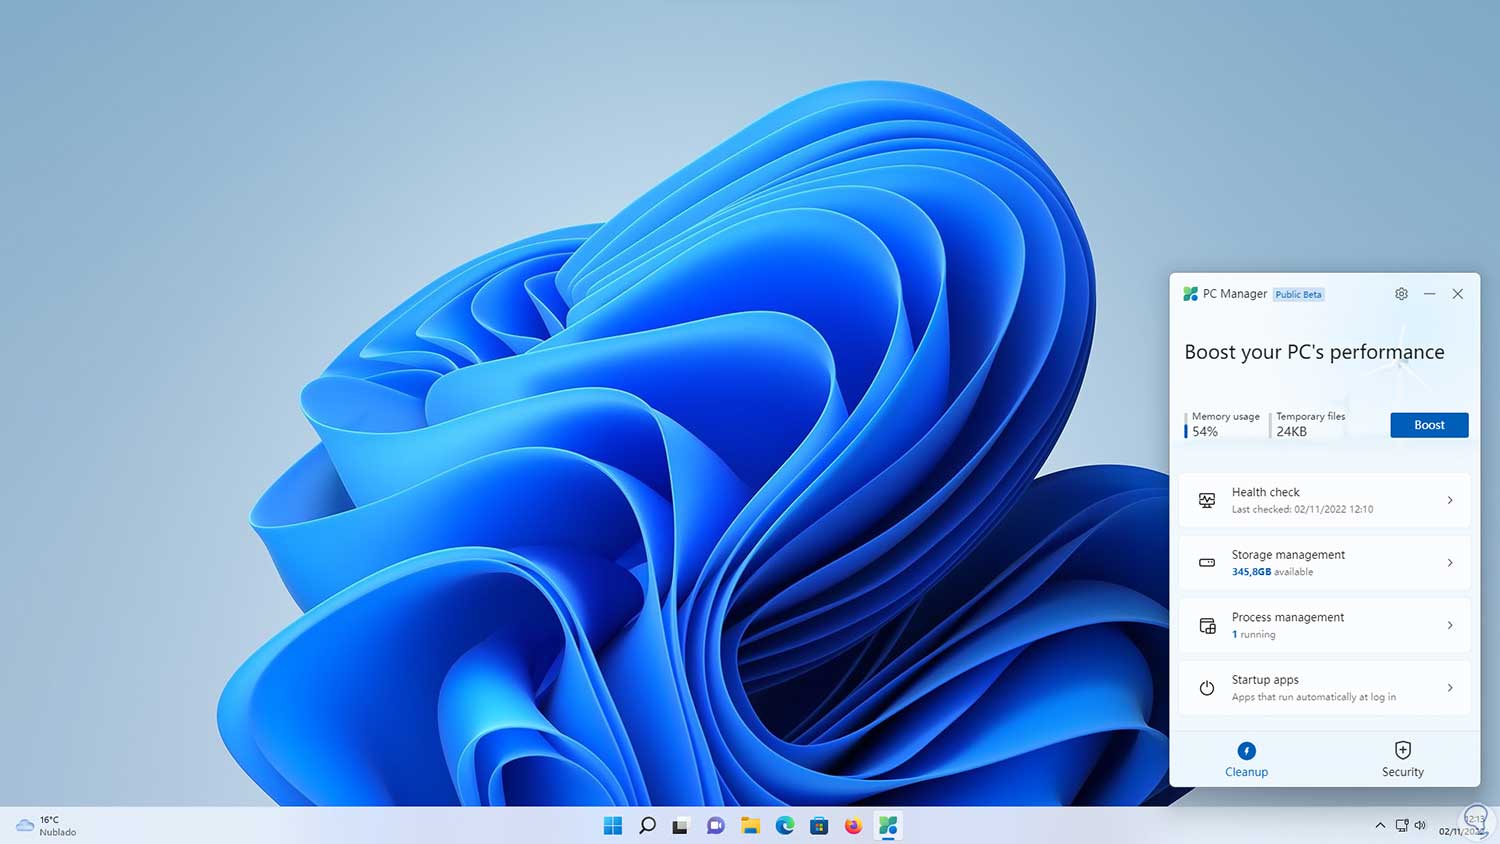
step 18
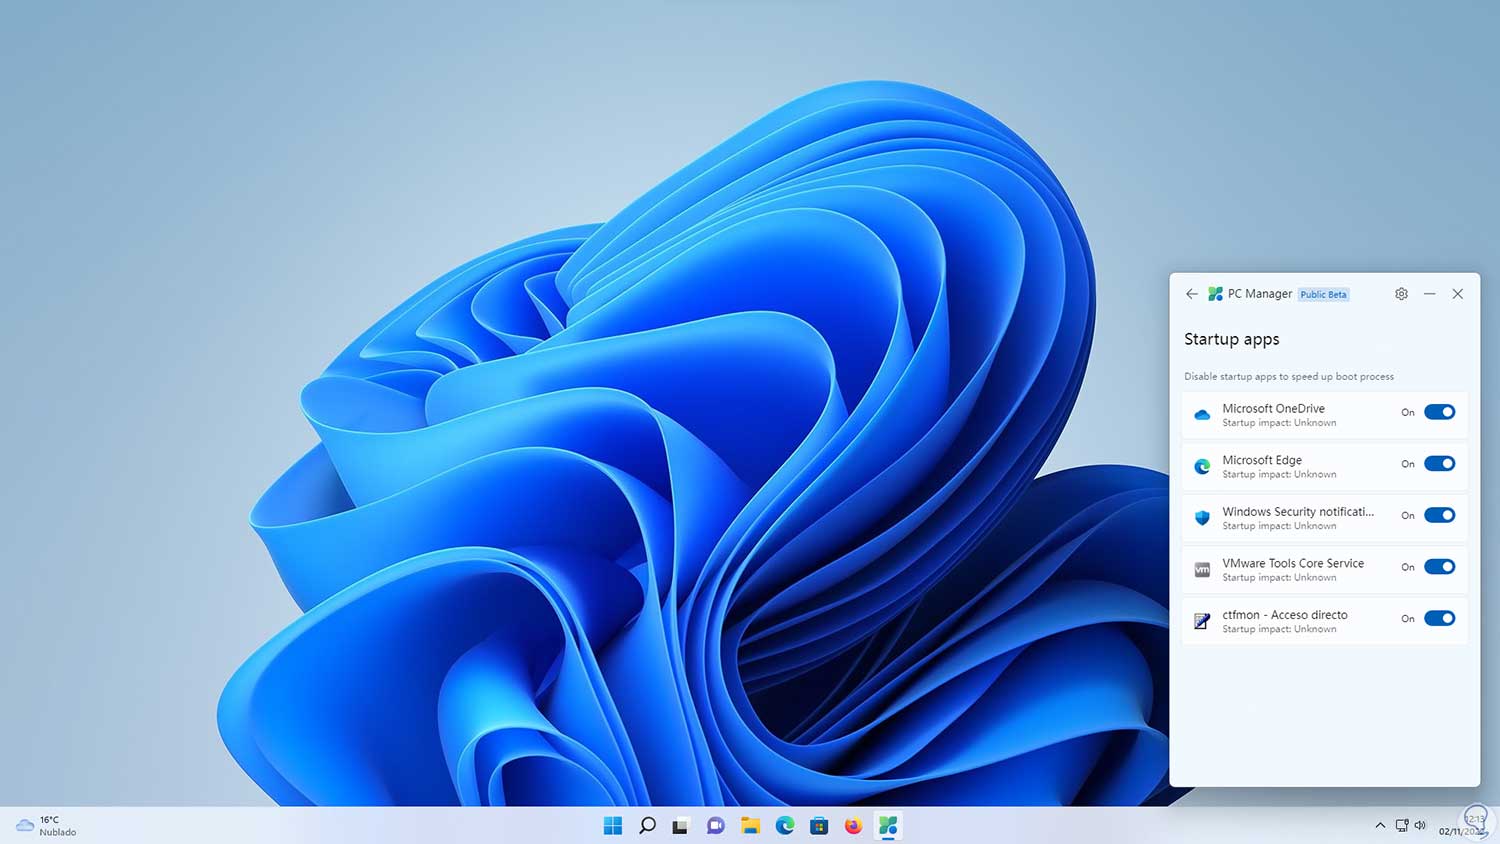
In "Startup apps" we can enable which applications start with the system or not:
step 19
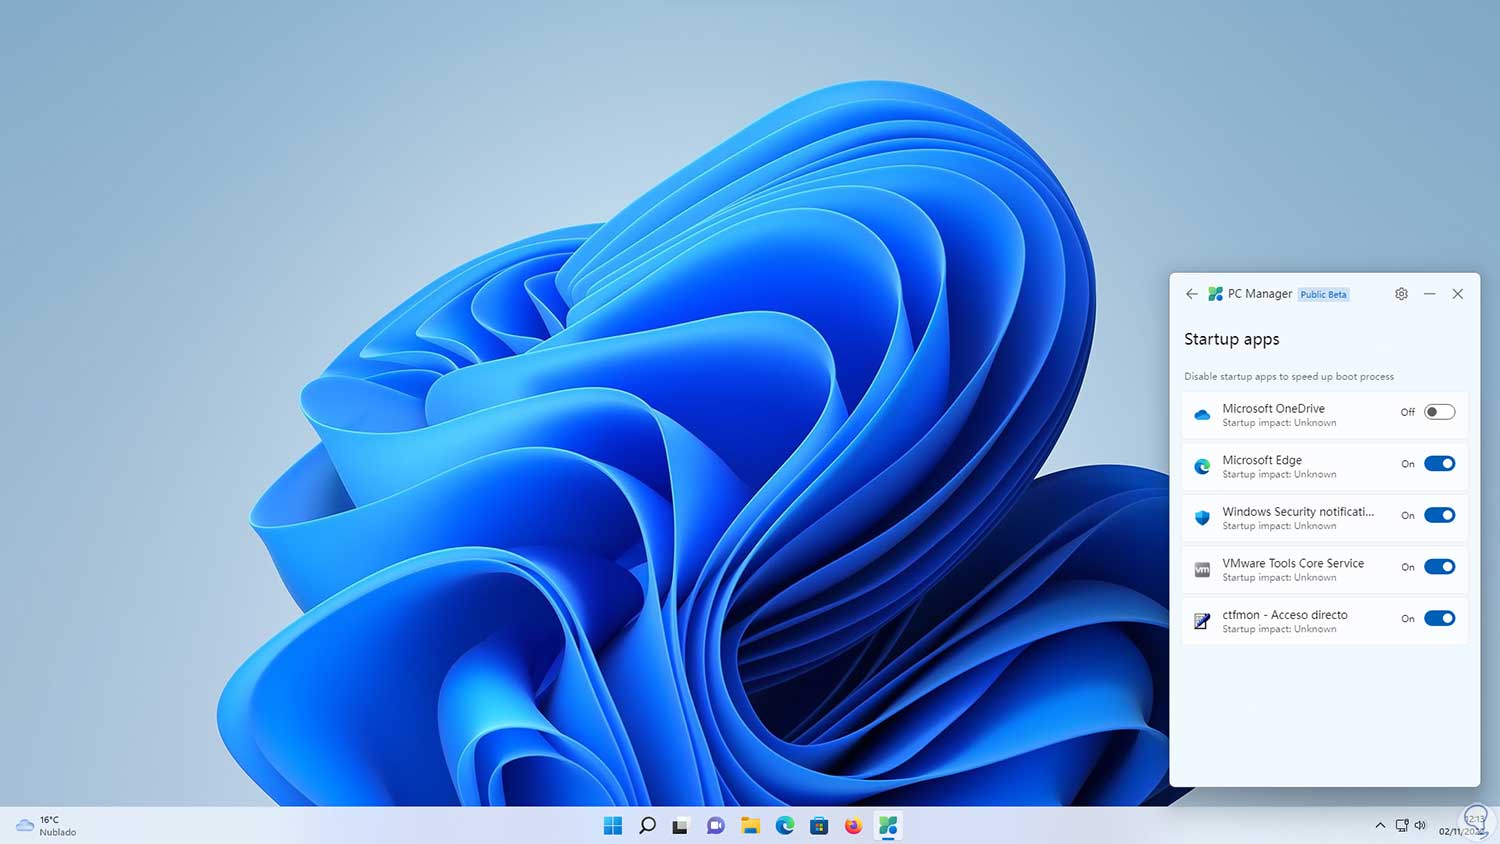
We activate or not the switch of the apps that start or not with Windows 11:
step 20
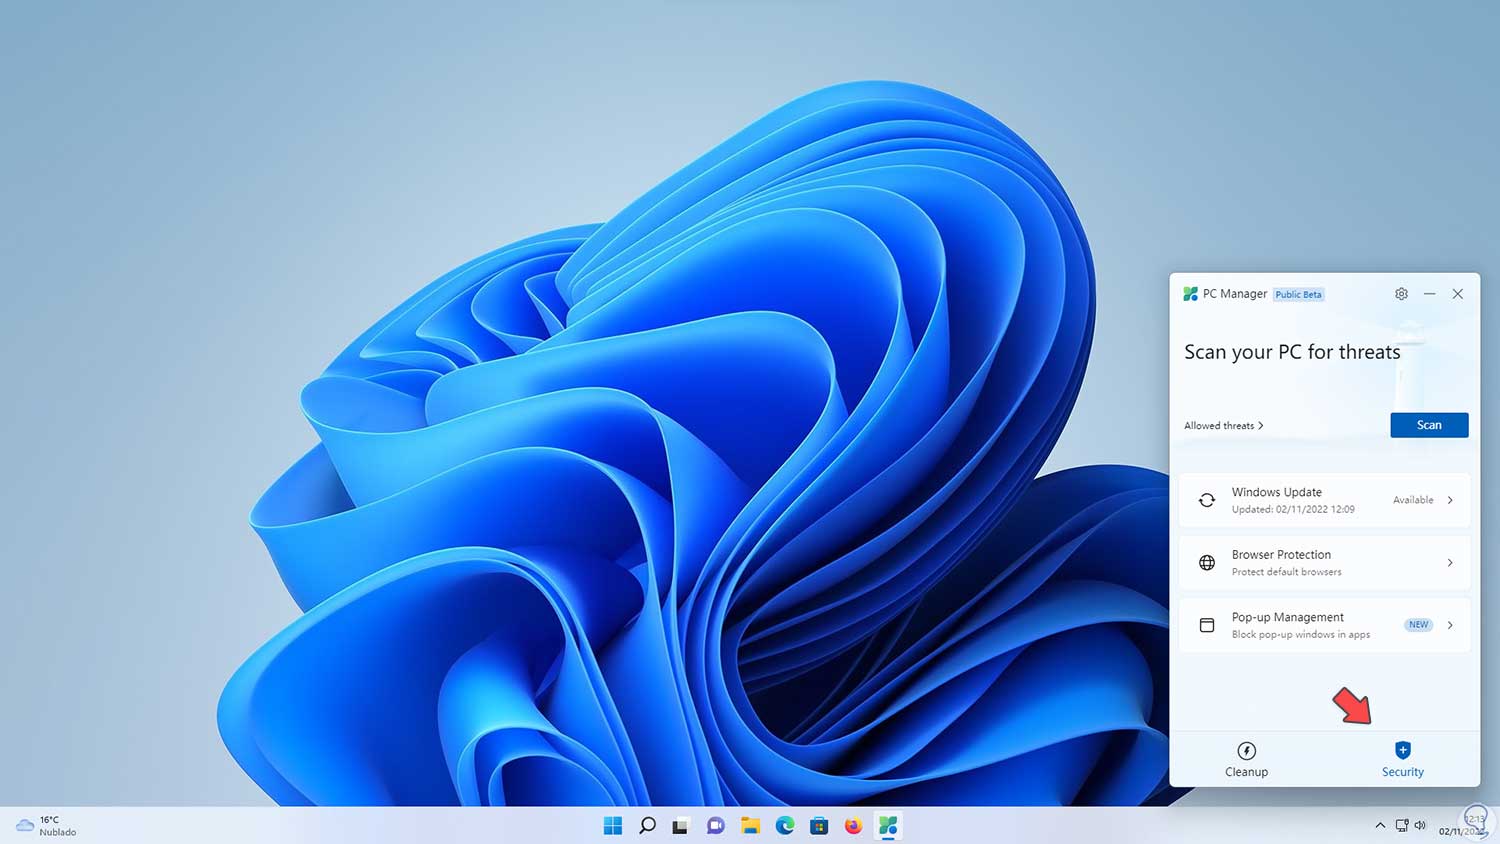
We return to the main window and in the "Security" section we find the following:
step 21
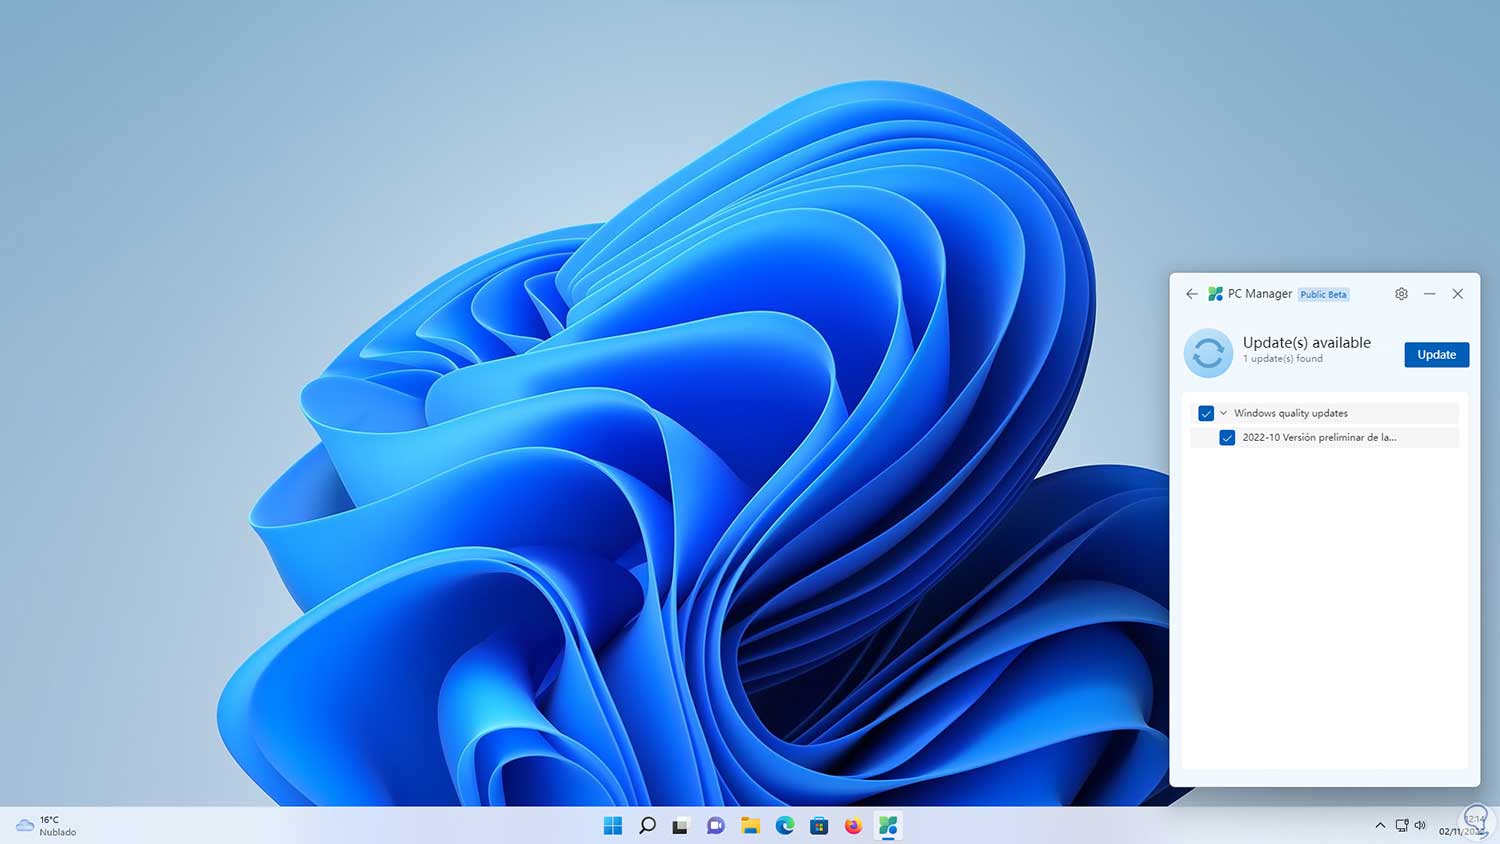
We can apply updates in "Windows Update". There we will see the available updates and it will be possible to activate the box of the desired update and then click on “Update” to download and apply them in the system.
step 22
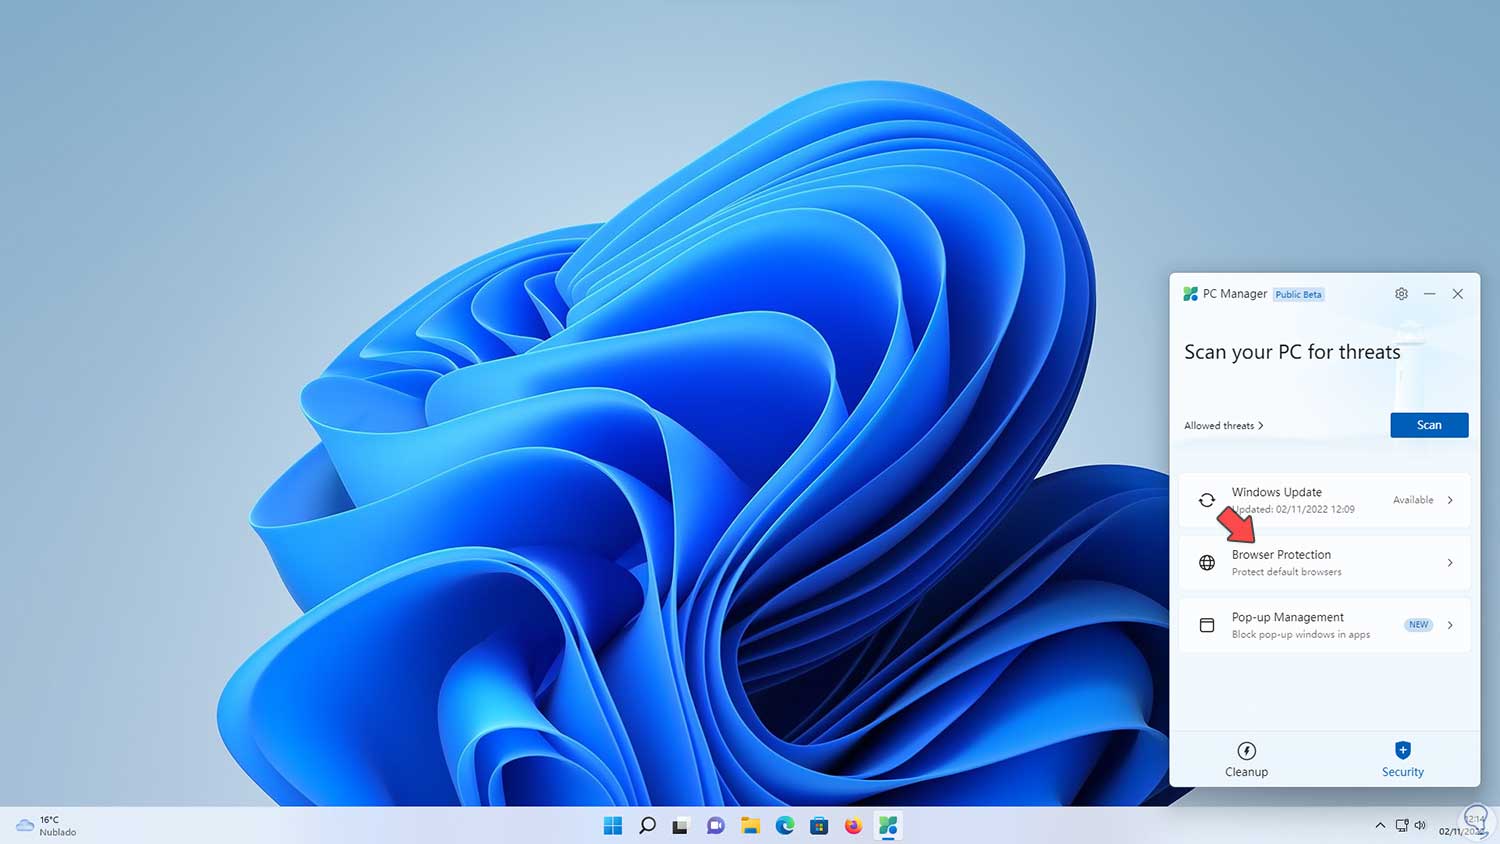
Let's go back to the main window:
step 23
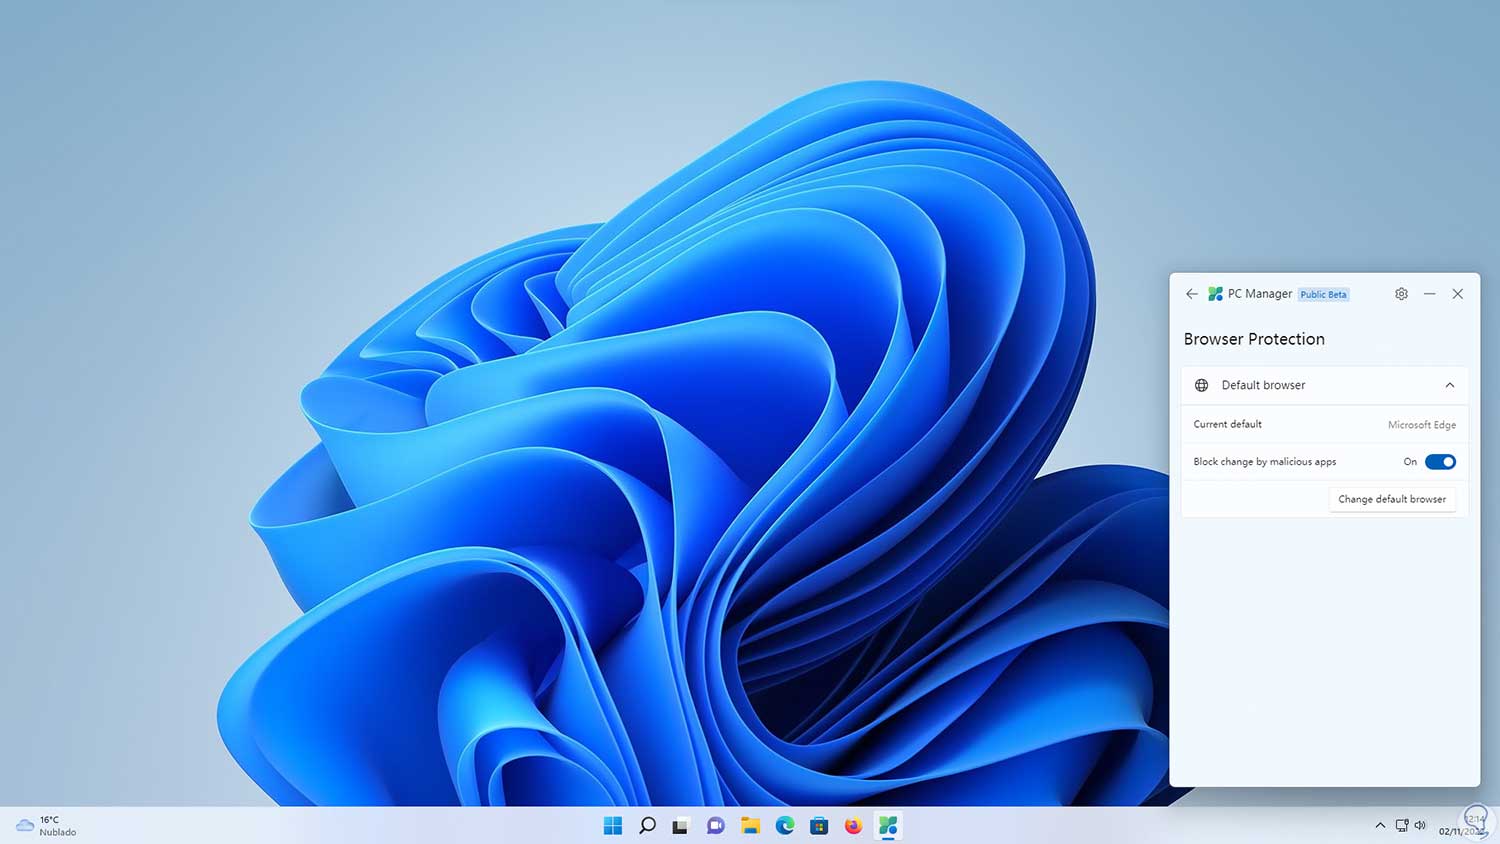
In "Browser Protection" it will be possible to activate the protection for the browser:
step 24
This function is responsible for analyzing the sites to rule out malicious applications.
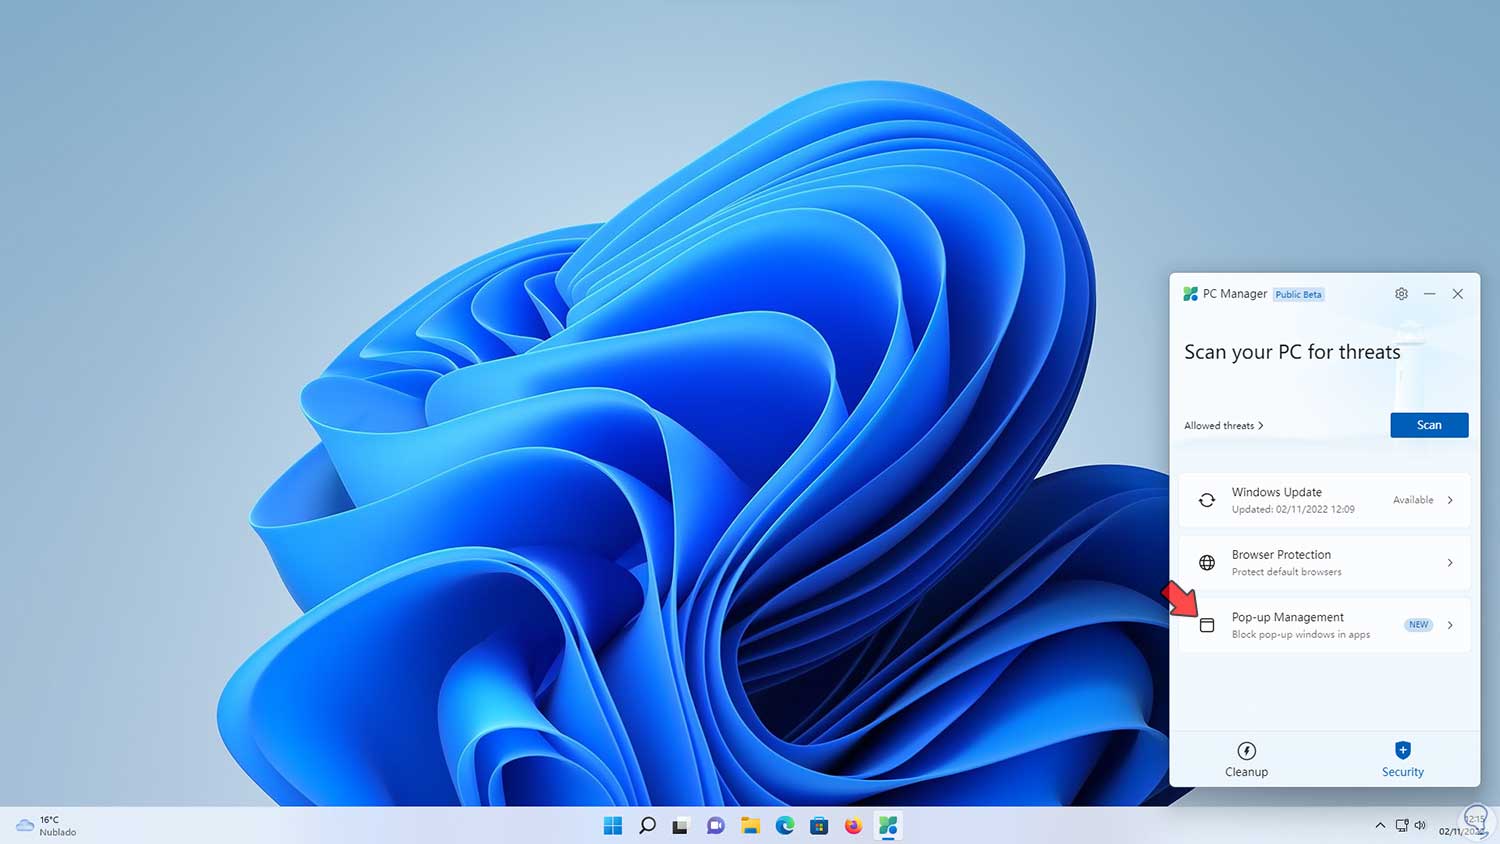
In the main window we will see this:
step 25
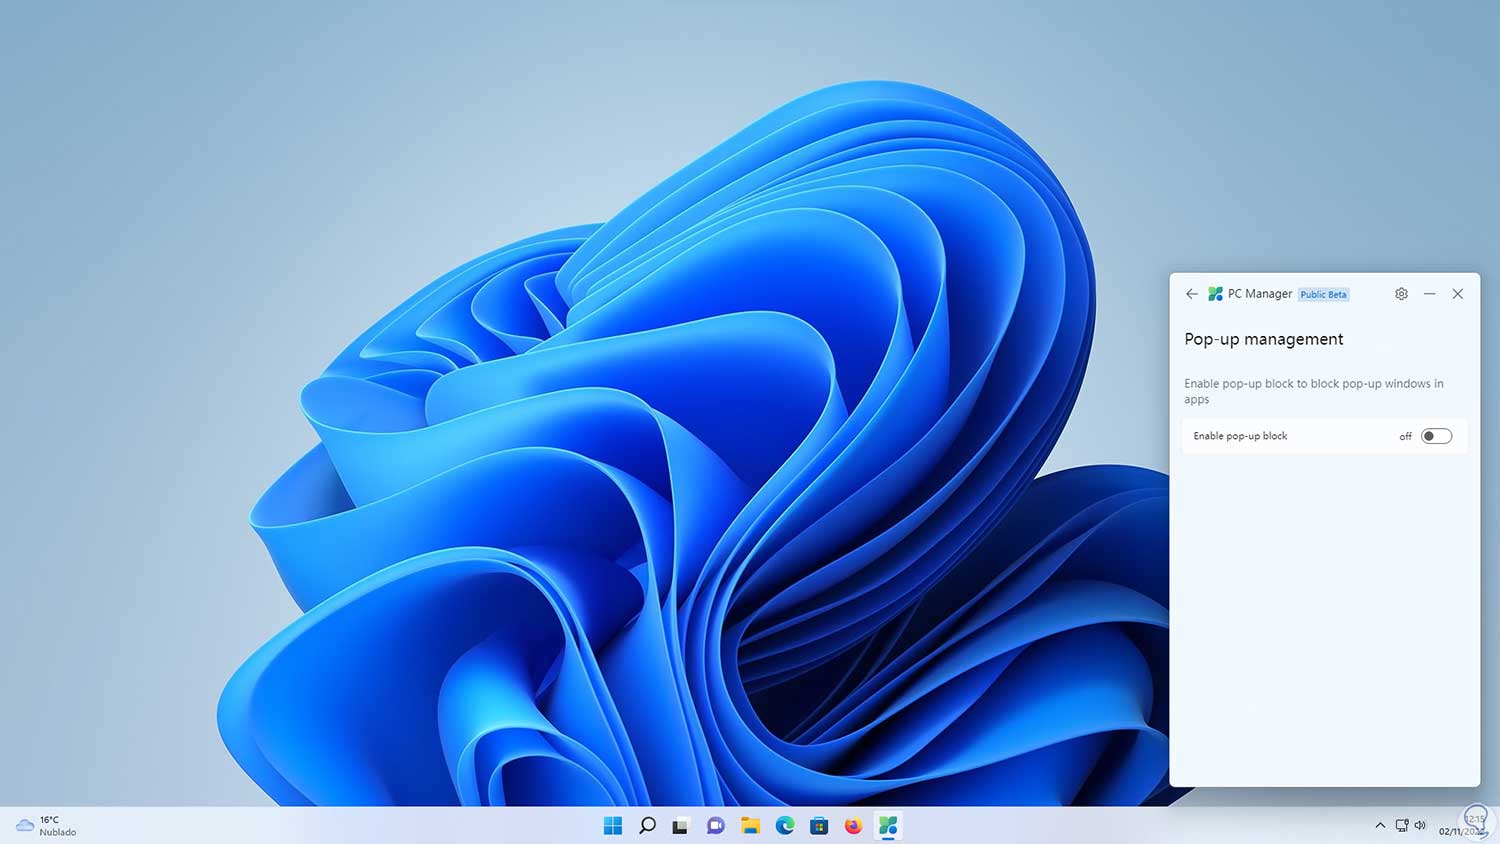
In "Pop-up Management" it is possible to activate the pop-up blocker:
step 26
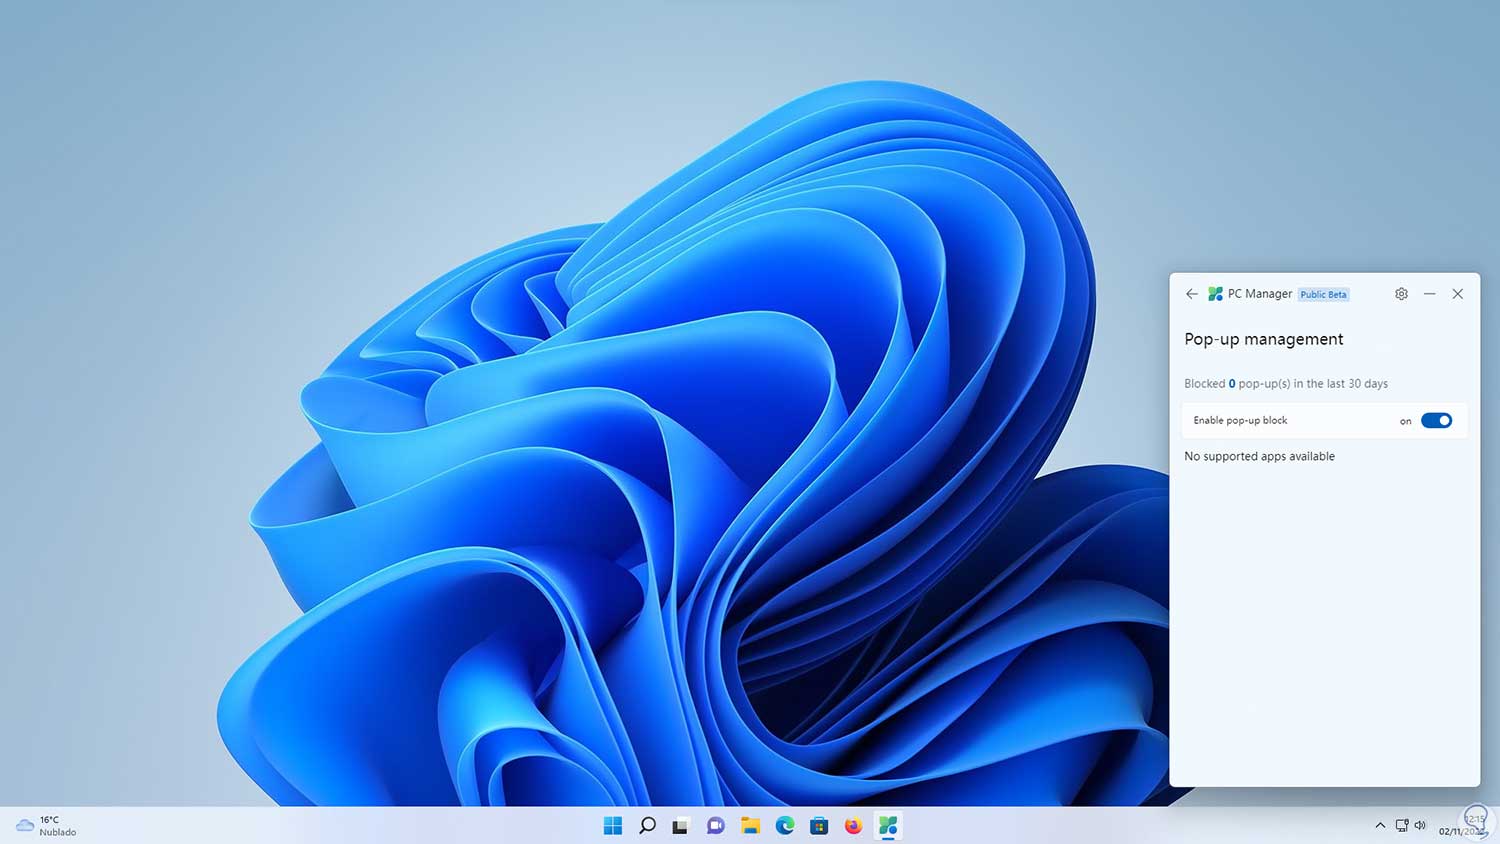
We activate the switch so that these windows do not open when using a browser:
step 27
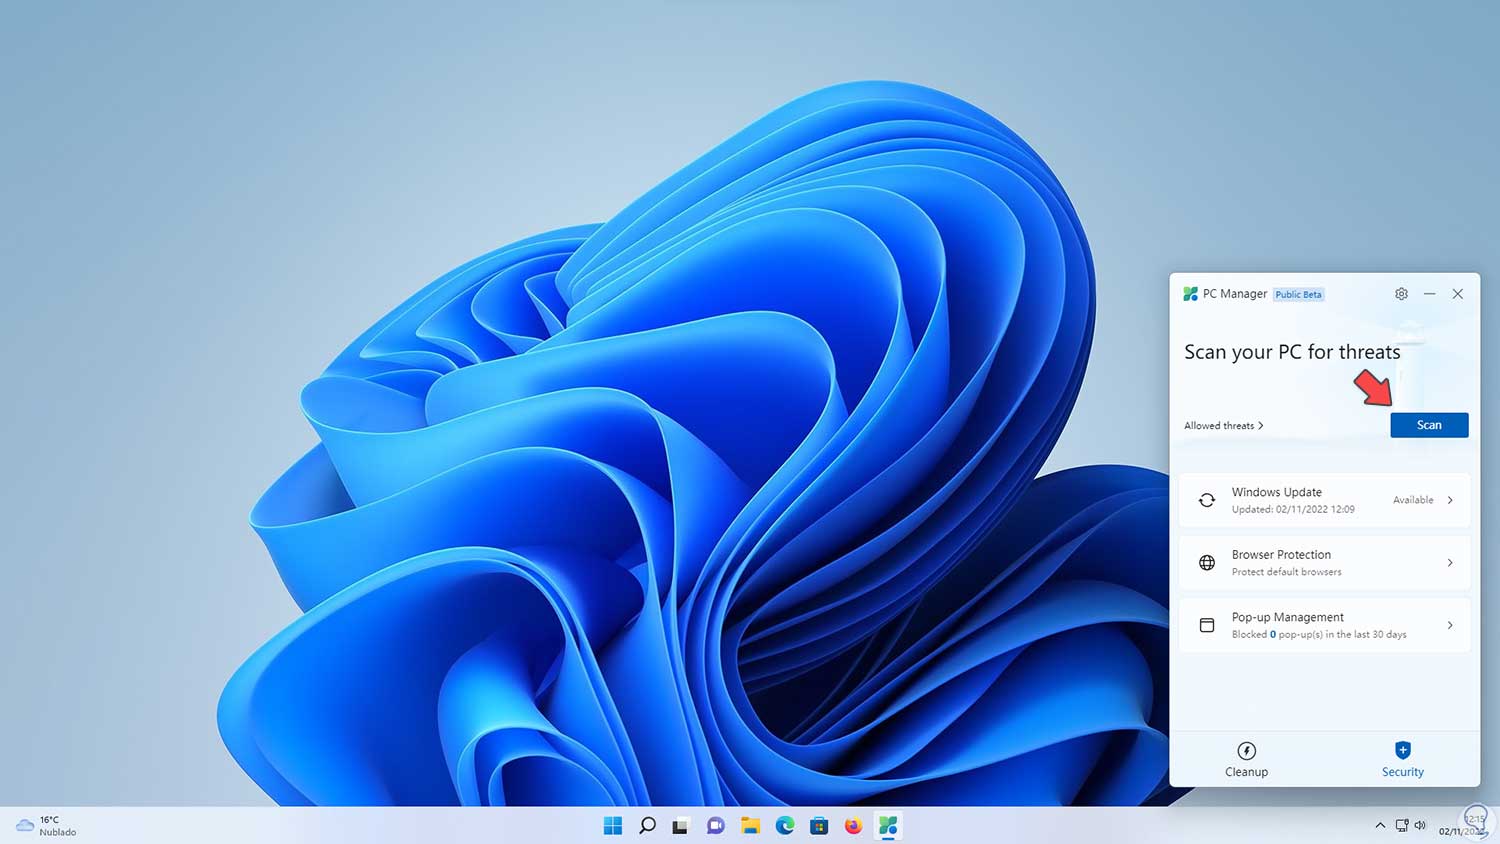
In the main window we find the option to perform a system scan:
step 28
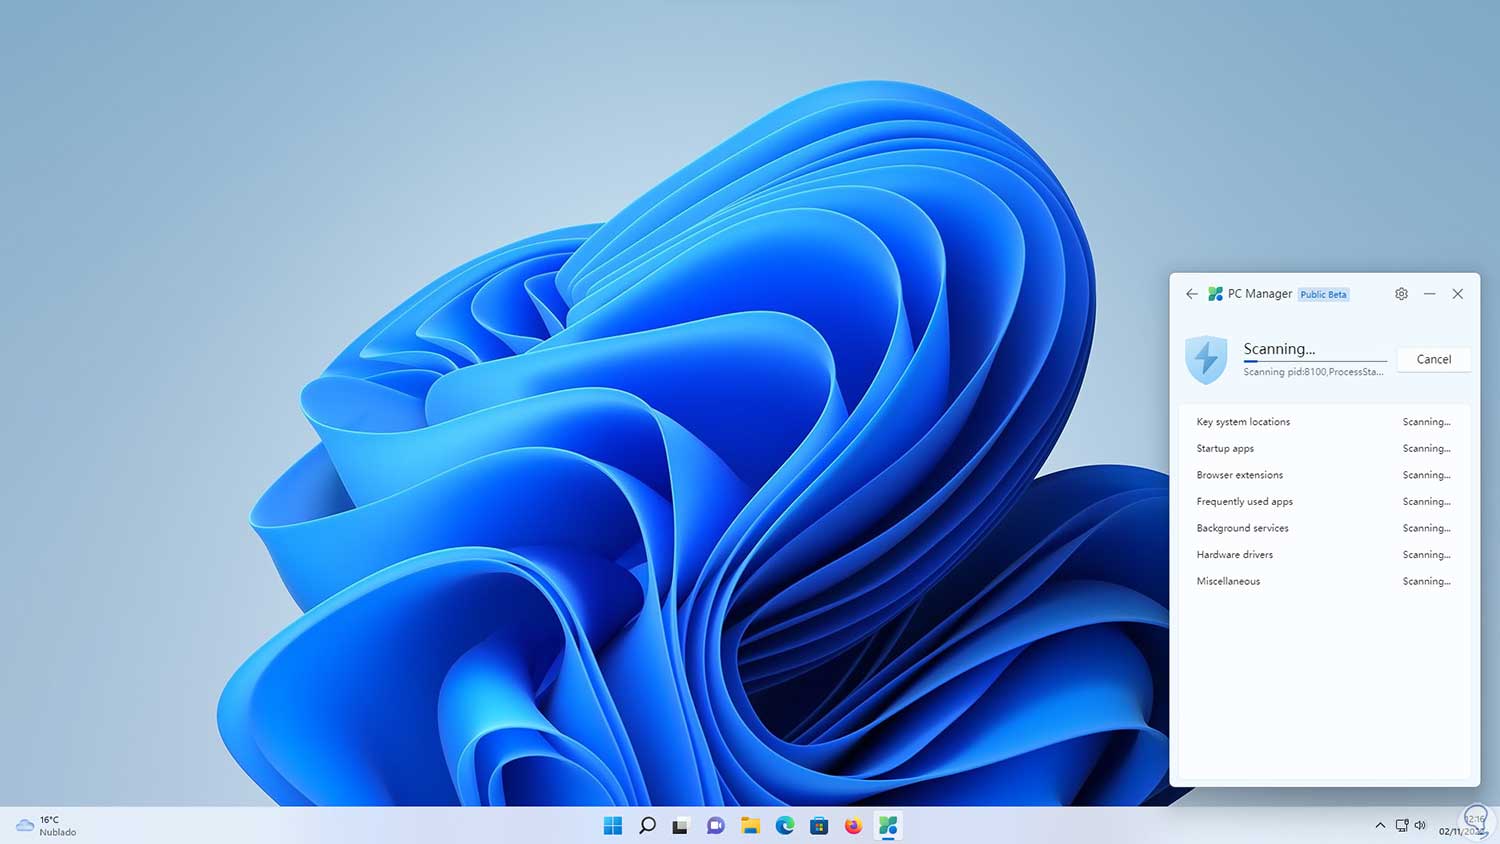
We click on "Scan" to perform the Windows scan:
step 29
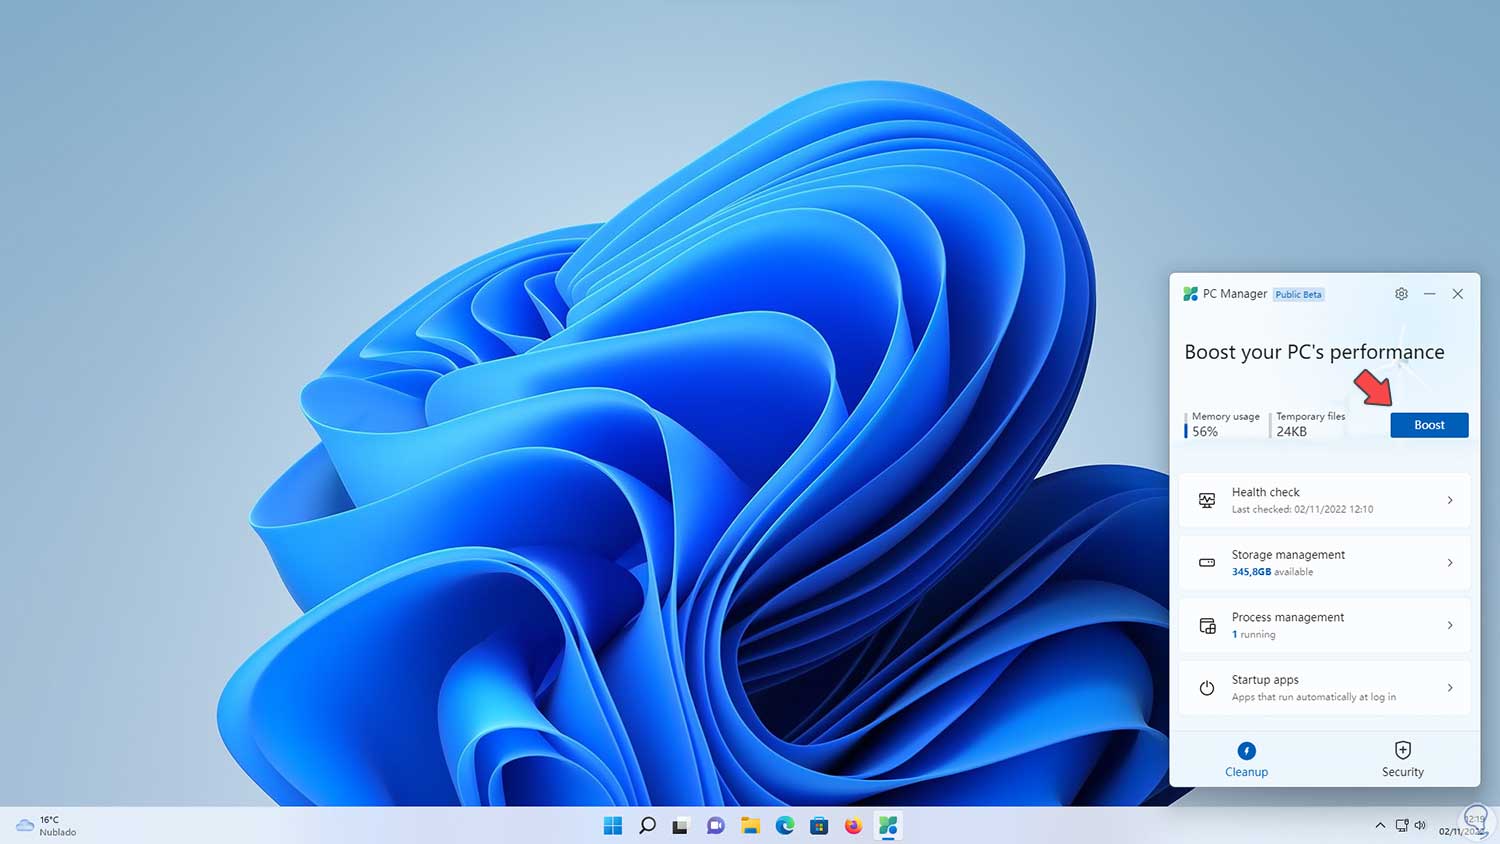
Again in the Cleanup section we will see this:
step 30
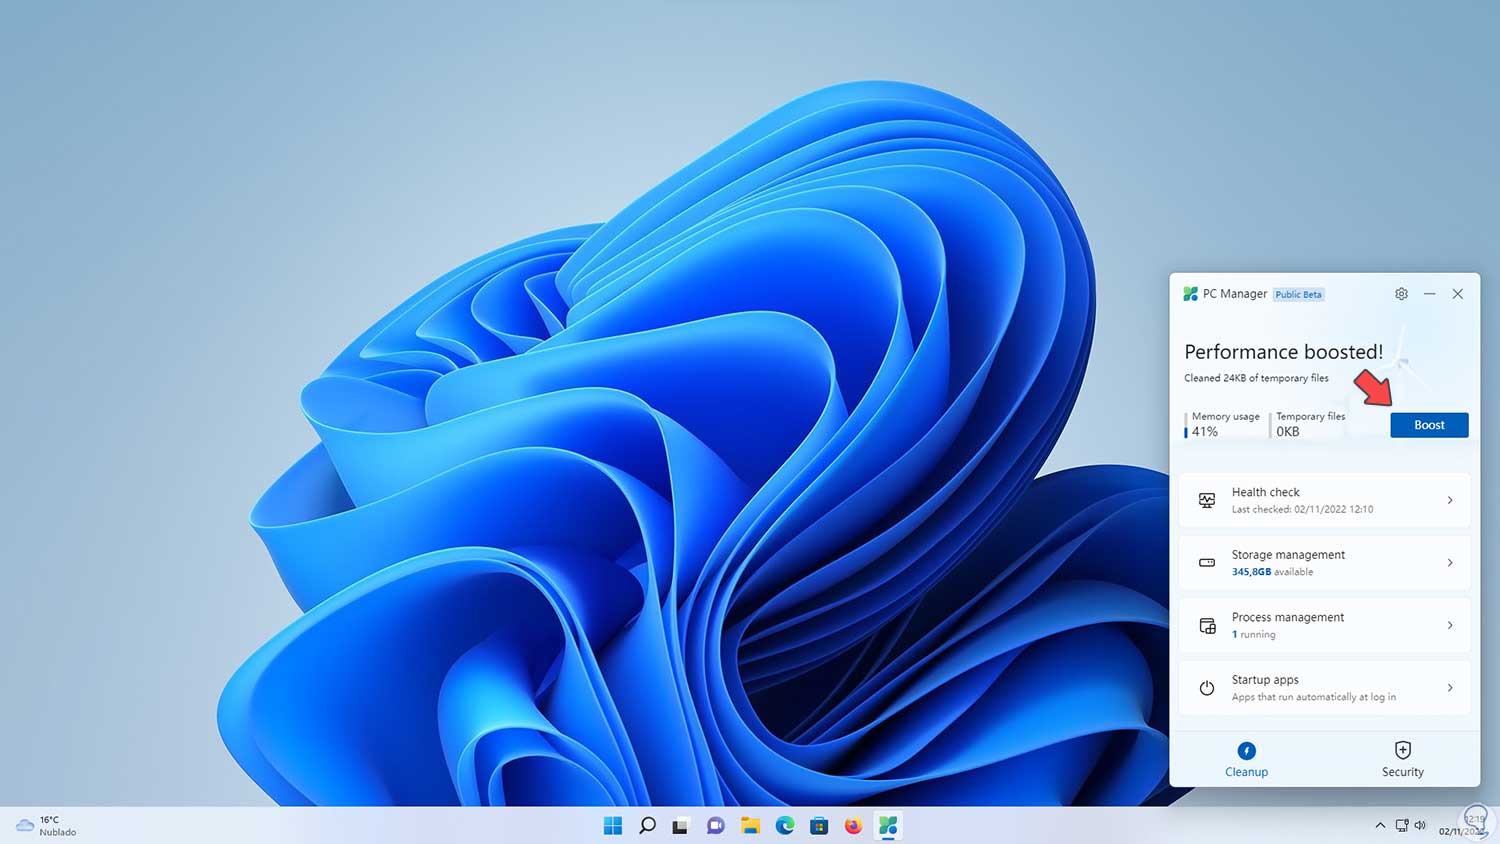
We click on "Boost" to optimize the speed of the system:
step 31
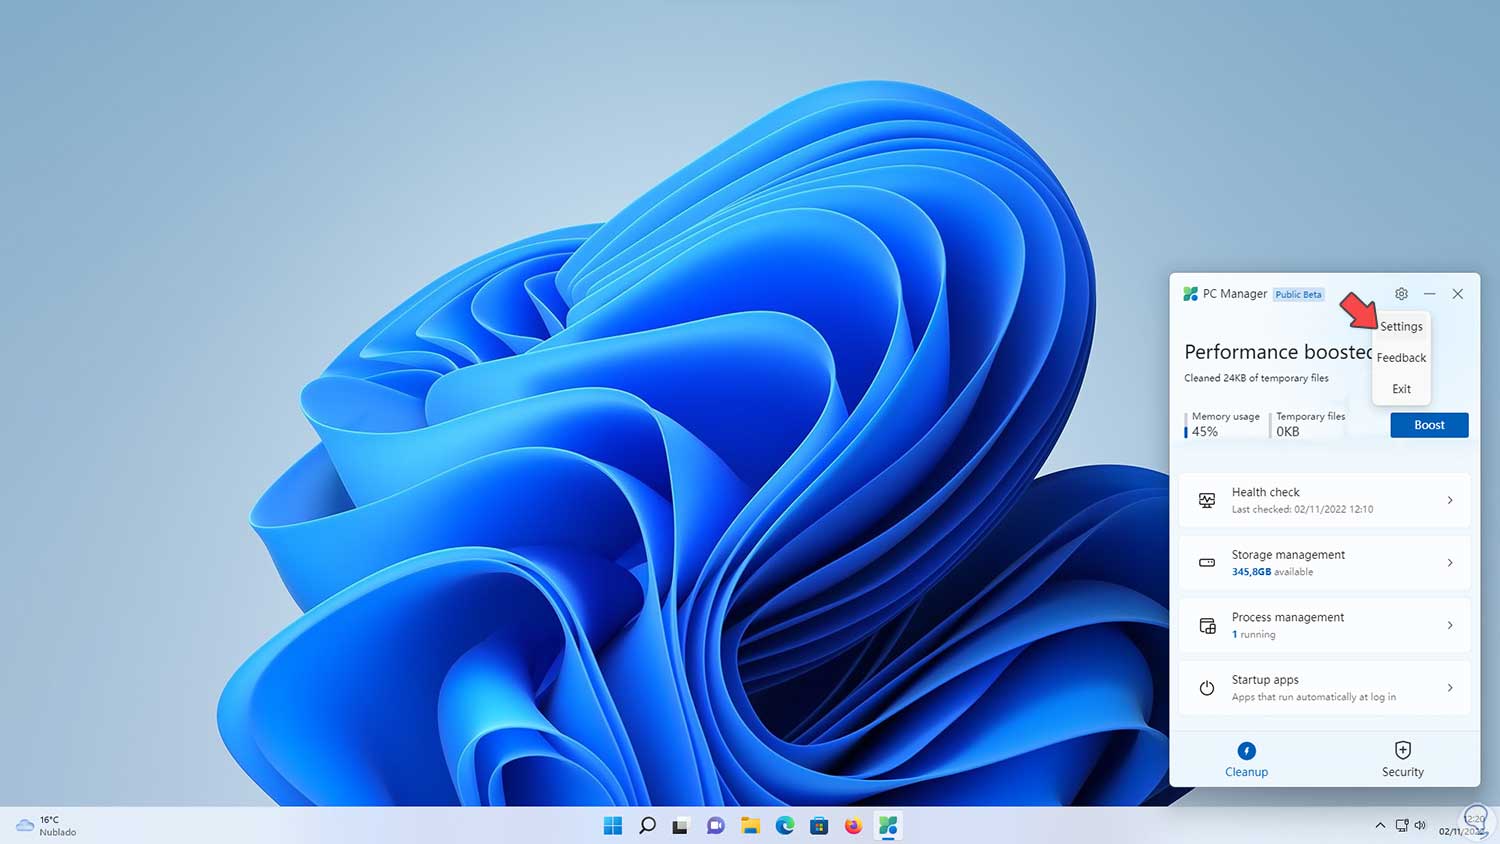
We click on the pinion icon and then click on Settings:
step 32
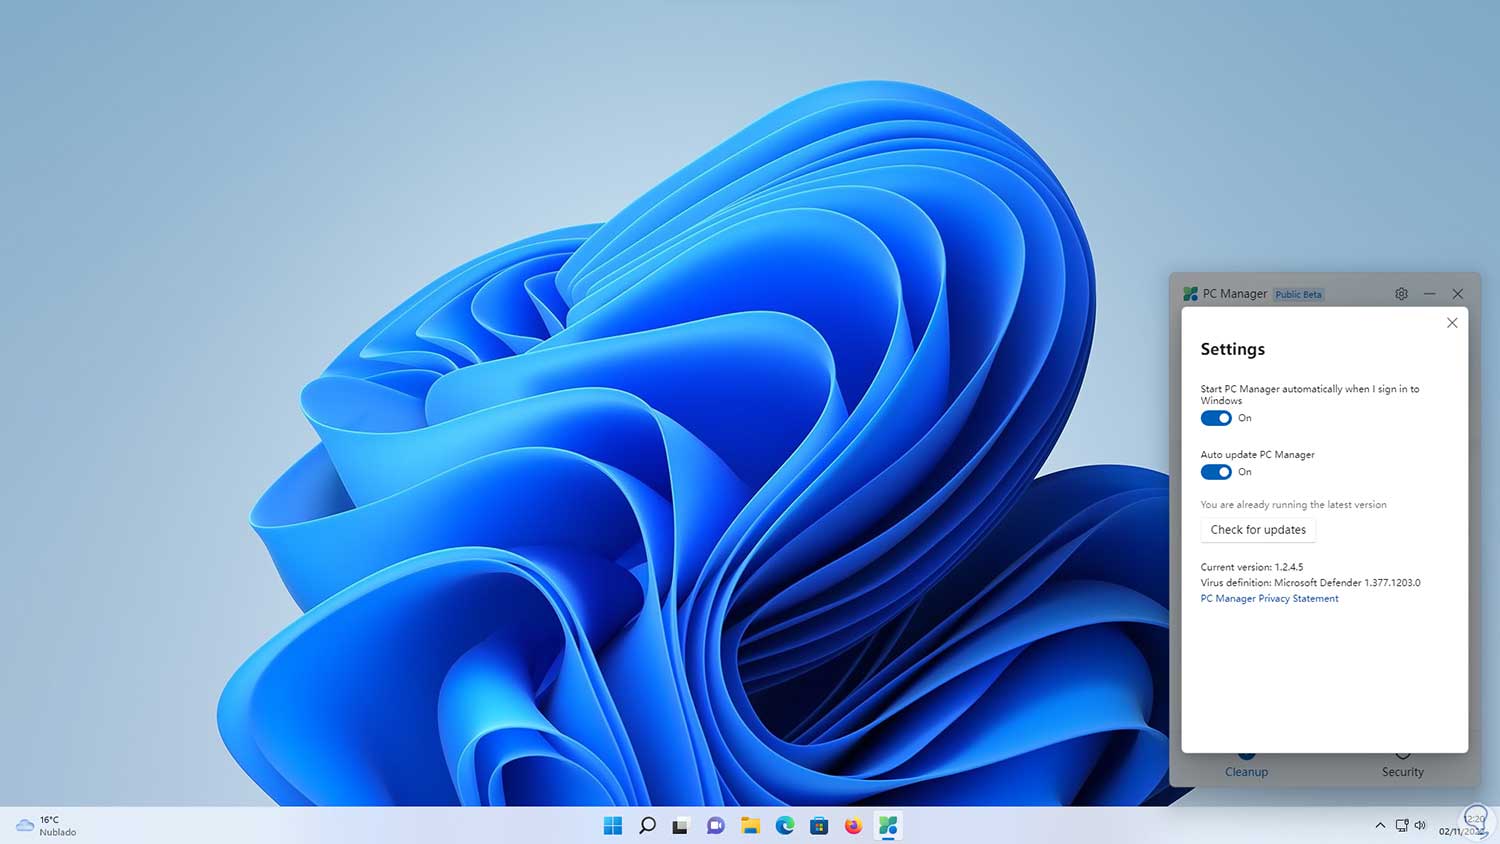
There it is possible to manage some PC Manager options:
We see how this is a valuable utility to manage some essential parts of Windows and improve its performance..