Since 1993, something began that would completely change the way of our day to day and that is that in that year the Mosaic browser was launched giving rise to what we know today as web pages . Because we say that this changes our life, it is simple since today we find more than 1,100 million web pages with all kinds of information, designs, structures, languages ​​and more..
Logically there are professional, intermediate and other amateur websites, but all have the purpose of providing some type of information to the people who visit them. That is why if you want to know how to create a web page today TechnoWikis will explain in a simple way how to do it, using Notepad and HTML as a programming language.
HTML (HyperText Markup Language) is a programming language that allows the development of web pages dynamically with great editing capabilities..
1. How to create a web page in Notepad
Step 1
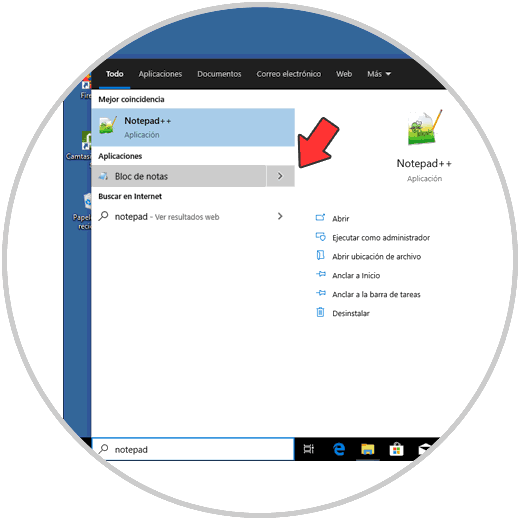
To access the notebook we can use one of the following options:
- Use the Windows + R keys and execute the “Notepad†command
- Use Cortana or the Windows 10 search box.
Step 2
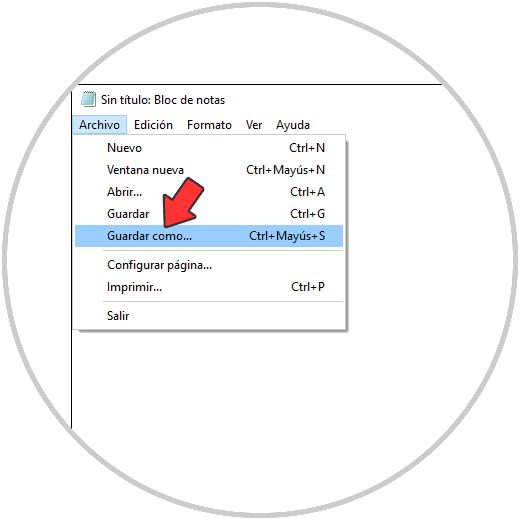
Once we open the notebook, we will go to the File menu and there we select “Save As†or we can use the Ctrl + Shift + S keys:
+ Shift + S Ctrl + Shift + S
Step 3
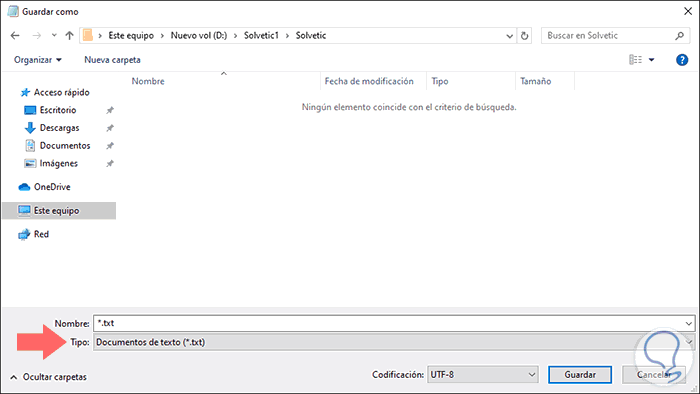
By clicking there we go to the route where it is to be saved and by default we will see the following:
Step 4
As it is the notebook, we can see that the default value is .txt, to edit this, we display the options in the Type field and select “All filesâ€. We assign the name of the file followed by the extension .html:
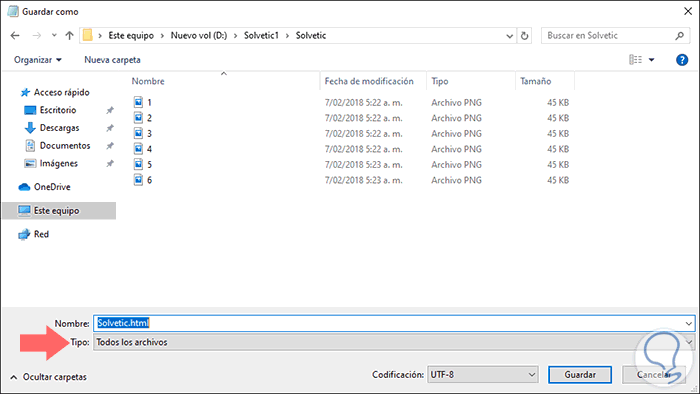
Click on "Save" to apply the changes.
2. See website structure
Step 1
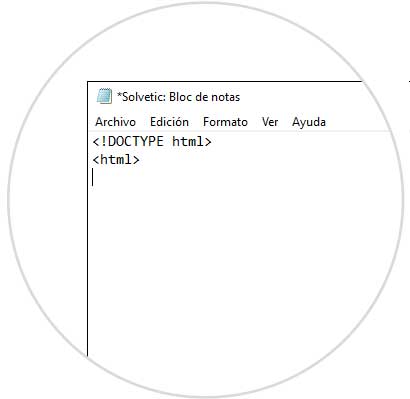
Once we save the file with the extension .hmtl, it is time to proceed with its editing by adding the HTML language tag for the web page. To do this we enter the following:
<! DOCTYPE html> <html>
Step 2
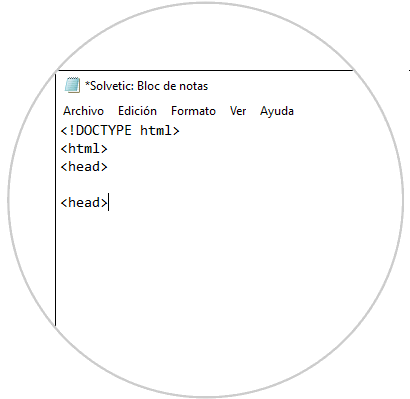
Now we are going to add the heading tags or “headsâ€, the objective of these tags is to mark the beginning and end of the title of the page to be created. To do this we will type <head> after the tag "<html>", press the Enter key twice in order to leave a space and then write again </head>:
Step 3
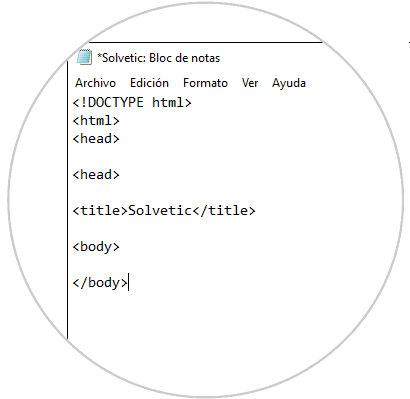
The next step will be to add the title of the web page, this title will be located between the "<title> </title>" tags, and goes under the "head" tags as follows. The assigned title will be the one we will see in the browser tab.

Step 4
It's time to add the "body" tags which go under the </title> tag and the body's function is to allow the web page code to go between these tags and be visible to the user:
<body> </body>
Step 5
The next step will be to close the HTML language tag, this is the last tag in the file and it is an HTML tag which indicates the end of the page. For this we will write </html> under the tag "</body>" with the aim of closing the HTML tag:
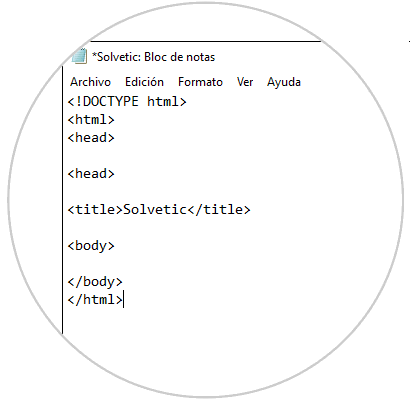
We save the changes using the Ctrl + G keys or from the File / Save menu..
Step 6
It is time to add the elements to the web page in progress, all these elements must go after the "<body>" tag and before the "</body>" tag to be visible.
The first element to add will be the main header of the web page, for this we enter <h1> </h1> between the tags of "<body>" and enter <h1> </h1> digitize the desired text:
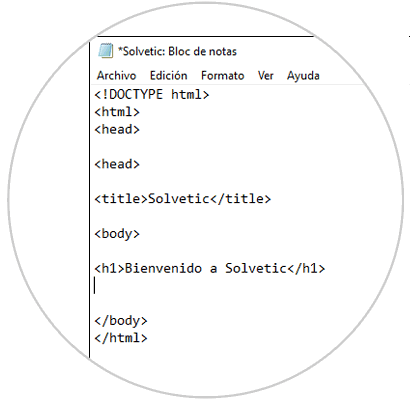
With this HTML language we can use the tags "<h2> </h2>" to "<h6> </h6>" in order to create the header text with smaller dimensions.
Step 7
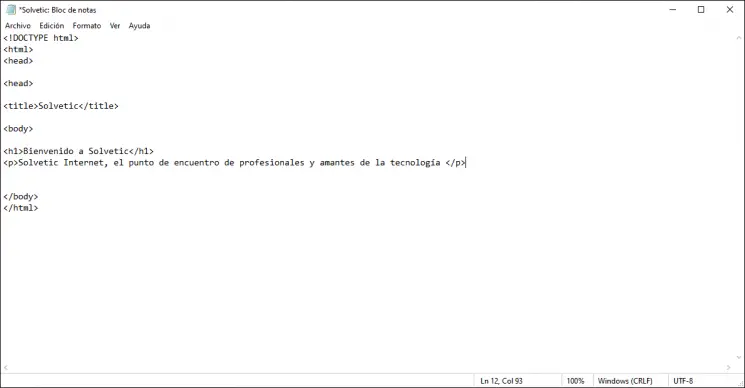
Next we will add paragraphs to the web page, the paragraph tags are "<p> </p>" and among them we will enter the text of the site:
<p> TechnoWikis Internet, the meeting point for professionals and technology lovers </p>
Step 8
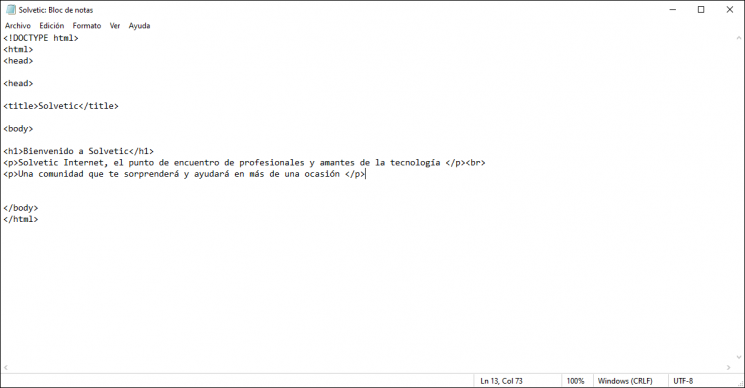
To add a paragraph break on the page, we must enter <br> after the closing tag of the line we have added, for example:
<p> TechnoWikis Internet, the meeting point for professionals and technology lovers </p> <br> <p> A community that will surprise you and help on more than one occasion </p>
Note
We can add an additional "<br>" tag to create a space between the first paragraph and the second.
Step 9
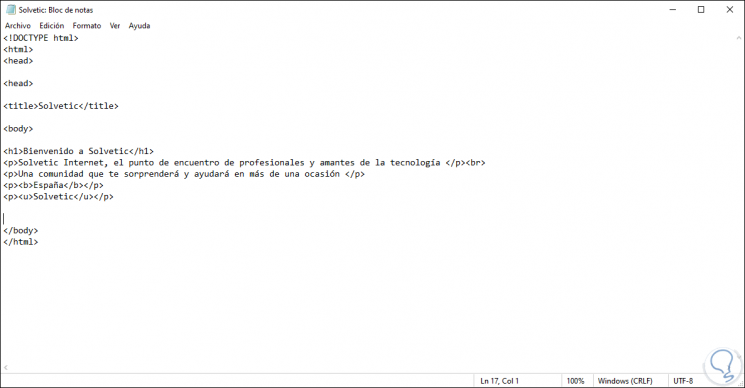
Now it is time to format the text entered as bold, italic, superscript, subscript or underlined, the available tags will be:
<b> Bold text </b> <i> Italicized text </i> <u> Underlined text </u> <sup> Superscript text </sup> <sub> Subscript text </sub>
3. How to validate web page
Step 1
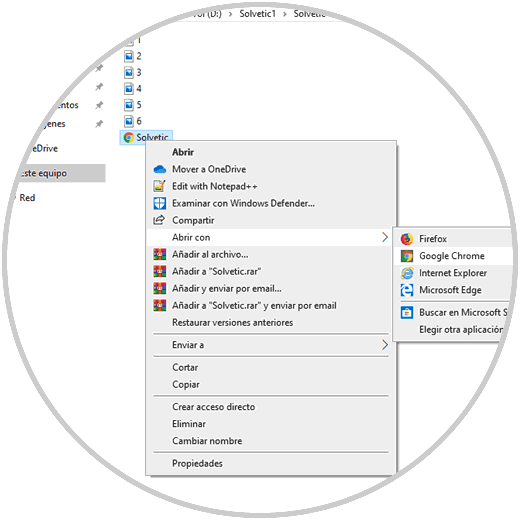
To validate that everything works as expected we go to the path where the HTML file has been saved, right click on it and select Open with and choose the desired browser:
Step 2
By clicking there we will see the structure we have created:

That's how simple you have learned to create a web page in Notepad (Notepad) with TechnoWikis and thus be able to create a basic website for multiple tasks you may need.