Today there are two essential environments for millions of users in the world and they are the operating system itself, in our case Windows 10/11 and a mobile environment from where it is possible to execute hundreds of actions, but the problem is that we cannot always using a mobile environment on our PC and the reason is simple, Android cannot be run on Windows NTFS system, but this is solved thanks to BlueStacks..
BlueStacks has developed the BlueStacks App Player and this is an emulator of the Android operating system to make it compatible on Windows without doing advanced technical steps, so that with this it will be possible to play mobile games directly from the PC through our keyboard and mouse, Some of its advantages of the latest version of BlueStacks are:
- 50% less RAM usage by optimizing games
- More than 2 million games in your library
- Shooting mode with the F1 key
- MOBA mode with faster responses
- Multi-Instance which allows you to play multiple games simultaneously
- Multi-instance synchronization
- Macros for recording and replaying one-key actions
- Smart controls for any Android game
- Available Performance Modes
- Scripts to automate tasks
- High definition graphics available for Full HD, QHD and UHD
TechnoWikis will explain how to install BlueStacks on PC in a simple way.
To stay up to date, remember to subscribe to our YouTube channel!
SUBSCRIBE ON YOUTUBE
How to install BlueStacks on PC
Step 1
We will go to the BlueStacks URL in the following link:
BlueStacks
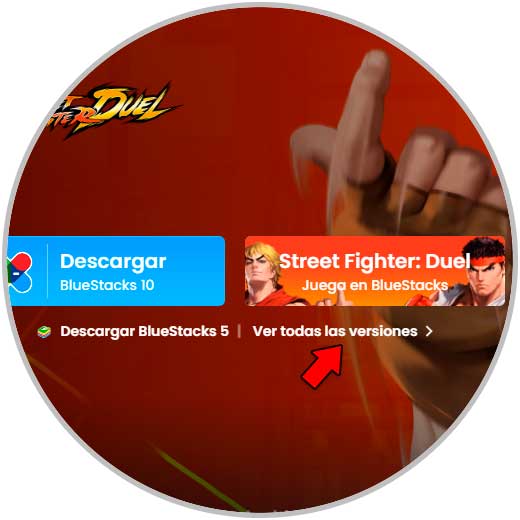
Step 2
We click on "See all versions" to see the following:
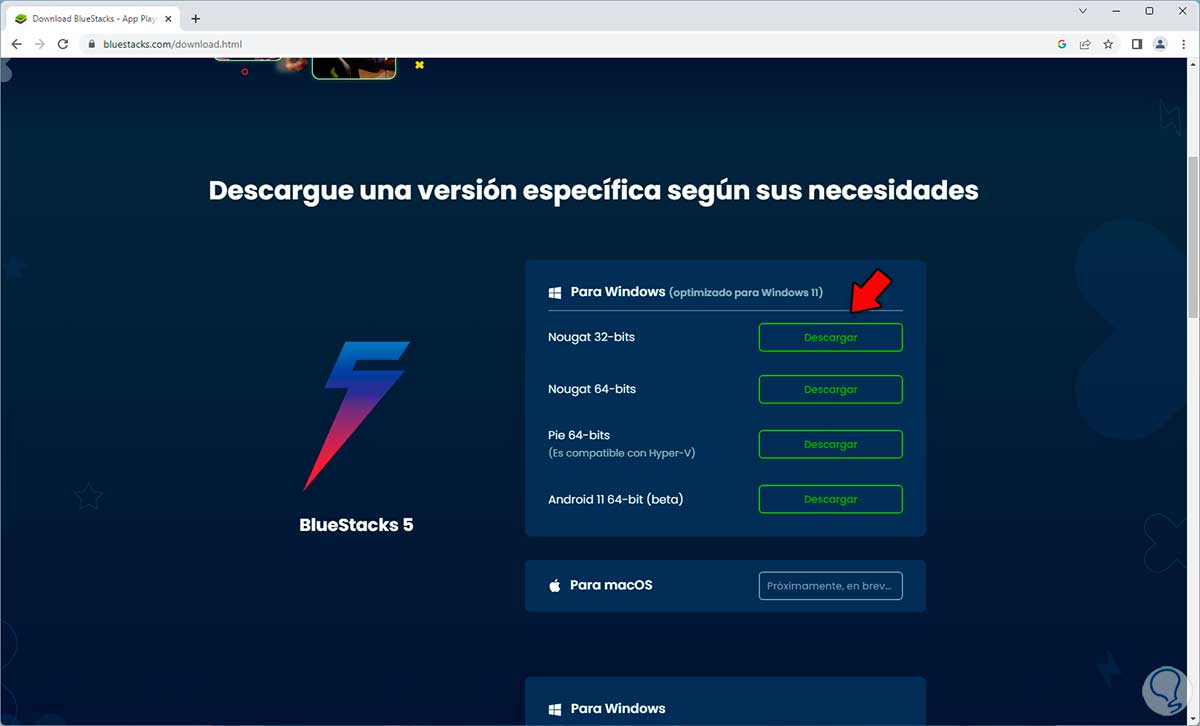
Step 3
We downloaded the 32-bit version (for compatibility) of BlueStacks 5, this reason is because the 32-bit version is compatible with all functions and games while the 64-bit version can be somewhat more demanding, once downloaded we run the file and we will see this:
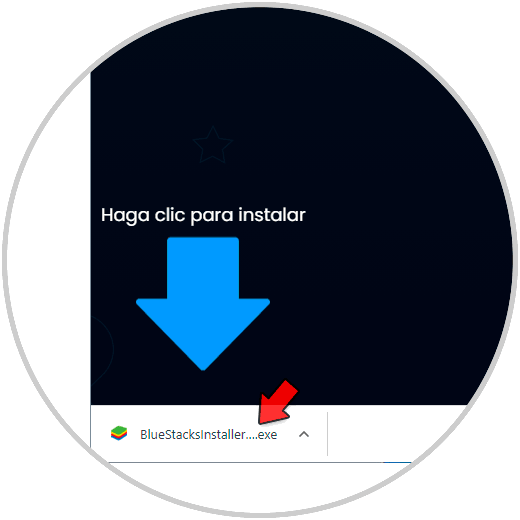
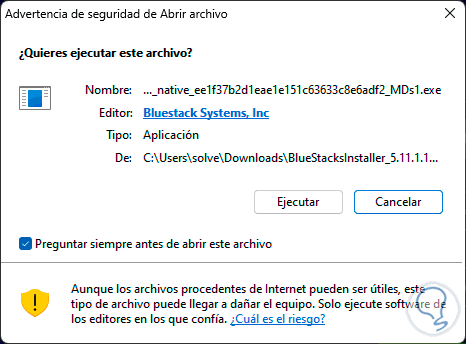
Step 4
Click on "Run"
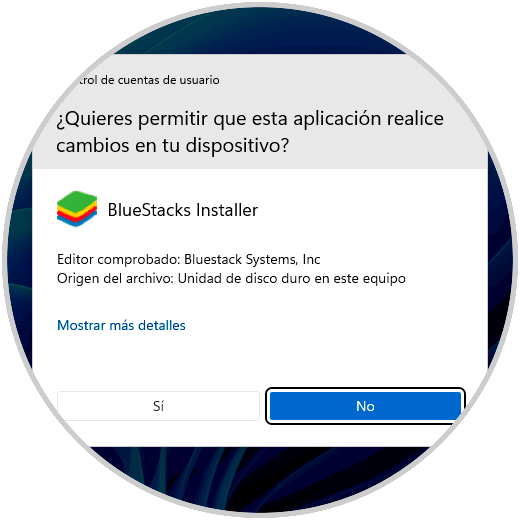
step 5
We must confirm UAC:
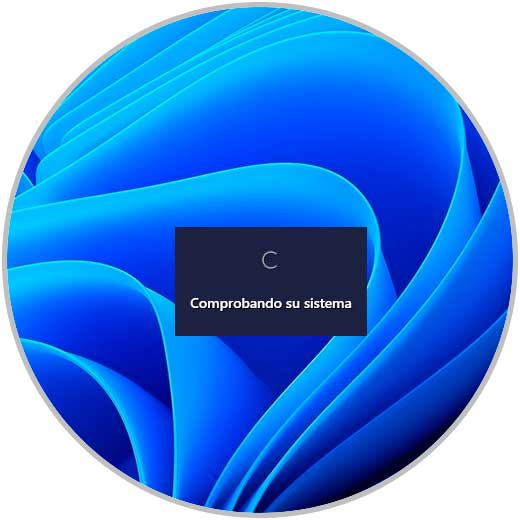
step 6
The system will be checked before launching the installation wizard: The wizard will open:
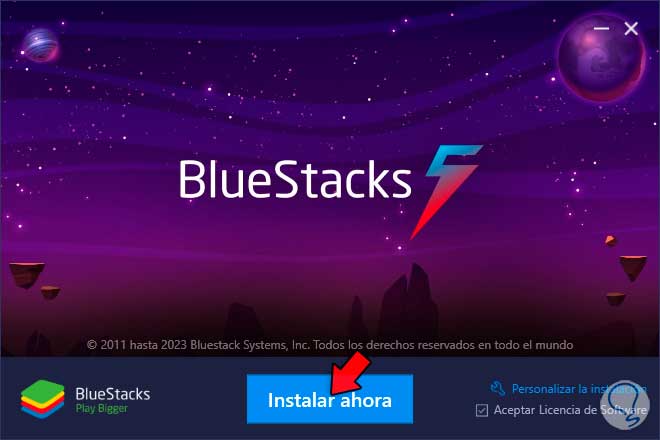
step 7
We click on "Install now" and wait for the process to finish:
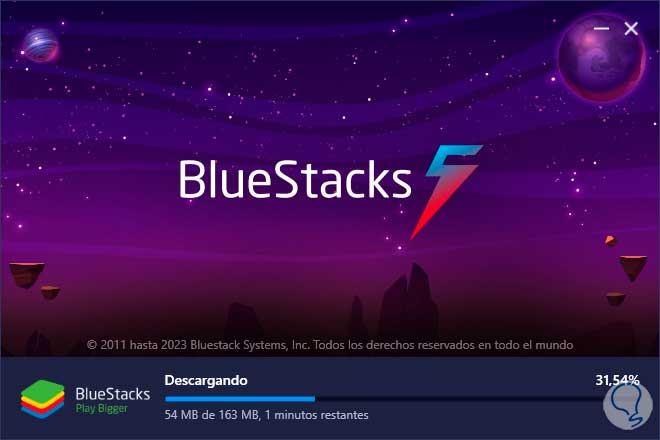
step 8
We must wait for the step by step of the process:
step 9
When finished, the files will be extracted:
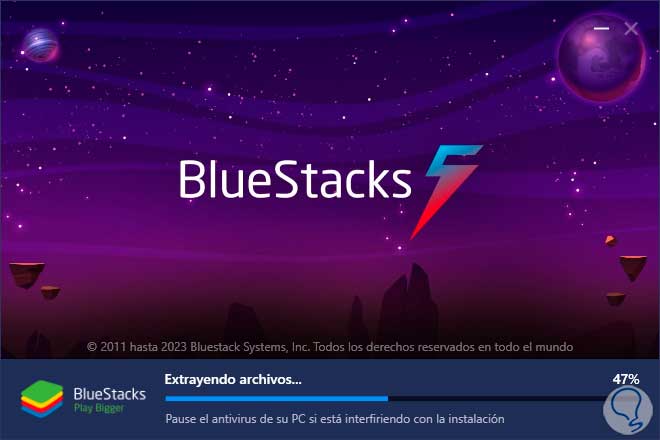
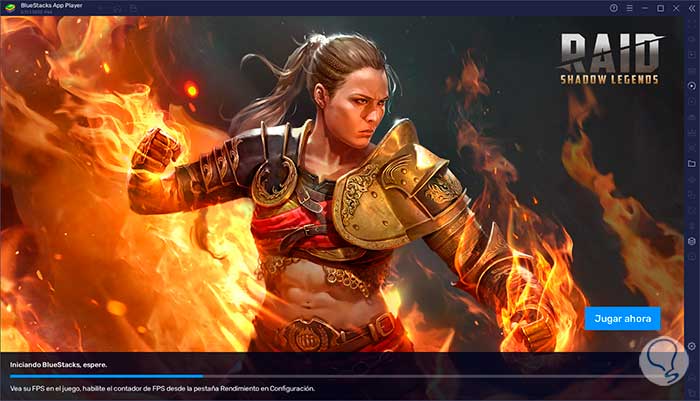
step 10
BlueStacks will automatically open:
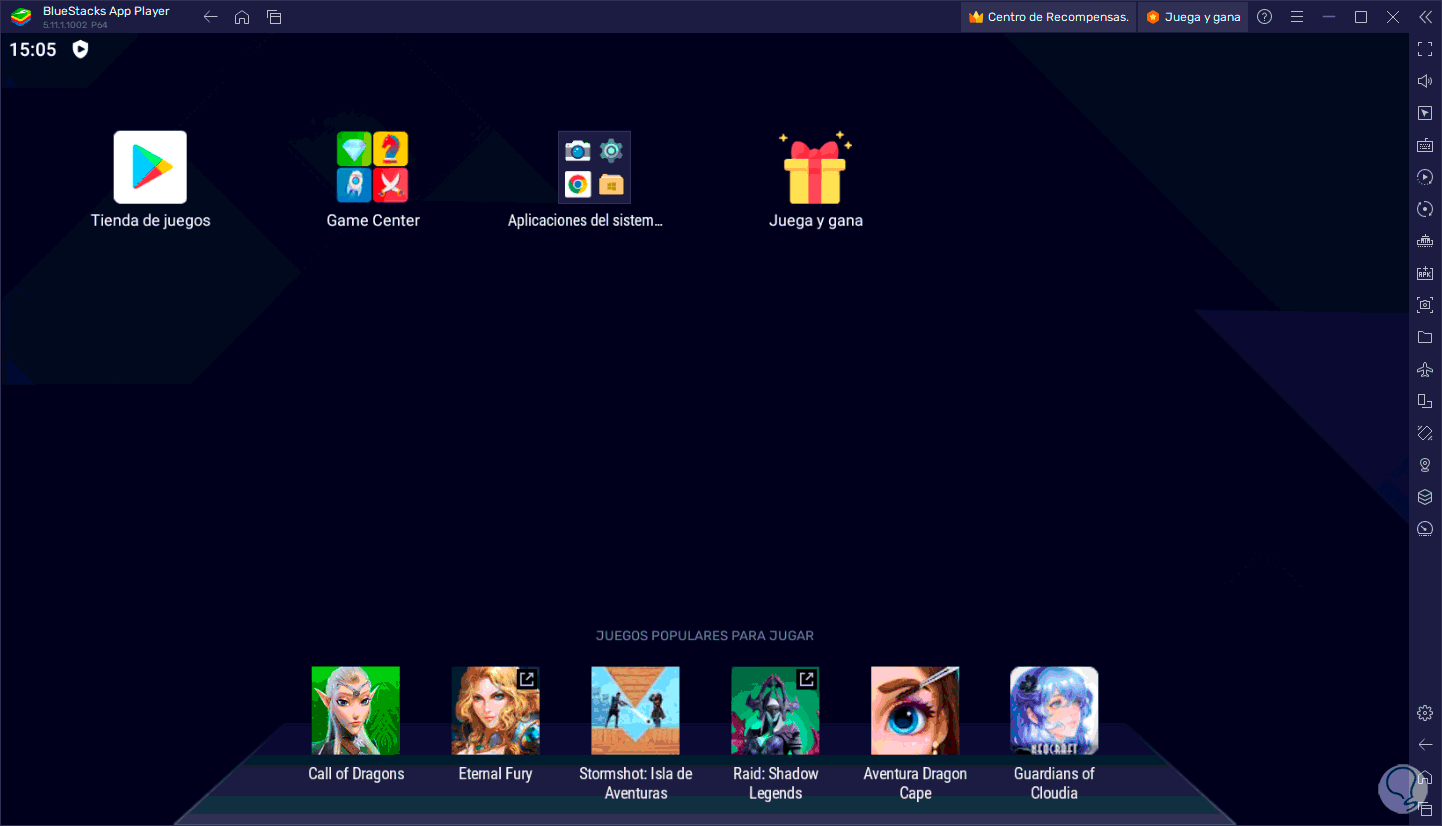
step 11
We will have access to the BlueStacks platform:
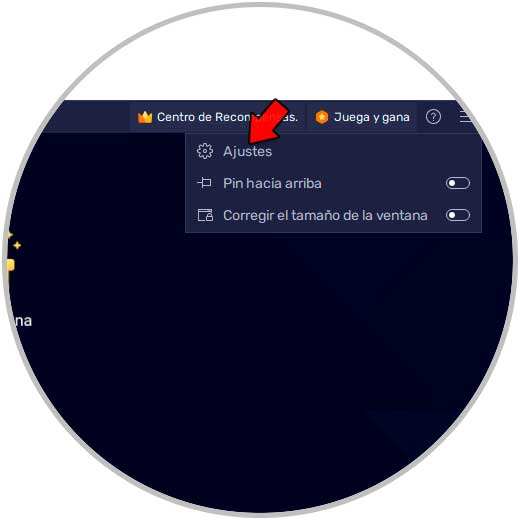
step 12
We click on the top menu and select "Settings":
step 13
There we will have access to each of the application options:
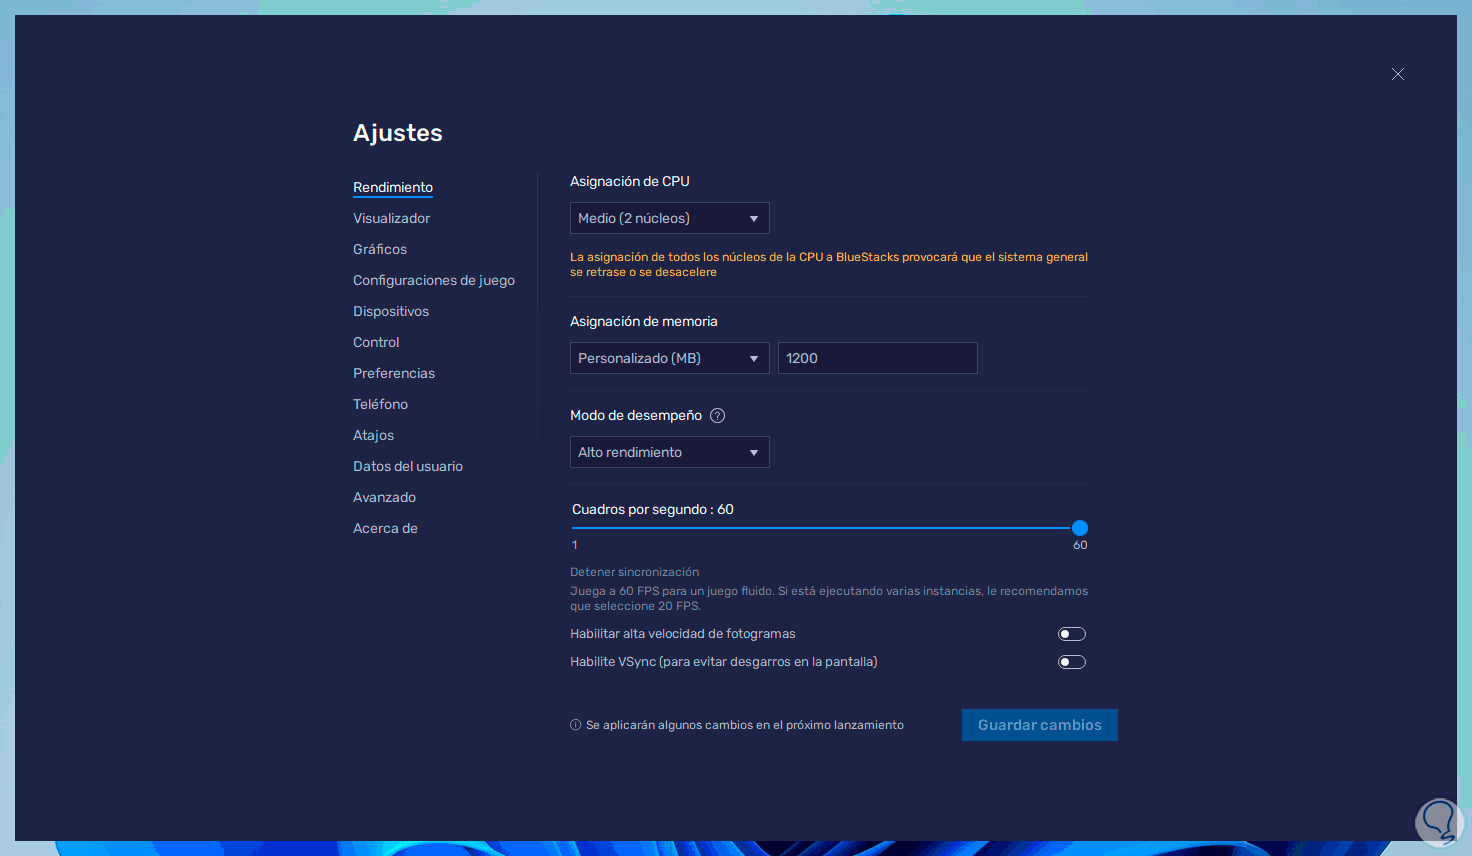
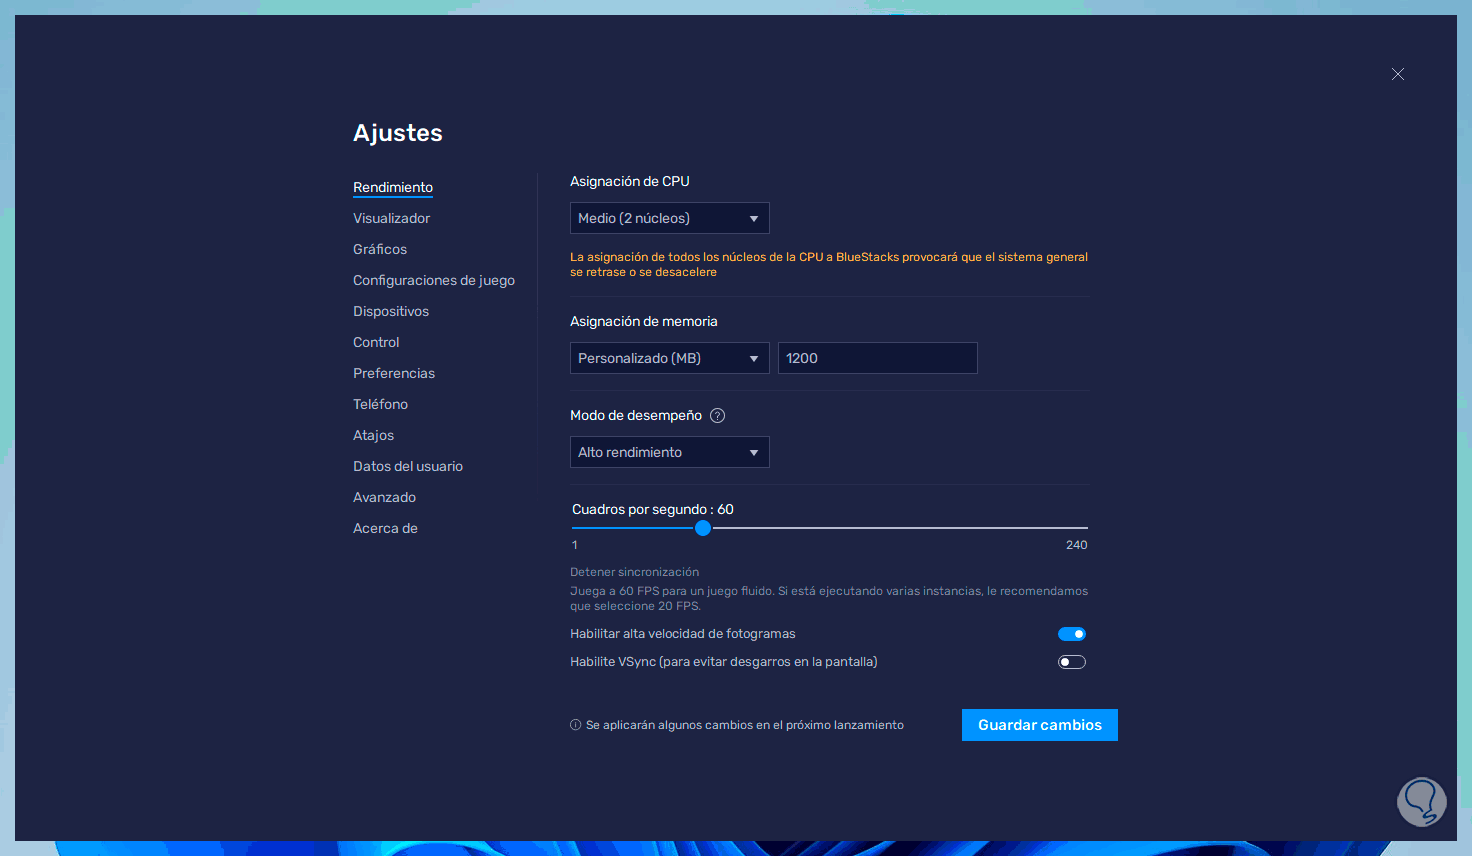
step 14
In the "Performance" section it is possible to:
- Assign the number of cores to use
- RAM to use for BlueStacks
- Number of frames per second or FPS
- Option to enable high frame rate for better performance
- VSybc function to improve screen resolution
step 15
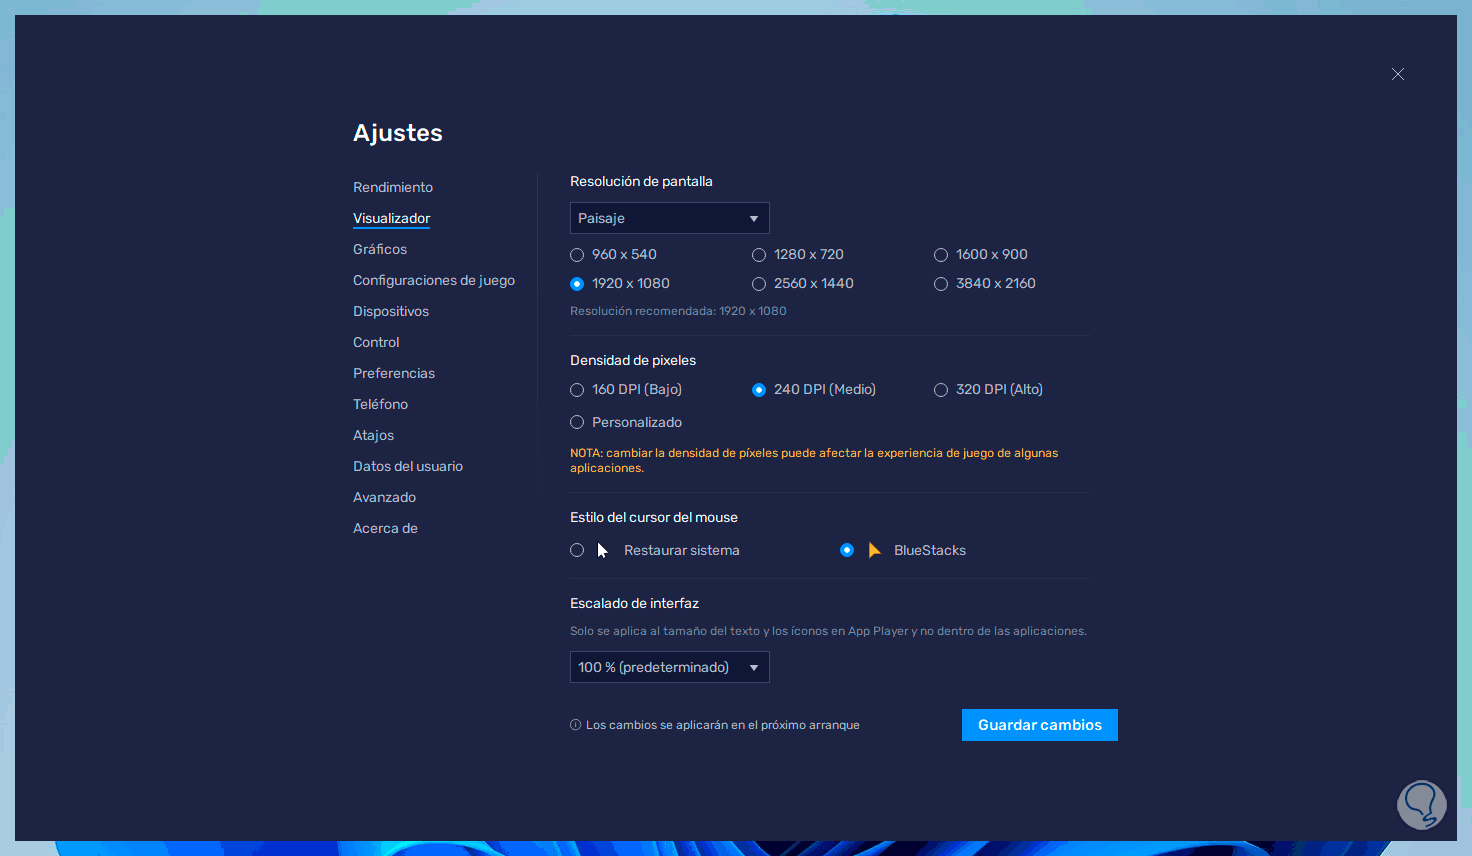
In "Viewer" it will be possible:
- Define the screen resolution to use
- Manage the amount of pixel density
- Interface Scale Assignment
step 16
We click on "Save changes" and we will see the following:
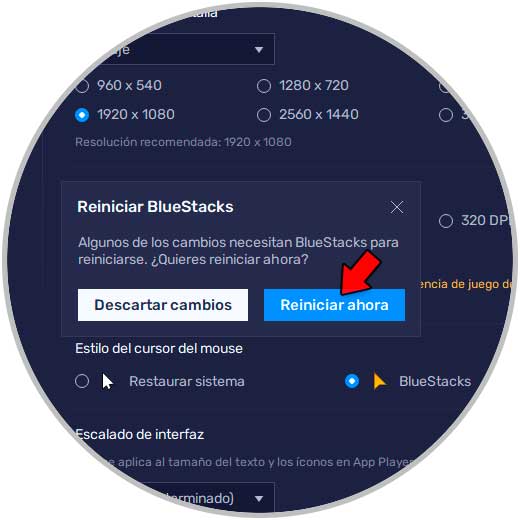
step 17
We click on "Restart now" to apply the changes.
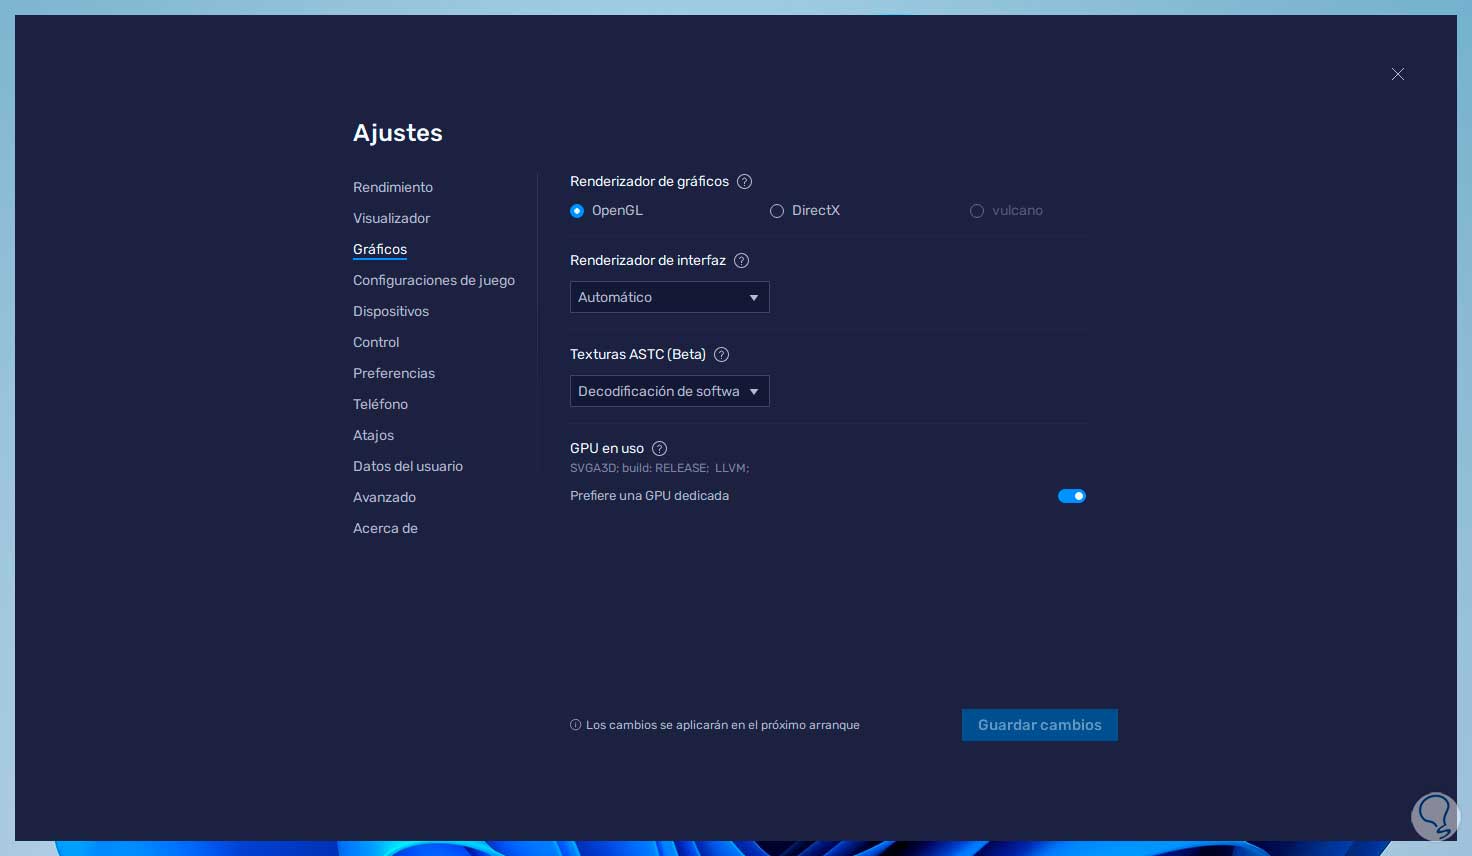
Again we go to Settings and in "Graphics" it will be possible:
- Select the graphics renderer
- Assign the interface renderer
- Option to assign a dedicated GPU
step 18
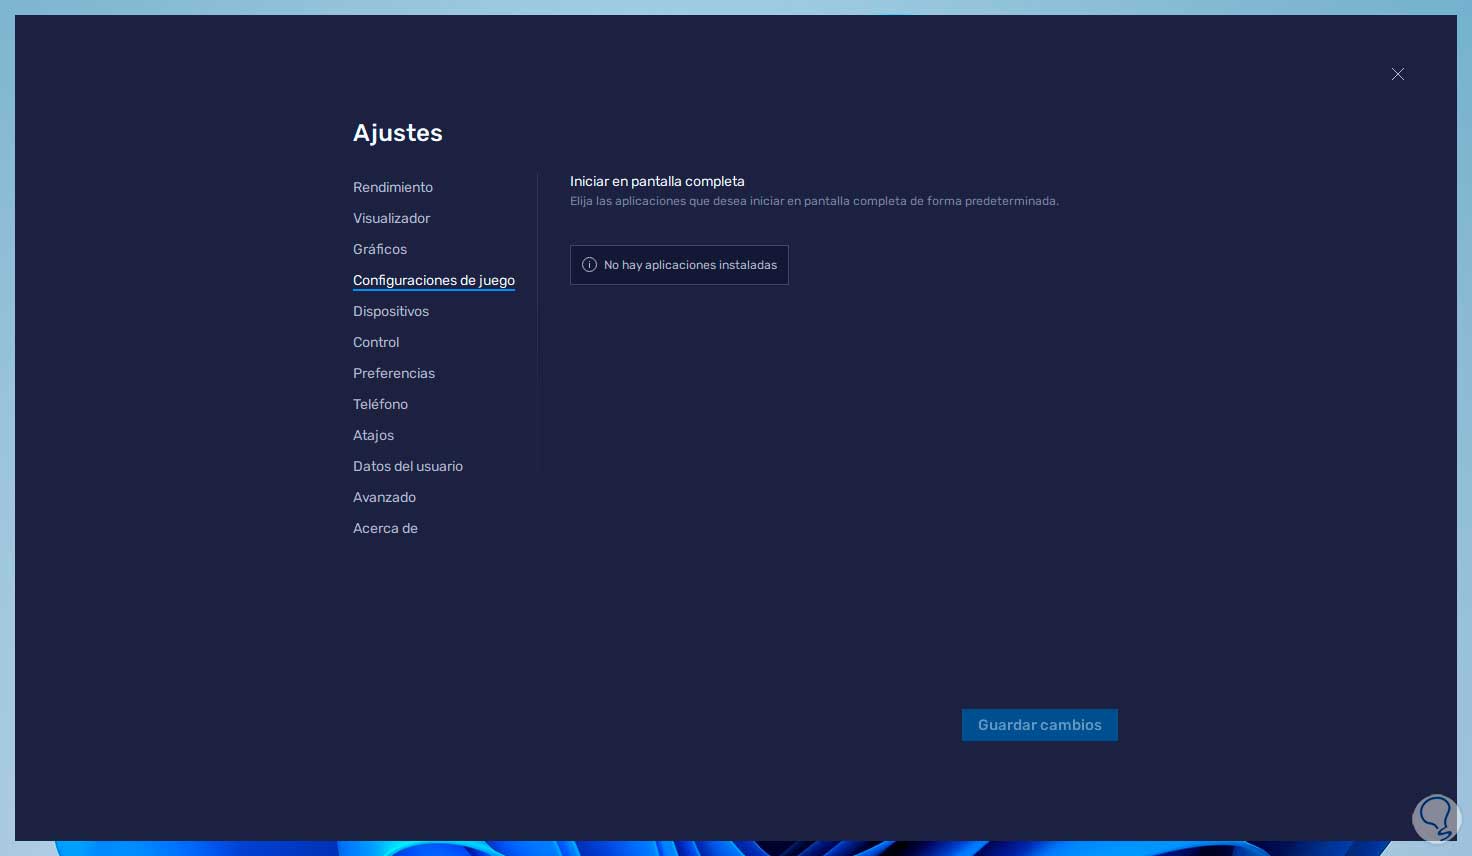
In "Game settings" it will be possible to manage the applications installed on the system:
step 19
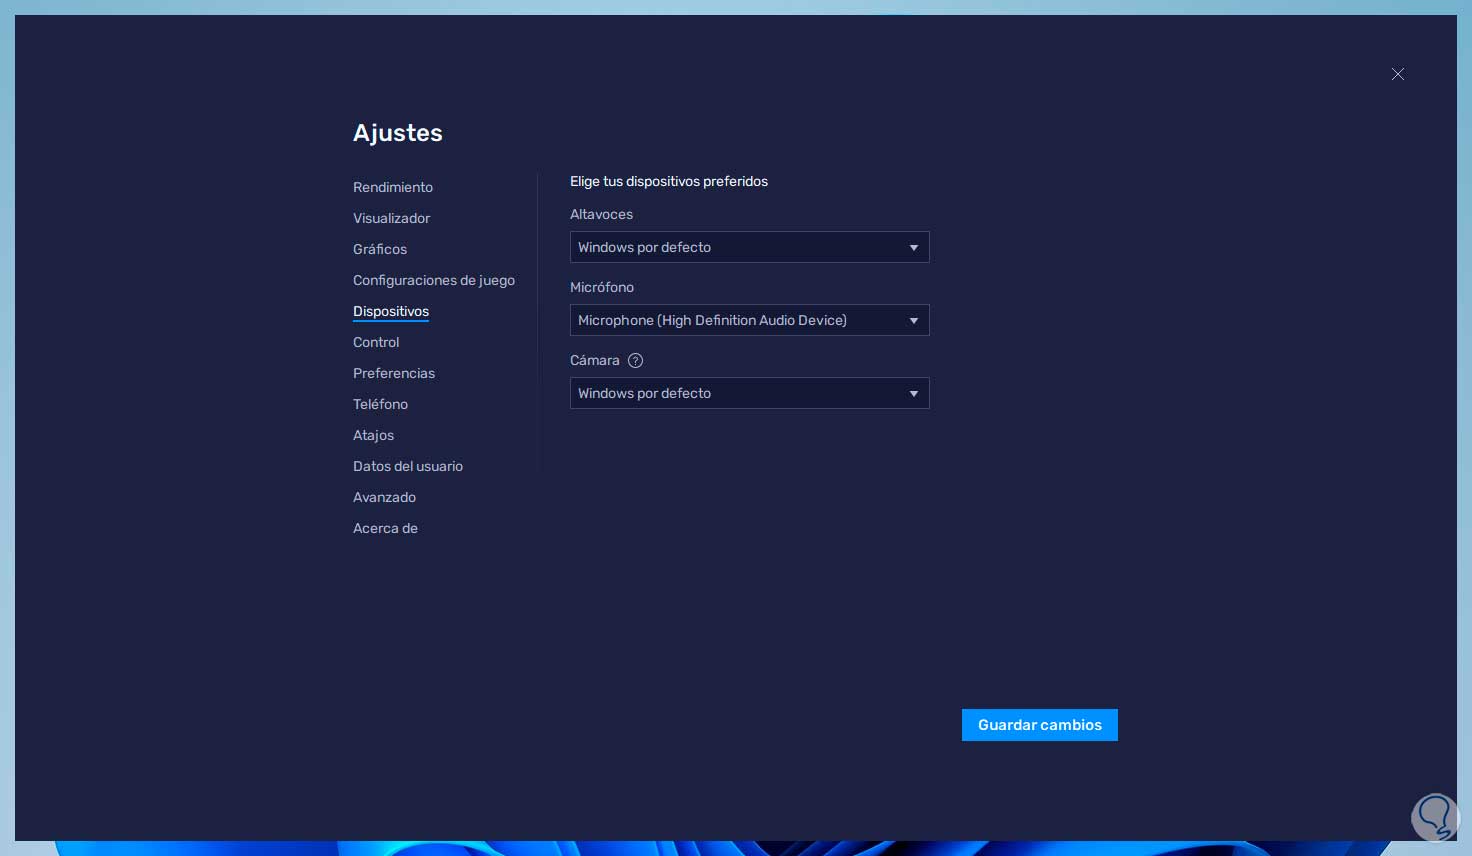
In "Devices" we will have the possibility to assign which medium to use for camera, microphone and speakers:
step 20
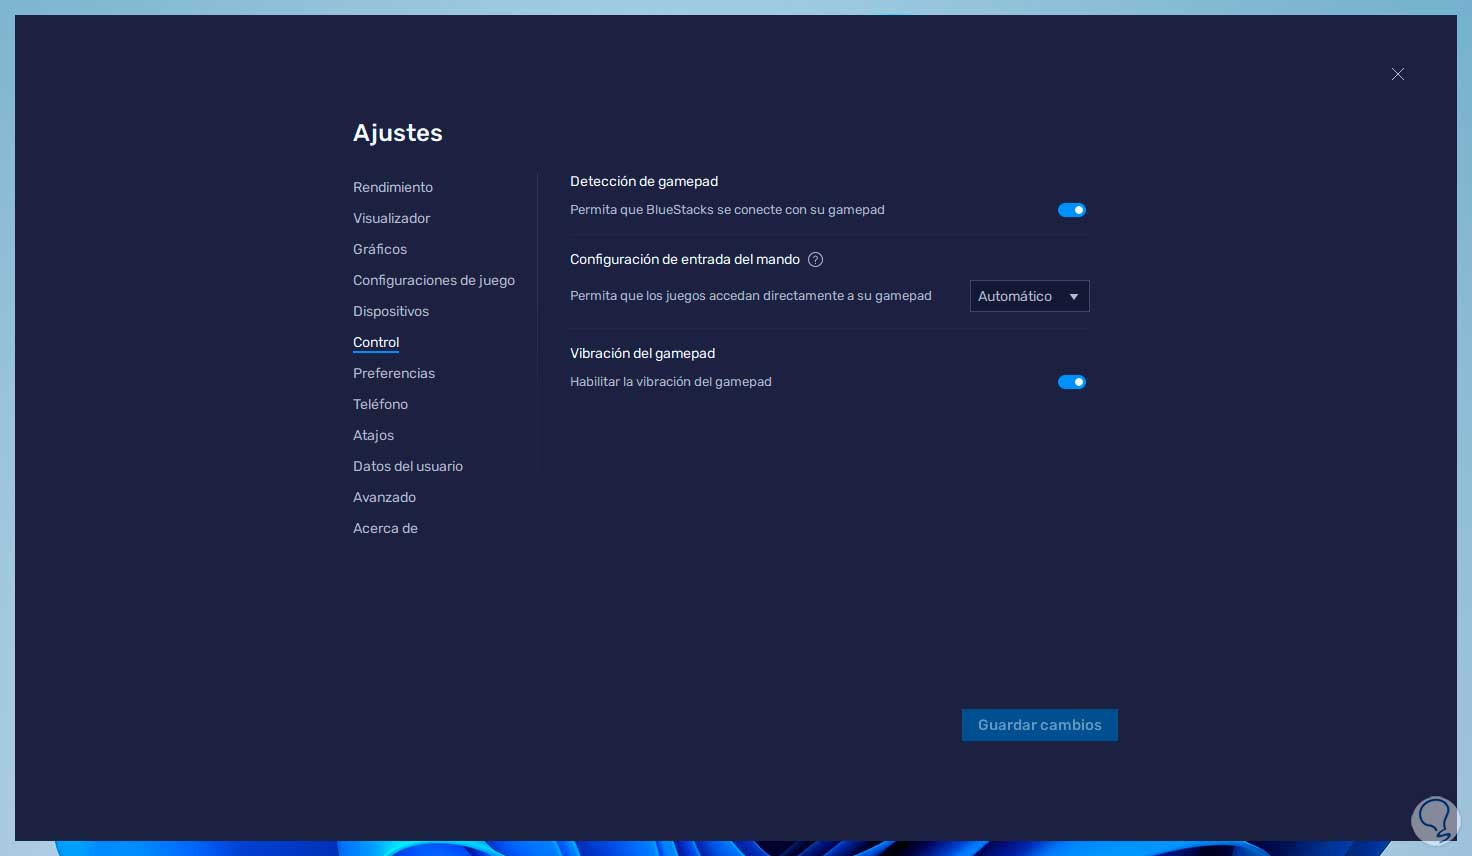
In "Control" we will be able to:
- Enable BlueStacks connectivity option with gamepad
- Activate or not the vibration of the gamepad
step 21
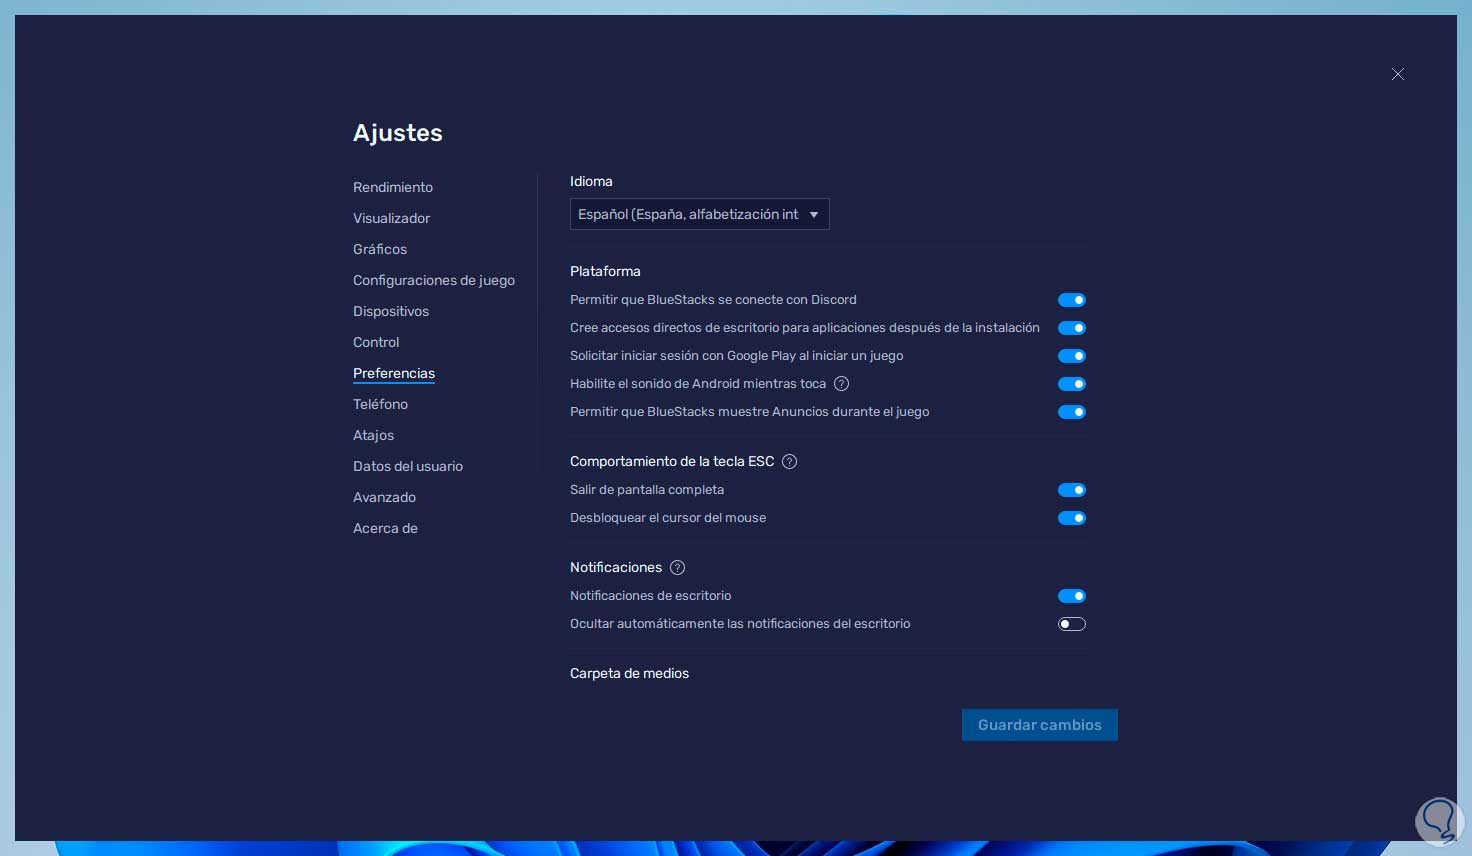
In the "Preferences" section it is possible to:
- Activate platform options
- Adjust the use of the Esc key
step 22
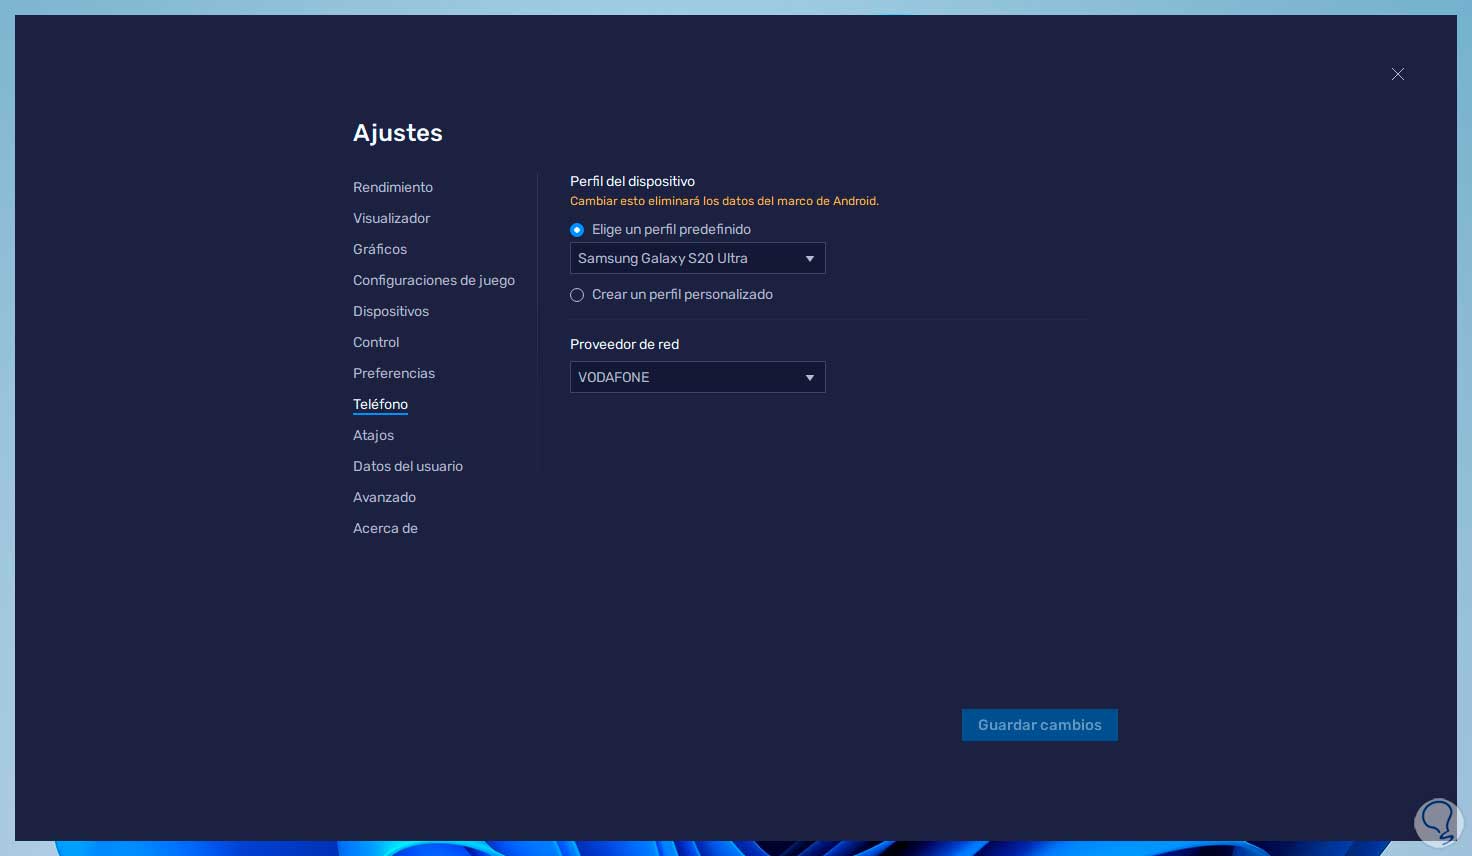
In the "Phone" section we can assign the desired profile for the use of BlueStacks:
Step 23
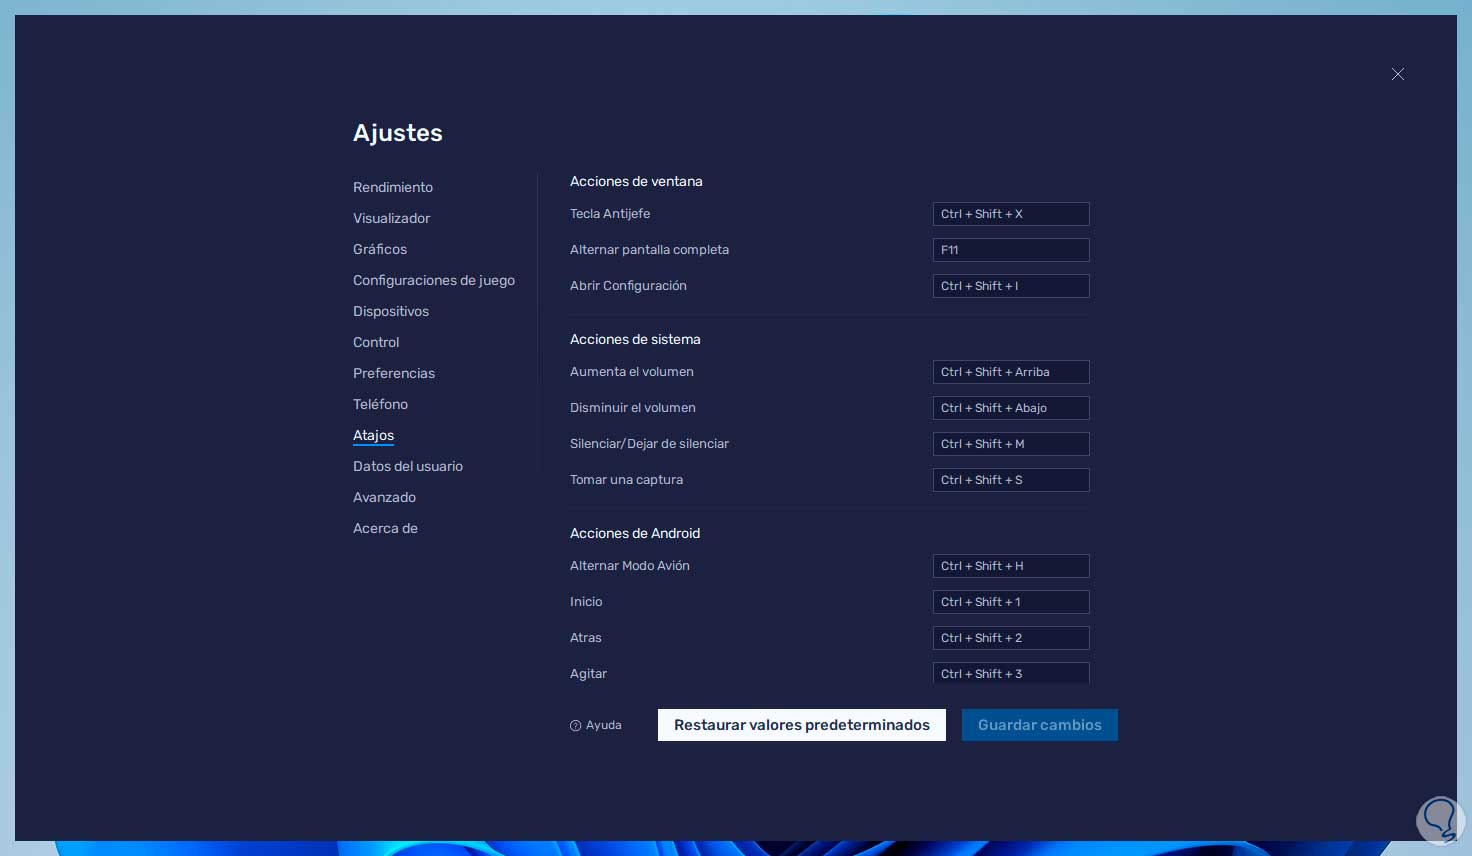
In "Shortcuts" we can see the default shortcuts for BlueStacks actions or create our own shortcuts if necessary:
step 24
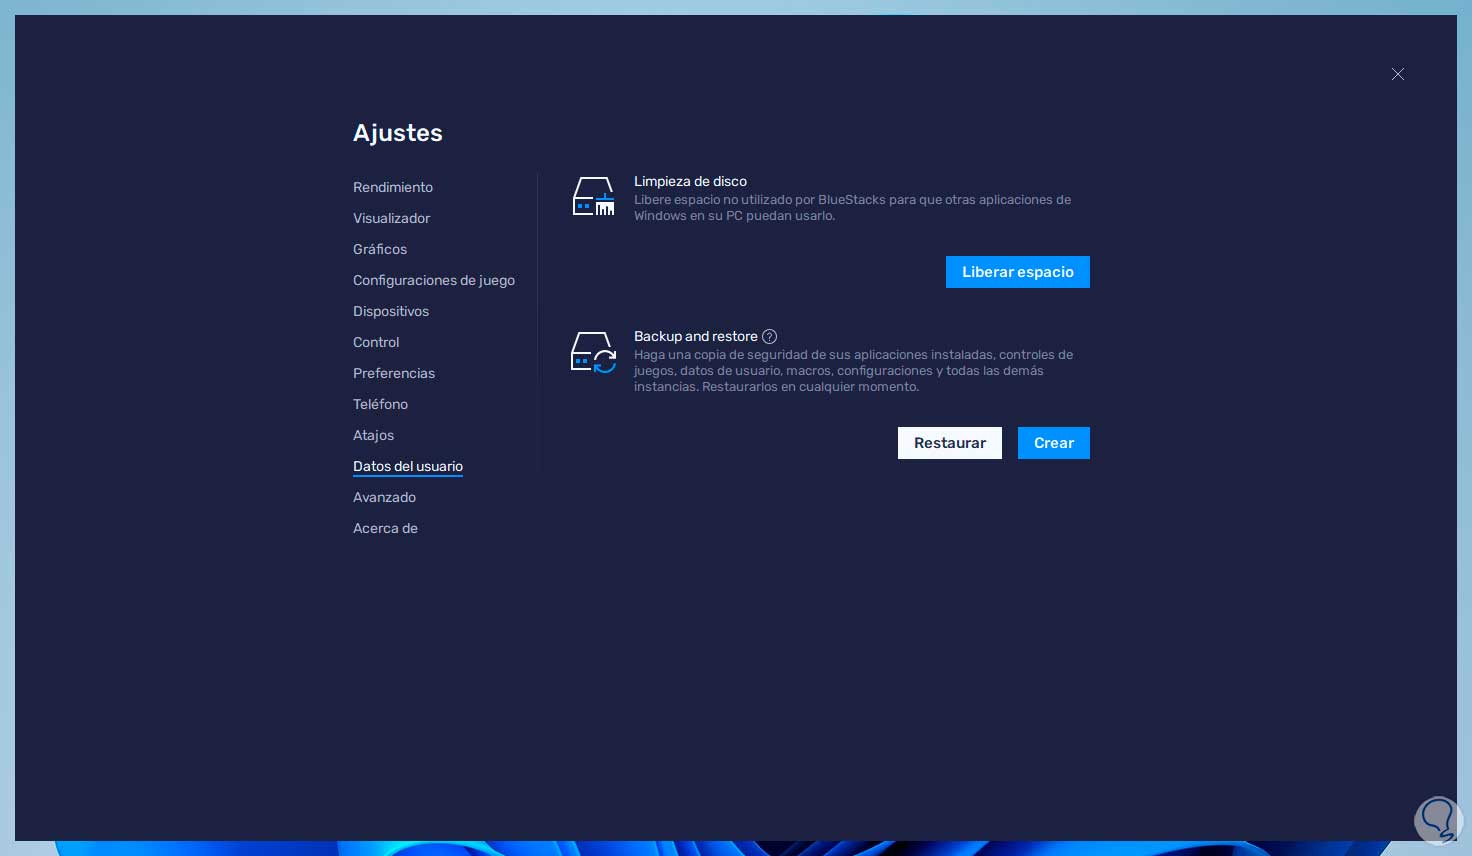
In "User data" we have the possibility of freeing up space on the hard drive or creating or restoring backup copies:
step 25
In "Advanced" it will be possible to carry out Android debugging points, see the binary interface of the simulated mobile or activate input debugging:
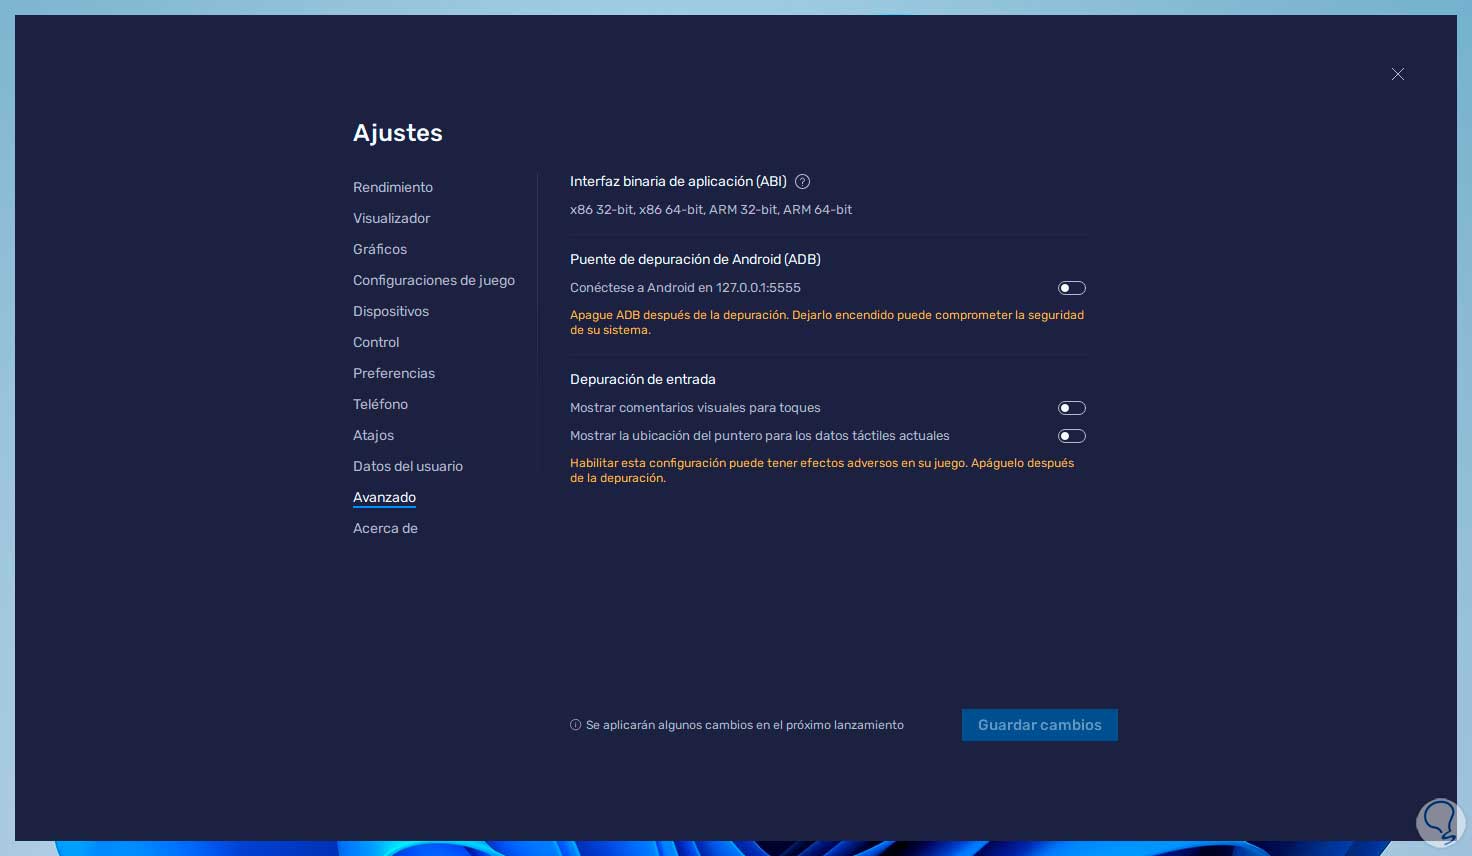
Step 26
Finally, in "About" we can search for updates or have access to the URLs of the application:
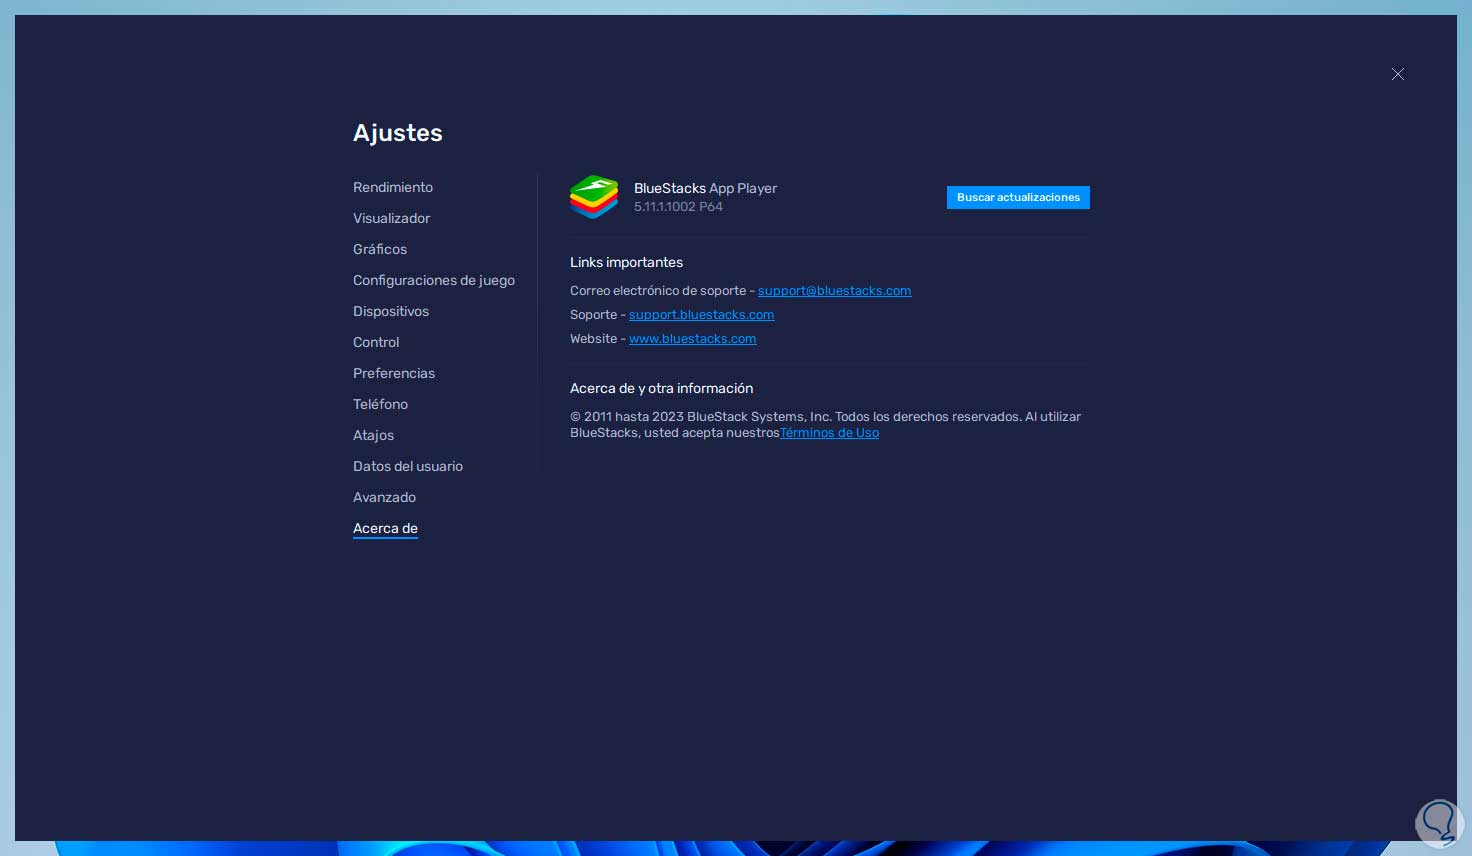
Step 27
On the central screen it will be possible to access some of the options to explore and download games and applications:
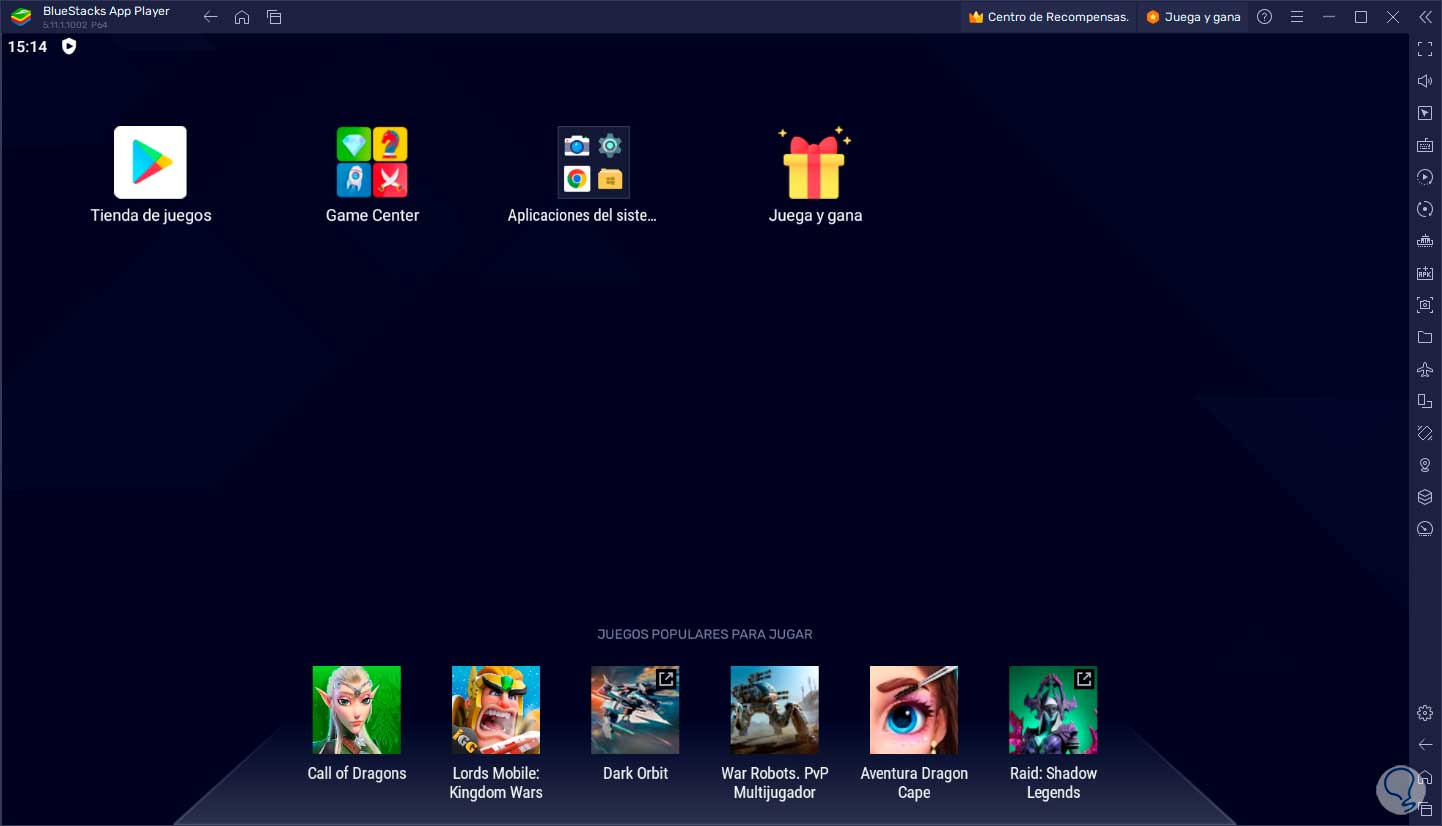
Step 28
There we can access the Android Play Store, a login is required, or access the game center or Game Center:
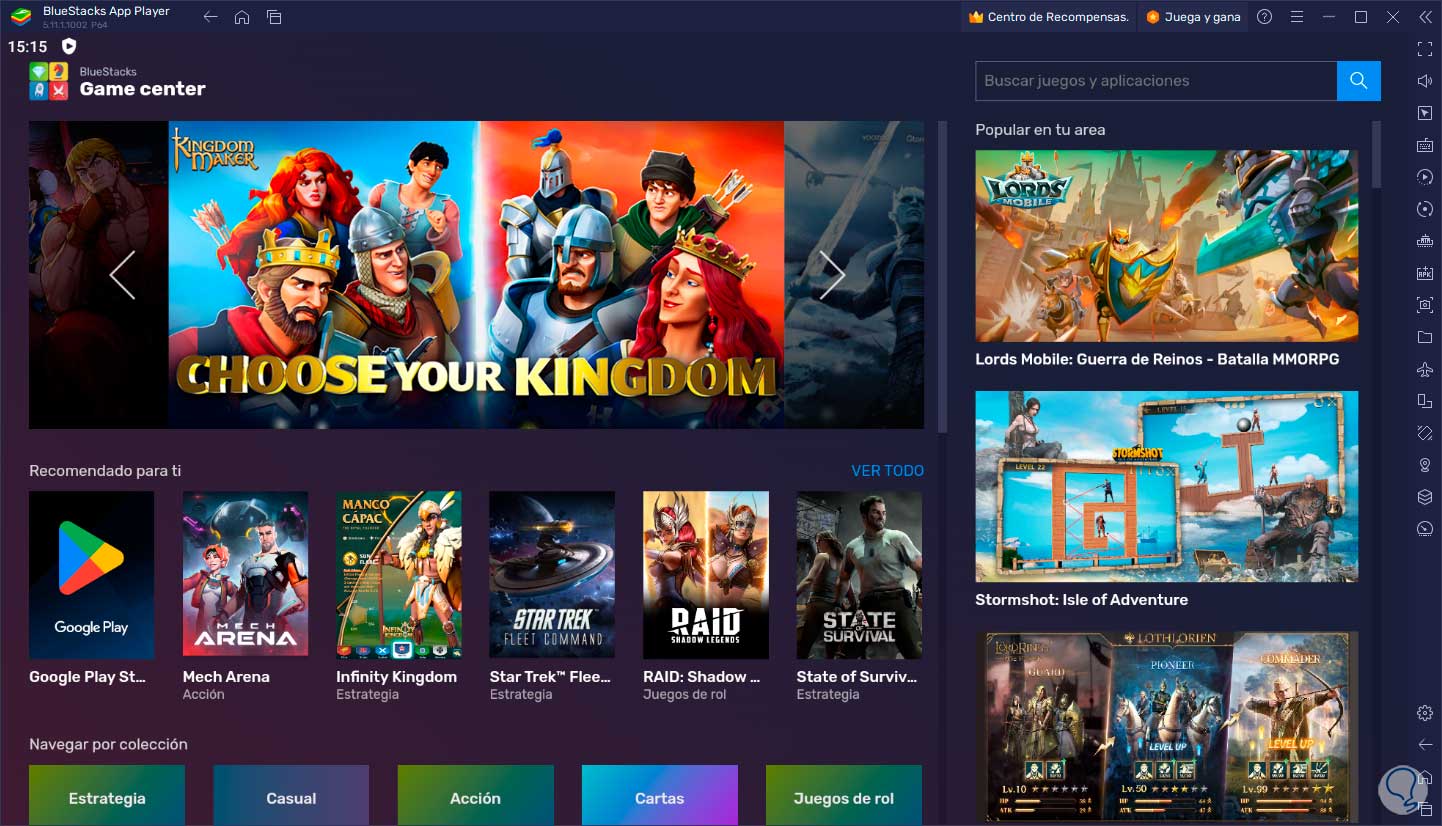
Step 29
We see a wide catalog of games to download:

At this point we have managed to install and see the configuration options of BlueStacks..
step 30
As an extra point Technolog will explain how to uninstall BlueStacks if it becomes necessary, the first thing is to go to the Control Panel – Uninstall a program:
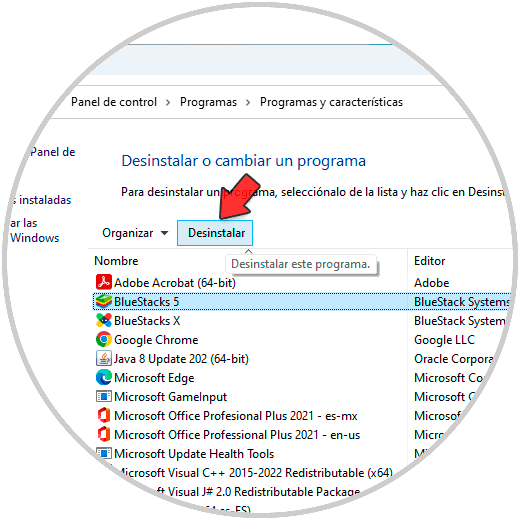
step 31
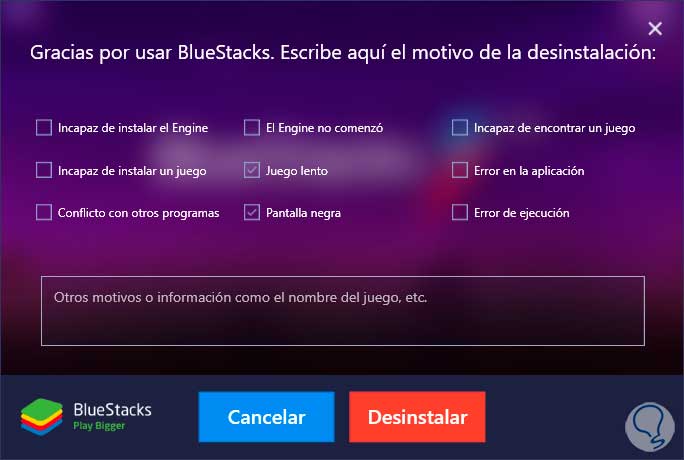
We select “BlueStacks” and click on “Uninstall”, in the pop-up window we select the reason:
step 32
We click on "Uninstall" and a new window will open:
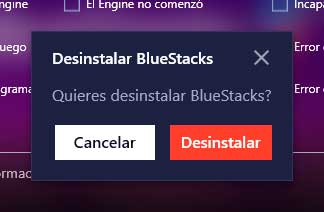
Step 33
We confirm the operation:
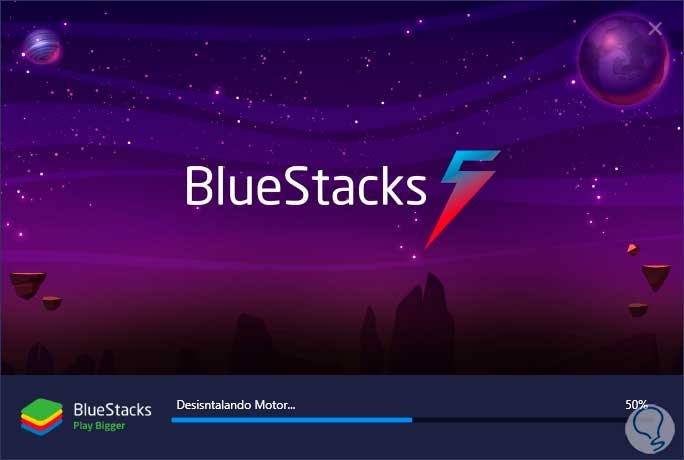
Step 34
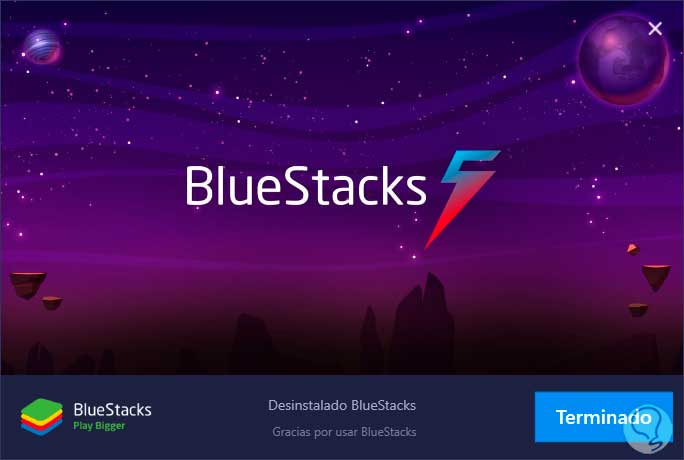
We hope that this process will come to an end:
step 35
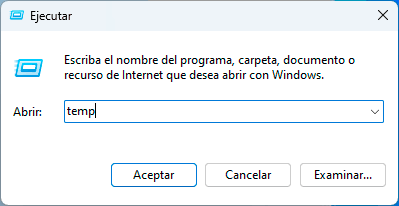
Now we open Run and enter “temp”:
Step 36
We will see the following message:

Step 37
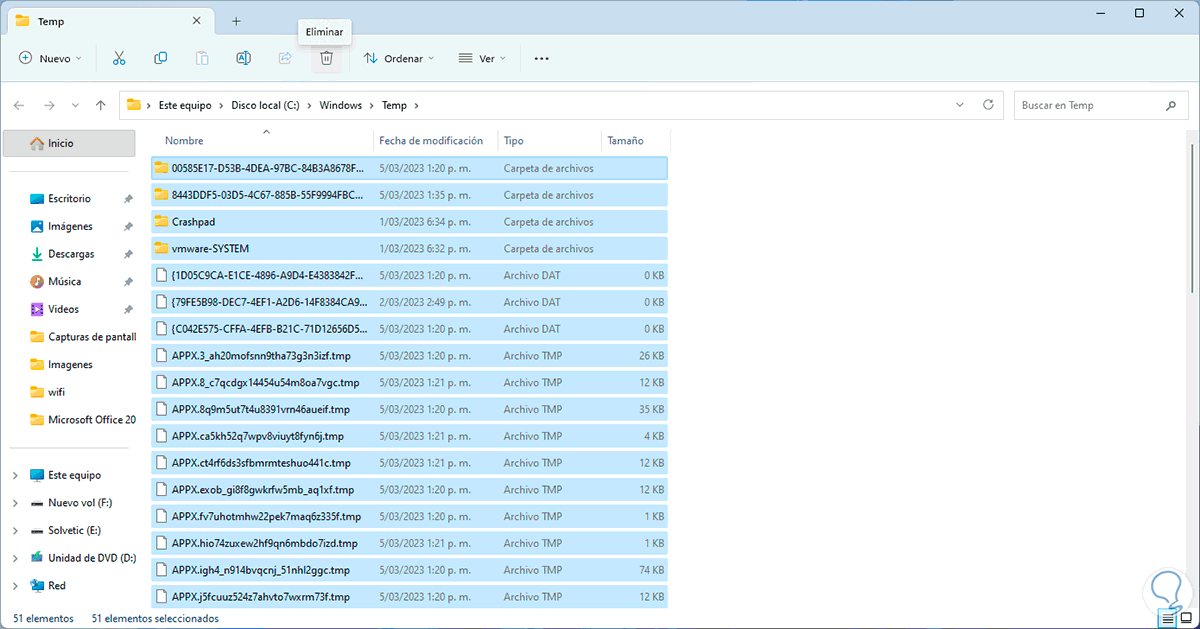
We click on "Continue" to access and then select all the elements and click on "Delete":
Step 38
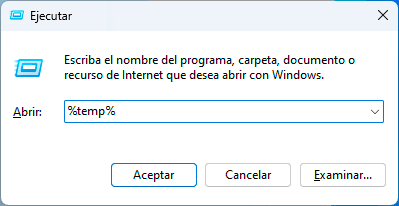
Again we open Run and now we enter “% temp%”:
Step 39
There we select all the elements and click on "Delete":
step 40
Now in Run we enter “appdata”:
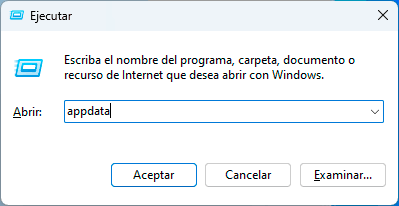
Step 41
We will see this:
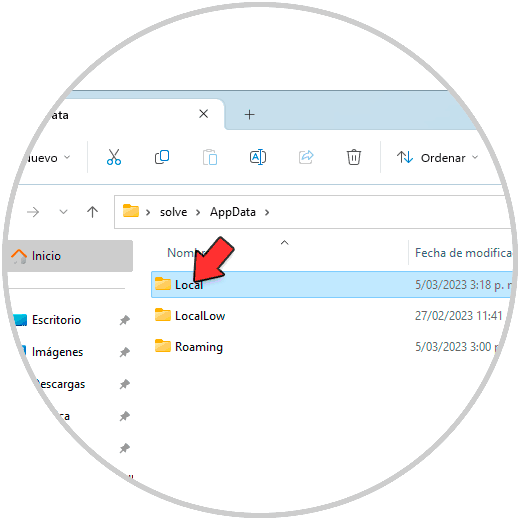
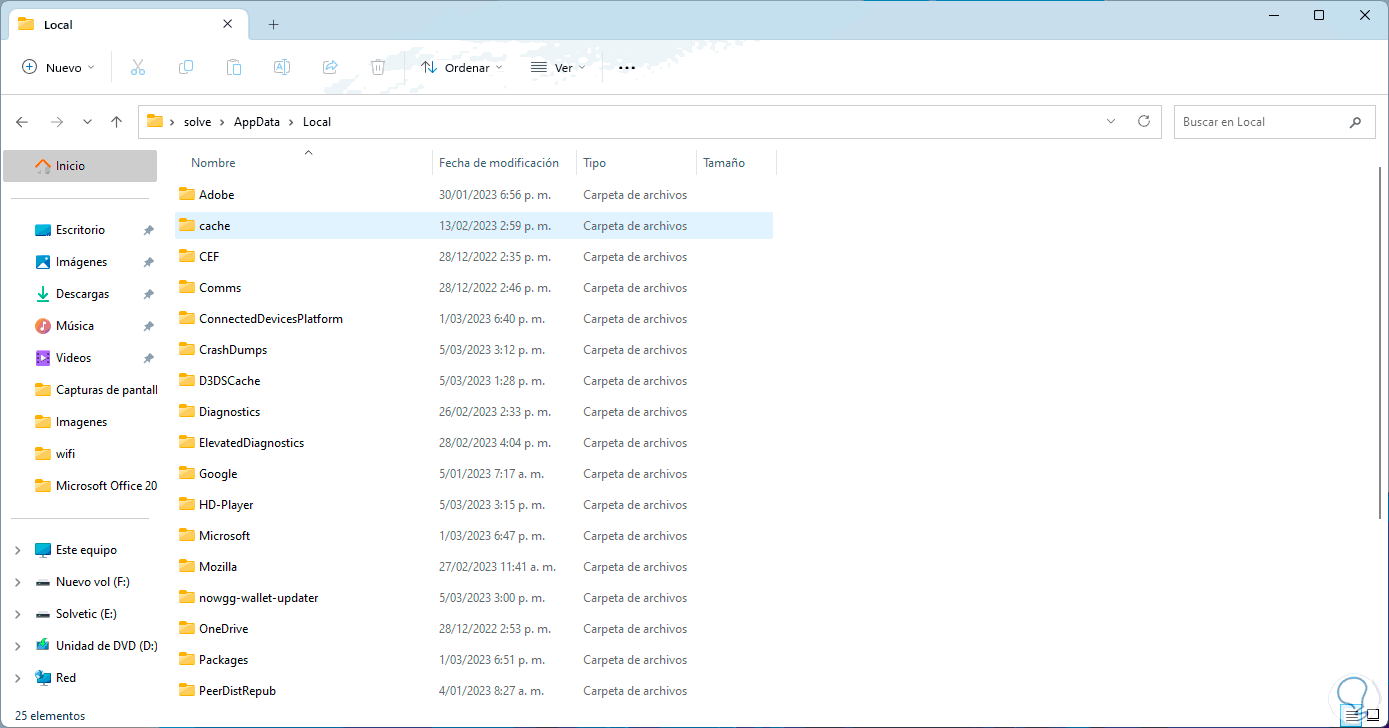
step 42
We click on "Local" and there we select the "Bluestacks" folder:
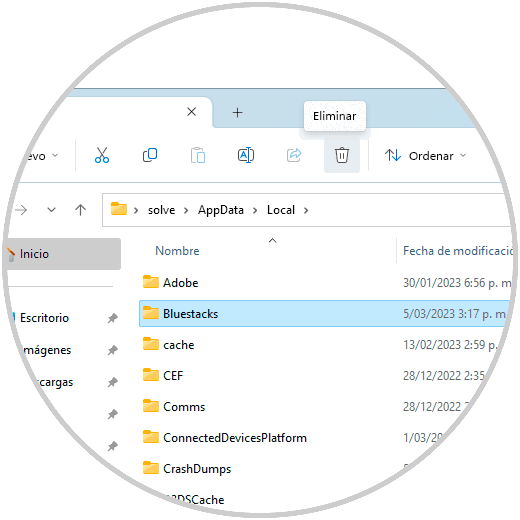
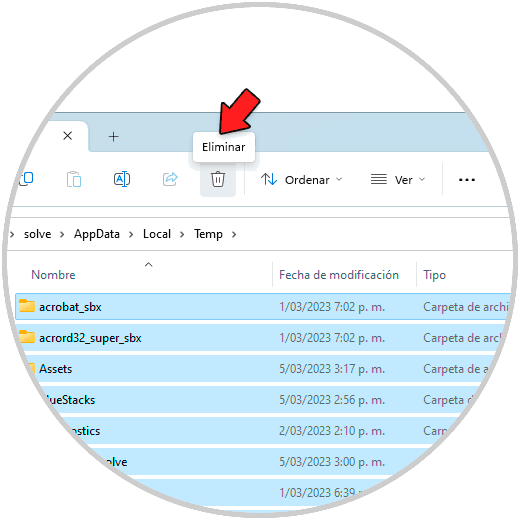
Step 43
We proceed to eliminate it:
Step 44
We go back and now we access LocalLow:
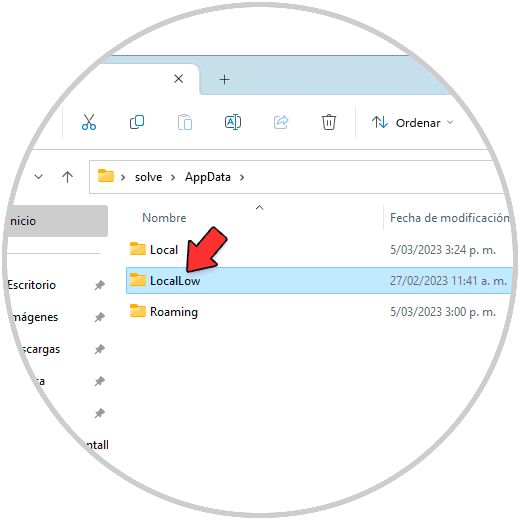
step 45
There we validate if there is a BlueStacks folder to delete it:
Step 46
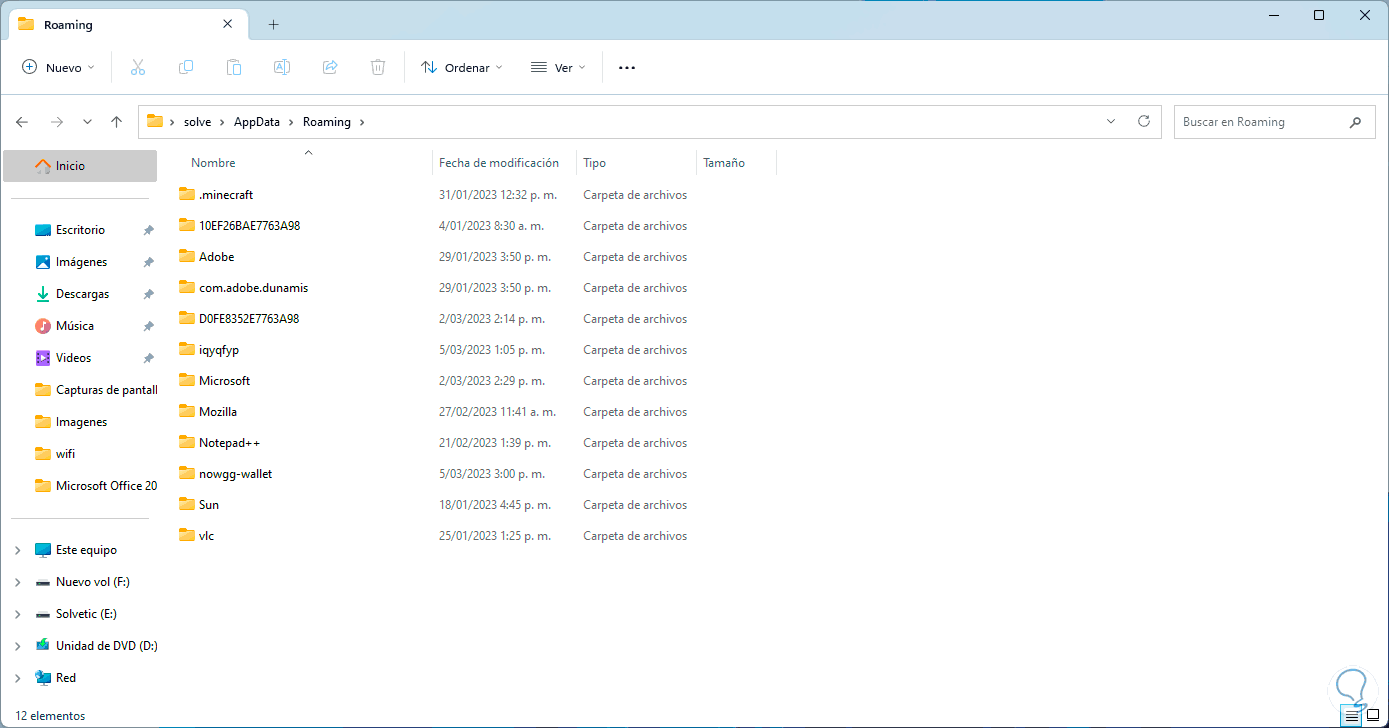
Now we go to the Roaming folder:
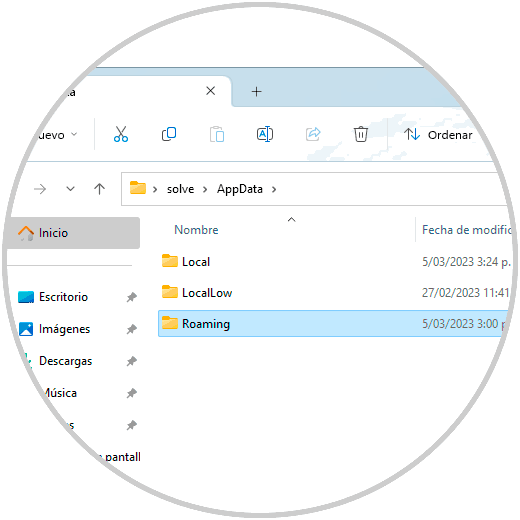
Step 47
We still validate if there is a BlueStacks folder to delete it:
Step 48
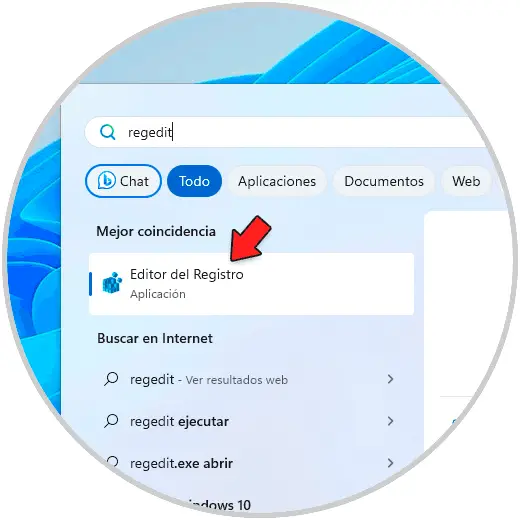
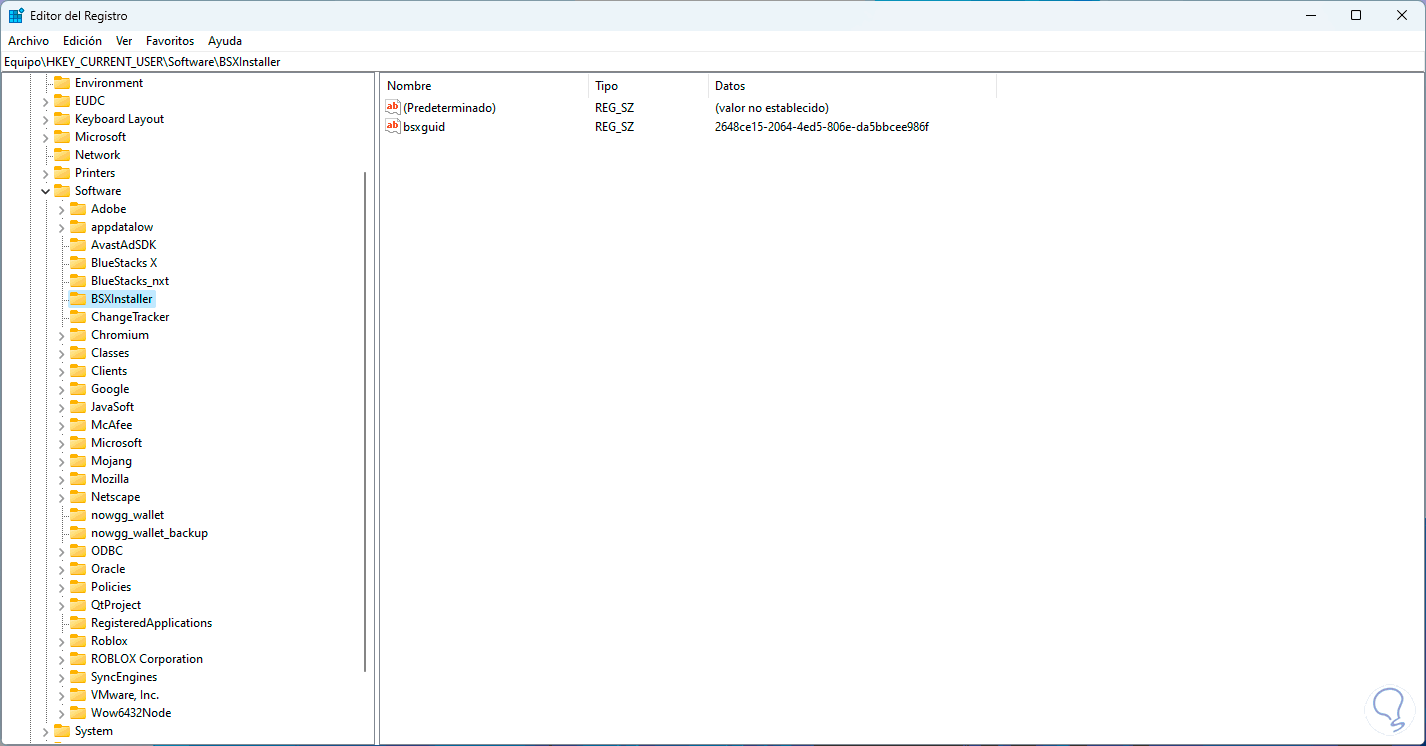
Open the Registry Editor:
Step 49
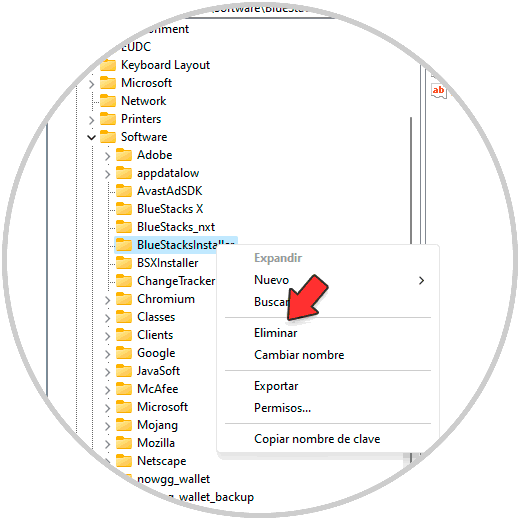
Go to route:
HKEY_CURRENT_USER\Software
There, right-click on the “BlueStacksInstaller” key and select “Delete”.
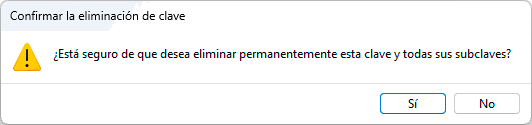
step 50
Confirm the process:
step 51
We will see that it has been removed:
step 52
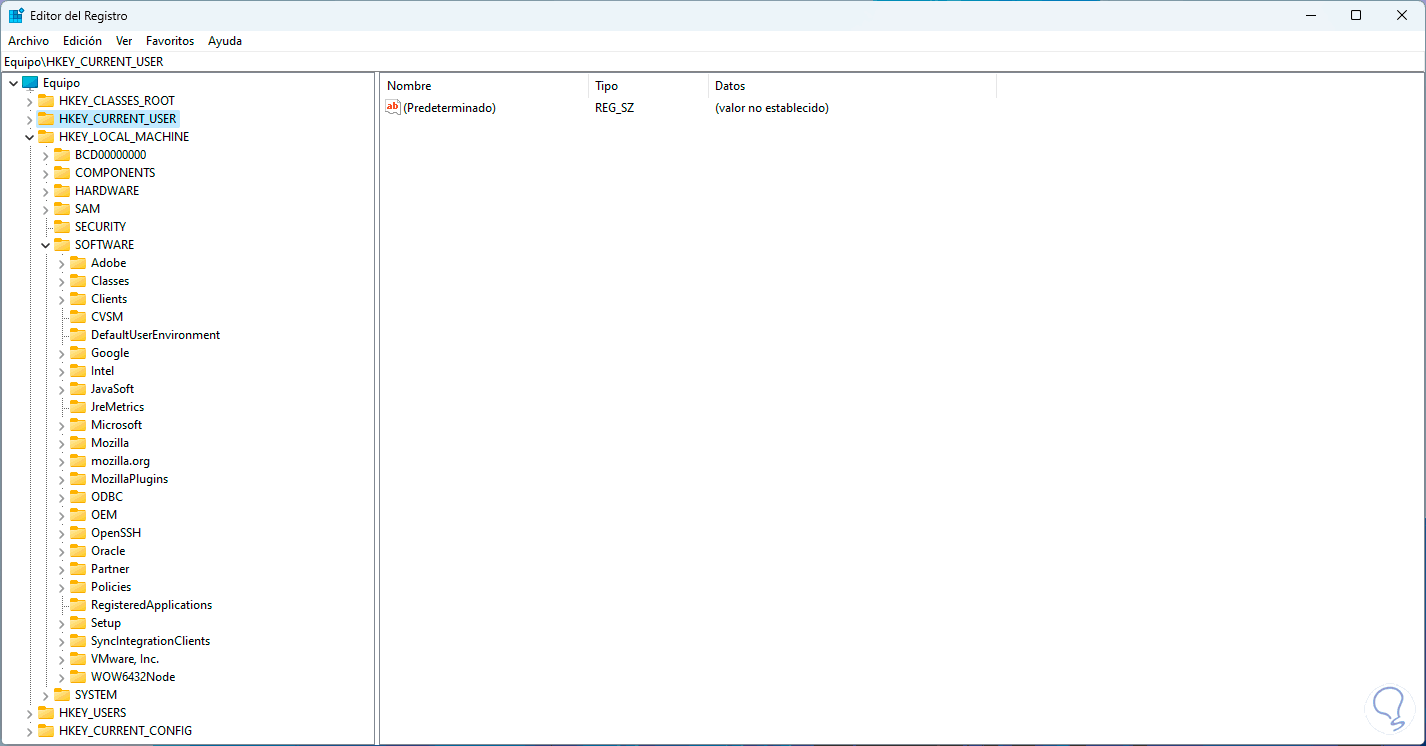
Now go to the route:
HKEY_LOCAL_MACHINE\SOFTWARE
There we look for a BlueStacks key to delete it:
This is the way to manage BlueStacks on PC.