Apache is one of the most used platforms worldwide for hosting web servers which, thanks to Apache's features, provide a wide range of options both in configuration and distribution and availability. For the management of Apache there are several utilities, each with their respective benefits, but one of the most outstanding is Apache GUI which provides sufficient tools to manage Apache from a web browser ..
TechnoWikis will explain what it is and how to install Apache GUI on Ubuntu 18 Server.
What is Apache GUI?
Apache GUI is a free distributed web tool which is open source and its design has been focused on helping to manage the Apache web server in a much more complete and dynamic way.
Items included in Apache GUI
The functionality of the Apache GUI application includes elements such as:
- Possibility to edit, search and validate Apache server configuration
- Manage VirtualHosts from a single central point
- Ability to edit web documents directly from the web browser
- Queue, download and manage records
- Install and remove Apache modules
- View the runtime statistics of the installed web server
- Record, search and graph detailed transactions in detail
1. How to install Java on Ubuntu 18
Step 1
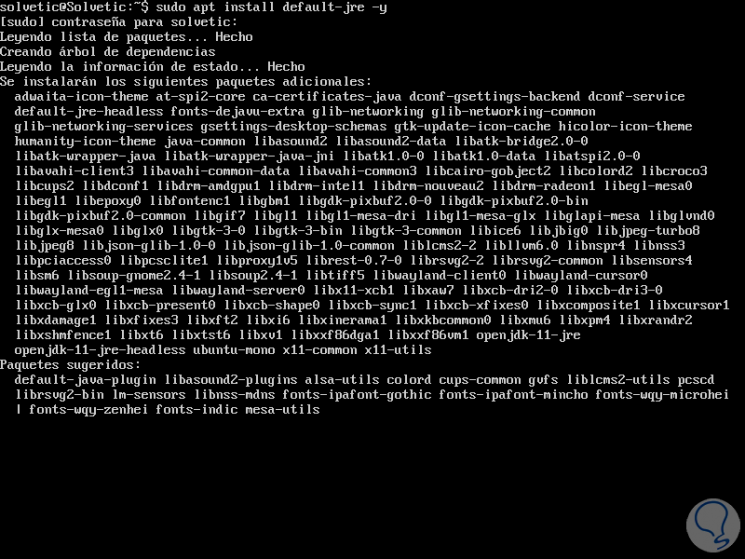
ApacheGUI is written in Java, so its installation is required first, for this we will execute the following command:
sudo apt install default-jre -y
Step 2
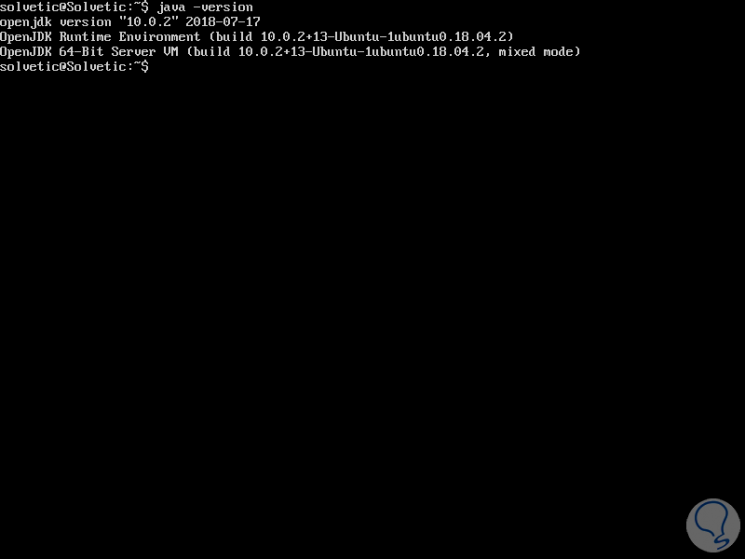
After installation, we can verify the installed version by running:
java -version
2. How to install the LAMP server on Ubuntu 18
The next requirement for Apache GUI to work properly is to install LAMP (Linux, Apache, MariaDB, PHP) on the server.
Step 1
First, we are going to install the Apache and MariaDB web server with the following command:
sudo apt install apache2 mariadb-server -y

Step 2
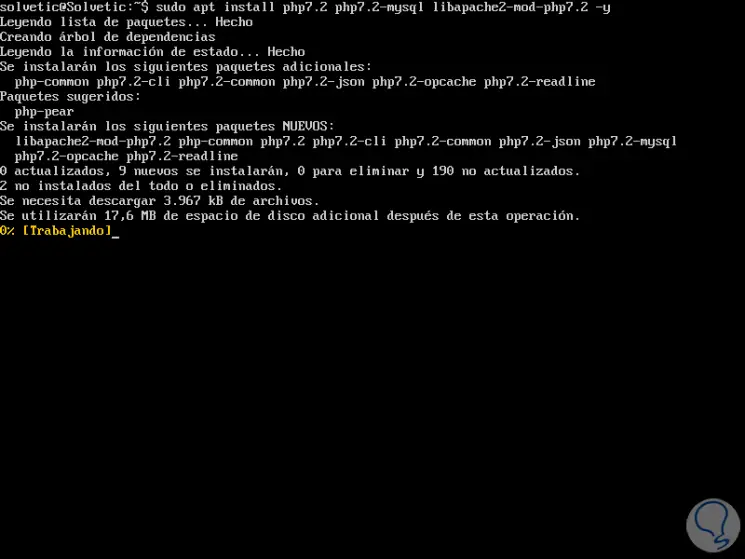
Then we will install PHP along with some dependencies by running the following:
sudo apt install php7.2 php7.2-mysql libapache2-mod-php7.2 -y
Step 3
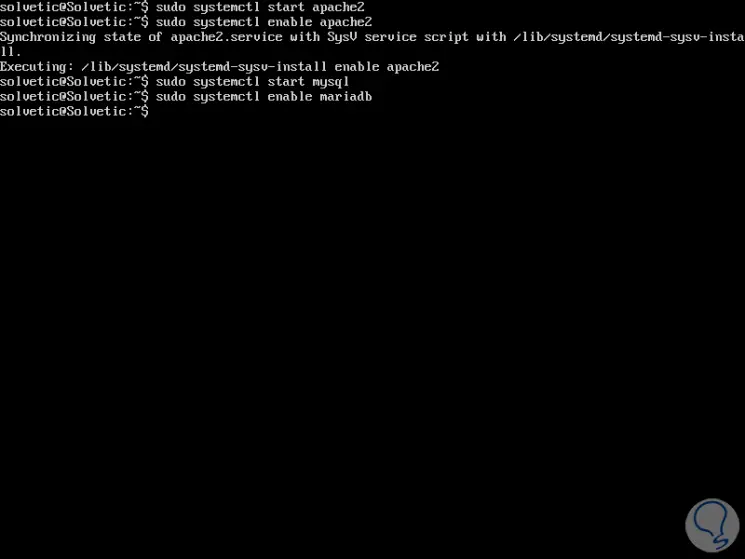
The next step is to start the Apache and MariaDB service and allow them to be executed along with the boot time, for this we will use the following commands:
sudo systemctl start apache2 sudo systemctl enable apache2 sudo systemctl start mysql sudo systemctl enable mariadb
3. How to install Apache GUI on Ubuntu 18
Step 1
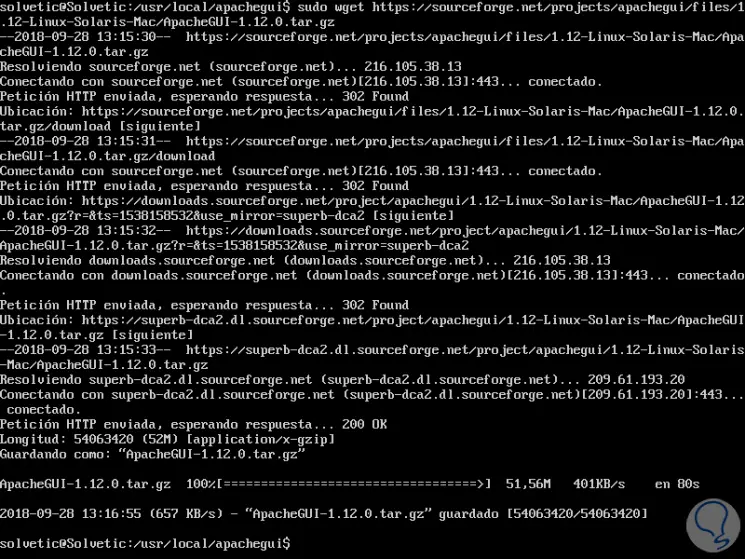
Before installing Apache GUI we must download the latest version of Apache GUI available locally to the system, for this we will create a directory and execute the download like this:
sudo mkdir / usr / local / apachegui sudo cd / usr / local / apachegui sudo wget ttps: //sourceforge.net/projects/apachegui/files/1.12-Linux-Solaris-Mac/ApacheGUI-1.12.0.tar.gz
Step 2
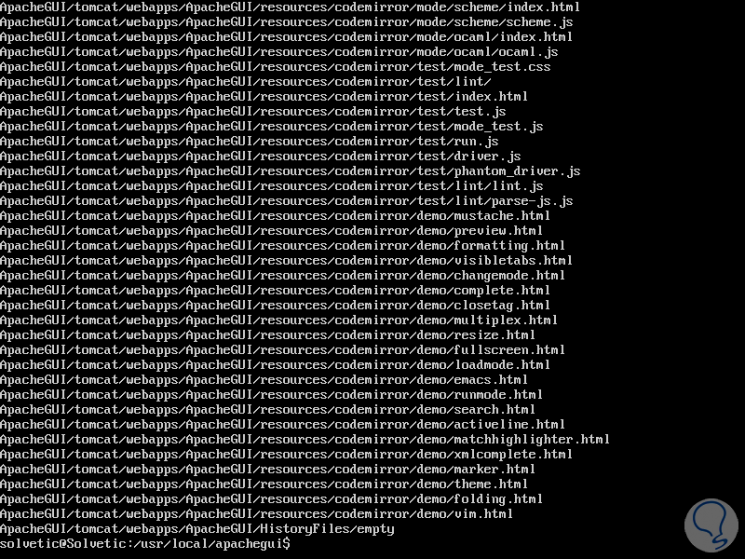
We proceed to extract the downloaded content:
sudo tar -xvzf ApacheGUI-1.12.0.tar.gz
Step 3
Now, let's change the directory to ApacheGUI and start the installation script with the following command:
sudo cd ApacheGUI / bin sudo ./run.sh

4. How to access Apache GUI from Ubuntu 18
Step 1
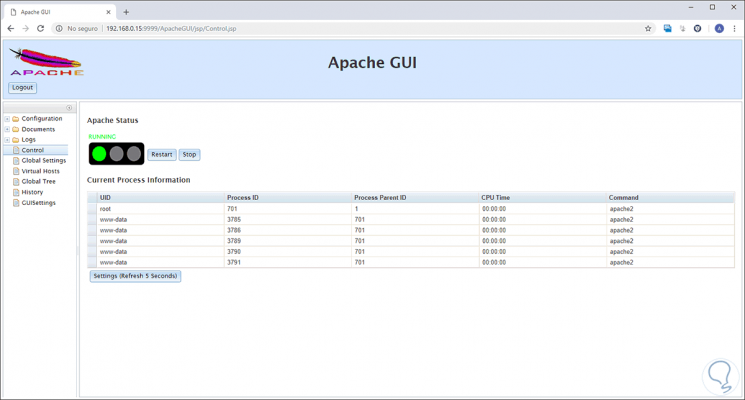
Once this is finished, Apache GUI has been started and is listening on port 9999, we can go to a web browser and there execute the following syntax:
http: // IP_Address: 9999 / ApacheGUI
The following will be displayed:
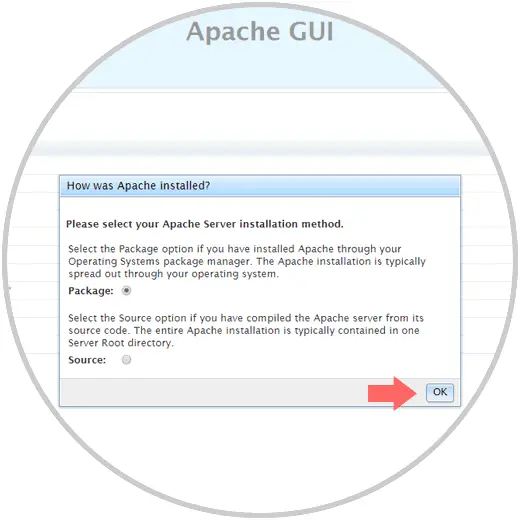
Step 2
There we select the type of Apache installation (resource or packages) and click on the Ok button to confirm, the following window will be displayed where we define the type of operating system used and some fields are automatically completed. Manually we must complete the following fields:
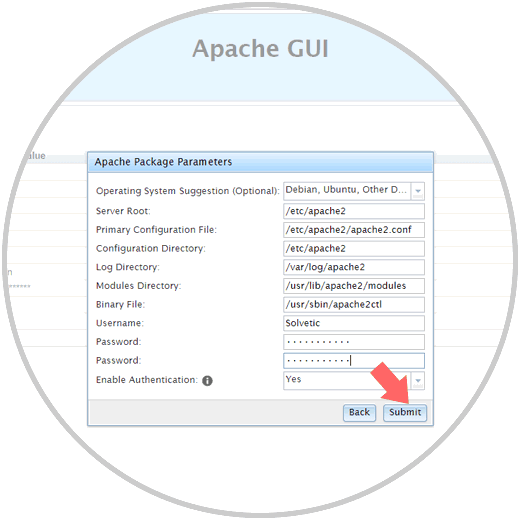
Step 3
Click on the Submit button to save the changes and we will be directed to the login window where we will enter the newly created user.
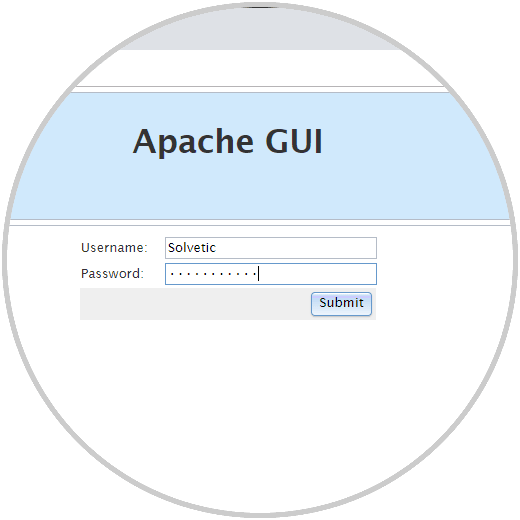
Step 4
Click on Submit to login and this will be the initial Apache GUI environment:
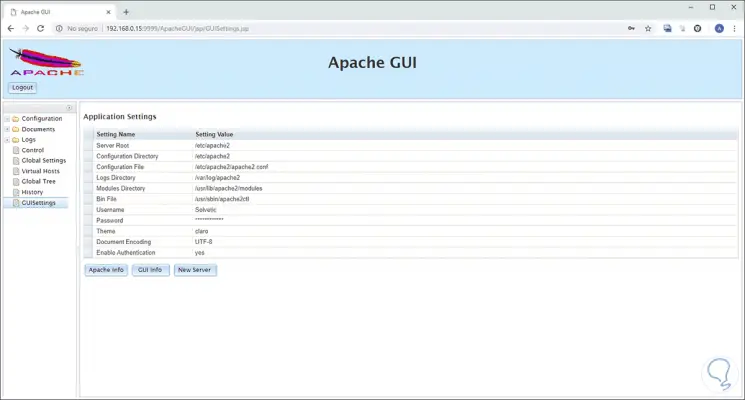
Step 5
There we can navigate through each of the available options and thus manage our Apache web server in a much more practical way: