Linux servers have the ability to offer the best features to carry out hundreds of tasks both administratively and at the level of roles within an organization, just within those roles we have everything related to the websites where the application that is The leader is Apache . Within these variations of Apache we find one in particular that is called Apache CouchDB which we will analyze in detail in an Ubuntu 18.04 environment..
What is Apache CouchDB?
Apache CouchDB has a function, or protocol, called Couch Replication Protocol which gives us the possibility of accessing our data from wherever it is necessary, whether from global server clusters to the web browsers of our mobile devices.
It has a software package compatible with the Couch Replication Protocol such as PouchDB, Cloudant and Couchbase Lite. CouchDB, has been written in JSON natively and supports binaries focused on meeting all data storage needs. Thanks to the Couch Replication Protocol all data will have high performance and high reliability at the level of use. CouchDB has a function called MapReduce which allows a simple and complete data recovery.
CouchDB features
Among the features that we find in Apache CouchDB we have:
- With CouchDB it will be possible to manage a clustered database with which it will be possible to run a single logical database server regardless of the number of servers or virtual machines, thus, a CouchDB cluster improves the configuration of a single node by adding more capacity and high availability.
- CouchDB can be used as a single node database.
- CouchDB uses the HTTP protocol and JSON data format allowing its compatibility with any software that supports such protocol and language, in addition, CouchDB works fully with external tools such as HTTP proxy servers or load balancers.
- Apache CouchDB has a single duplication protocol which is geared towards "Offline First" applications designed for mobile applications and other environments with high-demand network infrastructure.
- Apache CouchDB is designed for all types of servers while the PouchDB application was designed for mobile and desktop web browsers and Couchbase Lite has been developed for native iOS and Android applications thus extending the use capabilities of Apache CouchDB.
- A cluster in CouchDB with the multimode function can store all the data in a redundant way, thus allowing their availability.
Next, we will learn to install Apache CouchDB on Ubuntu 18.04..
1. Install Apache on Ubuntu 18.04
Step 1
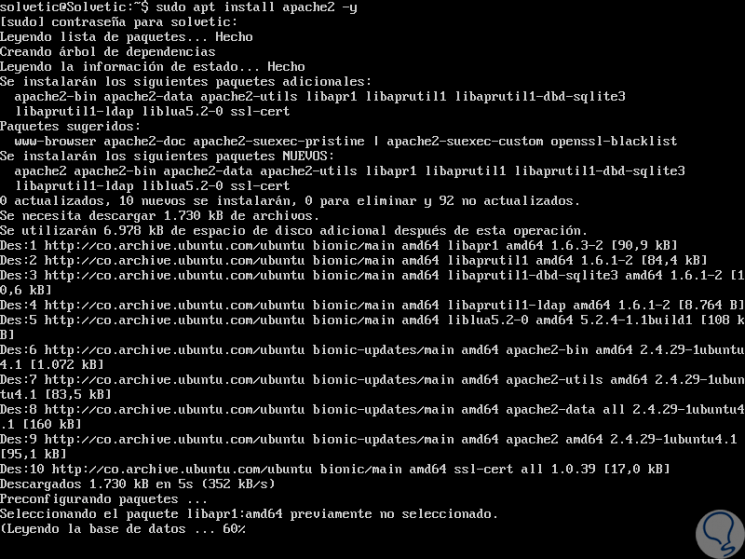
Before starting with the installation process of Apache CouchDB, it will be necessary to install the Apache web server in Ubuntu, for this we can execute the following command:
sudo apt-get install apache2 -y
Step 2
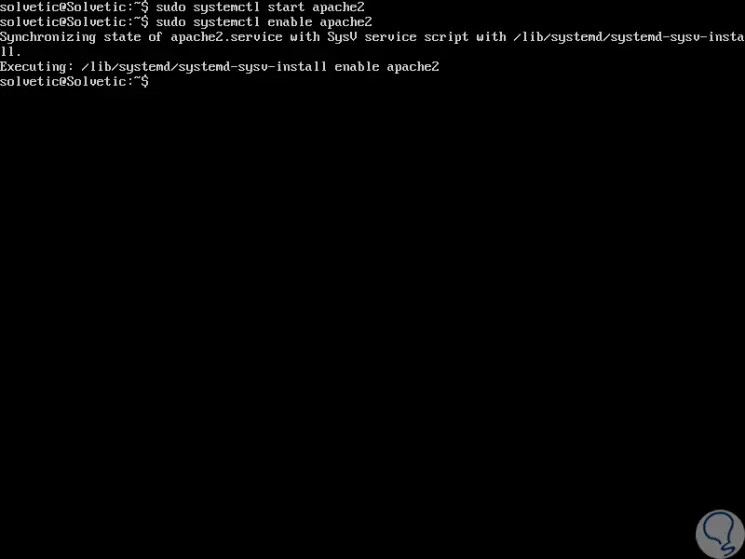
Once Apache is fully installed, we must start the Apache web server and enable it to start next to the system boot time with the following command:
sudo systemctl start apache2 sudo systemctl enable apache2
2. Install Apache CouchDB on Ubuntu 18.04
By default, Apache CouchDB is not available in Ubuntu 18.04, so you must add the official CouchDB repository.
Step 1
To add this repository we will use the following command:
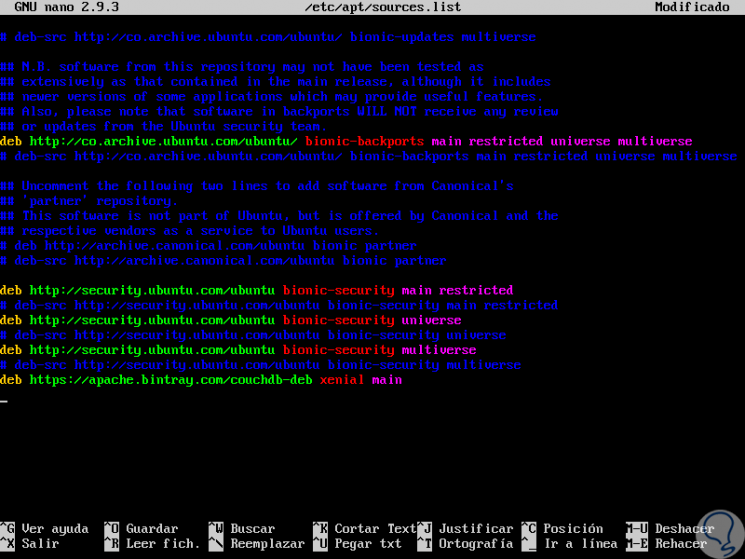
echo "deb https://apache.bintray.com/couchdb-deb xenial main" \ | sudo tee -a /etc/apt/sources.list
Step 2
This command is responsible for adding the official URL to the /etc/apt/sources.list directory:
Step 3
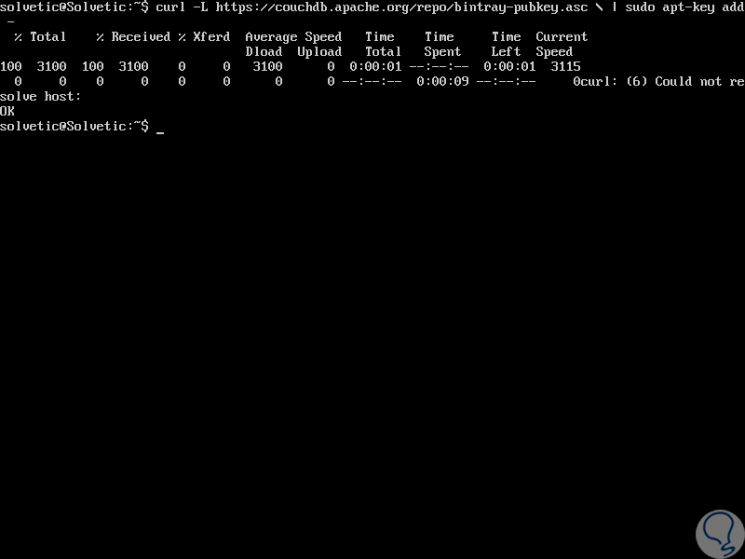
Now we are going to sign the repository added with the following command:
curl -L https://couchdb.apache.org/repo/bintray-pubkey.asc \ | sudo apt-key add -
Step 4
We proceed to update the system using the command:
sudo apt-get update -y
Step 5
Finally we install Apache CouchDB by running:
sudo apt-get install couchdb -y
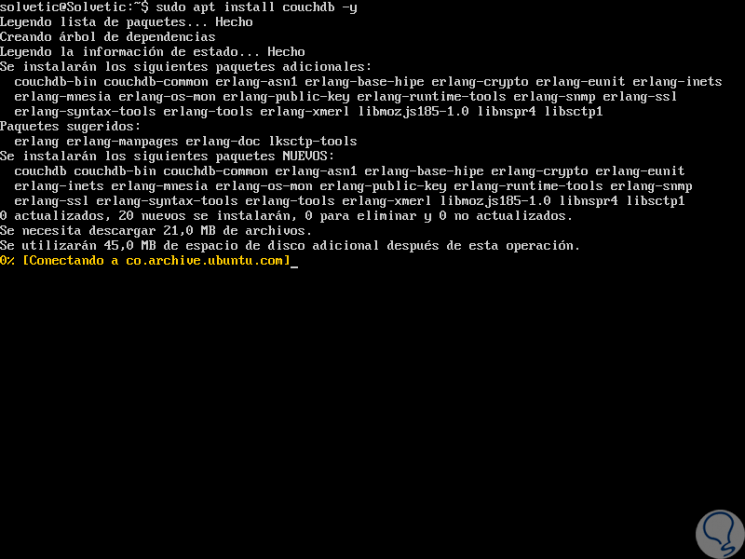
Step 6
During this process a series of questions will be displayed to define parameters such as. First, we will see a description of how Apache CouchDB works:
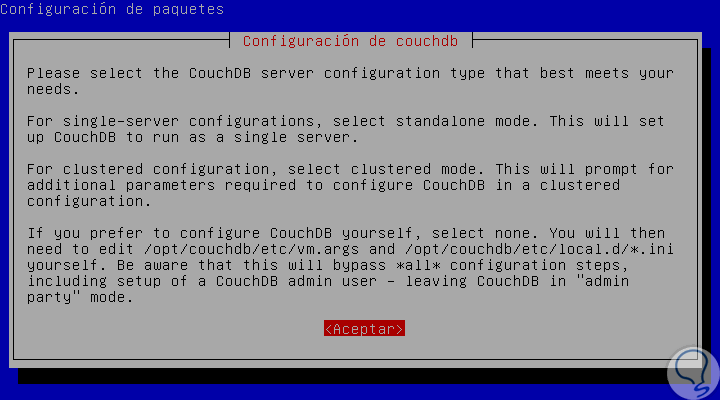
Step 7
Click on OK and then select the type of CouchDB configuration and in this case we choose "Standalone":
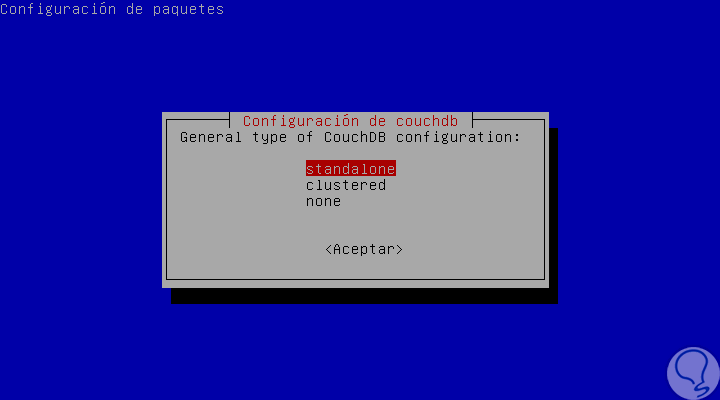
Step 8
We give Enter and then we will define the CouchDB connection interface from the browser, we can set the address 0.0.0.0 to enable all available interfaces:
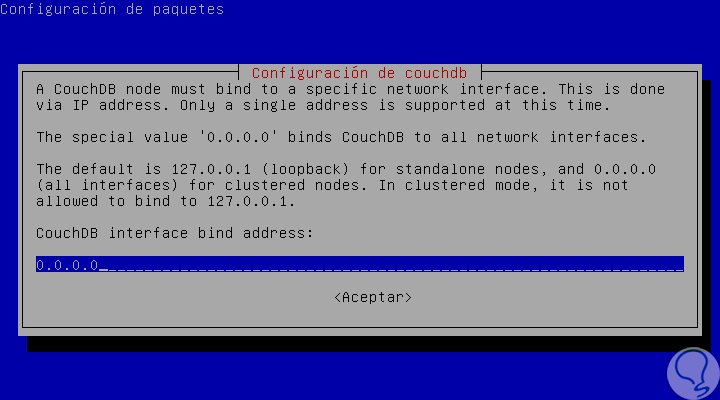
Step 9
Press Enter and now define the password for the user “adminâ€:
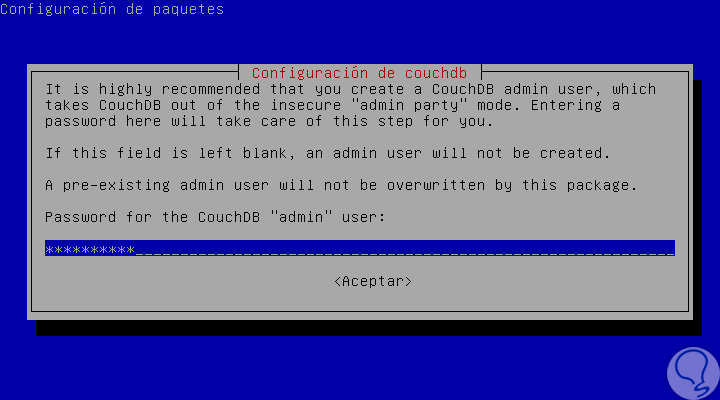
Step 10
We must confirm it:
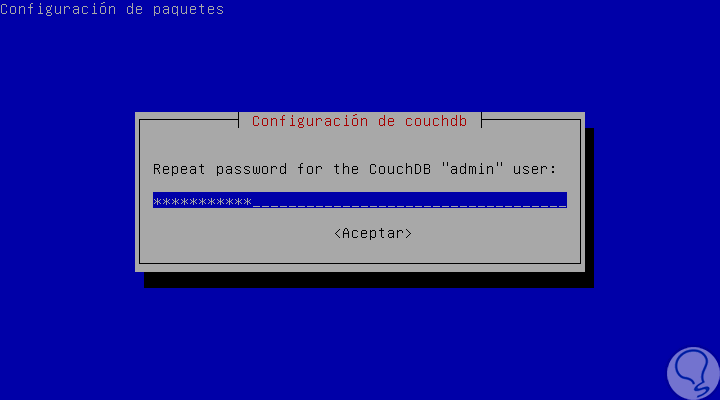
Step 11
Once installed, we run the following lines to start the service and enable it on Ubuntu 18 startup:
sudo systemctl start couchdb sudo systemctl enable couchdb
Step 12
We check the status of the CouchDB service by running:
sudo systemctl status couchdb
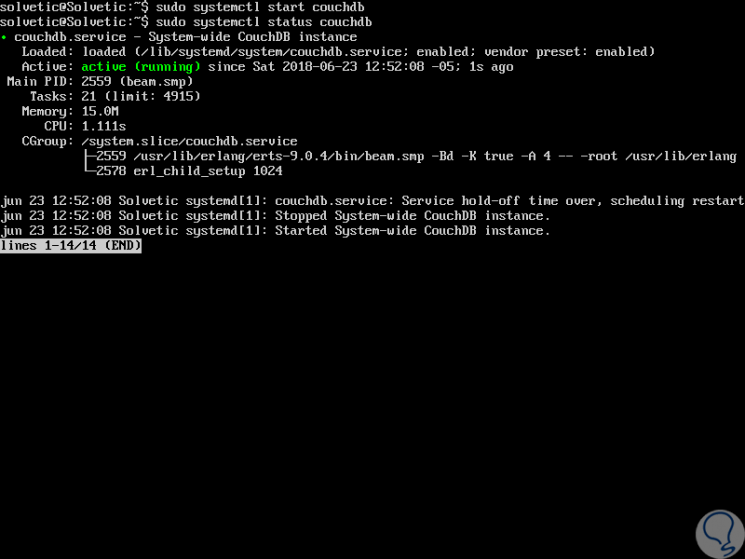
3. Access Apache CouchDB in Ubuntu 18.04
Step 1
Now we can access Apache CouchDB by running the following syntax:
http: // IP: 5984 / _utils /
Step 2
There we enter the admin user with the password defined.
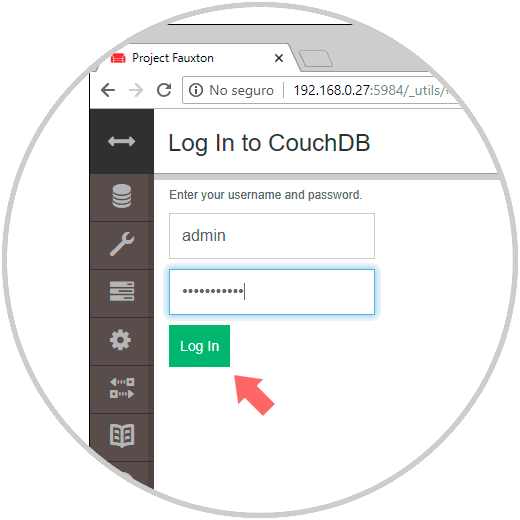
Step 3
Click on the Login button and this will be the initial CouchDB environment:
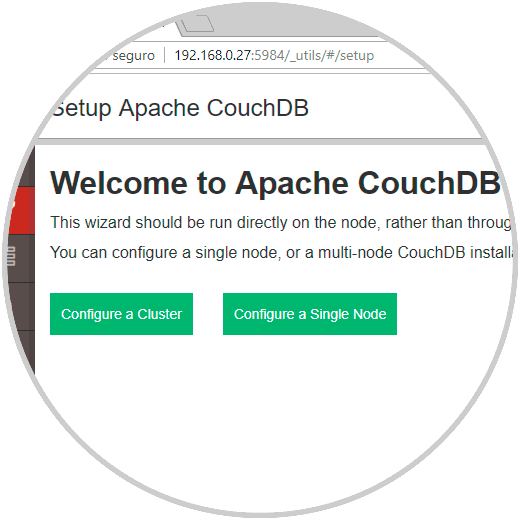
Step 4
From there we can access its functions:
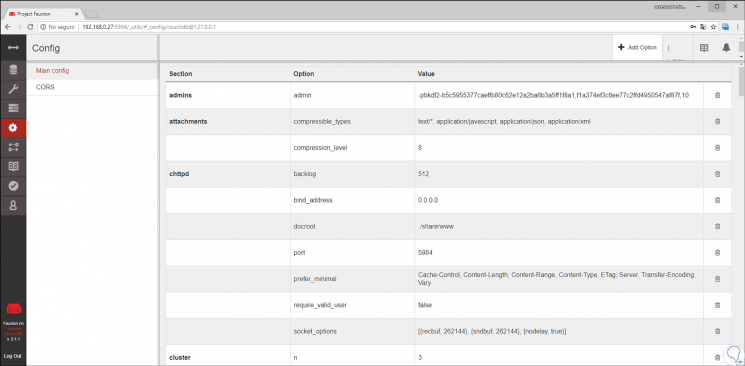
In this way we have configured Apache CouchDB in Ubuntu 18 to get the most out of its functionalities.