In Linux, as administrators we must execute many tasks directly associated with users and groups, these tasks range from their creation to their elimination, going through other special tasks such as suspending or deactivating user accounts due to control issues or requirements. In Linux, the passwords assigned to a user have default values in terms of their expiration date and as we carry out tasks such as a password change, it will be recorded there. To manage this data in a simpler way, we have the chage command..
The chage command is a utility that allows you to configure the periodicity with which you want to adjust a password, and you can also modify the last date it was changed. With chage we can configure precisely when we want the user to update the password for security reasons.
Most used Chage parameters
There are some more outstanding parameters to use with chage and they are:
- -do --lastday ULTIMO_DIA: Chage command options that allow specifying the last password change made by a user using the date format "YYYY-MM-DD". An example of this would be:
chage -d 2023-07-19 <username> chage --lastday 2023-07-19 <username>
Here the date of the last change of the user's password would be set to 07-19-2023 so the system will take into account that the user changed the password on that date.
If you want to remove the date of the last password change you could use this syntax setting then that the password has not been changed since the user account was created:
chage -d 0 <user_name>
- -E or --expiredate EXPIRE_DATE – Allows you to set the date or number of days from January 1, 1970 that the named user's account will no longer be accessible. Set an expiration date for a user account as we see in this example. After the date we set, the user will not be able to access their account.
sudo chage --expiredate 2023-09-01 <username> sudo chage -E 2023-09-01 <username>
- -I or --inactive INACTIVE: allows us to assign the number of days of inactivity from the moment a password has expired before the account is automatically locked. In the following example we will see that 30 will be the number of days of inactivity after which the user will not be able to access their account and will be deactivated.
sudo chage -I 30 <username> sudo chage --inactive 30 <username>
- -lo --list: displays account age information giving information about password changes:
sudo chage --list <username> sudo chage -l <username>
- -W or --warndays – Allows you to assign the number of warning days to notify before a password change to the account is required.
sudo chage --warndays 8 <username> sudo chage -W 8 <username>
With this in mind let's see how to manage password expiration in Linux..
To stay up to date, remember to subscribe to our YouTube channel!
SUBSCRIBE ON YOUTUBE
Manage password expiration on Linux
Step 1
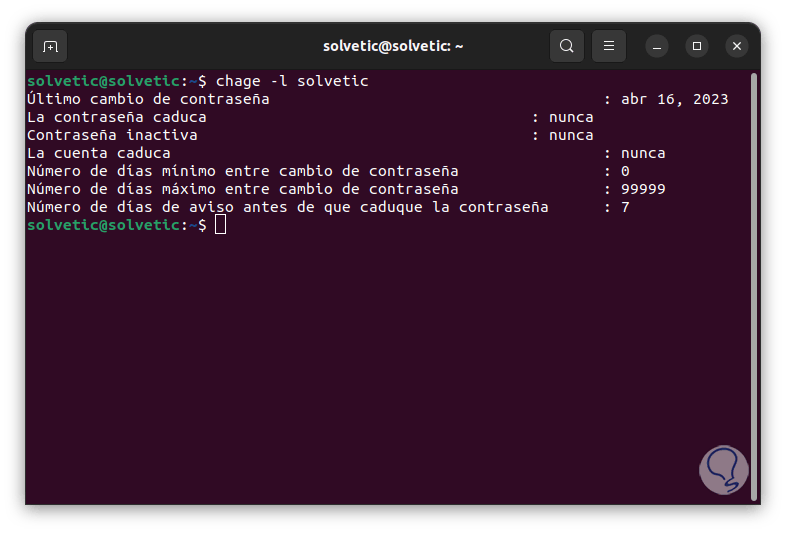
We open the terminal and execute the following to see the status of the account:
chage -l (user)
Step 2
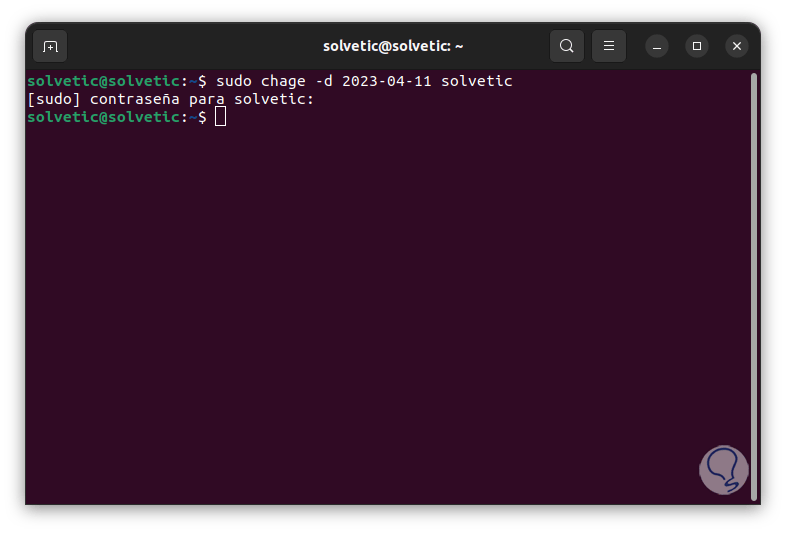
We see each detail of said account, to establish the date or the number of days of password change we execute:
sudo chage -d (date) (user)
Step 3
When the account is blocked after non-use, you should talk to the system administrator for its reactivation.
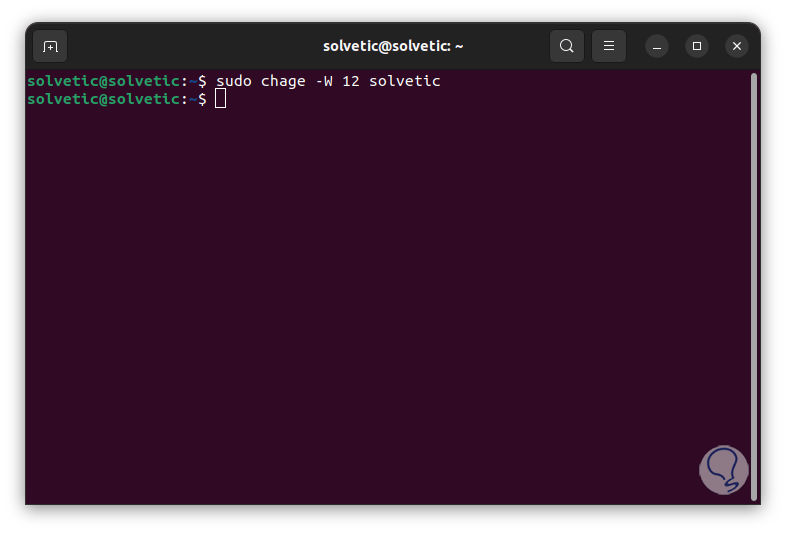
To set the number of warning days before password change execute:
sudo chage -W #days (user)
Step 4
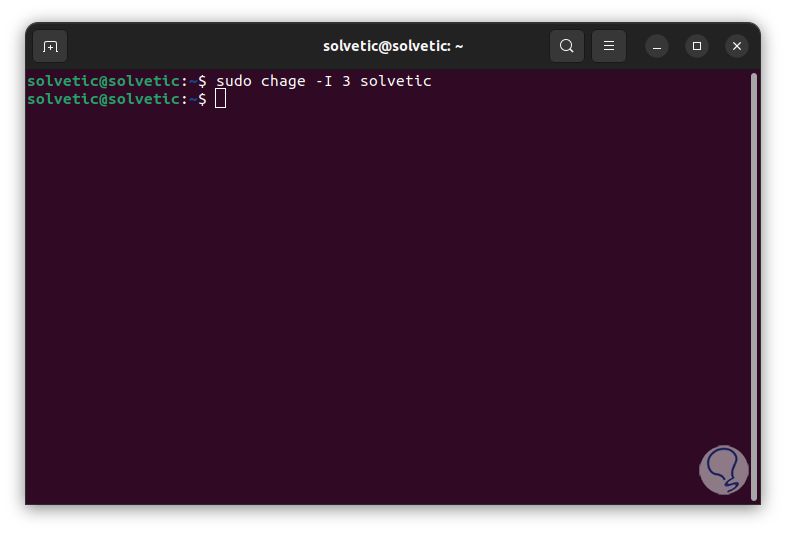
To define the number of days of inactivity once the password expires, we execute:
sudo chage -I #days (user)
step 5
Confirm all changes made:
chage -l (user)
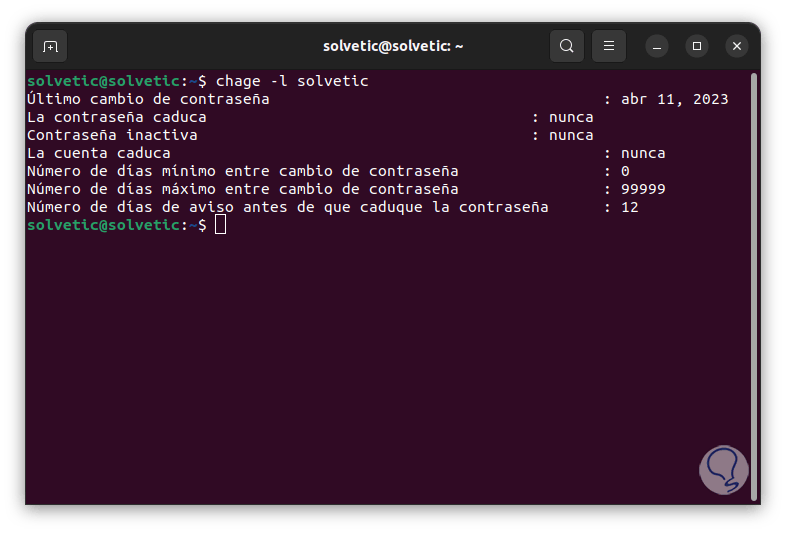
With this command it will be easy to manage everything related to the user password.