The presence of viruses, such as malware, Trojans, etc., is something that affects all types of users and regardless of the operating system used (Windows, Linux or macOS), viruses seek to affect the behavior and performance of the system, steal data from the user and in general cause an affectation. There are various antiviruses to counter this type of situation, not to mention those that are integrated into the system itself, but there are safer and more effective methods and that is what TechnoWikis will talk about in this document..
can you imagine using a different operating system to analyze your Windows? , simple, right? Naturally this involves a few steps to achieve it and that is what we will talk about in this tutorial.
In this case it does not matter that they are different file systems since this process does not directly affect our Windows, for this we will use ClamAV..
What integrates ClamAV
ClamAV is basically a group of open source antivirus tools (GPLv2), which have a focus on scanning email in the respective applications but in this case we can use it to analyze Windows, ClamAV integrates the following.
- A flexible and scalable multi-threaded daemon.
- Advanced tools for automatic database updates.
ClamAV Features
Among the special features of ClamAV we find:
- It can detect millions of viruses, worms, Trojans, and malware including Microsoft Office, mobile malware, and more.
- Scan files in short times.
- Real-time protection feature, for Linux systems only, in which the clamonacc client for the clamd scan daemon offers a scan for modern Linux versions.
- You can block access to files until the moment the file scan has been performed
- Its databases are signed to ensure that clamav will execute trusted signature definitions and not false positives.
- It is possible to scan inside files as well as compressed files.
- Supports parsing of both 32-bit and 64-bit Windows executable (PE) files.
- Supports ELF and Mach-O files.
- You can scan most mail file formats.
- It supports other files and special formats such as HTML, RTF, PDF and files encrypted with CryptFF and ScrEnc.
Without further ado, let's see how to use ClamAV to remove viruses in Windows.
To stay up to date, remember to subscribe to our YouTube channel!
SUBSCRIBE ON YOUTUBE
Remove Windows Virus from Linux
Step 1
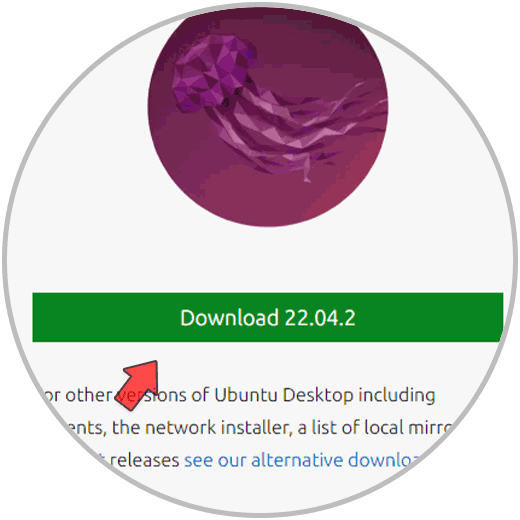
The first thing will be to download the Ubuntu ISO image at the following link:
ubuntu
Step 2
Once we have the ISO image we must burn it to a DVD or USB, in the following link you can see the step by step to create it (applies to the latest versions of Ubuntu):
Step 3
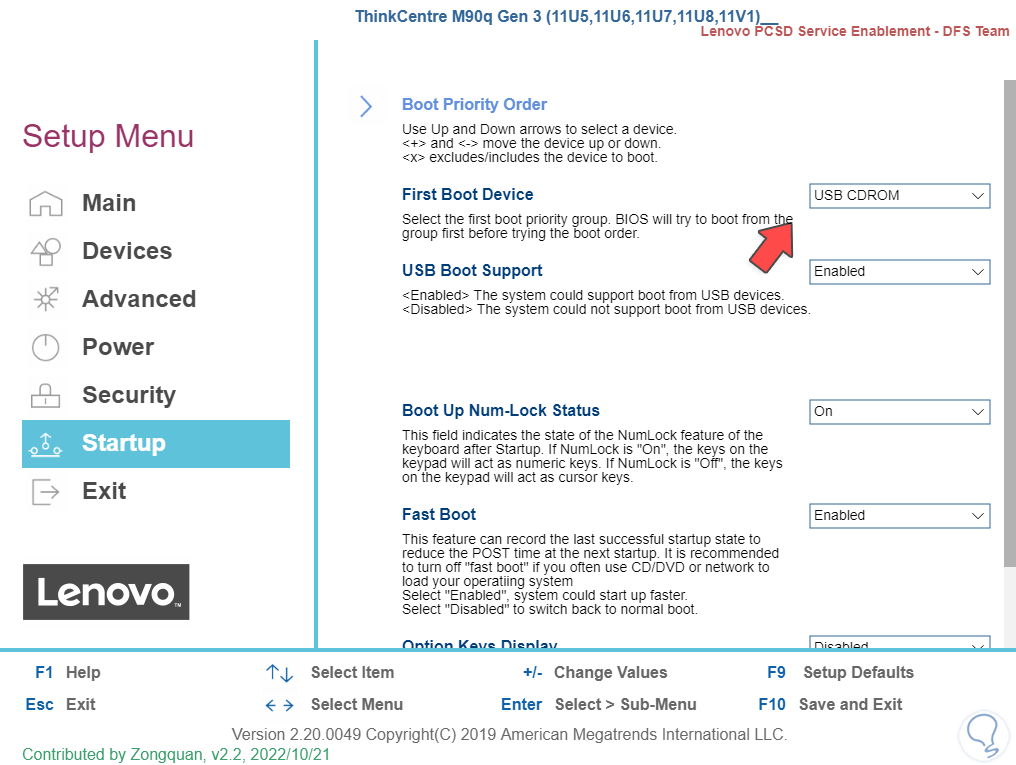
Start the computer with Windows from the ISO directly, for this we must access the BIOS or UEFI and there configure the boot from this medium:
Step 4
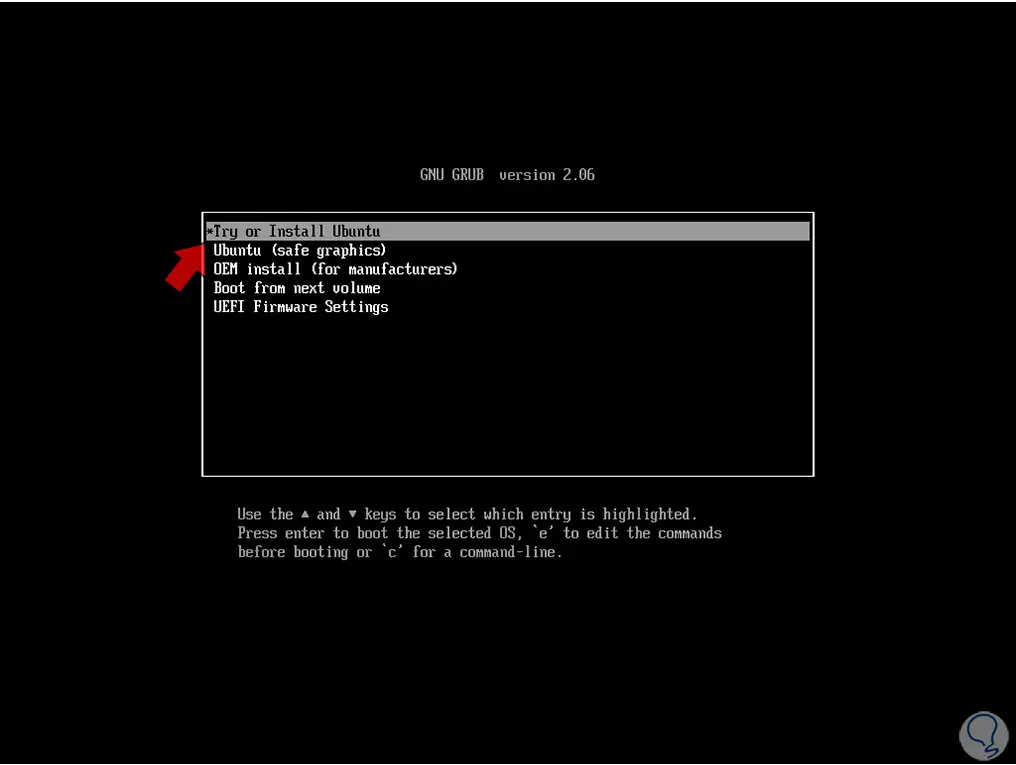
We will see the following when starting from there. In the boot menu we click on "Try or Install Ubuntu":
step 5
and expect it to load the Ubuntu environment:
step 6
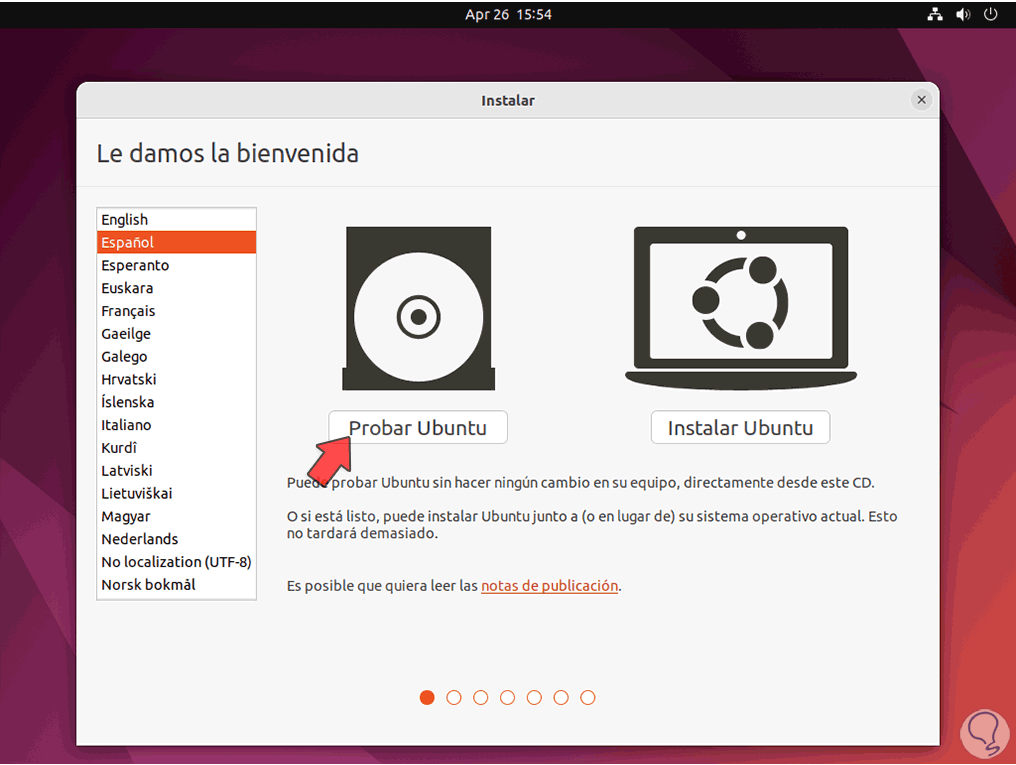
Next we select the language and click on "Try Ubuntu":
step 7
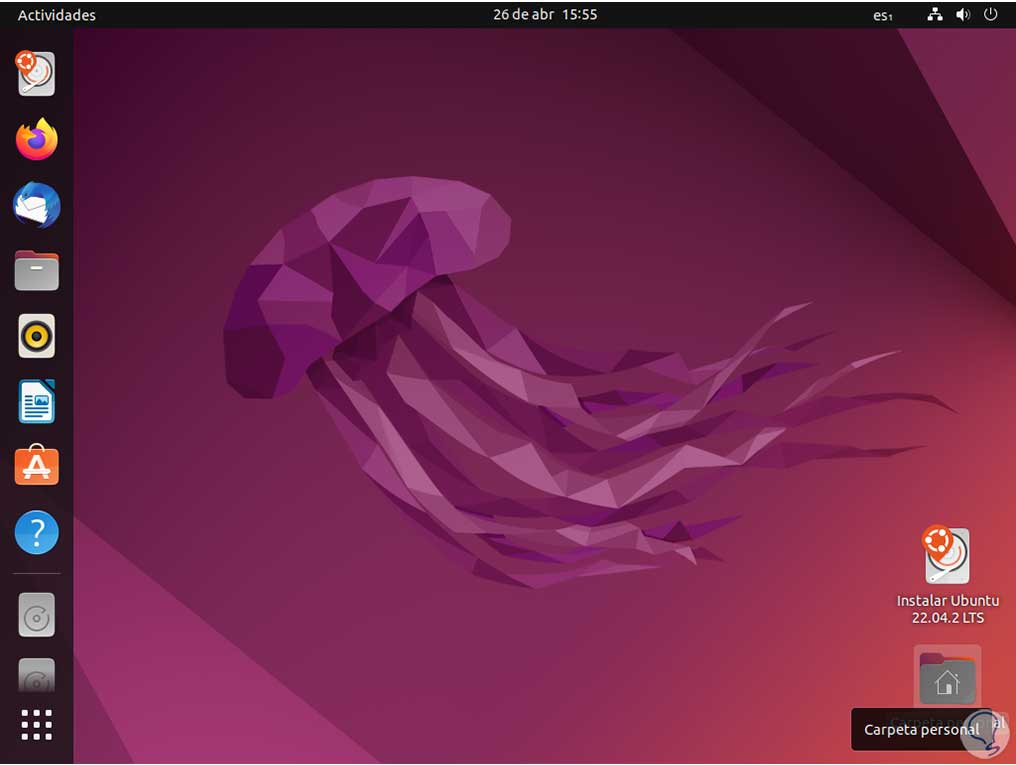
Ubuntu live mode will be accessed:
step 8
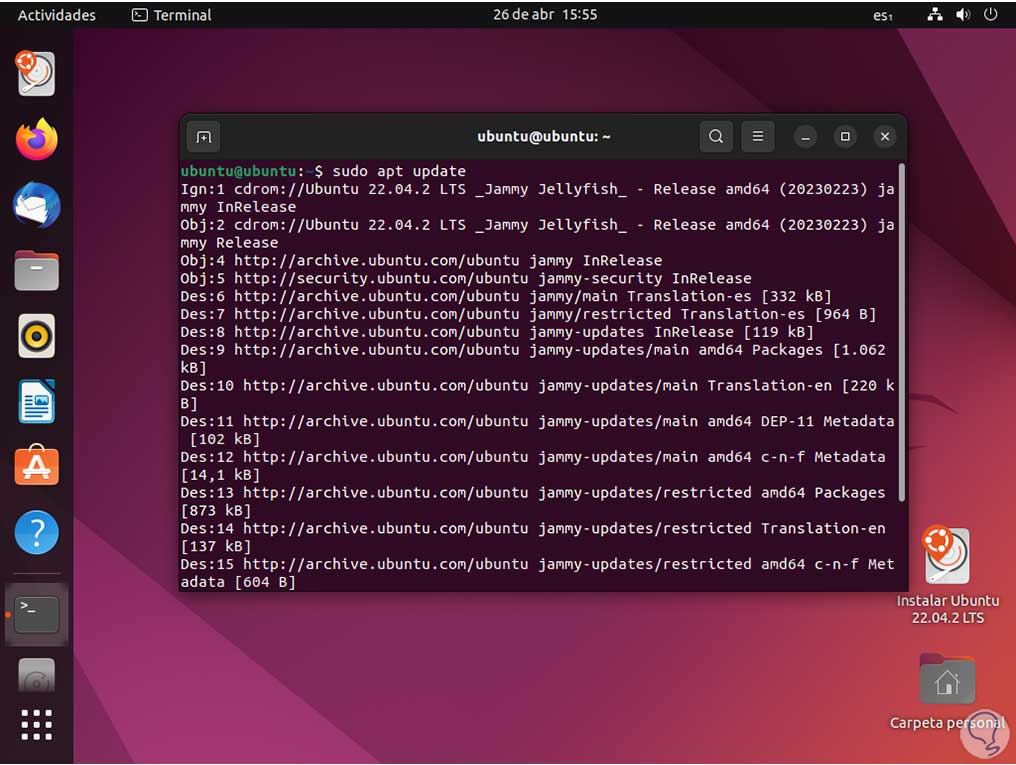
In this mode it will be possible to explore all the features of the system as well as add users and programs but when you close the session or restart the system everything will be lost, hence it does not affect Windows. We open the terminal using the following keys, we update the system:
Ctrl + Alt + T
sudo apt update
step 9
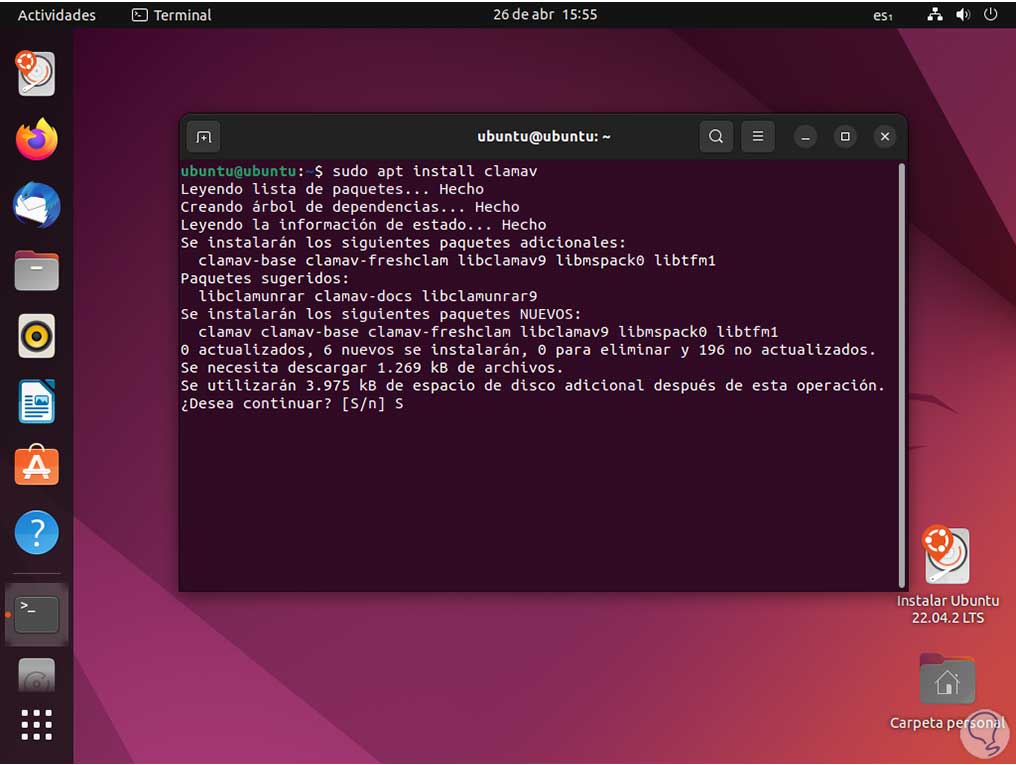
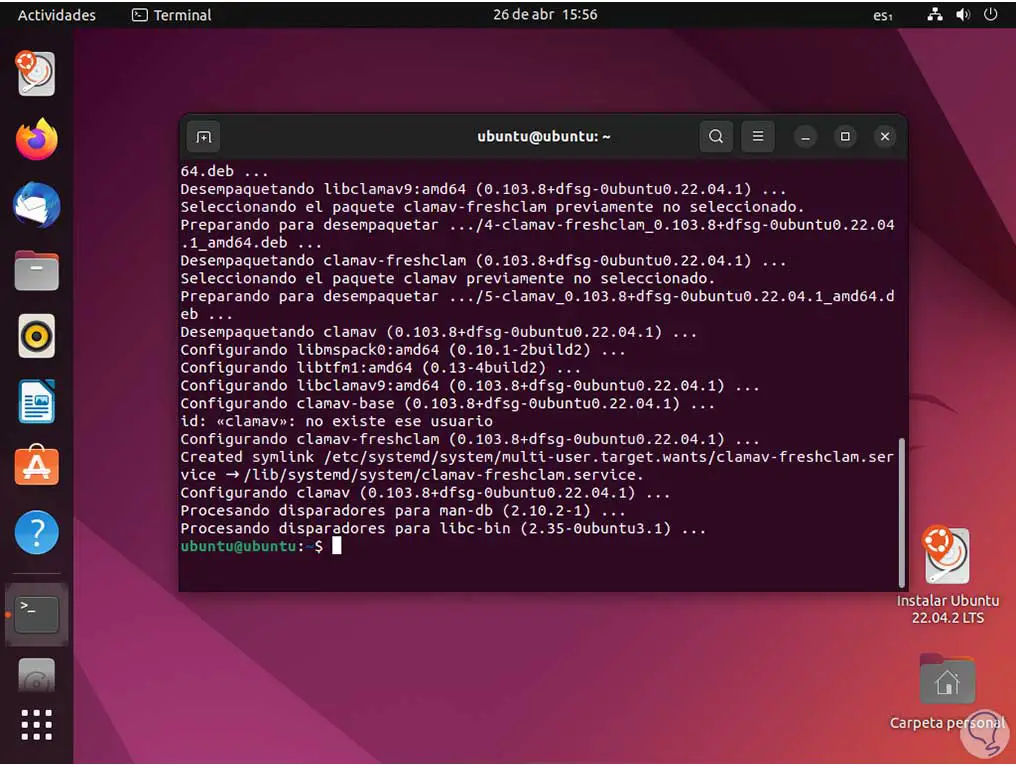
After this we install ClamAV:
sudo apt install clamav
step 10
We confirm the operation with the letter S and wait for the process to end:
step 11
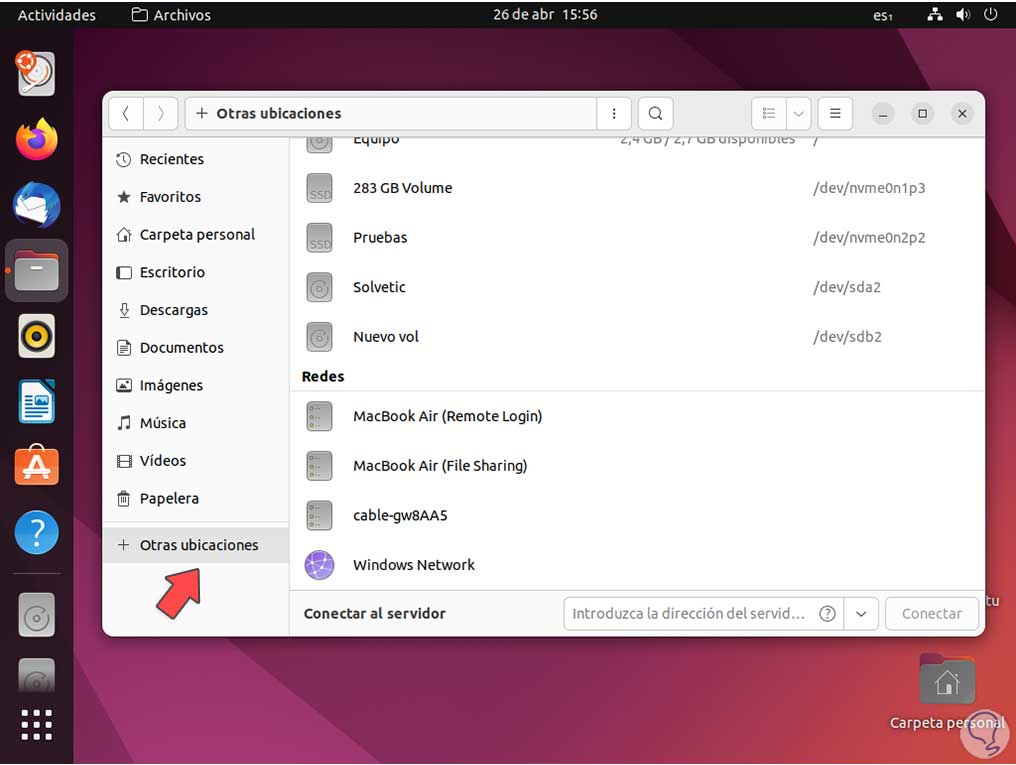
Now we open the file manager and click on "Other locations":
step 12
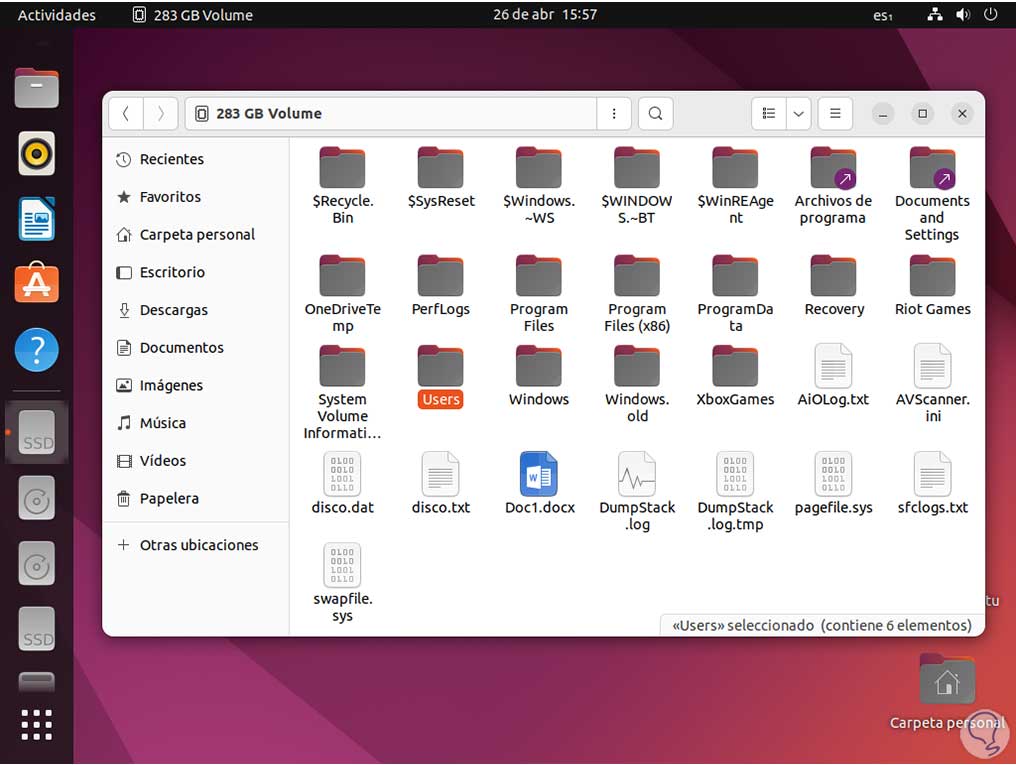
In the upper part "On this computer" click on the unit to be analyzed, to keep it in mind when accessing the unit we will see common Windows folders such as Users, Program Files, etc:
step 13
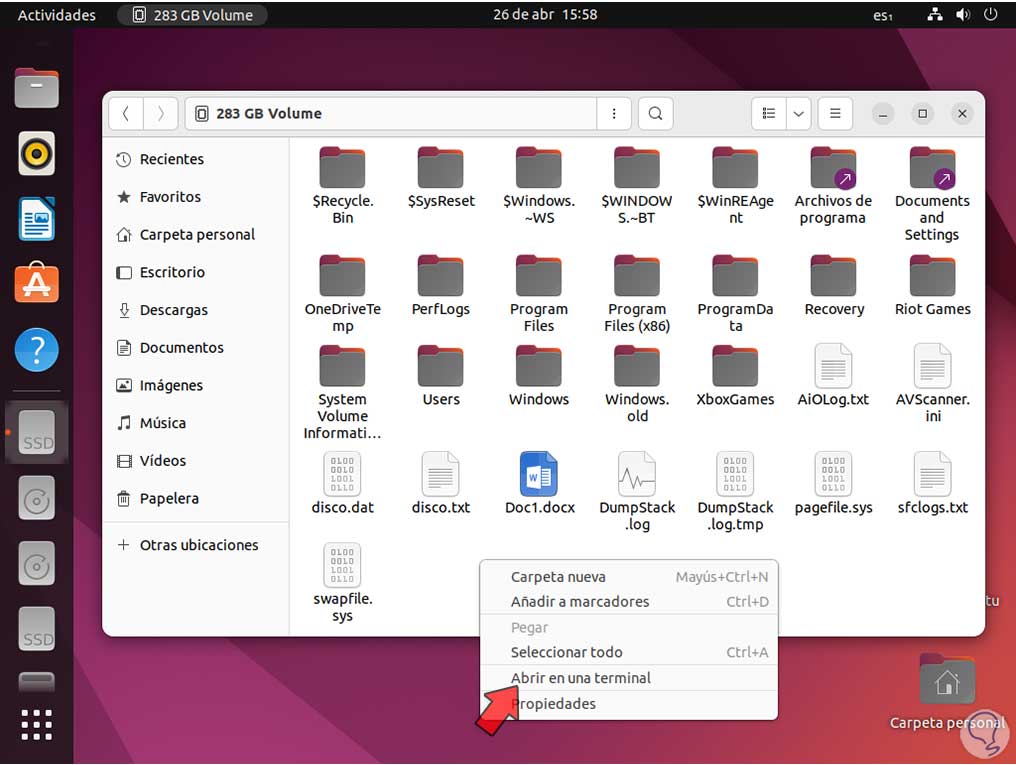
There we right-click somewhere free and select "Open in a terminal":
step 14
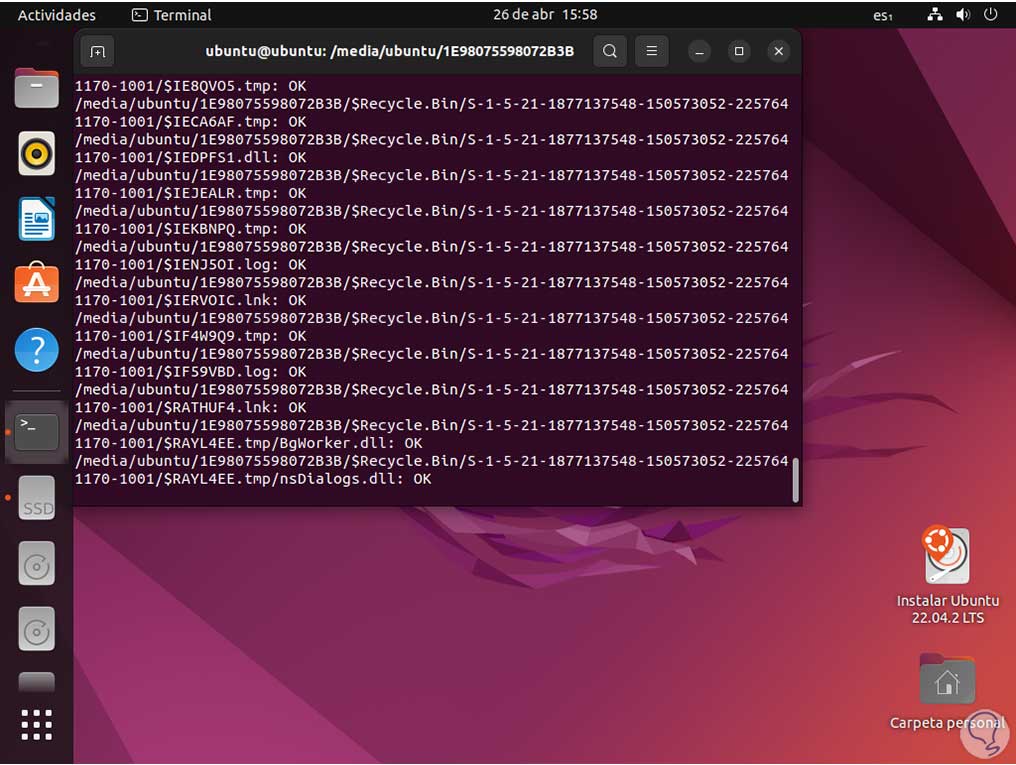
This will open the unit in the terminal, we run the analysis with the command:
sudo clamscan -r .
step 15
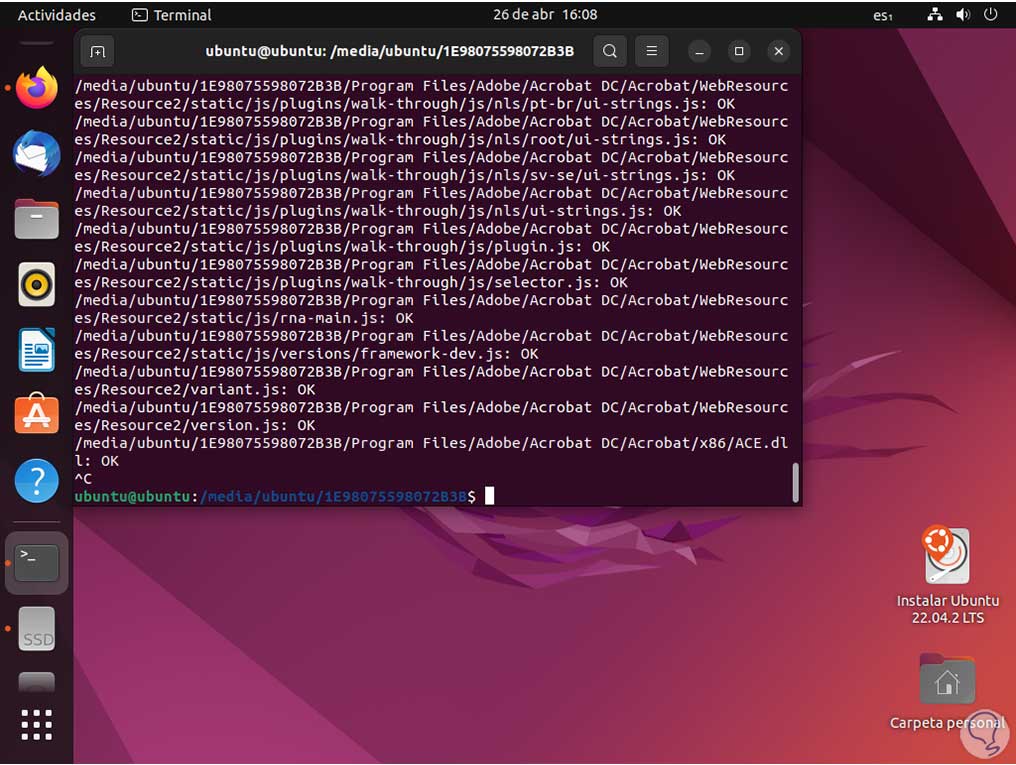
The -r parameter allows scanning the files in the current directory (Windows root directory) recursively, the . indicates the current directory, with this command only viruses will be searched and we will see each segment analyzed with ClamAV:
step 16
Each section of the chosen unit will be analyzed, if you want to stop the analysis use the Ctrl + C keys. To create a file with the results we execute:
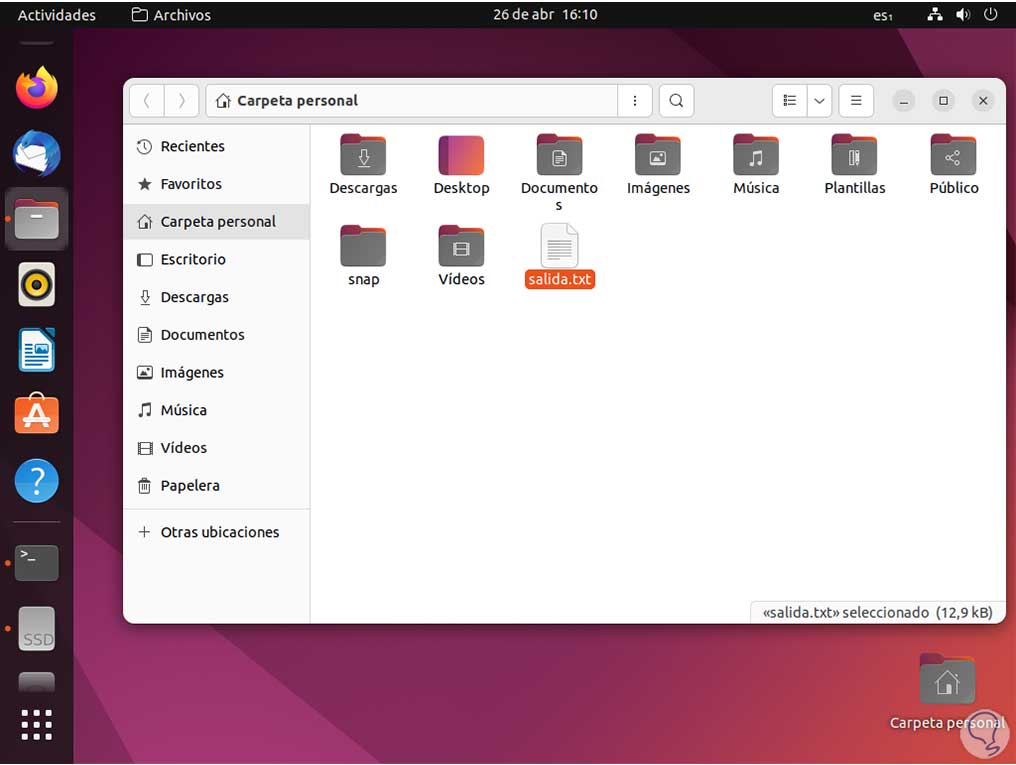
sudo clamscan -r . | tee ~/name.txt
step 17
In the file manager we will see the file created in the Windows drive:
step 18
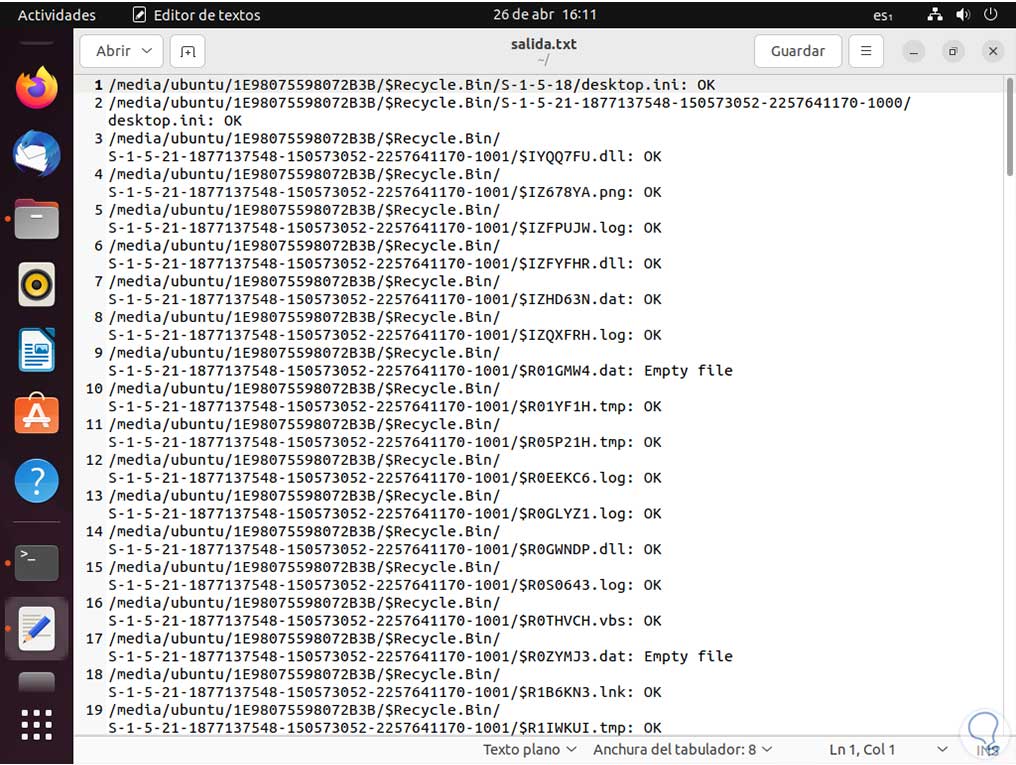
It is possible to open it to see the details of the analysis. There we see each line with the route and the result of the analysis.
step 19
In case you want to delete the files during the process we will see the following:
sudo clamscan -r . --remove=yes
step 20
It is possible to exclude a file type using the syntax:
sudo clamscan -r . --remove=yes --exclude=.extension
step 21
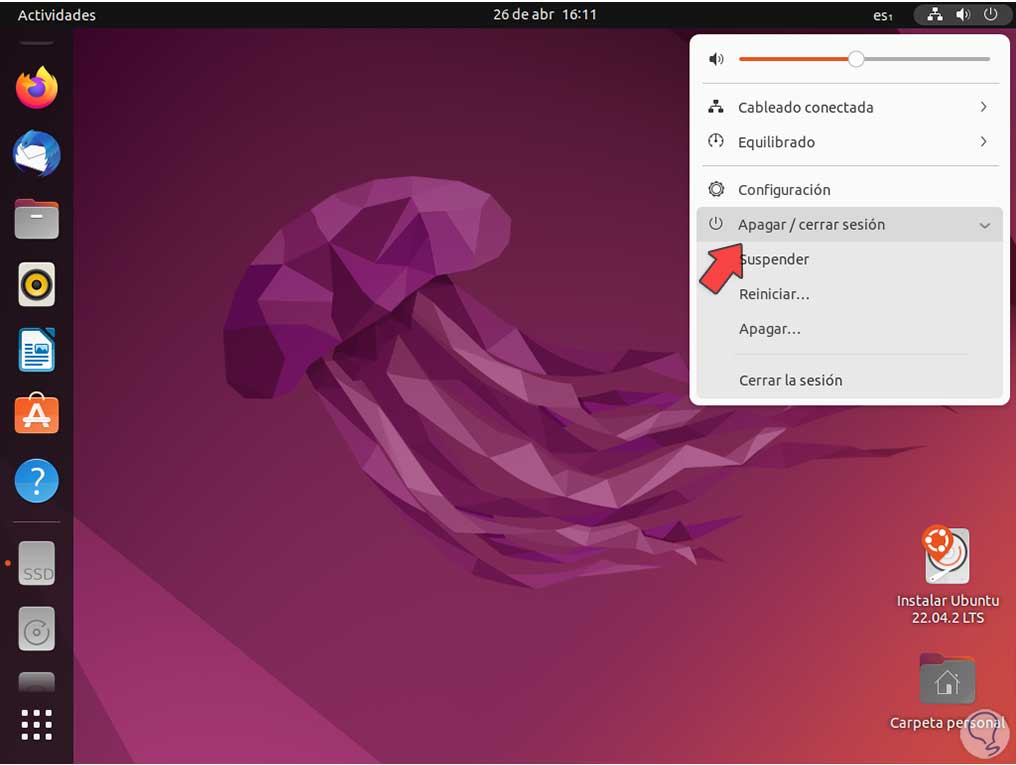
After this we turn off the Ubuntu session:
step 22
Windows will be restarted:
Step 23
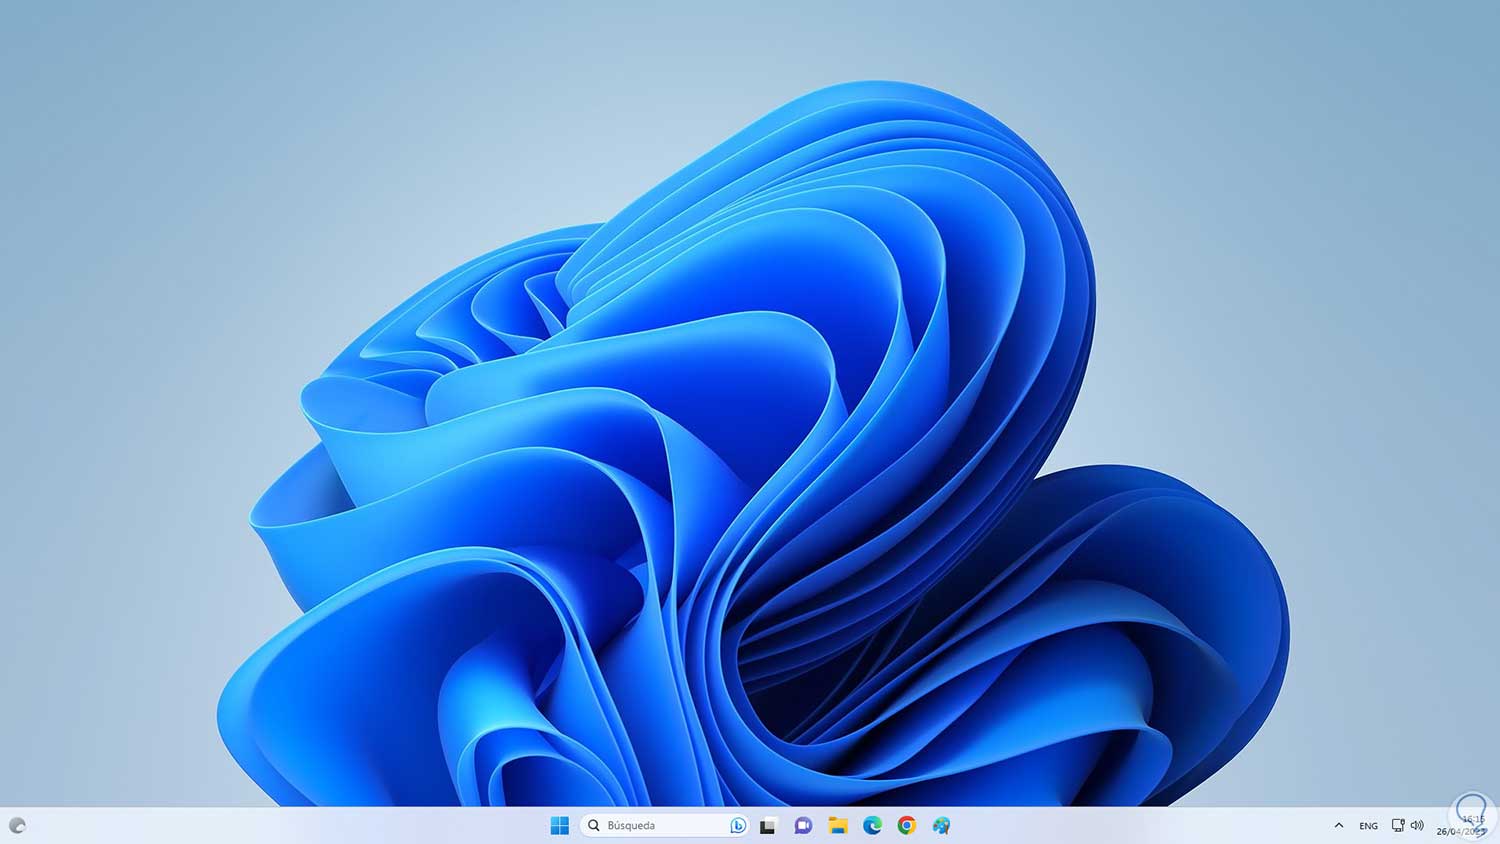
Now we will have access to our analyzed and secure system:
ClamAV is a functional option but it is better because it can be used without having to install anything in Windows for analysis tasks..