Current technology gives us hundreds of possibilities to better manage the systems , users and applications that we have under our care and one of the best updates we have received is the ability to create bootable USB with current operating systems , this simplifies not transporting DVDs or CDs with ISO images and as it is portable (USB) it will be possible to install or run boot support tasks with just this little tool..
Ubuntu is one of the most popular Linux distributions which we can download at the following link:
Ubuntu
Ubuntu is equipped with hundreds of features to make the job as complete as possible and it is possible to create a bootable USB of this system thanks to Rufus.
Rufus is a small utility with which it is possible to format and create flash drives with the required system and with certain available configuration parameters, its free download can be found at the following link:
Rufus
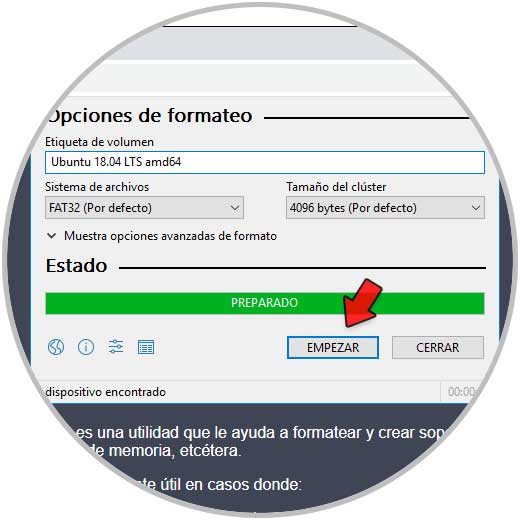
Rufus
Rufus we can use it in scenarios like:
- Manage computers that do not have an operating system installed
- Create USB installation media using a bootable ISO image (Windows, Linux, UEFI)
- For BIOS or other firmware update tasks from DOS
TechnoWikis will teach the step by step to create an Ubuntu Live USB in Windows 10..
To stay up to date, remember to subscribe to our YouTube channel! SUBSCRIBE
How to create an Ubuntu USB in Windows 10
Step 1
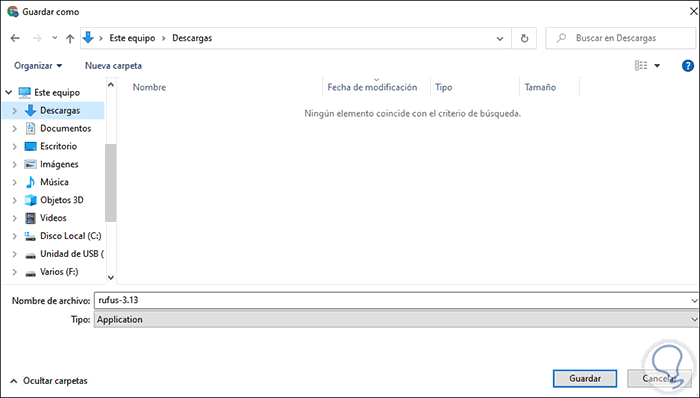
We download both the official Ubuntu and Rufus ISO from the described URL, we save Rufus locally:
Step 2
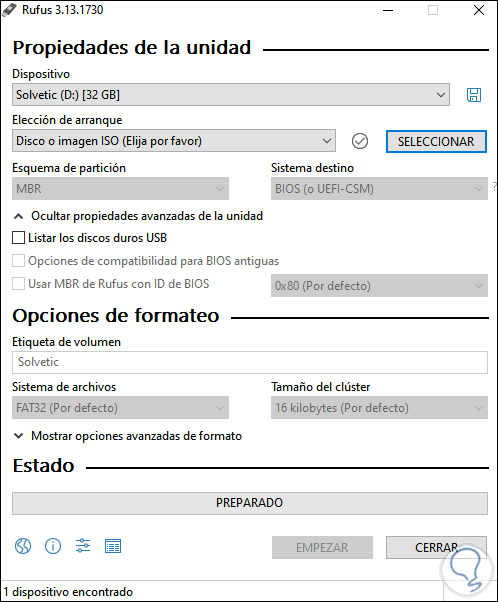
Once Rufus is downloaded, execute the downloaded file and the following will be displayed:
Step 3
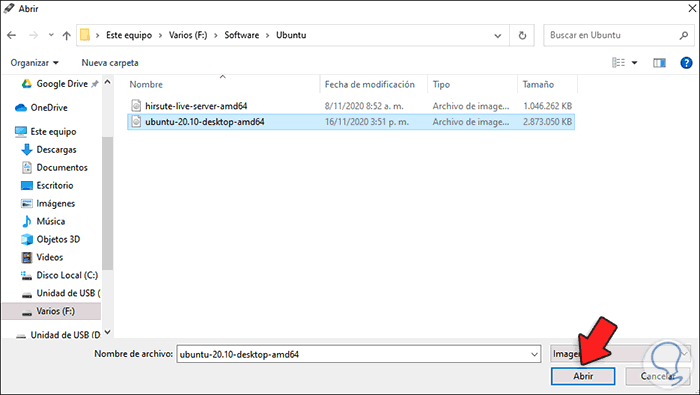
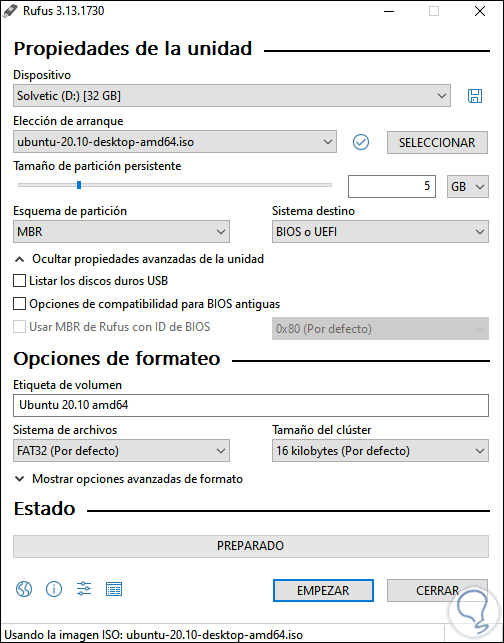
By default Rufus detects the USB connected to the equipment, but we validate from the "Device" field that it is the correct one. Now we select the Ubuntu ISO image by clicking the Browse button in the "Boot choice" field, we go to the path where the downloaded ISO image has been saved:
Step 4
Click Open and we will see it integrated into Rufus:
Step 5
Now we are going to configure the following fields:
- BIOS or UEFI on target system
- Set persistent partition size
The persistent partition is key in an Ubuntu Live USB since it allows us to save files and update Ubuntu applications to the latest version. To set the size we move the slider to the desired size, remember that when you use this type of USB Live it is to see how the system works without installing locally, but when you exit everything will be lost.
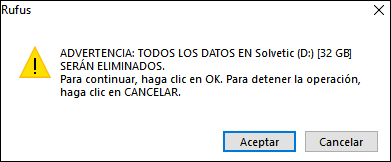
Once this is defined, we click on "Start" and we will see the following:
Step 6
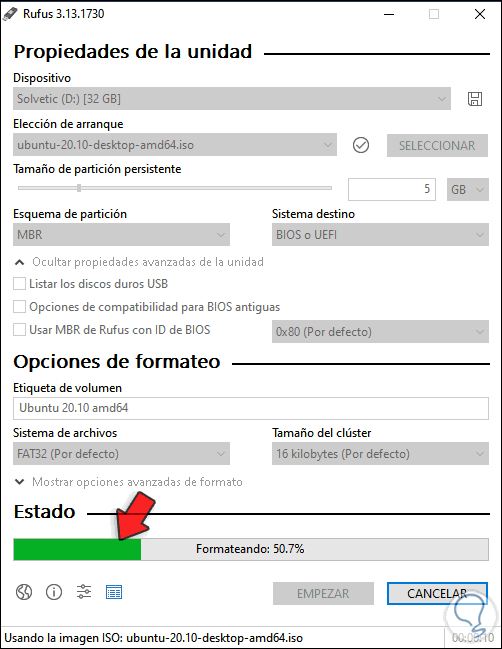
We confirm by clicking OK and first the USB will be formatted:
Step 7
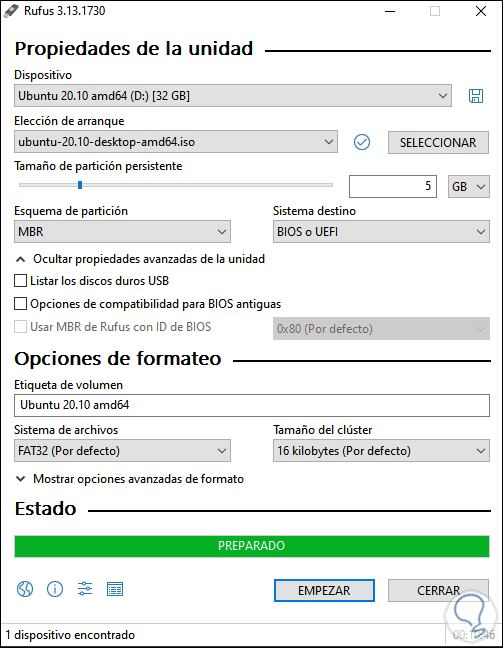
Then we proceed with the copy of the ISO files:
Step 8
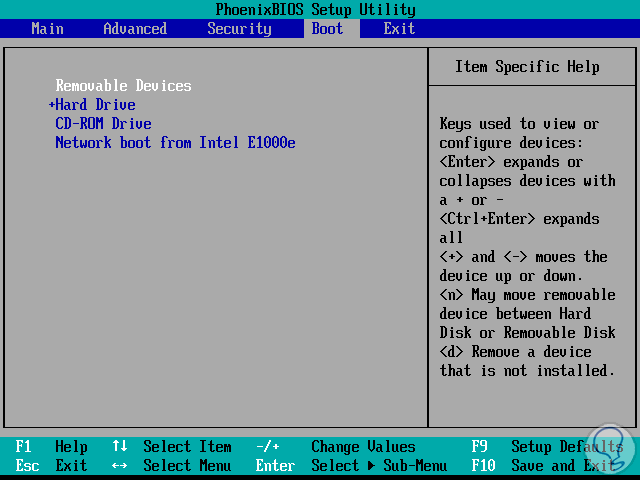
We click Close and now on the computer where it is going to be tested we access the BIOS or UEFI to configure the boot from there:
Step 9
After this the Ubuntu boot will be loaded. There we select the Ubuntu line to open the Live mode of the system.

This has been the process to create an Ubuntu USB Live in Windows 10 and with it have the possibility of not only knowing the system but also thanks to the persistent partition to be able to host files locally as if the system were installed in its entirety..