We are on the verge of Ubuntu launching its new version 19.04 which has as official date on April 1 of the current year and code name Disco Dingo, and as expected this will come with improvements, new features and other functions that hope to position this new system among the most used by the millions of Ubuntu users worldwide..
Ubuntu 19.04 is currently in a beta phase and its ISO image can be downloaded from the following link:
Ubuntu 19.04
features
Some of its most outstanding features are:
- The default theme of Yaru is compatible with more applications thus expanding the capabilities of this.
- Integration with Android through KDEConnect
- Improvements in the Ubuntu software center
- New applications by default and more features
Now, one of the best alternatives that we have as administrators, IT staff or in general people who love technology is the possibility of creating a bootable USB medium (boot), to install Ubuntu 19.04 directly from this USB medium. which saves time and improves the mobilization and integrity of this. Therefore, TechnoWikis will explain how we can create a USB boot of Ubuntu 19.04 in Windows 10 in a simple but effective way.
1. How to install Win32 Disk Imager in Windows 10
The Win32 Disk Imager utility has been developed to write a plain disk image to a removable device (such as USB media) or to perform the backup tasks of a removable device in a plain image file.
Step 1
Your download is available at the following link:
Win32 Disk Imager
Step 2
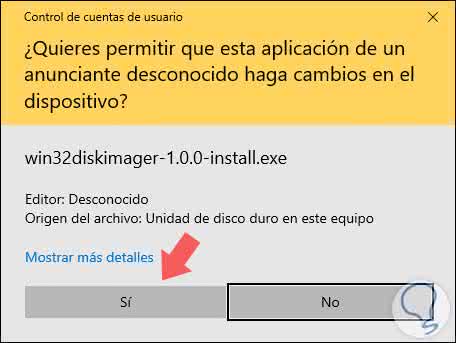
Once we will double click on the executable file to start the process of installing the utility but first we must authorize AUC in Windows 10. We have to click on "Yes"
Step 3
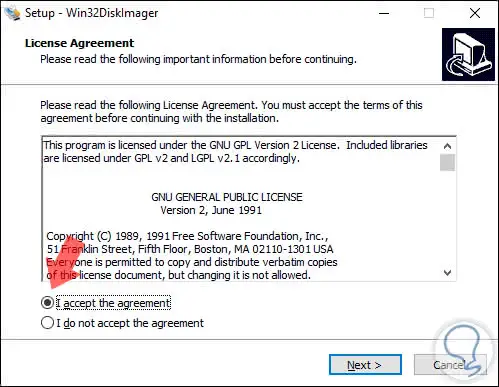
In the next window we must accept the terms of the license:
Step 4
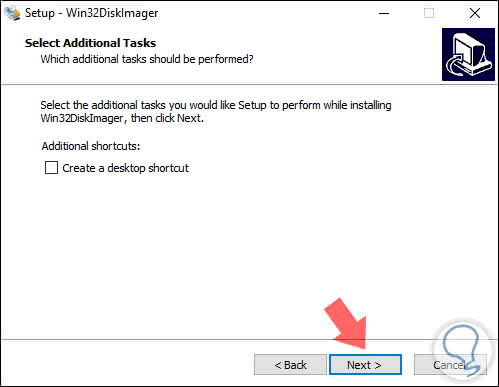
Click on "Next" and if we want we can create a shortcut on the desktop:
Step 5
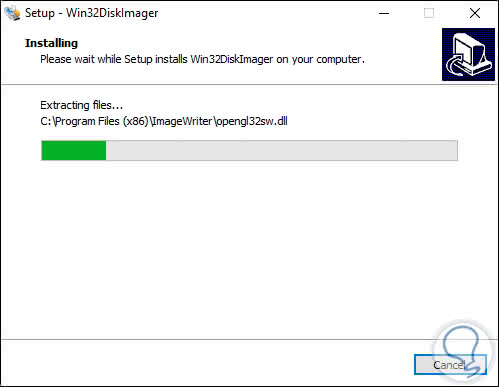
In the next window we proceed with the installation of the utility:
Step 6
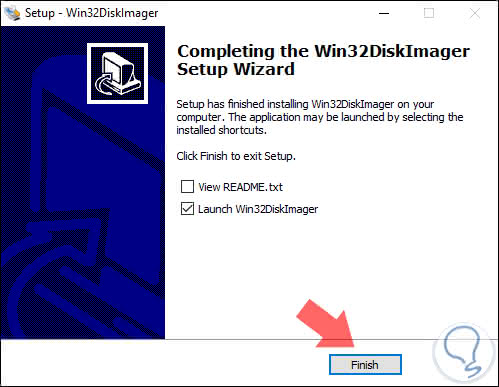
Once it is finished we will see the following. From there it will be possible to start the application.
2. How to format USB device Windows 10
Step 1
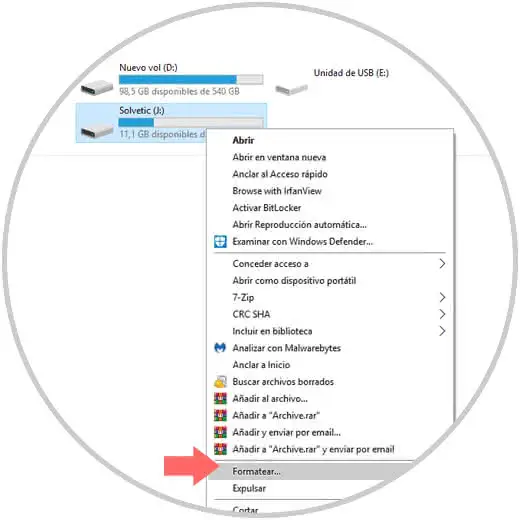
In order to install Ubuntu 19.04 it is recommended that the USB medium be at least 8 GB for a more optimal work, once we connect it to the Windows 10 computer we will go to the File Explorer, right click on the USB drive and select the option "Format "
Step 2
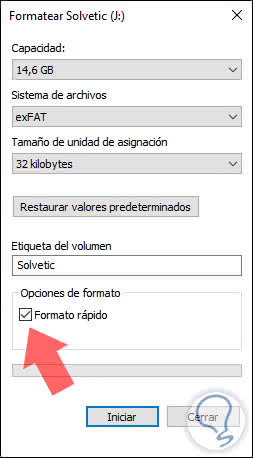
The following window will be displayed where we must select the file system to be used and activate the "Quick Format" box
Step 3
Click on the Start button to start the formatting process and we will receive the following warning:

Step 4
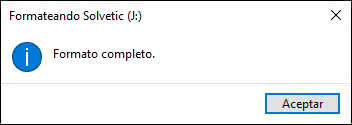
We click on OK to confirm the deletion of all the data from the USB, we recommend before this process to save this data, if necessary, in another location, once it is finished, it will give us the following message. Click OK to exit the wizard.
3. How to create USB bootable media with Ubuntu 19.04
Step 1
Defined this is time to create our USB boot with Ubuntu 19.04, for this we access the Win32 Disk Imager utility and in the window displayed we must select the ISO image of Ubuntu 19.04 which has been downloaded initially:
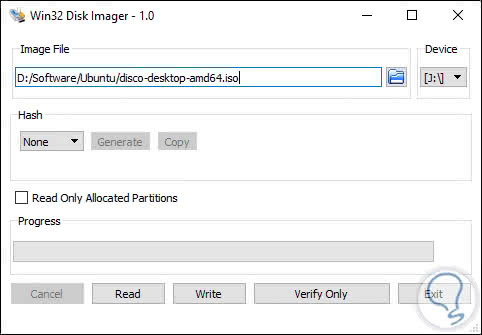
There are some additional security options such as applying a Hash (MD5, SHA1 or SHA256), read only hosted partitions and more, we must keep in mind that in the Device section is the letter of the USB drive that Windows 10 assigns, in this case is the letter J..
Step 2
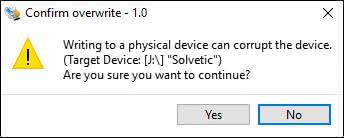
Once we validate these parameters, we click on the "Write" button to start the process of writing the ISO image of Ubuntu 19.04 on the USB device, we will receive the following notification:
Step 3
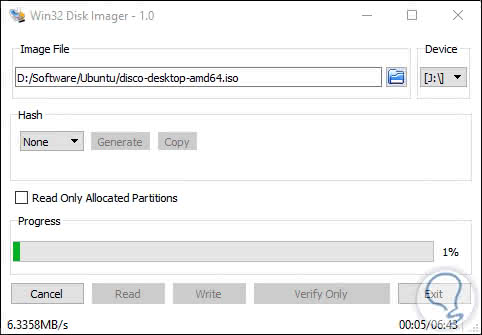
We click on "Yes" to continue with the process:
Note
In case of generating an error with code 5 of denied access it will be necessary to execute the utility as administrators.
Step 4
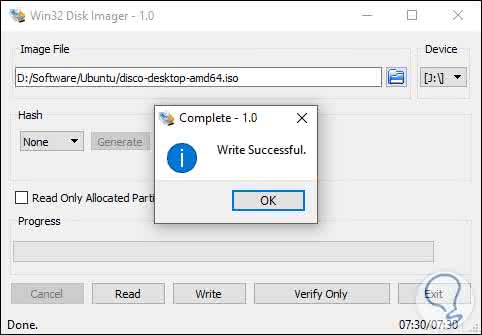
Once the USB media creation process is finished we will see the following. From there we will be ready to use our USB with Ubuntu 19.04.
4. How to disable Quick Start in Windows 10
By default, if Windows 10 integrates the boot from UEFI, it incorporates a function called Quick Start which has as task to disable the boot through the USB devices until the process of loading the operating system has not been completed completely. This allows to accelerate the process of Windows 10 startup and its services but logically will prevent us from properly using our USB medium.
Note
For operating systems with BIOS, this method does not apply.
Step 1
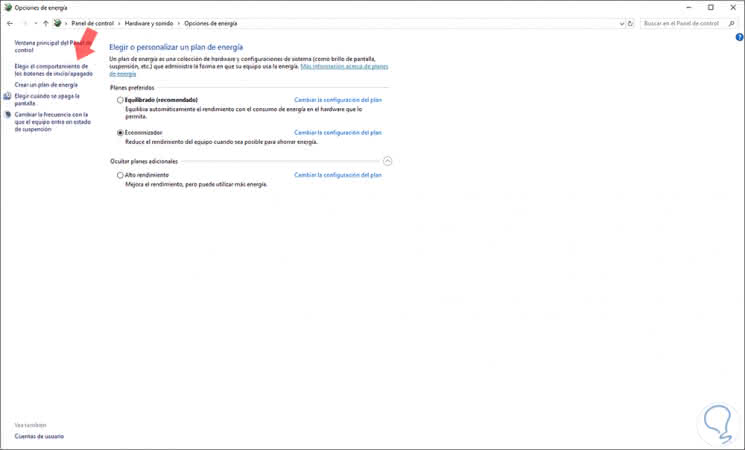
To disable this function we must go to the following path of the Control Panel in Windows 10:
Step 2
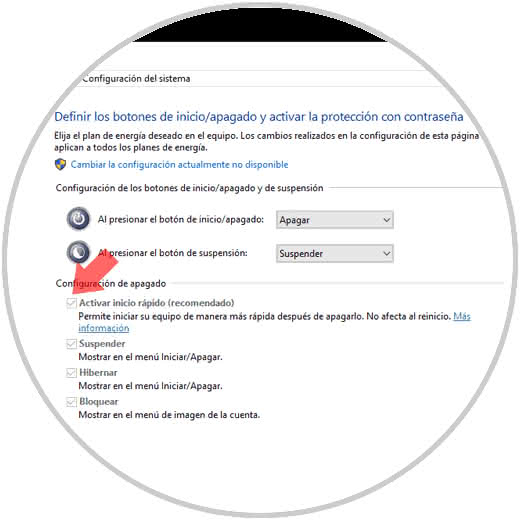
There we click on the option "Choose the behavior of the start / stop buttons" located on the left side and in the new window we will deactivate the Activate quick start check box:
Step 3
To deactivate it, we must click on the "Change the currently unavailable configuration" line and proceed with deactivating the box. We click on the Save Changes button to complete the process.
5. How to set up Ubuntu boot in Windows 10
Step 1
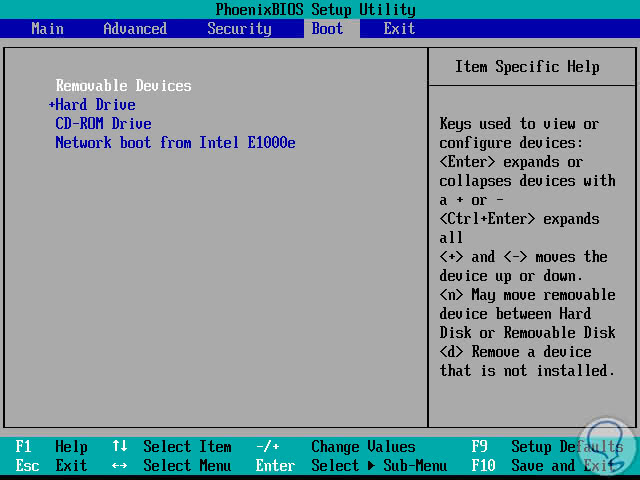
The next step is to access the BIOS or UEFI and there configure the boot order, to access we must use the F2, Esc, Del key (this will depend on the manufacturer) and once there configure the removable media option:
Step 2
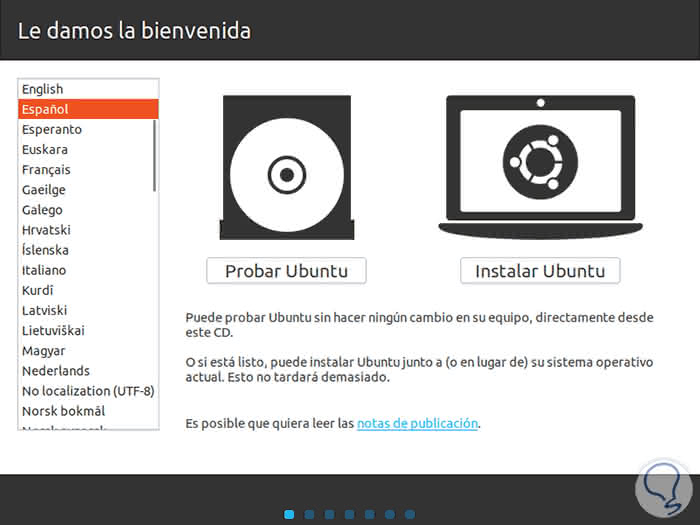
Now it is enough to reboot the system, with the USB medium connected, and we will access the main menu of Ubuntu 19.04 where we can try it or install it:
Step 3
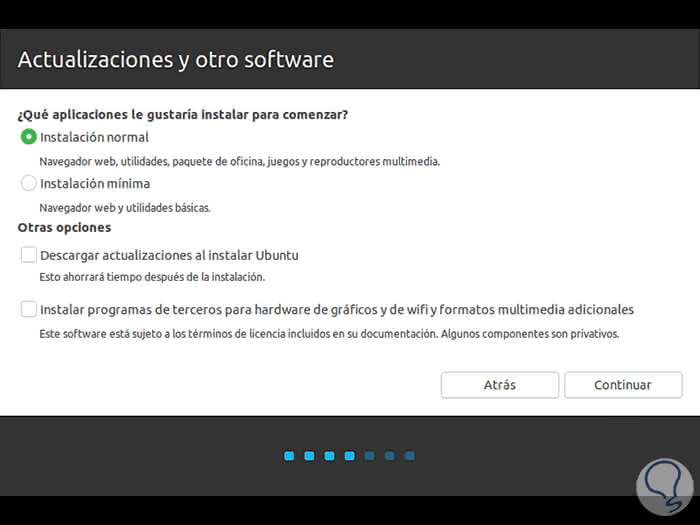
There we can continue with the normal installation process of Ubuntu 19.04:
So simple we will be in the capacity and possibility of creating a USB boot medium with one of the most traditional Linux systems: Ubuntu and this time in its new edition 19.04.